How to Use the Repository Pattern in a Laravel Application
Time to read: 6 minutes
October 01, 2021
Written by
Reviewed by
A repository can be defined as a layer of abstraction between the domain and data mapping layers, one that provides an avenue of mediation between both, via a collection-like interface for accessing domain objects.
Modern PHP frameworks, such as Laravel and Symfony, interact with databases via Object-relational mappers (ORMs); Symfony uses Doctrine as its default ORM and Laravel uses Eloquent.
Both take different approaches in how database interaction works. With Eloquent, Models are generated for each database table, forming the basis of interaction. Doctrine, however, uses the Repository pattern where each Entity has a corresponding repository containing helper functions to interact with the database. While Laravel doesn't provide this functionality out of the box, it is possible to use the Repository pattern in Laravel projects.
A key benefit of the Repository pattern is that it allows us to use the Principle of Dependency Inversion (or code to abstractions, not concretions). This makes our code more robust to changes, such as if a decision was made later on to switch to a data source that isn't supported by Eloquent.
It also helps with keeping the code organized and avoiding duplication, as database-related logic is kept in one place. While this benefit is not immediately apparent in small projects, it becomes more observable in large-scale projects which have to be maintained for many years.
In this article, I will show you how to implement the Repository pattern in your Laravel applications. To do that, we will build an API to manage orders received from clients for a company.
Prerequisites
- A basic understanding of PHP and Laravel
- PHP 7.4
- Composer installed globally
- cURL
- Git
- jq (optional)
- The Laravel installer
- Access to a MySQL database
Getting started
Create a new Laravel project and cd into the directory using the following commands.
Set up the database
For this tutorial, we'll use MySQL as our database. To do that, in the .env file, update the database-related parameters as shown below.
Finally, using your preferred database management application, create a new database called order_api.
Generate the initial data for the database
We are building an order management application, so let's create the model for it by running the following command.
The -a argument lets Artisan know that we want to create a migration file, seeder, factory, and controller for the Order model.
The command above will create five new files:
- A controller in app/Http/Controllers/OrderController.php
- A database factory in database/factories/orderFactory.php
- A migration file in database/migrations/YYYY_MM_DD_HHMMSS_create_orders_table.php
- A model located in app/Models/Order.php
- A seeder file in database/seeders/OrderSeeder.php and
In database/migrations/YYYY_MM_DD_HHMMSS_create_orders_table.php, update the up function to match the following.
As specified in the migration file, the order table will have the following columns:
- An ID. This will be the table's primary key.
- The details of the order.
- The name of the client who placed the order.
- Whether or not the order has been fulfilled.
- When the order was created and updated,
created_atandupdated_at, provided by thetimestampsfunction.
Next, let's update OrderFactory so that it can generate a dummy order to seed the database with. In database/factories/OrderFactory.php, update the definition function to match the following.
Next, open database/seeders/OrderSeeder.php and update the run function to match the following.
This uses OrderFactory to create 50 Orders in the database.
In src/database/seeders/DatabaseSeeder.php, add the following to the run function.
This runs the QuoteSeeder when Artisan's db:seed command is run.
Finally, run your migrations and seed the database using the following command.
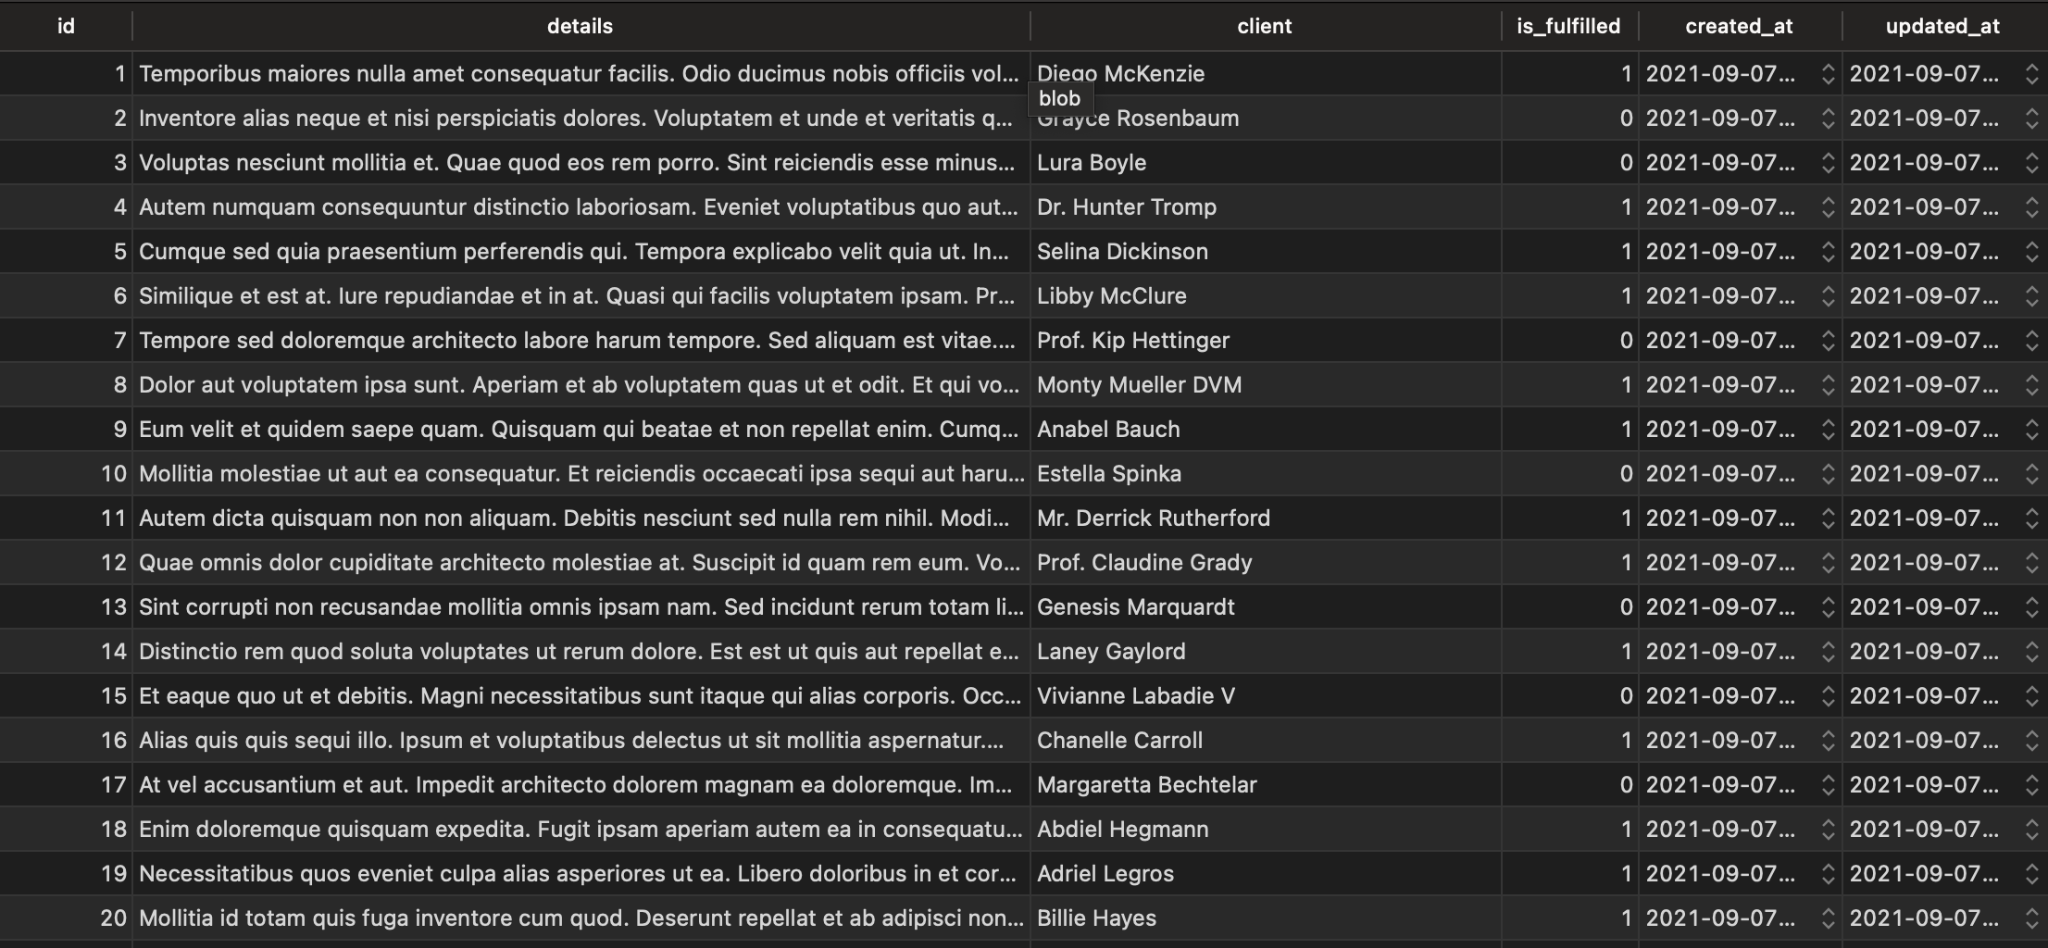
If you open the orders table, you'll see the newly seeded orders.
Create the Repository
Before we create a repository for the Order model, let's define an interface to specify all the methods which the repository must declare. Instead of relying directly on the repository class, our controller (and any order component we may build in the future) will depend on the interface.
This makes our code flexible because, should it become necessary to make a change in the future, the controller remains unaffected. For instance, if we decided to outsource order management to a 3rd party application, we can build a new module that conforms to OrderRepositoryInterface's signature and swap the binding declarations and our controller will work exactly as expected - without touching a single line of code in the controller.
In the app directory, create a new folder called Interfaces. Then, in the Interfaces, create a new file called OrderRepositoryInterface.php and add the following code to it.
Next, in the app folder, create a new folder called Repositories. In this folder, create a new file called OrderRepository.php and add the following code to it.
Apart from the flexibility provided by the interface, encapsulating queries in this manner has the added advantage that we don't have to duplicate queries throughout the application.
If, in the future, we decide to retrieve only unfulfilled orders in the getAllOrders() function, we would only have to make a change in one place instead of tracking down all the places where Order::all() is declared while risking missing some.
Creating the controllers
With our repository in place, let's add some code to our controller. Open app/Http/Controllers/OrderController.php and update the code to match the following.
The code injects an OrderRepositoryInterface instance via the constructor and uses the relevant object's methods in each controller method.
First, within the index() method, it calls the getAllOrders() method defined in the orderRepository to retrieve the list of orders and returns a response in JSON format.
Next, the store() method calls the createOrder() method from the orderRepository to create a new order. This takes the details of the order that needs to be created as an array and returns a successful response afterward.
Within the show() method in the controller, it retrieves the unique order Id from the route and passes it to the getOrderById() as a parameter. This fetches the details of the order with a matching Id from the database and returns a response in JSON format.
Then, to update the details of an already created order, it calls the updateOrder() method from the repository. This takes two parameters: the unique id of the order and the details that need to be updated.
Lastly, the destroy() method retrieves the unique id of a particular order from the route and calls the deleteOrder() method from the repository to delete it.
Adding the routes
To map each method defined in the controller to specific routes, add the following code to routes/api.php.
Bind the interface and the implementation
The last thing we need to do is bind OrderRepository to OrderRepositoryInterface in Laravel's Service Container; we do this via a Service Provider. Create one using the following command.
Open app/Providers/RepositoryServiceProvider.php and update the register function to match the following.
Finally, add the new Service Provider to the providers array in config/app.php.
Test the application
Run the application using the following command.
By default, the served application will be available at http://127.0.0.1:8000/. Using Postman or cURL, we can make requests to our newly created API.
Run the following command to test the /api/orders endpoint using cURL:
You will see JSON output similar to the example below in your terminal, which was truncated to aid in readability.
That's how to use the Repository Pattern in a Laravel application
In this article, we learned about the Repository pattern and how to use it in a Laravel application. We've also seen some of the benefits it offers a large-scale project - one of which is loosely coupled code where we are coding to abstractions, not concrete implementations.
I will end on a note of caution, however. For small projects, this approach will feel like a lot of work and boilerplate code for returns that may not be immediately apparent. It is, therefore, important that you properly consider the scale of the project before adopting this approach.
The entire codebase for this tutorial is available on GitHub. Feel free to explore further. Happy coding!
Oluyemi is a tech enthusiast with a background in Telecommunication Engineering. With a keen interest to solve day-to-day problems encountered by users, he ventured into programming and has since directed his problem-solving skills at building software for both web and mobile.
A full-stack software engineer with a passion for sharing knowledge, Oluyemi has published a good number of technical articles and content on several blogs on the internet. Being tech-savvy, his hobbies include trying out new programming languages and frameworks.


Related Resources
Twilio Docs
From APIs to SDKs to sample apps
API reference documentation, SDKs, helper libraries, quickstarts, and tutorials for your language and platform.
Resource Center
The latest ebooks, industry reports, and webinars
Learn from customer engagement experts to improve your own communication.
Ahoy
Twilio's developer community hub
Best practices, code samples, and inspiration to build communications and digital engagement experiences.