How to Deploy JavaScript & Node.js Applications to AWS Lambda
Time to read: 5 minutes
September 14, 2017
Written by

Functions-as-a-Service (FaaS) such as Amazon Web Services Lambda and Twilio Functions can be cheap execution environments in which you pay only for resources used to deal with a particular request, typically measured in seconds or milliseconds.
Today we will take a look at deploying a JavaScript Node.js application to AWS Lambda. Our application will keep a list of our best friends which we would like to invite for a birthday party. In this post we will:
- Set up an npm project and create a ‘hello world’ JavaScript application.
- Refactor the app to collect and keep friends names in memory.
- Set up a serverless framework configuration and deploy the application on Lambda environment.
To accomplish tasks in this post we will need:
- An AWS account
- Node.js and npm installed
- Access to the package manager (for this post purpose I am using Linux and apt-get)
Configuring our environment & app
Let’s start with a simple ‘hello world’ application. First we need to initialize an npm project and install common libraries:
Now create our application with a “hello world” page:
Inside server.js we will:
- Initialize our express app
- Define our app’s URL and port
- Add a simple “hello world” message to the home page
- Invoke express
To do that, paste this code into server.js:
We need to create a startup script in the npm configuration file – package.json:
We can now run our application by typing in the command line:
Output from this command should be:
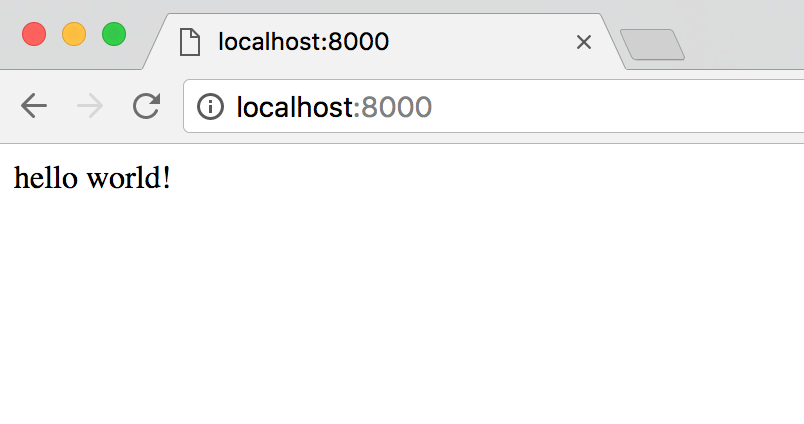
After navigating to http://localhost:8000 in the browser, you should see your “hello world!” message:
Find all the code up to this point in this GitHub repository you can clone:
Building the friends list feature
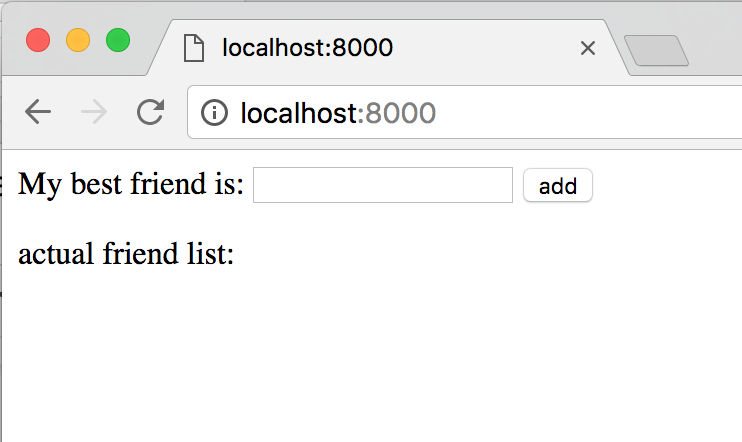
Now we are going to add basic functionality for our user to specify the name of their friend and click an ‘add’ button to add that person to the list of friends.
Let’s add the dependencies which we will use in our application:
body-parser– request parser middlewareejs– embedded JavaScript templates (to control flow of our response, similar to php – mixing code snippets with html)
Run this command to install them:
Add a InMemoryFriends class in server.js to keep the list of people in memory:
Now let’s create two views for our app:
Add this code to index.html file:
Add this code to person-added.html file:
Now we are going to add a render engine, set the view engine, specify the directory in which we are keeping our views and configure our new routes. Add the following lines to server.js anywhere after declaration of the app variable:
If you want to catch up to this exact step, run the following commands:
Set up Serverless and deploy your app
Our app is ready, so we can now deploy it. Let’s install the Serverless framework and create a config file:
Prepare an entry point of our lambda function, lambda.js:
We need also to edit our server.js file. Replace these lines:
With:
But wait, aren’t those lines necessary to run our app?! Yes, there are.
To keep our app running locally we can place them in a local.js file:
And edit the start script in package.json:
Install AWS CLI (steps below are for Linux OS, AWS also supplies guides to install the CLI on other platforms):
After that you need to configure aws cli:
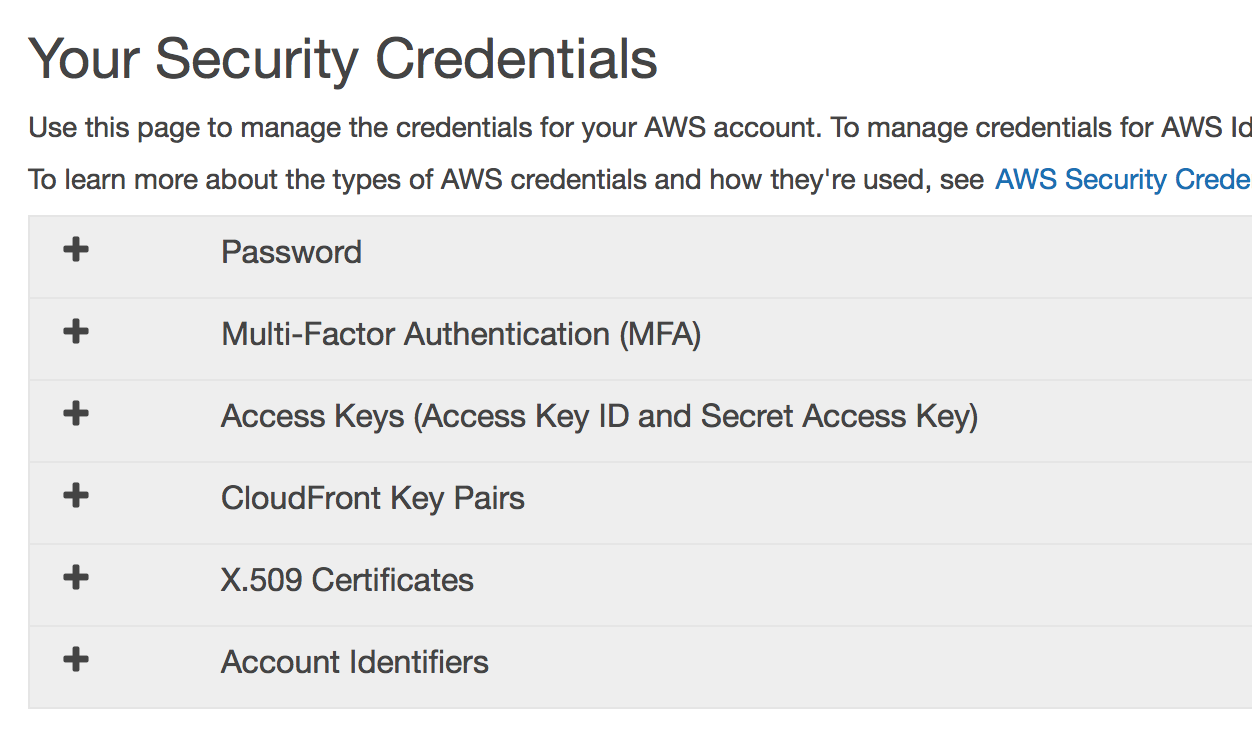
You will be asked to provide following values:
- AWS Access Key ID
- AWS Secret Access Key
- Default region name
- Default output format
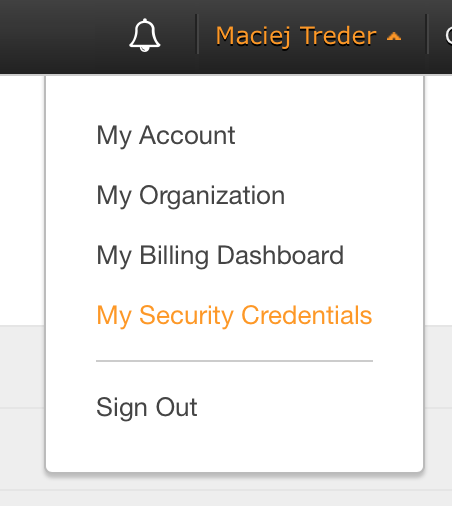
Two first are most important, you can find them in the ‘My Security Credentials’ section, after logging into your AWS account:
The third parameter is your default Amazon region, you can leave it default for now, as long as we are going to define region in the Serverless configuration. The fourth one is the format in which you want to receive output from CLI execution and it is not important in our case so you can leave it blank.
When the AWS CLI configuration is done, set up the serverless configuration. Place the following lines in the serverless.yml file:
And deploy our function:
If you have done everything correctly you should see output like:
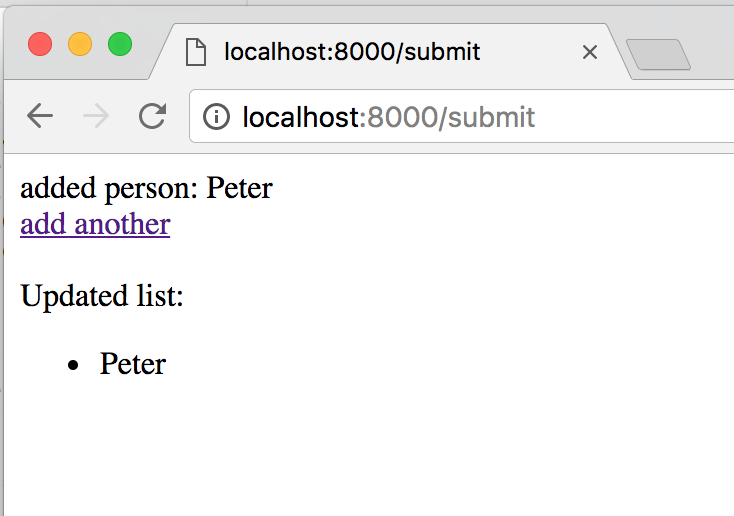
After invoking link from serverless command output (in my case: https://1v0xvsd7pc.execute-api.eu-central-1.amazonaws.com/production), you should see your app deployed on AWS Lambda.
But after trying to add friend to my list I am getting a 403 ({"message":"Forbidden"}) error!
You are getting this because the entry point to your application has a /production prefix. When you are adding new friend to the list Node.js application is trying to reach URL https://1v0xvsd7pc.execute-api.eu-central-1.amazonaws.com/submit (not /production/submit).
You have two ways to solve this issue:
-
You can change “action” attribute in the
index.htmlview to:
-
You can use a custom domain:
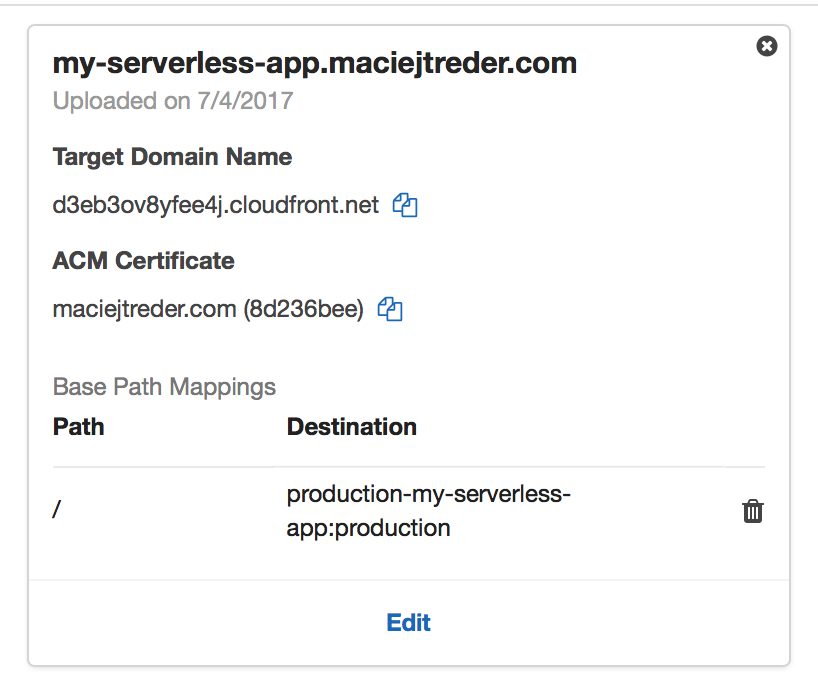
Here you can find a step-by-step guide to setup a custom domain to point to your application.
If you want to catch up this final step in the tutorial run the following commands:
Now we’re all set with our Node.js application on Lambda!
Next Steps
With few simple steps we created the Node.js application and deployed it to the function-as-a-service platform AWS Lambda.
Live demo of this application can be found here: my-serverless-app.maciejtreder.com
And repo here: https://github.com/maciejtreder/myServerlessApp
Let me know what you build with this base application. My contact info:
contact@maciejtreder.com
https://www.maciejtreder.com
@maciejtreder (GitHub, Twitter, linkedIn)


Related Resources
Twilio Docs
From APIs to SDKs to sample apps
API reference documentation, SDKs, helper libraries, quickstarts, and tutorials for your language and platform.
Resource Center
The latest ebooks, industry reports, and webinars
Learn from customer engagement experts to improve your own communication.
Ahoy
Twilio's developer community hub
Best practices, code samples, and inspiration to build communications and digital engagement experiences.