Building a Video Chat App with Twilio Programmable Video and React
Time to read: 8 minutes
March 29, 2018
Written by

There is an increasingly large demand for collaboration tools, especially for remote developers and even people in other career sectors. Having a video chat application that you can customize the “look and feel” of can be very important since you are not restricted to the features of most commercial providers.
In this tutorial, we will learn how to create a video chat application using React, Node.js, and Twilio Programmable Video.
Setup React and Node.js
To develop this application we will need some basic knowledge of React JS, Node JS and basic knowledge in client-side javascript.
We will also need a Node JS installation equal or greater than version 7.0.0 and a browser for testing.
Twilio Account Setup
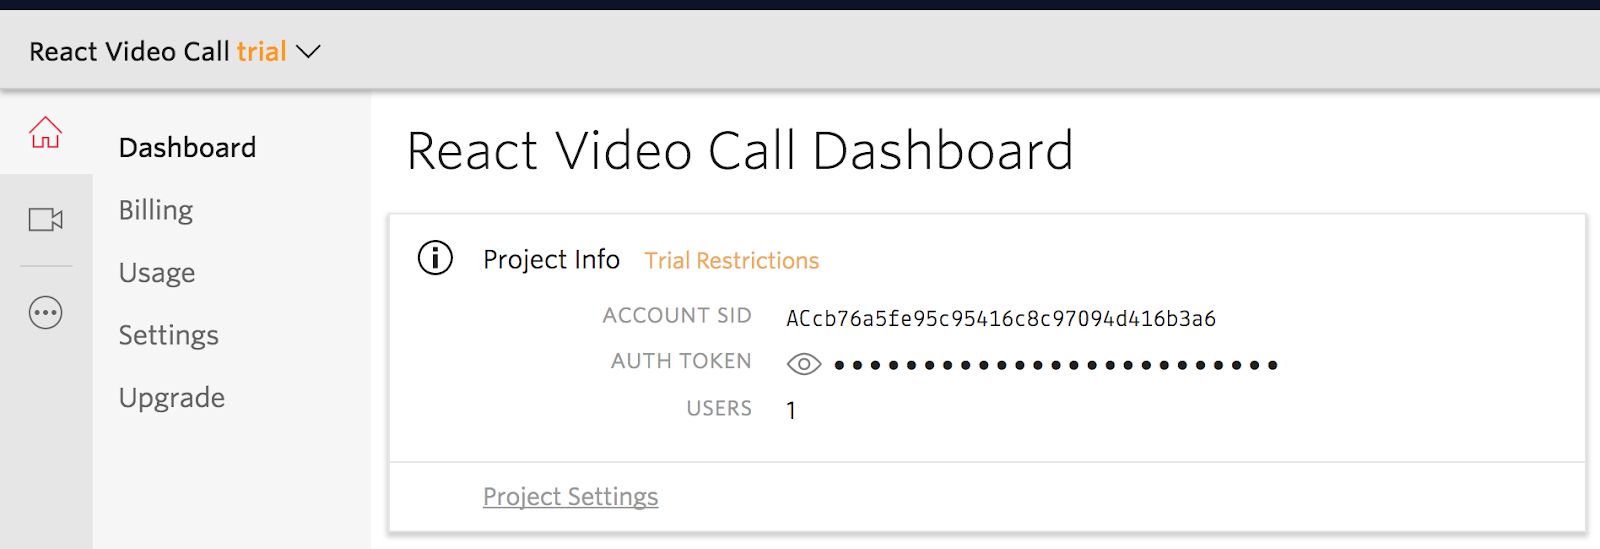
If you do not have a Twilio account, sign up for one and then create a project. When asked for the features you want to use, select Programmable Video. The TWILIO_ACCOUNT_SID can be found in your project dashboard.
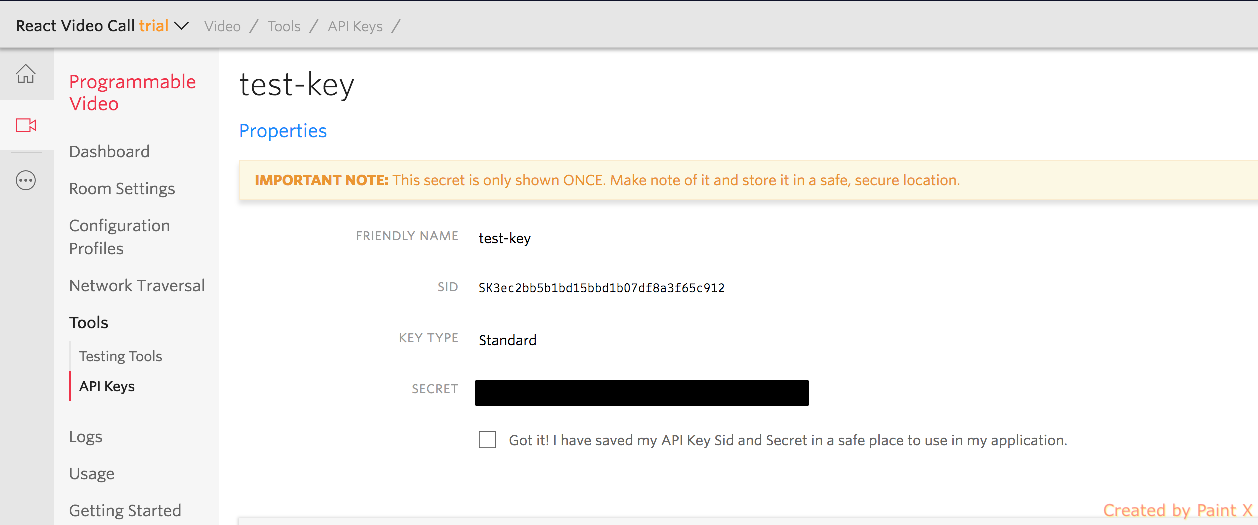
We then create an API key in the Programmable Video section. If you experience any issues in the setup of the Twilio API key,, this GitHub Issue gives more insight into the setup. We will use the “SID” in the figure below for TWILIO_API_KEY and the “secret” for TWILIO_API_SECRET.
Note: The API key SID always starts with SK.
React Project Setup
In this project, we will primarily focus on using Twilio with React and will therefore skip the project setup and use a minimal boilerplate instead.
For SSH setup, you would type the following command on your command line in the terminal:
Alternatively, for HTTPS setup, you can type the following command on your command line in the terminal:
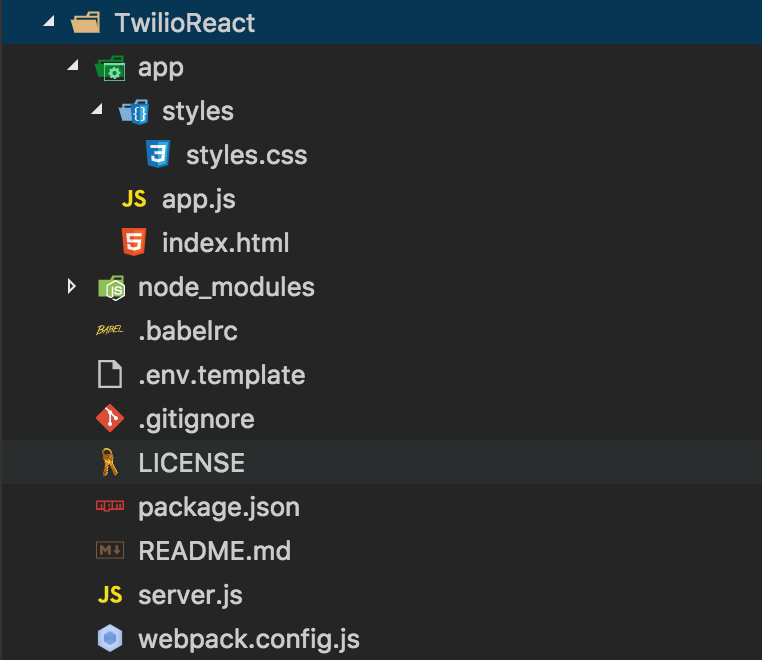
We then cd into our TwilioReact folder and run yarn or npm i to install our packages. We will end up with the following folder structure.
Developing our Node Programmable Video Application
We start by setting up our keys and secrets in a .env file based on the env.template file from the GitHub repo we just cloned. Keeping our keys in a .env file is a best practice that makes it easier to change them at anytime and also makes it easy to deploy to any platform.
Note: Do not push the .env file to any git hosting service like GitHub because this will expose our secret keys to the world, compromising security.
Let’s make our .env file and add the following code to it, replacing each key and token with the one found in our Twilio console.
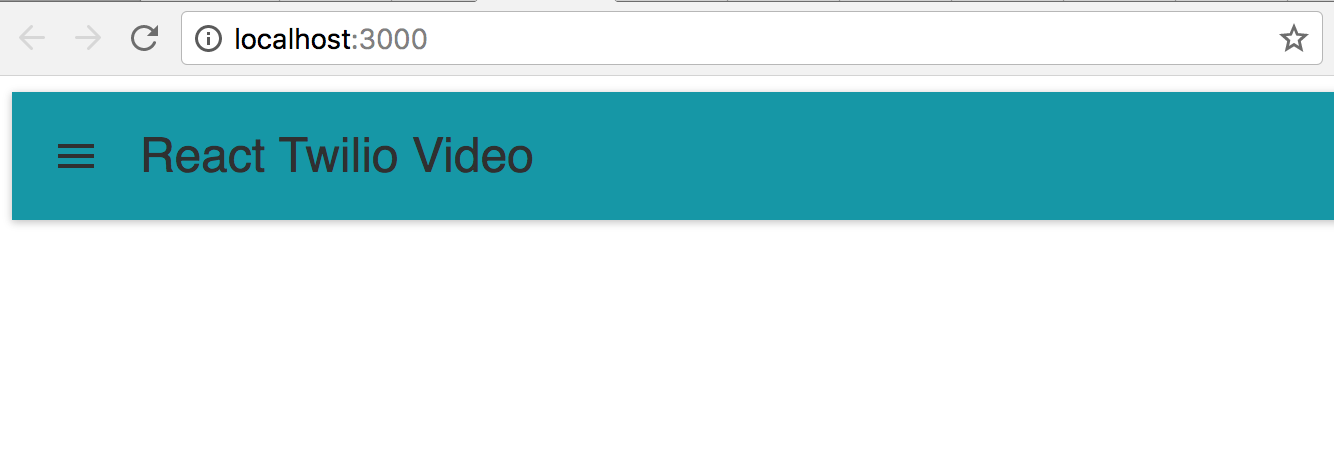
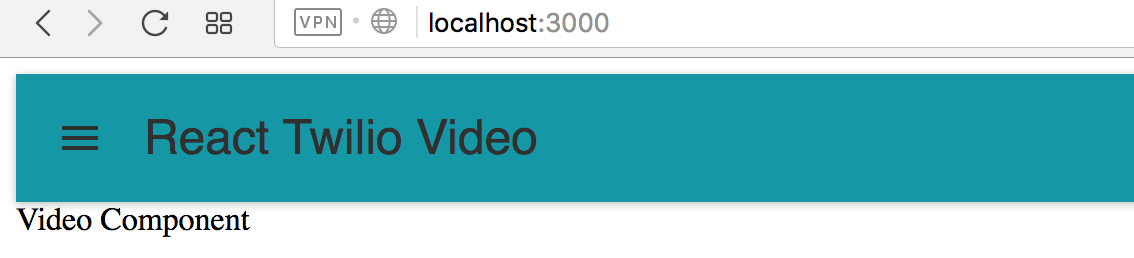
After navigating into the “TwilioReact” folder, we can test our initial setup by running “npm start” on the command line. Now let’s open up a web browser and navigate to http://localhost:3000/ where we should see the following interface.
Server Setup
We need to set up our server to generate tokens that can be sent to the client. Twilio will then use the token to grant access to the client to use the Video SDK. To use Twilio Video functions, we need to install the Twilio Node.js package by typing on the command line.
Our package.json includes another package, faker. This will be used to generate fake names and assign to each connected client.
API Keys are credentials to access the Twilio API. They are used to authenticate the REST API and also to create and revoke Access Tokens. Access tokens are used to authenticate Client SDKs and also to grant access to API features.
The snippet below creates a JWT access token and sends it to the client with a fake name. We add the code inside server.js.
Video Room Creation
Video Rooms can be created by our client side code by default. In this application we will use that capability, however if you need to restrict the rooms that can be created you can turn off client side room creation in the room settings.

In this situation you need to create rooms using the REST API and grant access to a specific room within the access token.
Video Client Setup
So far, we merely have a skeleton client application. Let’s add some functionality to our app. Start by installing the twilio-video SDK and axios for making HTTP requests by typing the following command on the command line :
In the /app/ folder, create a new file VideoComponent.js. This will contain our application component that will be included in the main/entry file app.js.
Inside VideoComponent.js, we will create a minimal component.
We then include this component in our main application file app.js by adding the highlighted code to that file:
From now on, everything will happen within the ‘VideoComponent.js’ file. We can start our application by typing ‘npm start’ on the command line and navigating to localhost:3000 in our web browser.
When a user loads the page, we expect the application to get an Access Token from our server and use the Token to join a room. Since we are allowing our client to create rooms, we will also include in our interface a section where users can join a room. By joining a room that does not exist, the room will be created automatically.
Acquiring a Token
When the component loads, an API call is made inside componentDidMount to the server and returns a token with a fake name.
Note: It’s recommended to make API calls or any other operations that cause side-effects in componentDidMount and not componentWillMount because by the time componentDidMount is called, the component has been mounted and an update to the state guarantees updates on DOM nodes. componentWillMount is called right before the component is mounted and this means if an API call completes before render, there will be no component to update.
The client uses the token to join a room. This means we will need state variables to store some values.
We also ensure that a user can only connect to a room if a room name is provided otherwise we show an error. We will only show the user’s video once they are connected to a room.
We are going to gradually update “VideoComponent.js” and add new functionality.
We first initialize several variables to track our state and hold some information inside the constructor.
With the required variables set in the state, we can now make an API call to get the token. Add the “componentDidMount” function below the constructor.
We need to import some components from material-ui by adding the following statements in VideoComponent.js. These components will be used in the render() method.
We then delete the existing render() method and replace it with the following new version. The “render()” method responsible for calling most of the methods we create and also showing the interface.
Let us now implement some of the methods referenced in the render function.
To use the two methods above, we need to bind them in the constructor.
Binding methods sets their context to VideoComponent and ensures that any call to them using this.methodName(…) will use VideoComponent as the context (this). To learn more about method binding, refer to Jason Arnold’s article.
The above function, “joinRoom()”, is very important since it results in a connection to a room which will lead to participants, both local and remote, joining the room and bringing media streams with them which we can attach to the DOM. On successful connection, “joinRoom()” will call “roomJoined(room)” passing in the room instance.
We then bind these methods in the constructor just below the other methods.
Binding “attachTracks” and “attachParticipantTracks” is optional since we are not using them as event handlers or in any callback function therefore their context will automatically be set to the component.
So far the above setup only handles joining a room and showing the local video track.
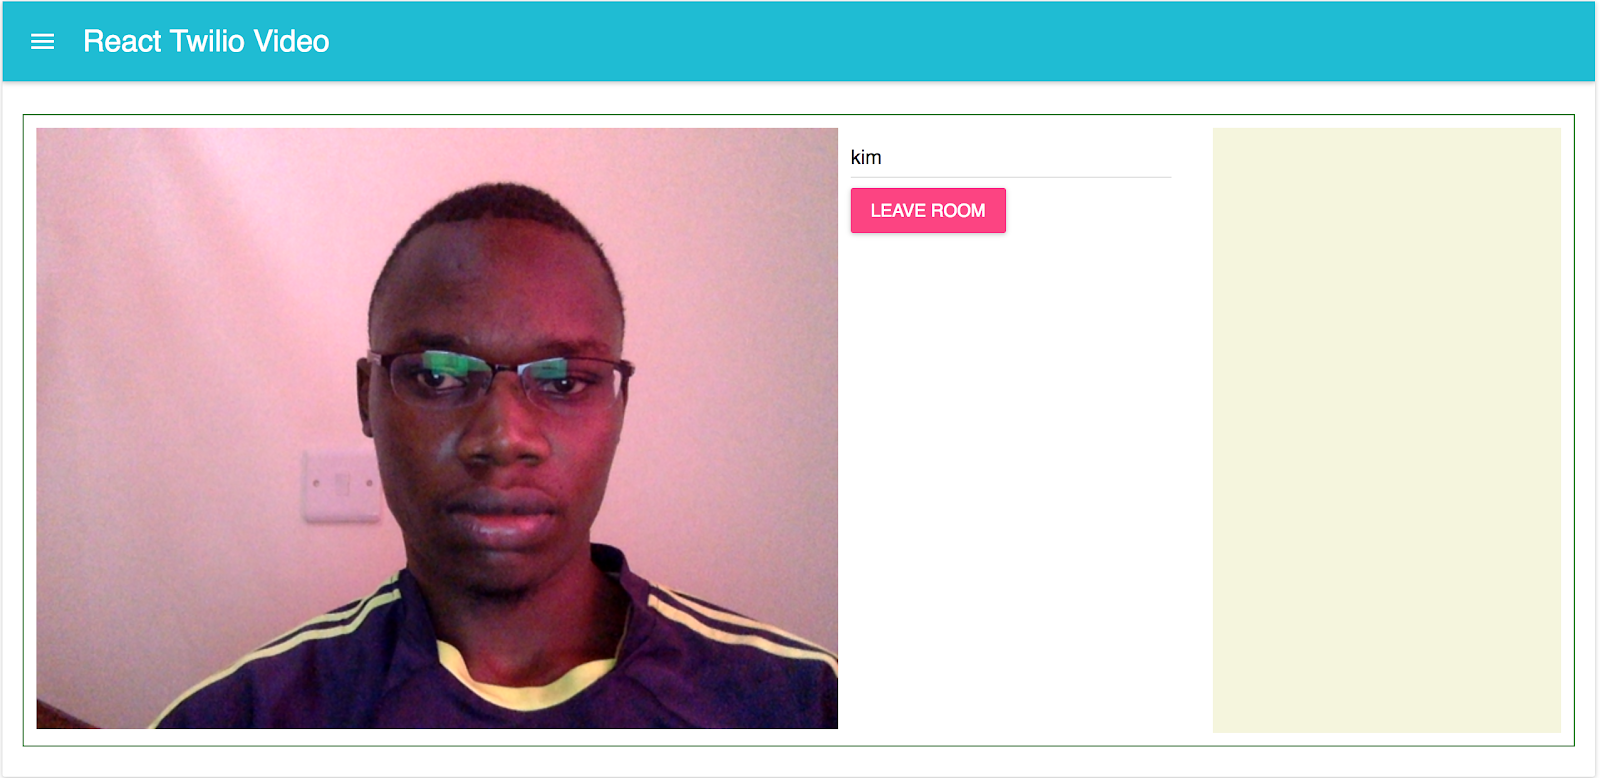
We can then start the application by typing “npm start” on the command line and navigating to localhost:3000 in our web browser. After entering a room name and clicking on ‘Join Room’, we should be able to see a window similar to the following. The ‘Leave Room’ button should only show an alert for now. In case of any issue, complete code up to this point can be found on this GitHub branch.

In the next steps we will explore how to leave a room and what happens when other participants join the room.
Leaving a Room
To leave a room, we call “disconnect()” on the active room and update some state variables to update the interface. This will also change the value of hasJoinedRoom in the state to false and consequently remove the ‘Leave Room’ button and show the ‘Join Room’ button in its place.
We also need to update ‘joinOrLeaveRoomButton’ our render function to call ‘leaveRoom’.
We then bind the leaveRoom() method in the constructor.
Handling other Participants
In this section, we are going to update the remoteMedia section when another participant joins the room. We will also handle the case when a participant removes one of their tracks or leaves the room. Let’s start with the functions that will detach participants’ tracks from the room.
As usual, we bind the above methods in our constructor.
Inside the function roomJoined(room), we will add the following snippet that performs several functionalities based on the event triggered on the room instance. The functionalities include:
- Attaching the tracks of room participants to the DOM.
- Logging participants’ identities after they join the room.
- Detach participants’ tracks from the DOM when they leave the room.
- Detach a single participant’s track when they disable it. For instance, detach the audio track when they turn of their microphone.
- Detach all tracks from the DOM when a local participant leaves a room.
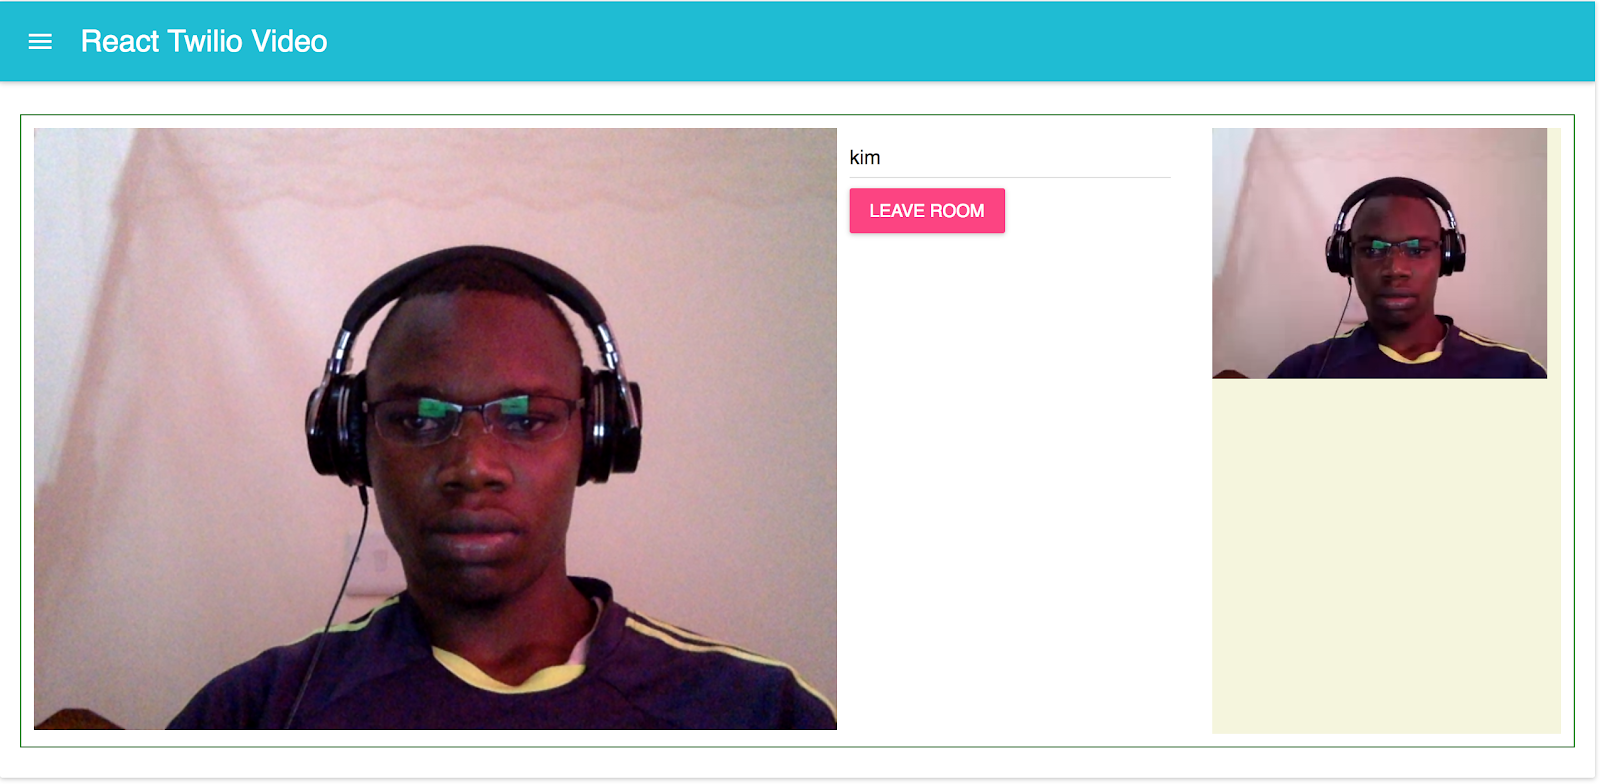
In the above snippet, other participants can join the room and their video track will be visible on the far right in the browser window. It will be detached from the DOM when they leave the room. The application also detaches every participant once the local participant disconnects from the room. In summary, “roomJoined(room)” gives us access to different properties of the room including participants and events that can occur in the room. We then define application behaviour based on these events. We also control the appearance of the DOM by updating different state variables.
Testing the Video Application
We will manually test our application locally by running “npm start” on the command line. We can then visit localhost:3000 in our browser. The interface should look similar to the one in the screenshots below. Enter a room name of your choosing and click on ‘Join Room’. Then open up a new browser window and repeat the process there with the same room name.
A demo application you can use is hosted on Heroku for future reference. Here’s a screenshot before joining, with one user and two users.
Before joining a room

Only local participant in the room
Another participant joins the room(two separate browsers)
Conclusion: Programmable Video with React and Node.js
There’s always an increasing need and demand for collaboration tools like Google Hangouts. The downside of these existing enterprise tools is that they do not give the user the ability to be creative and customize them to meet users’ demands. Twilio Programmable Video provides a lot of pre-implemented features allowing the user to choose whatever feature they want and build out their own custom tools with little effort.
To get access to the complete code, check out the GitHub Repository and Heroku for a live demo of the application. Visit the official Twilio Video documentation for JavaScript to learn more on controlling the audio and video devices, screen sharing, using the data track, and many more features.
Takeaways
- Twilio Programmable Video is a great API with lots of features to choose from.
- The API is simple to setup and use, especially the descriptive events like
participantConnected,participantDisconnectedand so forth. - The API makes it very easy for developers to come up with their own custom collaboration tools by choosing from the many features available.
Brian Kimokoti is a software developer working mostly with Python, Javascript and related technologies. He is also a tech blogger on several online platforms and enjoys watching soccer. You can reach him on Twitter @kimobrian254.


Related Resources
Twilio Docs
From APIs to SDKs to sample apps
API reference documentation, SDKs, helper libraries, quickstarts, and tutorials for your language and platform.
Resource Center
The latest ebooks, industry reports, and webinars
Learn from customer engagement experts to improve your own communication.
Ahoy
Twilio's developer community hub
Best practices, code samples, and inspiration to build communications and digital engagement experiences.