Building a chat with Twilio, lit-html, Parcel and TypeScript
Time to read: 7 minutes
May 14, 2018
Written by

When building a web application you often reach a place where you’ll have to render a similar element multiple times and as efficiently as possible. That’s when a lot of web developers start reaching out to frameworks and libraries such as React, Vue or Angular. But what if we only want to do efficient templating and don’t want the tooling & code overhead of these libraries?
One library that aims to solve this problem is lit-html by the Polymer team. It uses browser-native functionality such as <template/> tags and tagged template literals to create efficient templating. Let’s take a look at how we can use it by building a Twilio Chat application with lit-html.
Prerequisites
Before we get started make sure that you have Node.js and npm installed. Since we’ll be using Twilio Chat at one point in this application, you want to get a Twilio account as well. Sign up for free.
Project Setup
Start by creating a new folder for your project and initializing a Node project:
Before we get to the lit-html part we need to configure two things. lit-html comes as an npm module that we’ll have to bundle into an application. We’ll be using zero configuration bundler called Parcel for this but if you feel more comfortable with Webpack, you are welcome to use that one. We’ll also be using TypeScript for this project since both lit-html and Twilio Chat have excellent support for TypeScript.
Install the following dependencies to get the two setup:
Next create a file called tsconfig.json in the root of your project and add the following:
Then open the package.json and modify the scripts section to add a few new parcel based commands:
To test our setup, create an index.html file as our entry file for Parcel inside a folder called src:
In there we load a file index.ts via a relative path. Parcel will detect that file and will try to load it and start the bundling. Create the index.ts file in the same directory as the index.html file and place the following code into it:
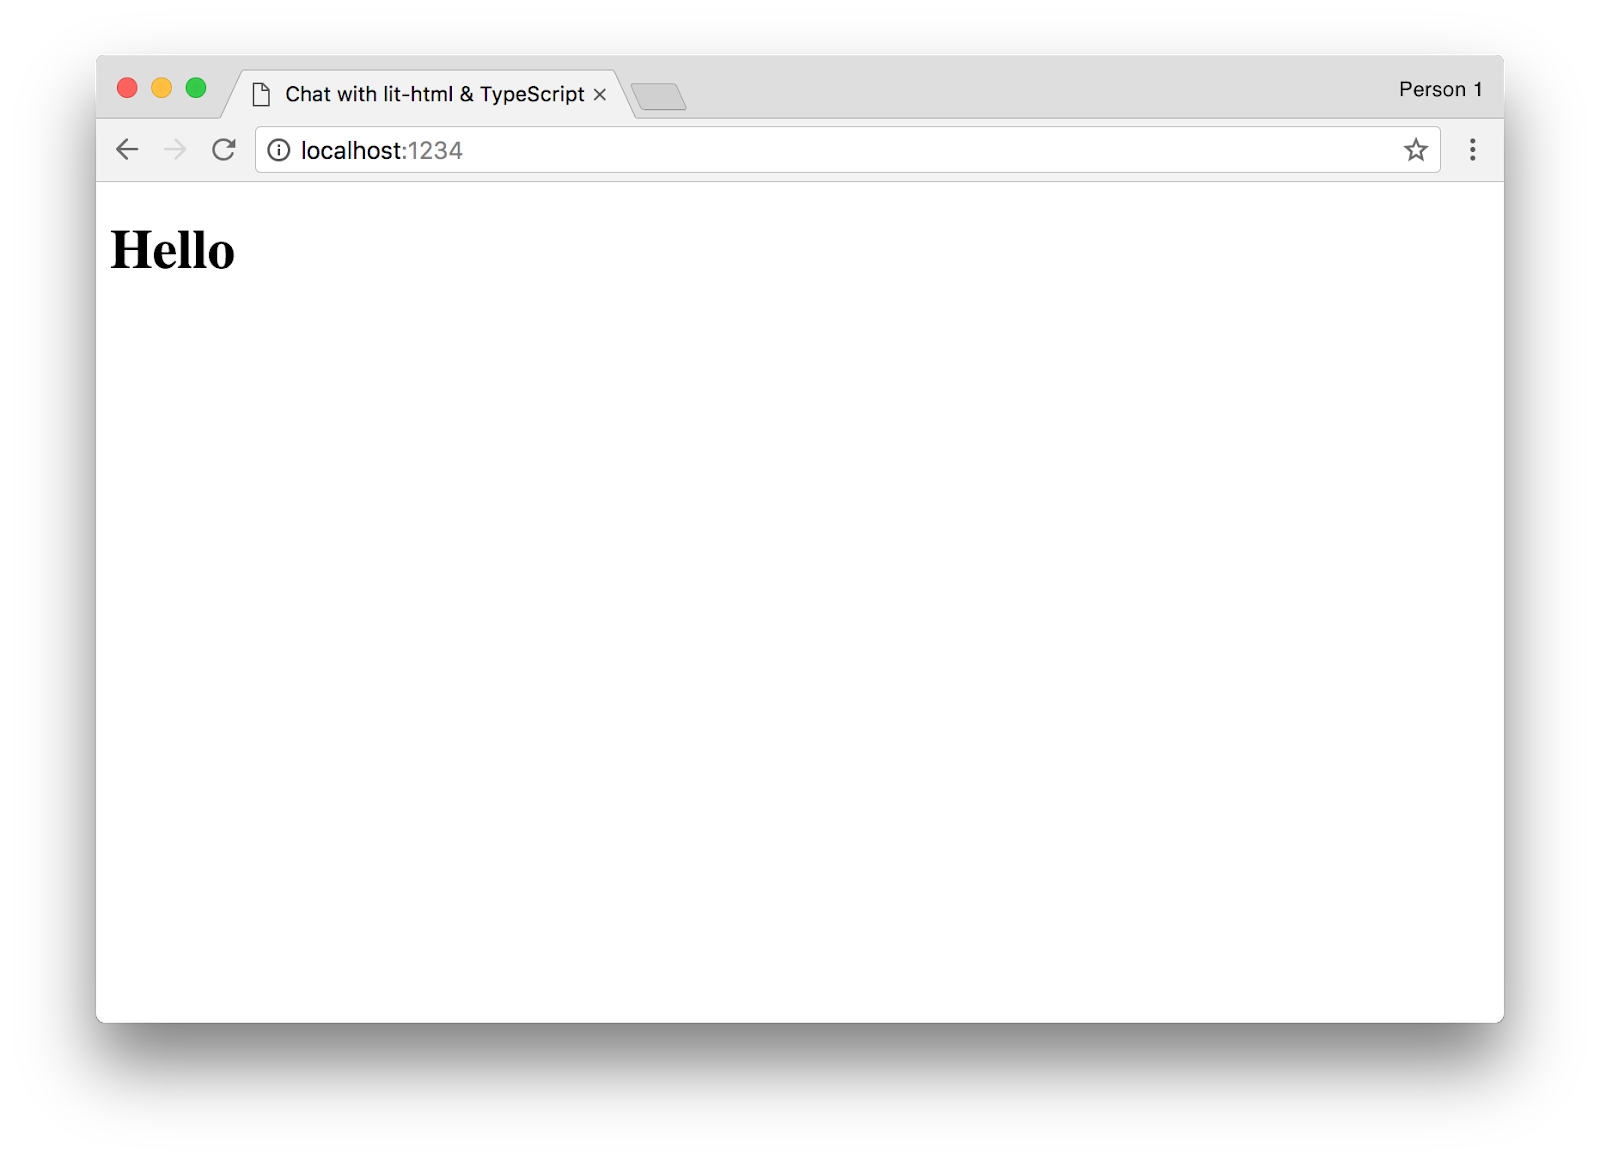
Test if the setup works by running:
This will start the parcel bundler in watch mode to ensure the files are re-compiled whenever we change something. Open your browser and go to http://localhost:1234. You should have a greeting of “Hello”:
Time to Start Templating!
So far we are rendering something very static to the page without using lit-html. Let’s dip our toes into lit-html with a small task first. Let’s render the same content we previously had, plus the current time and update it every second.
Before we change the code, make sure to install lit-html as a dependency:
We’ll need to import two functions from lit-html for our code. One is html and the other render. html is actually a tagged template function, meaning we’ll use it like this:
Tagged template functions work like normal template strings in JavaScript except that under the hood this will generate an HTML <template/> and make sure that re-rendering happens efficiently. This way we can use variables inside our templates but also nest templates. If you’re wondering how this is efficient, make sure to check out Justin Fagnani’s talk at the Chrome Dev Summit last year.
The render function will then take care of actually rendering the content to the page.
Modify your index.ts page accordingly:
If you still have the parcel dev server running from earlier, you should be able to switch back to http://localhost:1234 in your browser and see the page updated with a date constantly updating.

What About Components?
Breaking things into smaller components is always a great way to reuse code and make it more maintainable. We can do the same thing with lit-html by creating functions that render different HTML structures and templates. Let’s create two components ChatMessage and ChatMessageList for our chat application. Create a new file src/ChatMessage.ts:
This is similar to stateless components in React.
Create another file src/ChatMessageList.ts and place the following code into it:
We are using a helper function from lit-html called repeat that allows us to efficiently loop over an array to render each component. The function receives a list of items and two functions, one to identify a key to check which items updated and one to render the content. We are using msg.sid for uniqueness as this will be a unique key for every message once we integrate Twilio Chat.
Let’s test our two components by rendering some mock messages. Alter src/index.ts:
Switch back to http://localhost:1234 and you should see 3 messages being displayed:

Let’s Get Chatty
Now that we know how to render a list of messages, let’s add Twilio Chat to the mix to create an actual real-time chat. Twilio Chat provides a JavaScript/TypeScript SDK to build all the messaging logic, including channels and events. Install the SDK by running:
Let’s move the entire chat related logic into a central place that will handle rendering the interface as well as updating it when necessary.
Create a new file src/chat.ts and place the following code into it:
We’ll be using lit-extended in this case rather than the normal lit-html to render the view. This enables us to use features such as event listeners.
In order to use the Twilio Chat SDK we’ll need to use a client token. We’ll take care generating this later but for now we’ll pass it in the constructor of the Chat class and a channelName of the channel we want to join and a root HTML element that we want to render content into.
Next create a render and messageSubmit method. render() will be responsible for rendering the entire UI from the list of messages to the input form. messageSubmit will then be triggered whenever the form is submitted (i.e. a new message is sent). Add the following functions to your Chat class:
We need to establish a connection to Twilio Chat. For this we’ll have to:
- Create a Twilio Client
- Try to get the channel we want to join or create it if it doesn’t exist
- Join the channel
- Retrieve the existing messages
- Listen for new messages coming in
We’ll bundle all of that functionality into a public init() function that kicks this off and a registerChannelListeners() method that will be responsible for updating the UI if a new message comes in. Add the following code to your Chat class:
Before we can test our code, we need to configure Twilio Chat. Log into the Twilio Console. Go to the Chat dashboard and create a new Chat service.
For every user we’ll have to generate a unique access token for Chat. For now we’ll just use a test token that you can generate inside the Chat Testing Tools. Type in an arbitrary “Client Identity” (think username) and generate the token.
Now switch back into src/index.ts and replace the code with the following:
Make sure you replace INSERT_YOUR_ACCESS_TOKEN with the token you generated. Go back to http://localhost:1234 and open the same page in a second window. You should be able to send messages in one window and they should show up in the other :)
Improving the Experience
Right now we have hard-coded the access token and that’s not ideal. You should instead generate this token dynamically server-side and either assign people different usernames or prompt them to create a username. We are also loading the entire Twilio Chat SDK on page load. What if the person got to the page but doesn’t actually want to chat?
Let’s modify our code to fetch a token dynamically and also make use of a concept called code-splitting by dynamically loading the chat related code if the user actually wants to chat.
To generate the access token we’ll be using Twilio Functions which allow you to host serverless functions written in Node.js directly on the Twilio infrastructure.
Go to the Functions part of the Twilio Console and create a new Blank function. Specify a path such as /chat-token and place the following code into it:
Make sure to replace the value of SERVICE_SID with the SID for your Chat Service.
Save the Twilio Function and copy the path for later use.
If you are using Twilio Functions for the first time, you’ll also want to go into the Configure section, enable ACCOUNT_SID and add entries for an API_KEY and API_SECRET that you can generate a pair of them here.

Now that the token generation endpoint is ready, let’s start using it. First let’s update the src/index.html file to add a new input field for a username and a button to start chatting:
Next we’ll modify the src/index.ts file. Instead of immediately initializing everything, we’ll hold off until the button has been clicked. We’ll also use import('./chat'); as a dynamic import. This will tell parcel that we only need everything from this module at a later part and parcel will automatically perform code splitting for us. Update your code accordingly:
Switch back to your browser, open the developer tools and switch to the network pane. If you refresh the page now you should see a JavaScript file being loaded. When you then click on the “Start Chat” button, you should see multiple requests being made. One will fetch the access token from your Twilio Function and one will be the bundle that has all the code related to the chat functionality.
Your chat should work just like before, except that you can now have multiple users chat with different usernames. Give it a try by opening two windows at once.
Now Chat Away!
That’s it. We built a chat UI that is small and lightweight yet handles performant re-rendering thanks to lit-html. We were also able to leverage code-splitting to further improve the page load time by only loading the things that are necessary on initial page load thanks to parcel‘s out-of-the-box support for it.
If you want to deploy this to production, run:
This will create a bunch of files in a folder called dist that you can serve from any static hosting service or upload to the Twilio Runtime Assets to serve.

From here you can go ahead and start styling your application or look into other functionality from Twilio Chat such as:
- Private channels
- Typing and reachability indicators
- Webhooks for bot responses
- The REST API to insert messages from your server
If you have any questions or if you want to show me something cool you built with Twilio or lit-html, feel free to reach out to me:


Related Resources
Twilio Docs
From APIs to SDKs to sample apps
API reference documentation, SDKs, helper libraries, quickstarts, and tutorials for your language and platform.
Resource Center
The latest ebooks, industry reports, and webinars
Learn from customer engagement experts to improve your own communication.
Ahoy
Twilio's developer community hub
Best practices, code samples, and inspiration to build communications and digital engagement experiences.