How To Create A Landing Page Leads Notification With Twilio SMS API and PHP
Time to read: 6 minutes
November 04, 2021
Written by
Reviewed by

For many digital marketers, the landing page, also known as the "squeeze" or "destination" page, is that all important single page that is designed to capture the contact details of potential buyers.
Typically part of a bigger marketing-funnel sequence, the landing page is designed to lead visitors through a journey that eventually converts them into buyers. However, in situations where the campaign objective requires a personal contact with each new lead as they arrive, a funnel system will not do the job.
Thankfully, there’s a Twilio SMS API for that!
In this tutorial, you'll learn how to build a landing page with a fully functional PHP form that sends a “you’ve got a new lead” notification via email and SMS.
Prerequisites
This tutorial assumes a basic understanding of HTML, CSS, Bootstrap, and PHP. In addition, to follow along, you need the following:
- PHP 7.4. Ideally version 8.
- Composer installed globally.
- A free or paid Twilio account. If you are new to Twilio click here to create a free account now and receive a $10 credit when you upgrade to a paid account.
- A smartphone.
Create the landing page
First, create a folder and name it the-beauty-salon, because we're creating a landing page for a fictitious beauty business. Then, inside that directory, create two more folders: one for your CSS, named css, and the other for your images, named img.
You can do all of this by running the commands below.
If you're using Microsoft Windows, run the following commands instead.
Next, create a new file, index.php, with your IDE or text editor, in the top-level directory. Then, add the code below to the file.
Here, we’re linking the PHP code that we’ll later create to validate our form.
Next, if your IDE has an Emmet plugin installed, then you can automatically generate a basic HTML boilerplate in index.php by typing an exclamation mark and pressing the TAB key, which will give you the following result. If you don't have an Emmet plugin, copy the code below into index.php.
After that, update the opening HTML tag to match the following.
We’ll be using Bootstrap via a Content Delivery Network (CDN), so there’s no need to install anything. To load Bootstrap's CSS file, copy and place this tag before the closing head tag.
Then, copy and place this script tag before the closing </body> tag.
After that, add link tag below before the closing head tag.
Finally, change the text inside the title tag, from "Document" to the name of your project, e.g., "The Beauty Salon". We have now completed the head section of our project. Your code in index.php should look like the following.
Let’s move on to the body section of our page. Edit index.php to match the following code, keeping the trailing script tag.
The code begins with some Bootstrap classes added to the opening body tag. Then the header tag is added to contain all the links for the navigation menu. This is followed by the main section of the page which is neatly wrapped in the main tag. Some PHP code is injected in order to display a confirmation message to the user notifying them of the success status of their form submission.
Later on in the tutorial, we’ll be using data-bs-toggle and data-bs-target to control a modal dialog, so that every time a user clicks on a “Register Now” button, the signup form will pop up. Lastly, the business credentials are added to the bottom of the landing page through the use of the footer tag.
Time to style our page with some CSS. I’ve divided the styles page into three sections. The first part deals with the header, the second section deals with the body, and the final part styles the modal dialog.
Let’s start with the first part. Using your favourite editor or IDE, create a CSS stylesheet, named style.css, in the css directory and insert the code below into it.
Next, we’ll add the CSS for the body of the landing page. Add the following CSS to your file.
Finally, we’ll complete this section by adding the CSS for the modal dialog.
Install the Twilio SDK
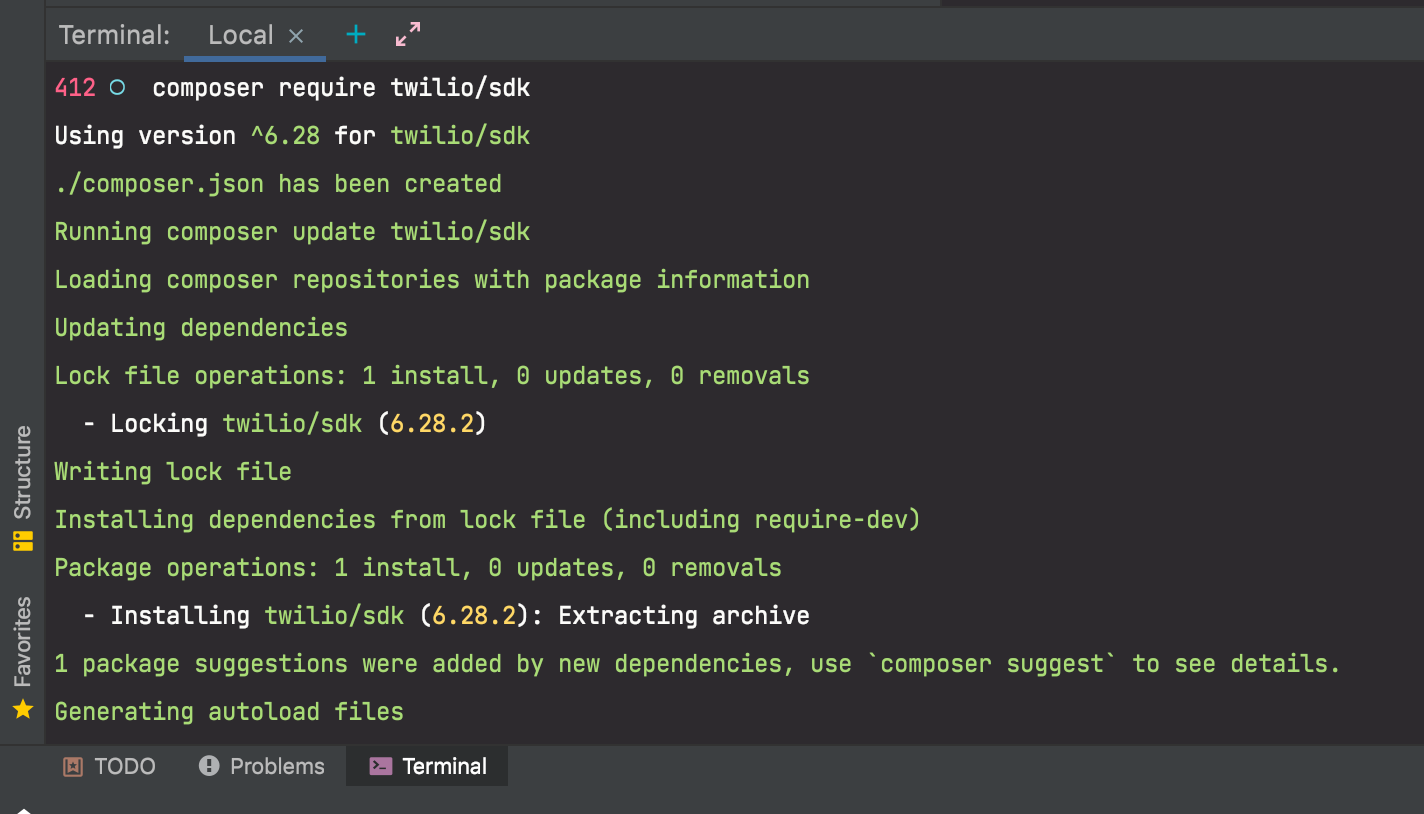
Open up your terminal and from inside the top-level directory of your project folder run the following command:
Once the installation is complete, you should see output similar to the following.
Create the PHP form
Next, in index.php, let's add a PHP form with the help of Bootstrap’s modal-* classes, so that each time our visitor clicks on the CTA button a signup form will pop up in the window. Open index.php and add the following code just after the final closing div tag.
This code adds the Bootstrap modal component to the CTA button. In addition, some quick preliminary frontend form validation is performed through the use of PHP’s isset() function.
Validate and sanitise form requests
It’s time to write some code to validate and sanitise the data entered into the form. Form validation is a necessary security measure because it protects your website from malicious attacks such as SQL injections, cross-site scripting, etc. In your editor or IDE, create a new file named form_validation.php in the project's top-level directory. Then, add the following code to the file.
The code begins by requiring the Twilio SMS function that will be used to send the sms message. After that filter_has_var() is used to perform a simplistic check to confirm if the form has been submitted. If this check is not successful then the user is told to fill in all the form fields. If the check passes, checks are performed on the submitted name and email address, to ensure that they're not empty, and that the email address is valid. If these checks fail, the user is alerted with an error message. If the checks pass, the recipient's email is created.
Finally, the mail() function is used to email the data entered by the user. If the data is successfully sent, then an SMS message is sent by Twilio to notify the owner of the landing page that they’ve got a new lead. Otherwise, the visitor is alerted to the fact that their email was not sent.
This completes the form validation and sanitising. The next part is to create the Twilio function that will send the SMS message.
Integrate the Twilio SMS API with the landing page.
Create a new file, twilio_sms.php, in the project's top-level directory and add the following code to it.
Here, the code begins by requiring Composer’s autoloader and importing the Twilio API. Then, it initialises a new Client instance, named $client, and passes it your Twilio Account SID and Auth Token as arguments. This object creates a message body containing your mobile phone number, Twilio number, and the notification message, through its create() function. Now, every time a user successfully submits a form, an SMS message will be sent to your mobile phone.
Retrieve Your Twilio Credentials and Phone Number

These are required so that the code can make authenticated requests to Twilio and send the lead notification. Login to your Twilio account, and from the Twilio Console's Dashboard, copy your Account SID and Auth Token and paste them in place of the placeholder values in twilio_sms.php for TWILIO_ACCOUNT_SID and TWILIO_AUTH_TOKEN respectively.
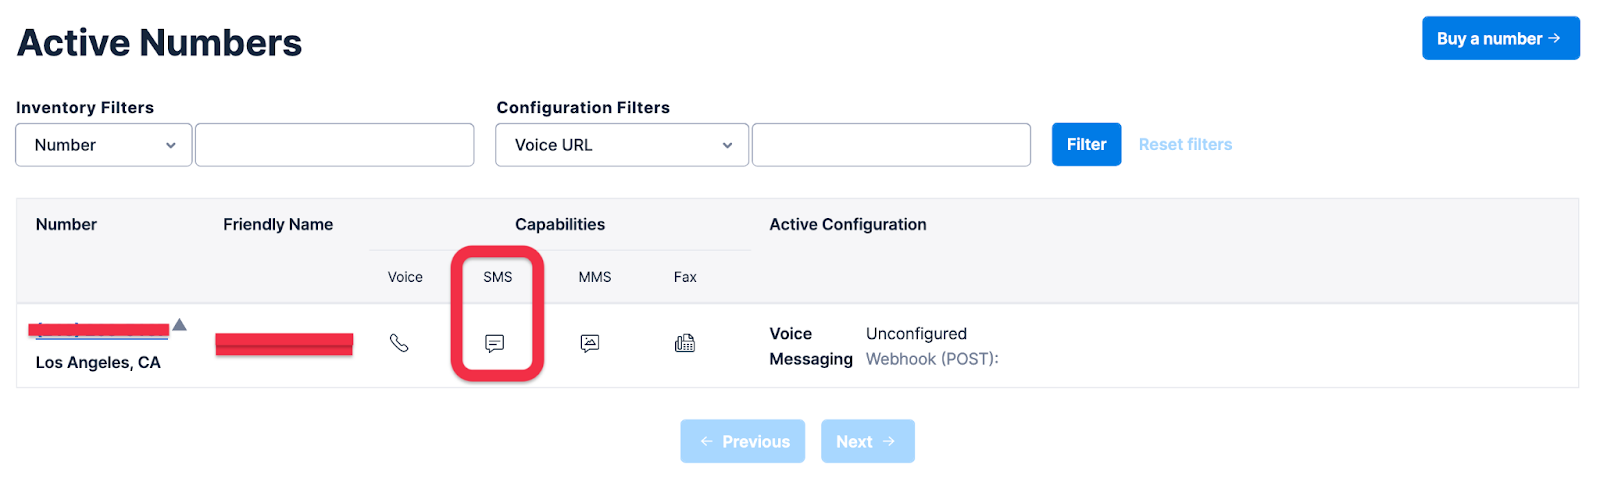
Then, click "Phone Numbers > Manage > Active Numbers" in the left-hand side navigation panel. From there, click the number in the "Number" column that has SMS capability. Finally, copy the "Phone Number" value, not the "Friendly Name" value, in place of TWILIO_PHONE_NUMBER in twilio_sms.php. Lastly, replace +[your mobile number] with your mobile phone number.
Test that the landing page works as expected
With the code now completed, it's time to test that it works. To do that, first start the application, using PHP's in-built webserver, by running the command below in the root directory of your project.
Next, open your browser to http://localhost:8080 to load the landing page. It should look like the image below.

Next, click the Register Now button, which will open the modal dialog, then fill in your details and press submit. If everything worked as expected, a little while later, you should receive an SMS message on your smartphone like the one below.

Congratulations on completing this tutorial. I wish you every success in getting those leads.
Ijeoma Nelson is a former Deloitte software and cloud engineer. She discovered a hidden passion for programming after winning Startup Weekend Silicon Valley. These days she can be found planning her travel adventures for 2022 whilst building cool stuff with code. You can reach her via LinkedIn or Twitter.


Related Resources
Twilio Docs
From APIs to SDKs to sample apps
API reference documentation, SDKs, helper libraries, quickstarts, and tutorials for your language and platform.
Resource Center
The latest ebooks, industry reports, and webinars
Learn from customer engagement experts to improve your own communication.
Ahoy
Twilio's developer community hub
Best practices, code samples, and inspiration to build communications and digital engagement experiences.