How to Dynamically Render Svelte Components and Avoid Annoying If-Statements
Time to read: 5 minutes
July 27, 2021
Written by
Reviewed by
Consider this scenario: Your blog is running on Svelte, and throughout the blog you display different lists of posts. You have two different types of list formats that you use:
- On your blog’s main page, you show a list of all your posts with the post title and a summary.
- On a given post’s page, you show a list of related content with only the posts’ titles and thumbnails.
Right now, you have a component called AllPosts that loops over every post in the list and renders a child component called Post for each individual post. You pass a prop from AllPosts to Post indicating what format the individual post should take.
Inside Post, you’re using an if-statement to render the post differently, depending on the prop value. Your code might look something like this:
All of your styling for both post formats is inside one component, and the if-statements are messy. What if you want to add another post format? The situation will only get more complicated.

Luckily, in Svelte, there is a way to dynamically render components without using if-statements. Using this method, you could have each post type in its own component, keep all the styling separate, and cut down on the messiness.
In this article, you’ll learn how to do just that.
Prerequisites
To get started, you’ll need the following:
- Node.js installed on your machine, along with a package manager like
npmoryarn - Some basic familiarity with Svelte (though, for the Svelte curious, please follow along!)
Set up your project space and scaffold your app
Open your terminal and navigate to your prefered project folder. Run the following commands to scaffold a new Svelte app:
The previous commands create a new directory called myapp and populate it with some barebones project files. All of the included dependencies will also be installed.
In this demonstration, you’re going to create four new components:
AllPostsPostPreviewPostListItemPost
Go ahead and create the files for these components now inside the client/src folder either manually or by running the following commands in your terminal:
You’ll be building the app from the top down, starting with the existing App component. As a result, you’ll be importing components that you haven’t built or filled out yet. That’s okay, but keep it in mind as you go.
Edit the App component
Take a look inside the client/src folder and find the file name App.svelte. Open this file in your favorite text editor and replace all of its contents with the following:
Build the AllPosts component
AllPosts is the component that loops over all over the individual post items to render them. Open AllPosts.svelte in your favorite text editor and add the following code:
This code imports the Post component that you haven’t filled out yet. It also declares a prop, postType and assigns to it an initial value of preview'. This makes the prop optional: if a parent component passes a value for the prop, then that value will be used by the child. If not, the child will use the default value set when the prop is declared.
After the import and prop declaration, an array of fake post data is created and stored in a variable called posts.
To loop over the fake post data in the posts variable and render each individual post, add the following code below the <script></script> tags:
Save and close the AllPosts.svelte file, you’re done with it!
Fill out the Post component
The Post component is where the magic of dynamic rendering will occur. To start, open the Post.svelte file and add the following code:
This imports the two potential child components: PreviewPost and ListItemPost. Each is responsible for rendering a post in a particular format.
It then declares the two props that this component receives from the AllPosts component: post and postType.
While still inside the <script></script> tags, below the imports, add the following code:
This code creates an array of objects in a variable called contentOptions. Each object in this array represents one of the two post formats: PreviewPost and ListItemPost.
For each object, the value of the format key is a string that describes the post format. It’s important that each of these values match one of the potential postType, which in this app will be either preview or listItem.
The component key’s value is the actual component corresponding to the post type.
Below the contentOptions variable, inside the <script></script> tags, add the following:
This uses the JavaScript array method find() to choose the object from the contentOptions array whose format key value matches the postType prop. It then returns the value of that object’s component key.
For example, if the value of the postType prop was preview, then this code would look in the contentOptions array for the object whose format value is also preview, and would return that object’s component key value, which is the actual PreviewPost component.
Alternatively, if the postType value was listItem, it would look for the object whose format value was listItem, and return the ListItemPost component.
Now that the correct component has been chosen, you can render it using the following line of code (added below the <script></script> tags):
<svelte:component> is a special Svelte element that allows you to accomplish the dynamic rendering. You pass the component you want to render as the value for a prop called this to the special element, in addition to any other props you want the child component to have.
In this case, the component you want to render is inside the component variable (determined by the postType prop), and passed to <svelte:component />.
That’s it for the dynamic rendering. The next step is to build out the two child components and test out the app.
Build out the child components
Open the PreviewPost.svelte file and add the following code:
Save and close this file and then open ListItemPost.svelte. Inside this file, add the following:
Test the dynamic rendering
Back in your terminal, after all your files have been saved, run the following command to start your local Svelte server:
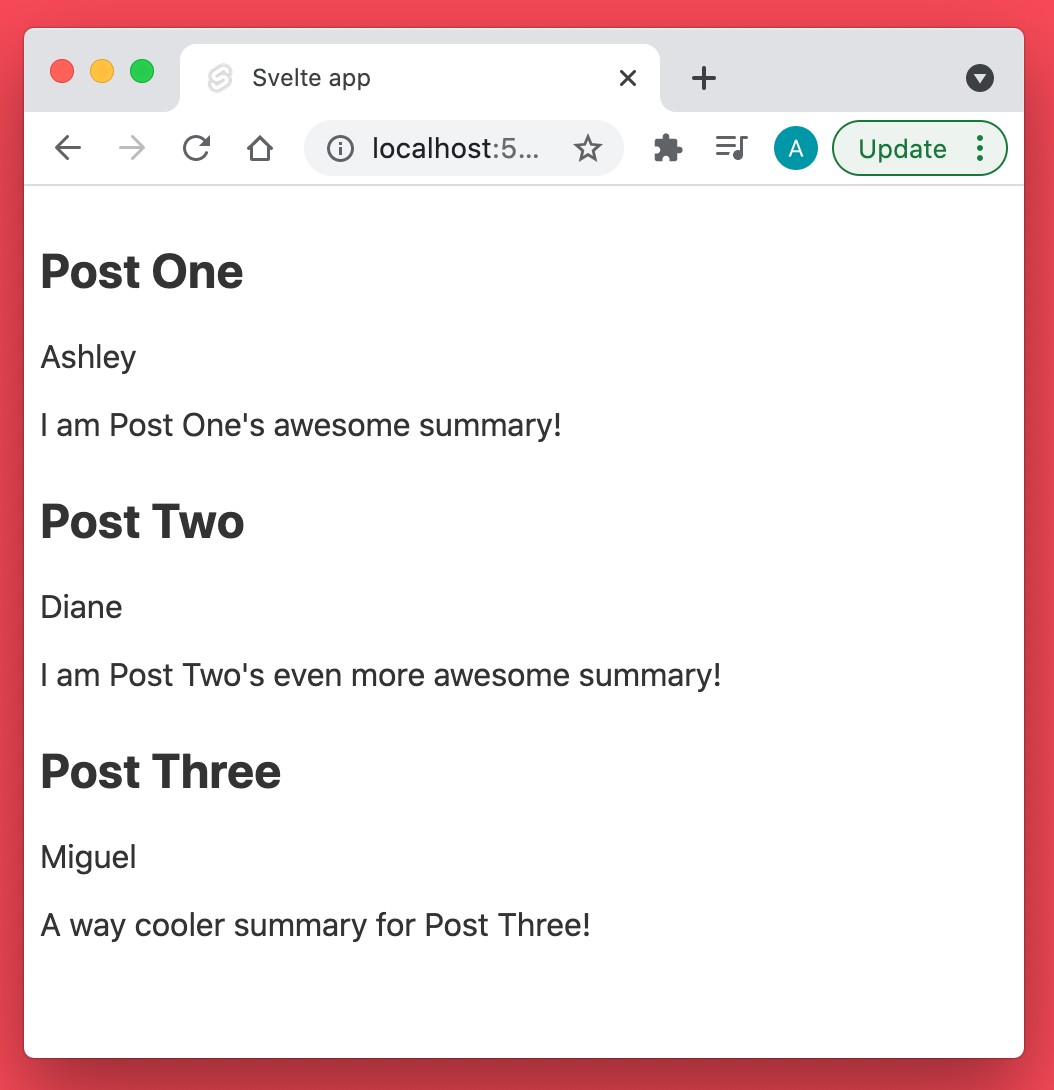
Visit http://localhost:5000 in your browser. You’ll see the three fake posts rendered by the PreviewPost component:
To change the dynamic rendering, pass a different postType value from the App component to AllPosts. To do this, open App.svelte and edit line 5 so the prop value is listItem instead:
Save the file, and check your browser again:
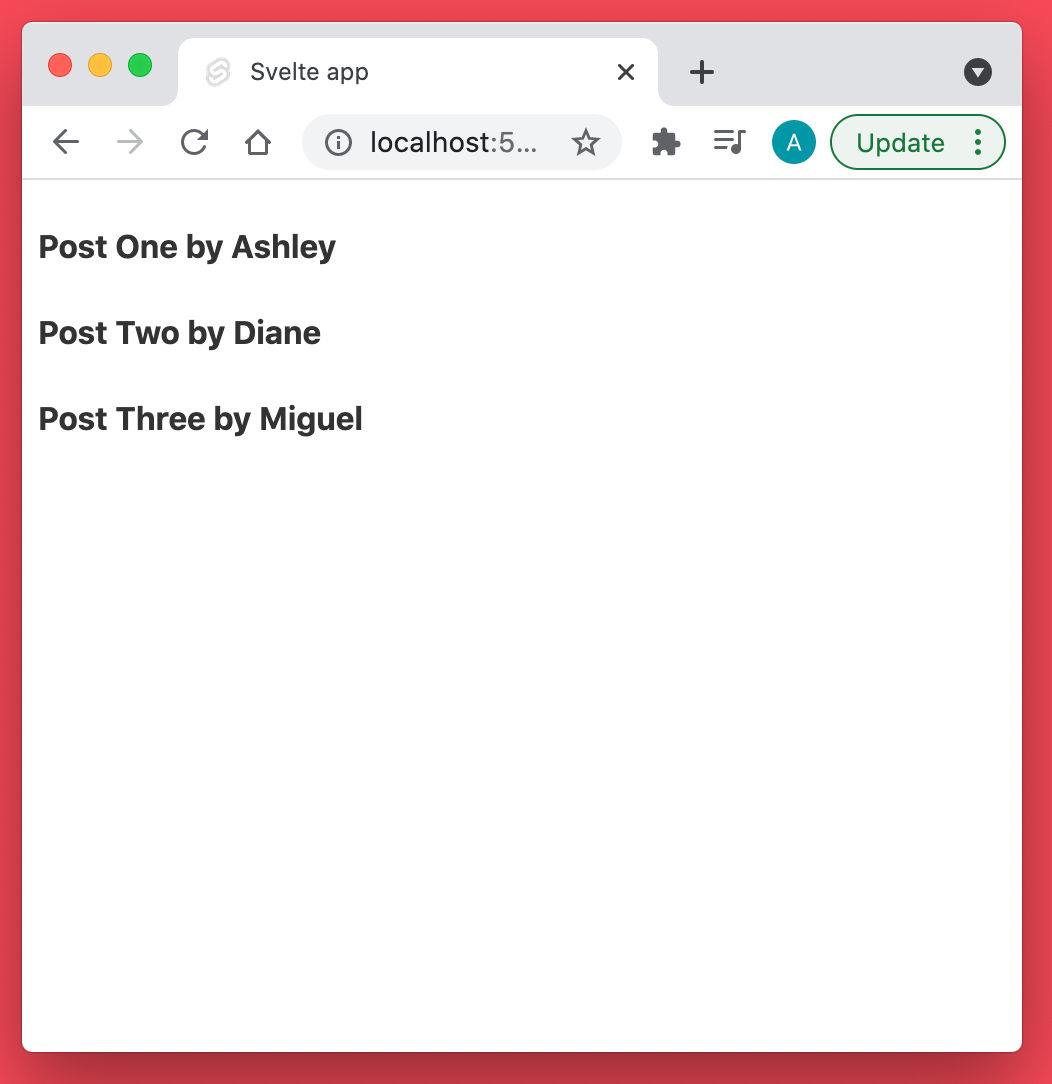
The three fake posts are there again, but rendered by the ListItemPost component instead.
Next Steps
Congratulations, you’ve learned how to dynamically render components in Svelte!
For next steps, if you’re new to Svelte you could also read about the differences between Svelte and React. Otherwise, try building a chat app with Twilio Conversations and Svelte!
Let me know what you’re building on Twitter!
Ashley is a JavaScript Editor for the Twilio blog. To work with her and bring your technical stories to Twilio, find her at @ahl389 on Twitter. If you can’t find her there, she’s probably on a patio somewhere having a cup of coffee (or glass of wine, depending on the time).


Related Resources
Twilio Docs
From APIs to SDKs to sample apps
API reference documentation, SDKs, helper libraries, quickstarts, and tutorials for your language and platform.
Resource Center
The latest ebooks, industry reports, and webinars
Learn from customer engagement experts to improve your own communication.
Ahoy
Twilio's developer community hub
Best practices, code samples, and inspiration to build communications and digital engagement experiences.