Build a Ghostwriting App for Scary Halloween Stories with OpenAI's GPT-3 Engine and Task Queues in Python
Time to read: 8 minutes
October 20, 2020
Written by
Reviewed by

Halloween is just around the corner, and not only is it the prime time for tricks and treats, but it's also fun for those of you who love a thrill in storytelling. If you love writing – or simply want to get spooked out by what a computer can generate – then this will be a fun project for you to check out.
In this tutorial we will implement a task queue in Python to make multiple calls to OpenAI's GPT-3 engine to generate fictional text. Plus, you'll have a neat program to leave on your computer and trick people who look at your screen into thinking that an actual ghost is writing a story!
Tutorial Requirements
- Python 3.6 or newer. If your operating system does not provide a Python interpreter, you can go to python.org to download an installer.
- An OpenAI API key. Request beta access here.
- A free or paid Twilio account. If you are new to Twilio get your free account now! (If you sign up through this link, Twilio will give you $10 credit when you upgrade.)
- ngrok, a handy utility to connect the development version of our Python application running on your system to a public URL that Twilio can connect to. This is necessary for the development version of the application because your computer is likely behind a router or firewall, so it isn’t directly reachable on the Internet. You can also choose to automate ngrok as shown in this article.
Set up the environment
Since we will be installing some Python packages for this project, we will need to make a new project directory and a virtual environment.
If you are using a Unix or Mac OS system, open a terminal and enter the following commands to do the tasks described above:
For those of you following the tutorial on Windows, enter the following commands in a command prompt window:
In this project, you'll be implementing a task queue with RQ. RQ, also known as Redis Queue, is a Python library that allows developers to queue jobs that are then processed in the background.
RQ requires a Redis installation on your machine, which can be done using the following commands using wget. Redis was on version 6.0.6 at the time of this article publication.
If you are using Unix or MacOS, enter these commands to install Redis. (This is my personal favorite way to install Redis, but there are alternatives below)
If you have Homebrew installed, you can type brew install redis in the terminal and refer to this GitHub gist to install Redis on the Mac. For developers using Ubuntu Linux, the command sudo apt-get install redis would get the job done as well.
Run the Redis server in a separate terminal window by using the command src/redis-server from the directory where it's installed.
For Windows users, you would have to follow this separate tutorial to run Redis on Windows. Download the latest zip file on GitHub and extract the contents. Run the redis-server.exe file that was extracted from the zip file to start the Redis server.
The output should look similar to the following after running Redis:
Set the OpenAI API Key
As mentioned earlier, this project requires an API key from OpenAI. As I was writing this article, the only way to obtain the API key was by being accepted into their private beta program.
If you have access to the Beta page, you’ll find the API key in the Authentication tab in the Documentation.
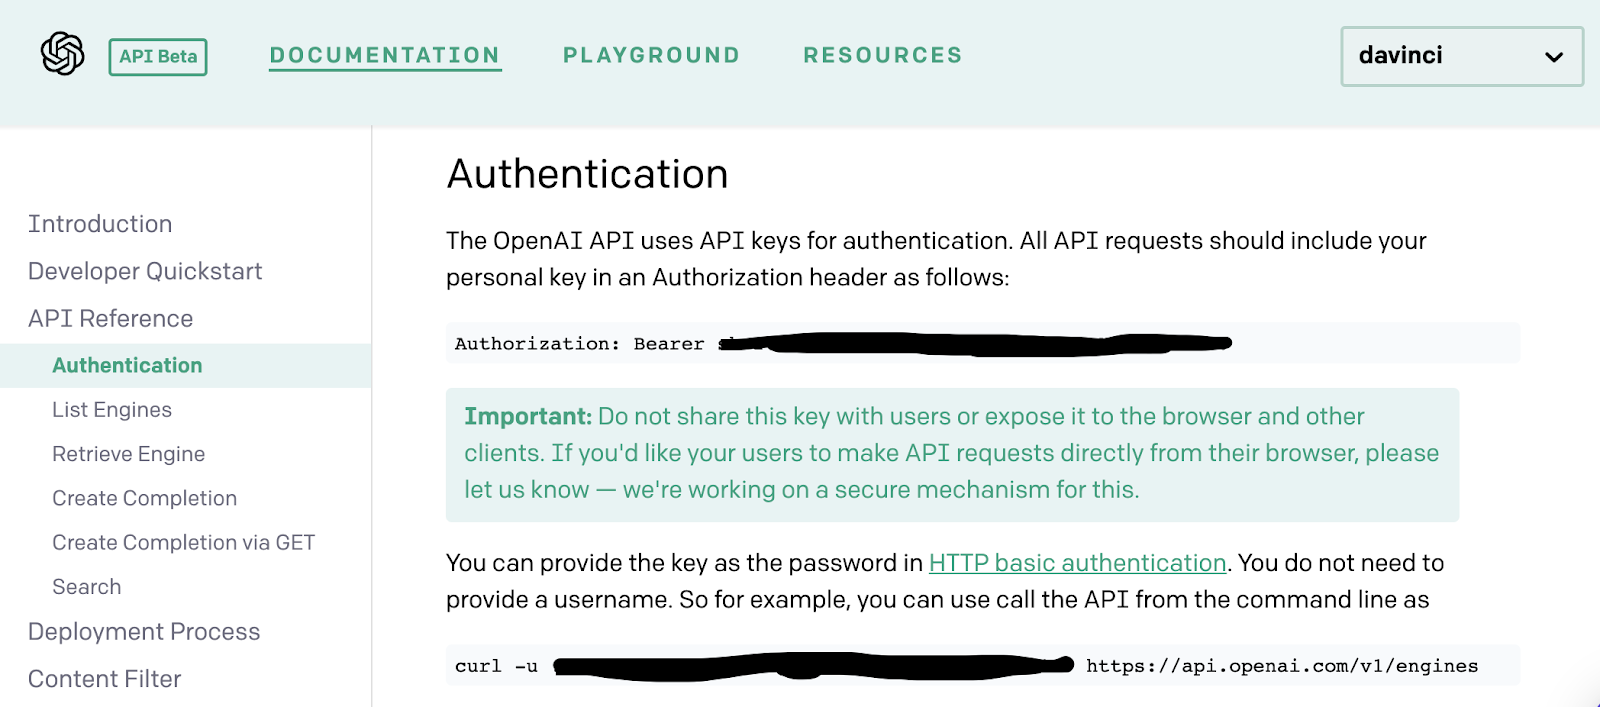
The Python application will need to have access to this key, so we are going to create a .env file to safely store our key. The application we write will be able to import the key as an environment variable later.
Create a .env file in your project’s root directory (note the leading dot) and enter the following line of text, being sure to replace <YOUR-OPENAI-KEY> with your actual key:
Make sure that the OPENAI_KEY is safe and that you do not expose the .env file in a public location.
Build your scary story generator app
If you're a fan of scary stories and want to read something new, or a writer who needs new ideas for this holiday season, this app can help get your creative juices flowing! Otherwise, it might be fun to have this running on a computer and have someone walk in and think that a ghost has taken over your computer.
The OpenAI playground allows users to explore GPT-3 (Generative Pre-trained Transformer 3), a highly advanced language model that is capable of generating written text that sounds like an actual human wrote it. This powerful model can also read a user's input and learn about the context of the prompt to determine how it should generate a response.
In this project, we will be feeding the GPT-3 engine with a sentence to create a full scary story that will keep running on your machine.
Start your scary story
Inside of the rq_ghostwriter directory, create a file named story.py. This file is where you will store the story prompt and the functions to generate text using OpenAI's GPT-3 engine.
Copy and paste the following code to prepare the story.py file:
The highlighted line in the code block above is where you’ll add your story prompt, so it's time to kick the writer's block and channel your imagination. In order to produce the best results, be as specific as possible. If you really can’t shake the writer’s block, you can look up some ideas for scary stories and a sentence prompt if you want to generate multiple scenarios for scary content.
I decided to use this as my prompt in order to make the story family friendly:
If you’d like, feel free to replace the session_prompt with the one provided above.
Teach your ghostwriting app how to write
Now that the file has been created, you need to define the functions and teach the OpenAI's GPT-3 engine how to process this information. Since the app’s goal is to write additional parts to a story, the app needs to keep track of what's happening in the story and how to add to it appropriately.
Create a function named write_story() under the session_prompt variable. This function is responsible for generating the next line of the story and receives the story’s current state, session_story, as a parameter. If session_story doesn’t exist yet, then the prompt you created will be assigned to prompt_text. Otherwise, the ongoing story generated by the OpenAI engine will be assigned to prompt_text.
Copy and paste the following code below the session_prompt variable:
After setting the value for prompt_text, this function calls the openai.Completion.create() method on the OpenAI client and passes a series of arguments that customize the engine’s response, including the new prompt. The max_tokens variable, which maps to the maximum number of words or punctuations marks, was set to 96 but you can adjust it as you like if you want a longer output. You can read more about the GPT-3 customization options in the Ultimate Guide to OpenAI-GPT3 Language Model or explore the OpenAI Playground for yourself.
Once the response has been generated, the next part of the story is appended to the existing session_story through the function append_to_story() (which will be discussed more in the next section). As this happens, the text file is updated in real time as well.
Teach the ghost writer to remember what happens in the story
A ghost writer is like any other writer, they need to comprehend what's going on in the story and use that knowledge to decide how to continue. A function named append_to_story is defined to help solve this problem. This function checks if anything has been written in the story yet. If not, it concatenates the next part of the generated story onto the existing story.
Copy and paste the following code below the write_story function:
Great! The functions have been defined, and the app is nearly complete. Now we have to write the file where we’ll call these functions.
Create your task queue
It's time to create a task queue to schedule requests to the GPT-3 engine. Create another file in the root directory and name it “app.py”. Copy and paste the following code:
The queue object sets up a connection to Redis and initializes a queue based on that connection. This queue can hold all the jobs required to run in the background with workers.
As seen in the code, the story.write_story function is added using the enqueue function. This means that the task added to the queue will be executed immediately once it's been called. However, since this project depends on making requests to the OpenAI GPT-3 engine, it's not guaranteed that your job will execute immediately. It might take some time for the ghostwriter to generate text especially if OpenAI's servers are busy.
Thus, the depends_on argument in the enqueue function allows the queue to execute the story.write_story command only AFTER the first command was executed successfully. This might be immediately, or it might take a few seconds to generate.
The object queued_job is created to store the first story.write_story task. The for loop makes the first queued_job a "previous" job which the next job will depend on. The previous_job will be overwritten to indicate that the next job will have to depend on this previous job the next time the for loop is iterated. The next story.write_story task is added with the new dependency, and then repeats the process x times.
The for loop range was set to 2 but you can change that to adjust how long you want the OpenAI GPT-3 engine to generate a spooky scenario to add to your spookystory.txt file.
There are other nifty RQ functions you can use according to what you want to achieve. Feel free to check out other ways to schedule a job on this GitHub README.
Here's a link to the full project on GitHub for reference.
Run the automatic ghostwriting app
It's time to start generating spooky stories!
The Redis server should still be running in a tab from earlier in the tutorial. If it stopped, run the command src/redis-server inside the redis-6.0.6 folder in one console tab, or for developers with a Windows machine, start redis-cli.exe. Open another terminal solely to run the RQ scheduler with the command rq worker.
This should be the output after running the command above.
The worker command activated a worker process in order to connect to Redis and look for any jobs assigned to the queue from the code in app.py.
Finally, open a third tab in the terminal for the root project directory. Start up the virtual environment again with the command source venv/bin/activate. Then type python app.py to run the project.
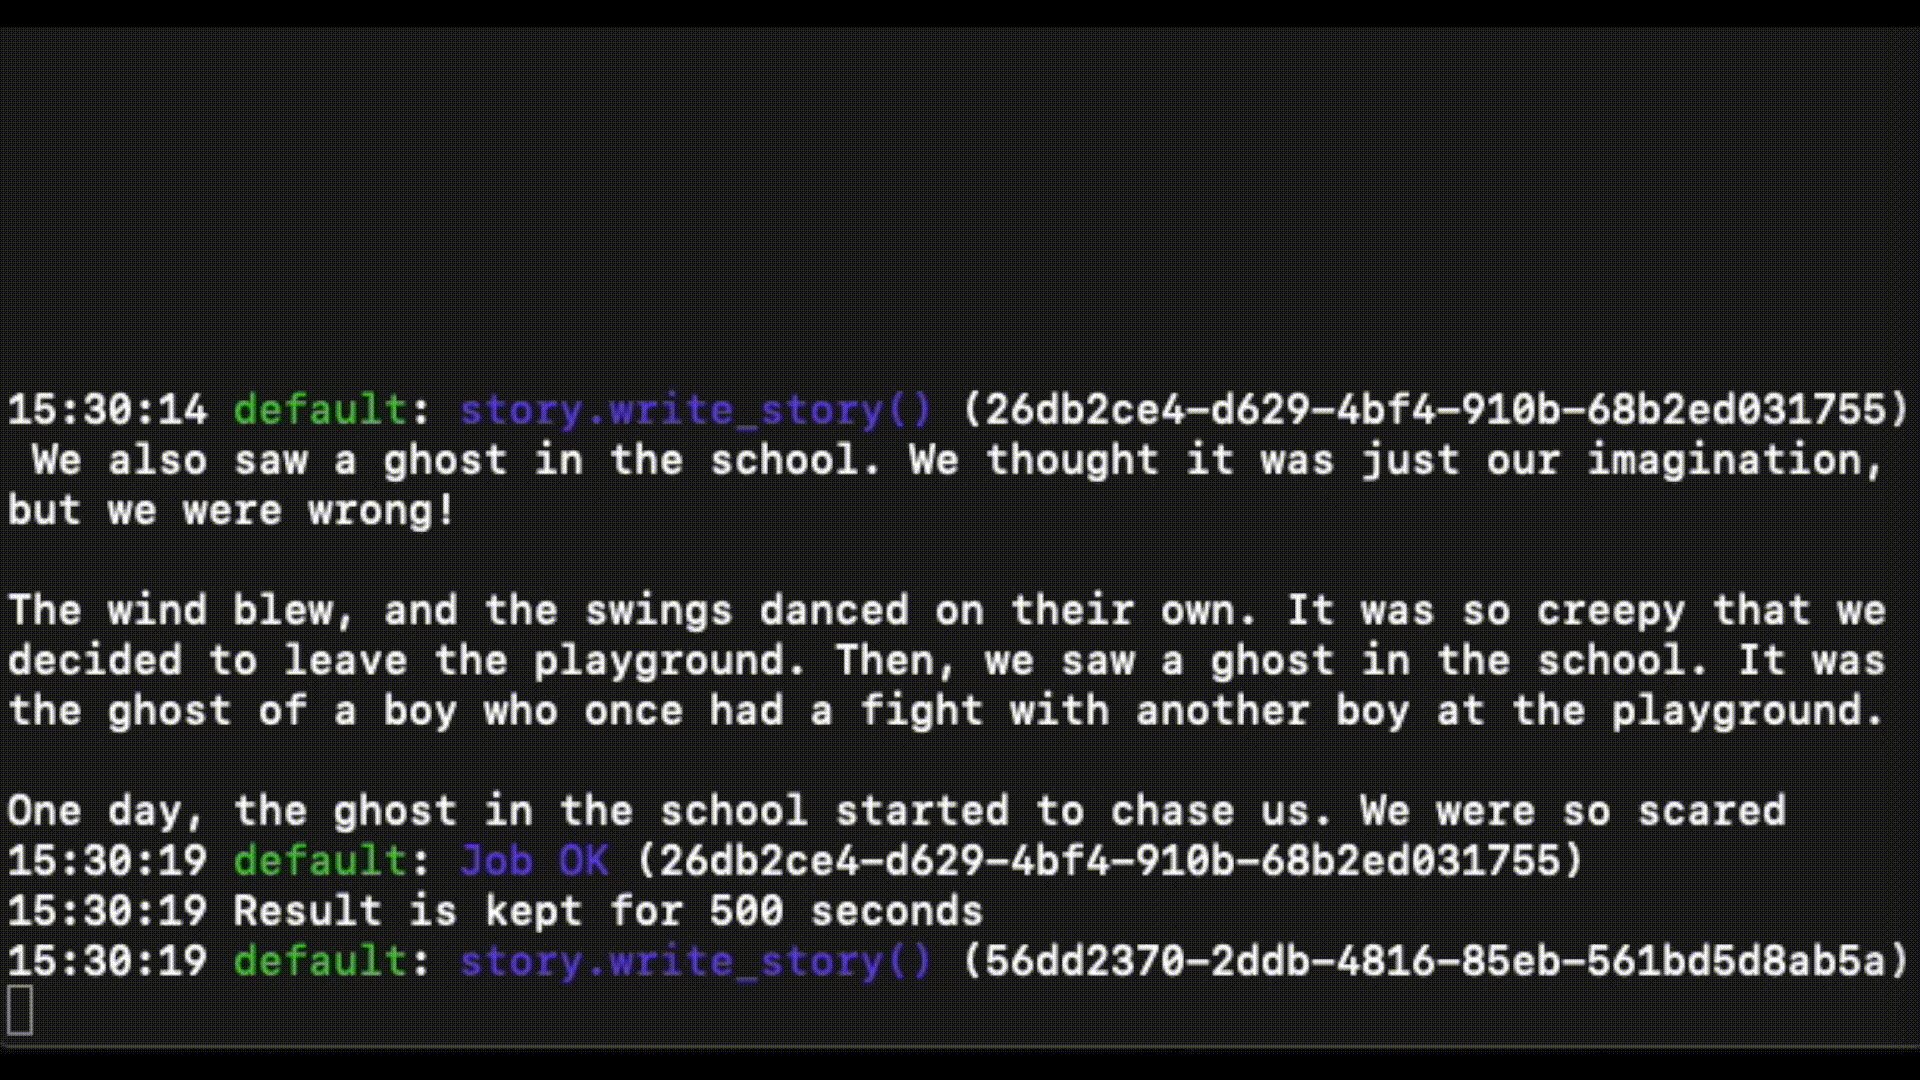
Go back to the console tab that is running rq worker and wait for the write_story function to run. You can open up the spookystory.txt file to see the story generated in front of your eyes, or you can add a print statement to the write_story function – like I did – to see when the OpenAI GPT-3 engine generates a new response.
Here's the output of the text file from the demo below:
Conclusion: Building a Scary Story Generating App
Congratulations on bringing this ghostwriting spirit to life ! (Or is it...?)
Although this is a fun project to write a spooky story and impress people with what code is capable of doing, this app can even inspire you to write your own scary stories. Who knows, this new writing partner might even help you write your next best-selling thriller or horror movie script!
This fun Python task queue story generating tutorial is just one of the many fun projects you can do using Open AI GPT-3 and Python tools. Perhaps you can think of other ways to trick your friends by using the magic of Twilio and code!
What’s next for OpenAI GPT-3 projects?
If you're dying to build more, try out these ideas:
- Control a Spooky Ghost Writer for Halloween with OpenAI's GPT-3 and Twilio WhatsApp API
- Generate Dragon Ball Fan Fiction with OpenAI's GPT-3 and Twilio SMS
- Build a Michelin Star Chef bot Using OpenAI's GPT-3 and Twilio WhatsApp
Let me know if you used any Twilio APIs or coding magic to trick your friends this Halloween – reach out to me over email!
Diane Phan is a Developer on the Developer Voices team. She loves to help beginner programmers get started on creative projects that involve fun pop culture references. She can be reached at dphan [at] twilio.com or LinkedIn.


Related Resources
Twilio Docs
From APIs to SDKs to sample apps
API reference documentation, SDKs, helper libraries, quickstarts, and tutorials for your language and platform.
Resource Center
The latest ebooks, industry reports, and webinars
Learn from customer engagement experts to improve your own communication.
Ahoy
Twilio's developer community hub
Best practices, code samples, and inspiration to build communications and digital engagement experiences.