Dive into ARKit on iOS with Swift and Twilio Programmable Video
Time to read: 5 minutes
October 17, 2017
Written by

Augmented reality has is showing up everywhere these days. Apple’s release of ARKit in iOS 11 and Google’s ARCore APIs are guaranteed to accelerate this trend by making augmented reality development accessible to even more developers and users.
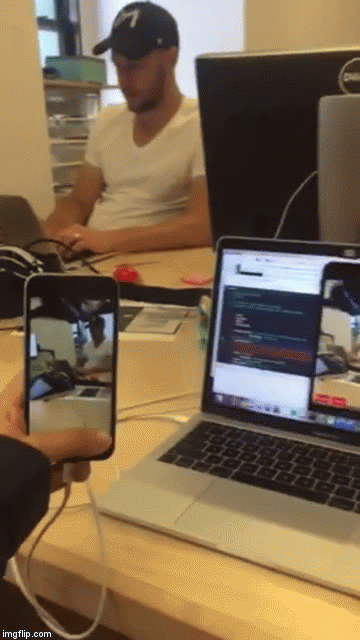
We’re especially excited about the combination of augmented reality and real-time communications. In this post we’ll dive into a simple example on how to combine Programmable Video and iOS’s ARKit to share an AR experience with another user. In upcoming posts, we’ll show how to add interactivity to your AR communications apps.
What You Need
All anyone needs to develop with ARKit is
- an Apple device with an A9 or later processor (iPhone 6s or later, iPhone SE, any iPad Pro, or the 2017 iPad)
- iOS 11
- XCode 9 (both of which you can download here.)
We’ll also be using Twilio Programmable Video so you’ll need an account here if you don’t have one already and SceneKit, which is for 3D content. On the other hand, some developers use SpriteKit, which is Apple’s framework for 2D content. We’ll also need an Apple developer account as AR apps cannot be tested on the iOS simulator.
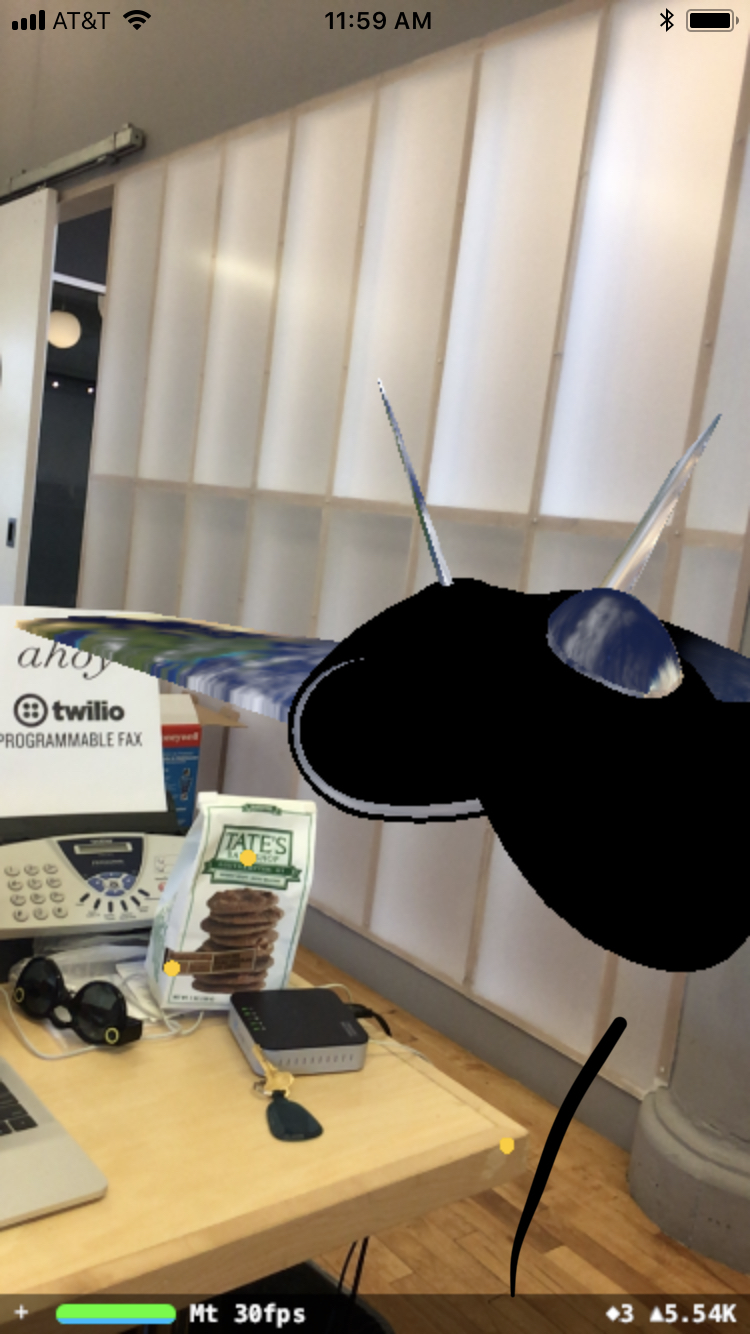
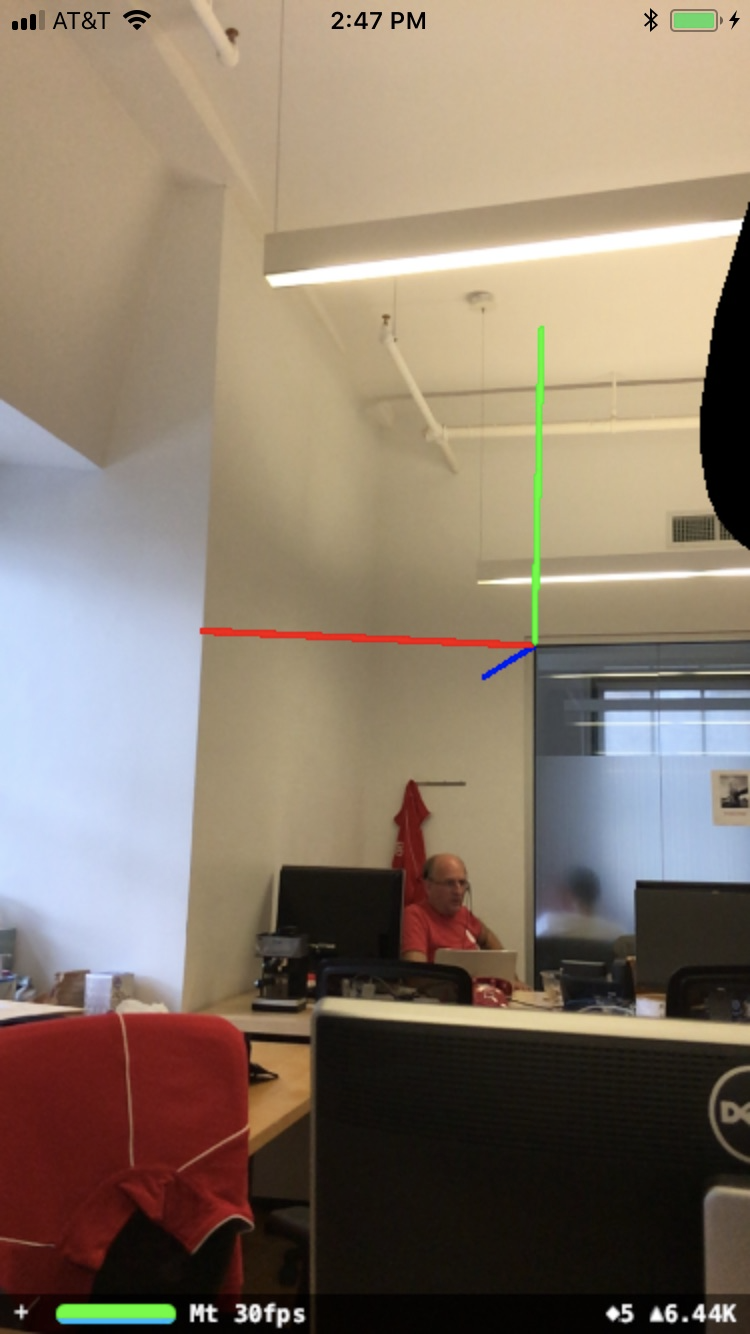
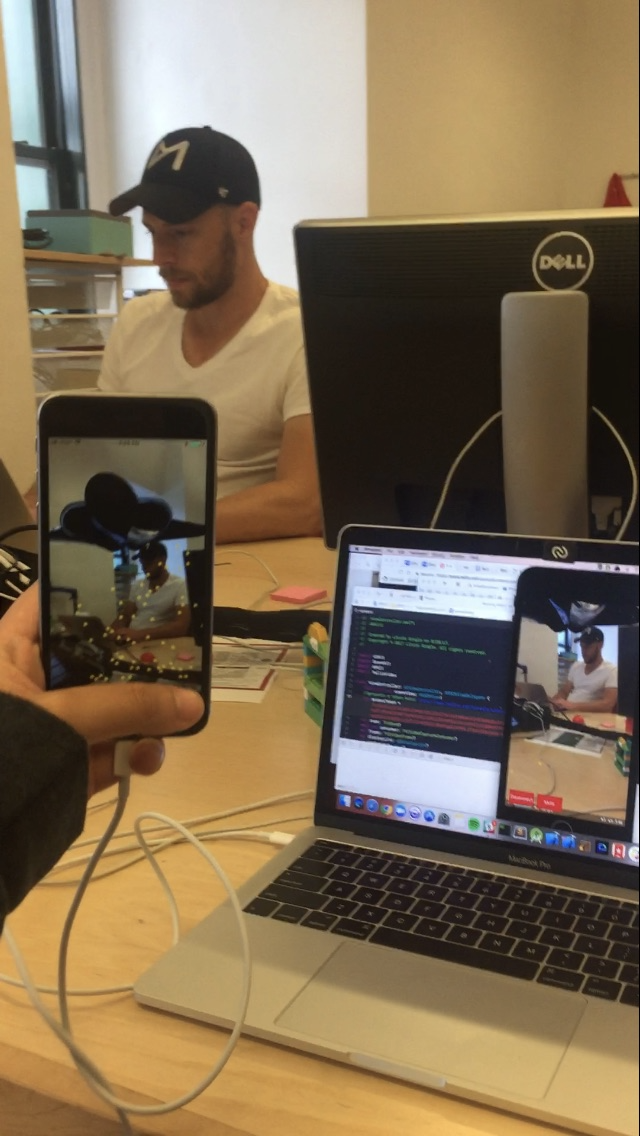
The yellow points around the ship above are feature points, more of which appear when the lighting is good and when you move around a bit(not too quickly, however). That lets ARKit better detect features, like orientation and position, of physical objects.
Set up your iOS Developer Environment for ARKit
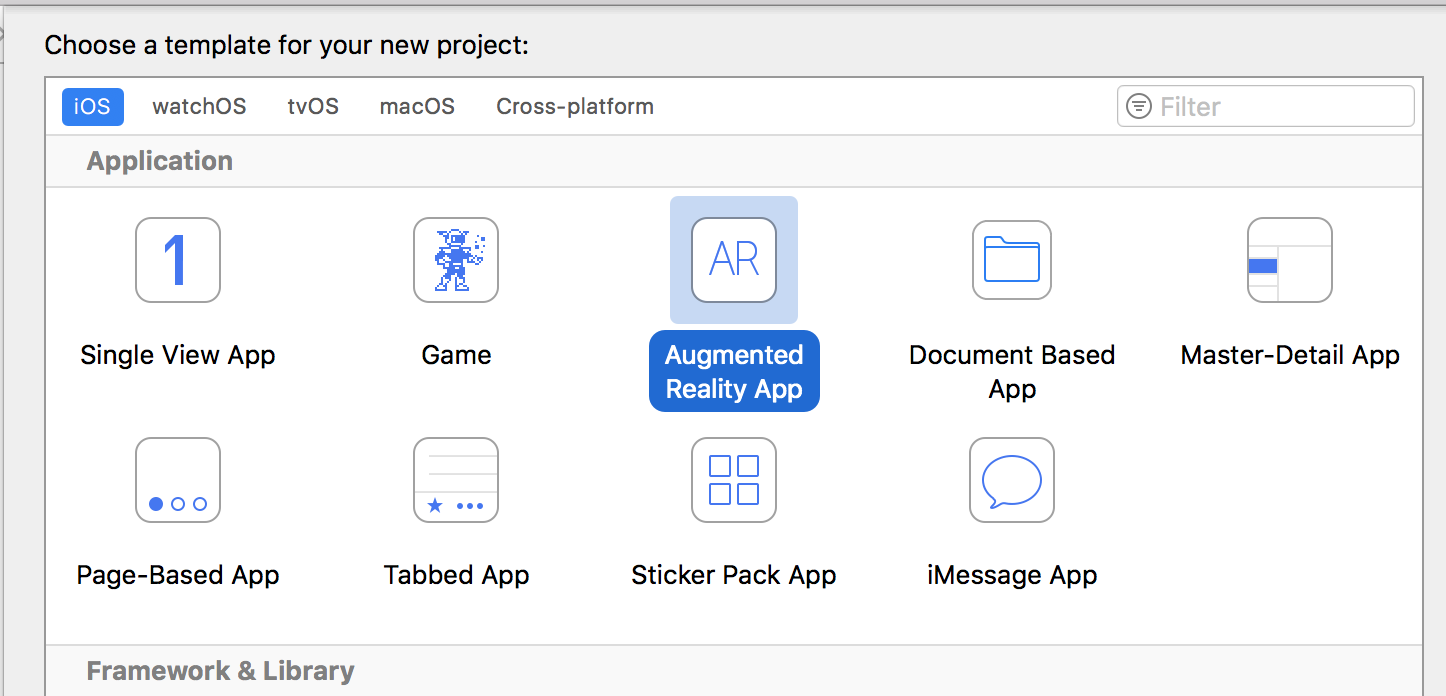
First, let’s make a new XCode project and select the Augmented Reality App template.
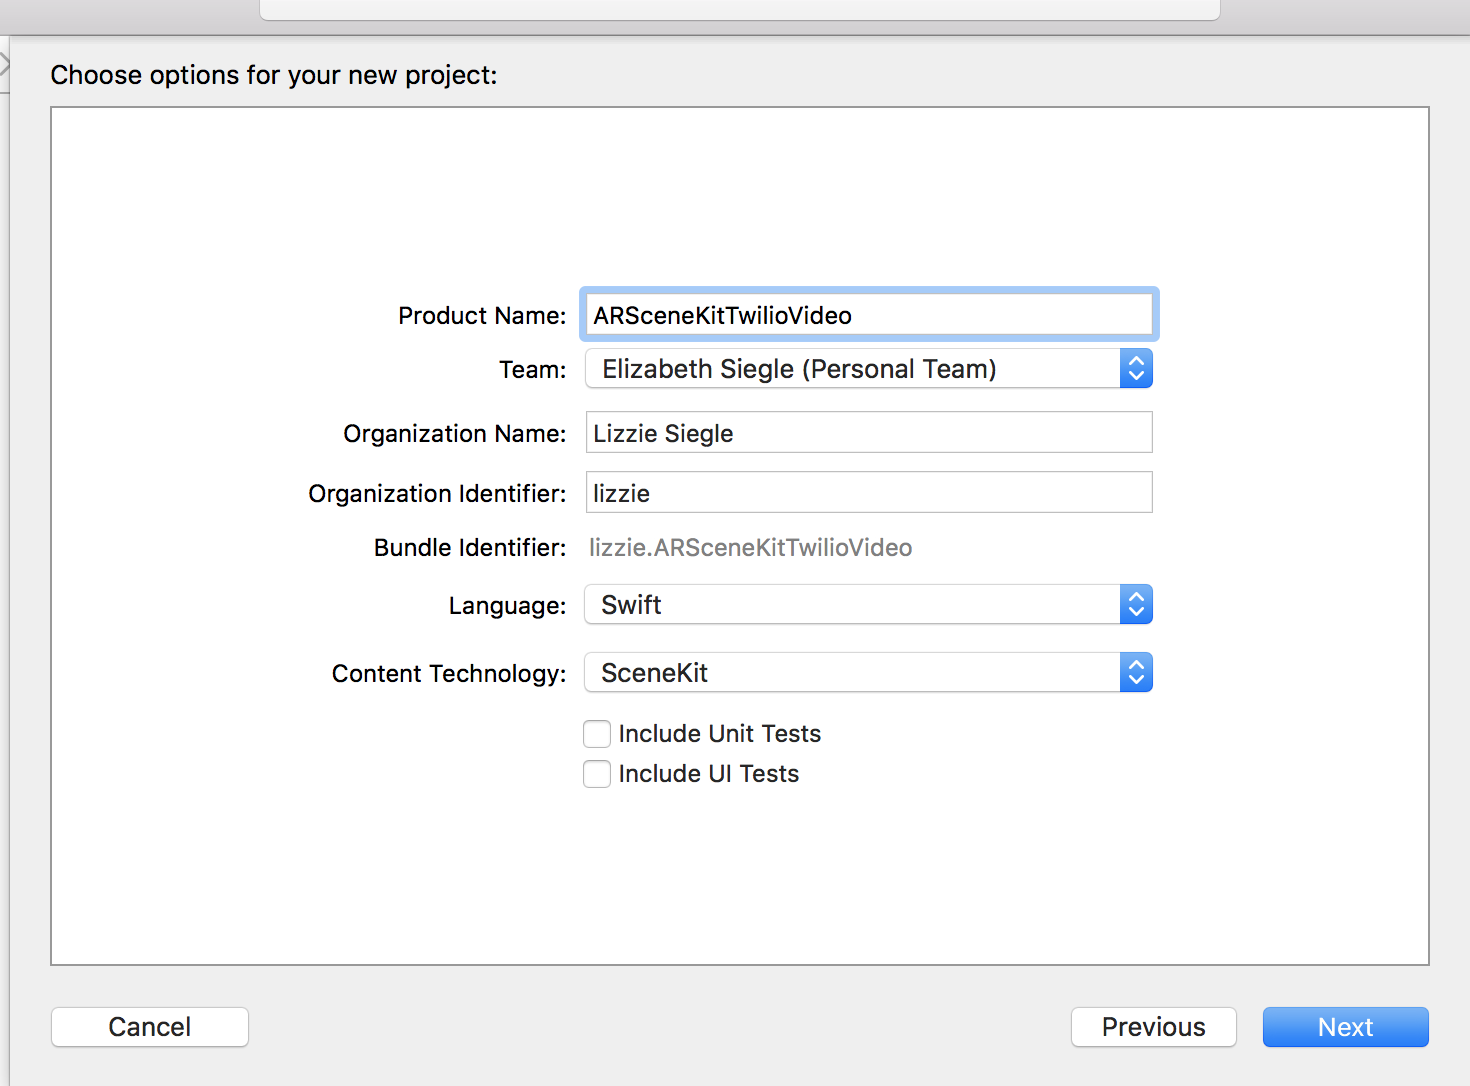
Next, make sure the language is set to Swift and that the Content Technology is set to SceneKit. At the moment, we can not test AR apps on the iOS simulator, so we need to sign our app with a developer account. Make sure your developer account is added to Xcode and and choose your team to sign the app.
Once you save your project, go to Preferences->Locations to make sure your Command Line Tools version is set to Xcode 9.0.

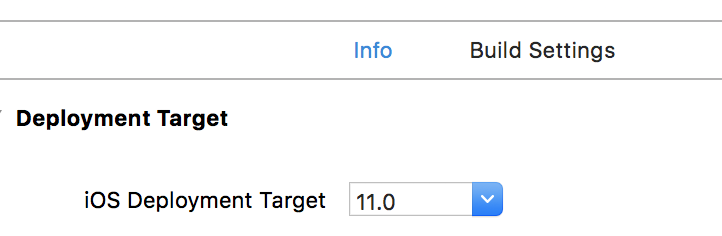
Let’s also make sure that we set our deployment target to iOS 11.0 in your project-level Build Settings.
Run the project, and the app will ask for permissions to use the camera, and then a model of a ship will be added to the coordinates (0, 0, 0) of our scene.
Get Started with Twilio Video in Swift
To get started with Twilio Video for Swift, you can download it manually or use CocoaPods.
On the command line in your current directory, type pod init. Then replace what is in Podfile with the following code.
Close Xcode and on the command line in our current directory run pod repo update followed by pod install. Then open the project’s .xcworkspace.
To find out more, check out the Twilio Video Quickstart for Swift.
Swift Code for ARKit with Twilio Video
At the top of ViewController.swift, let’s import ARKit and SceneKit, and a few other libraries we’ll need.
Below that, let’s declare the Twilio Video properties we’ll need.
The consumer variable consumes frames and status events from the camera. Supported formats include dimensions, frameRate, or pixelFormat. To quote the Programmable Video Getting Started page, “A Room represents a real-time audio, video, and/or screen-share session, and is the basic building block for a Programmable Video application.” Similarly, “Tracks represent the individual audio and video media streams that are shared with a Room.”
We’ll initialize our instance methods in viewDidLoad() in ViewController.swift like so. We’ll replace TWILIO-ACCESS-TOKEN with a real access token later. That function should now look like this:
In line 6 above we create a new scene with SceneKit and load an image called ship. The formats we want to support that are included with TVIVideoFormat() in line 7 are dimensions (like the size of the video content), frame rate, and pixel format.
What we set with sceneView.debugOptions in line 8 displays a coordinate axis visualization showing the position and orientation of the AR world coordinate system. As shown below, red represents the x-axis, green represents the y-axis, and blue represents the z-axis.
On lines 10 and 11 we begin capturing audio data and video in our iOS app by creating a TVILocalVideoTrack with an associated TVILocalVideoCapturer and a TVILocalAudioTrack.
You can also customize some configurations when you connect to a room with TVIConnectOptions as we do on lines 13-17. We set videoTracks on line 15 so media that was already previously made can be shared with other participants when they connect to the room. Then on line 16 also set the room name that we are joining. These options are implemented when we connect to our room.
Next, create a new function called startCapture that begins when another person joins the room “Arkit.”
The above function allows our app to synchronize the drawing to the refresh rate of the display. The preferred frames per second controls the number of times the function displayLinkDidFire is called per second. Let’s make that now.
Above, TVIVideoFrame represents a video frame that has been captured or decoded, rendering our video content as a CoreVideo buffer. The timestamp is either the microseconds at which the frame was captured or when it should be rendered, and the pixelBuffer is a CVImageBuffer containing the image data for the frame. Let’s make that function, pixelBufferFromCGImage to create an RGB format CVImageBuffer from the captured CVImageBuffer now.
On line 3 we make an image buffer to hold pixels in main memory with the options on line 2 which sets booleans indicating if the pixel buffer is compatible with CGImage types or Core Graphics bitmap contexts. CVPixelBufferCreate on line 4 makes a single buffer for a given size and pixel format with data specified by a memory location. We lock that location on line 10 before accessing pixel data with the CPU on line 11 and use it on line 13 to make a CGContext, or 2D drawing destination needed to render our colored image. We can customize it based on our device.
Calling draw on the context on line 14 draws the image wherever we specify in the parameters. When we’re done rendering the image we then need to unlock that memory location as on line 15.
AR Sessions
In our viewWillAppear function, we need to create an AR Session configuration and run it. This allows us to track motion in our video and also to place our virtual content on real-world surfaces.
In viewWillDisappear, we want to pause the session.
Twilio Video Access Tokens
Access tokens are short-lived tokens used to authenticate Twilio Client SDKs like Video or Chat. They’re created on the server to verify a client’s identify and grant access to client API features.
Testing the App
To test the app, let’s clone this Video Quickstart repo and follow the directions in the README to provide the receiving end of a Twilio Video call for our demo.
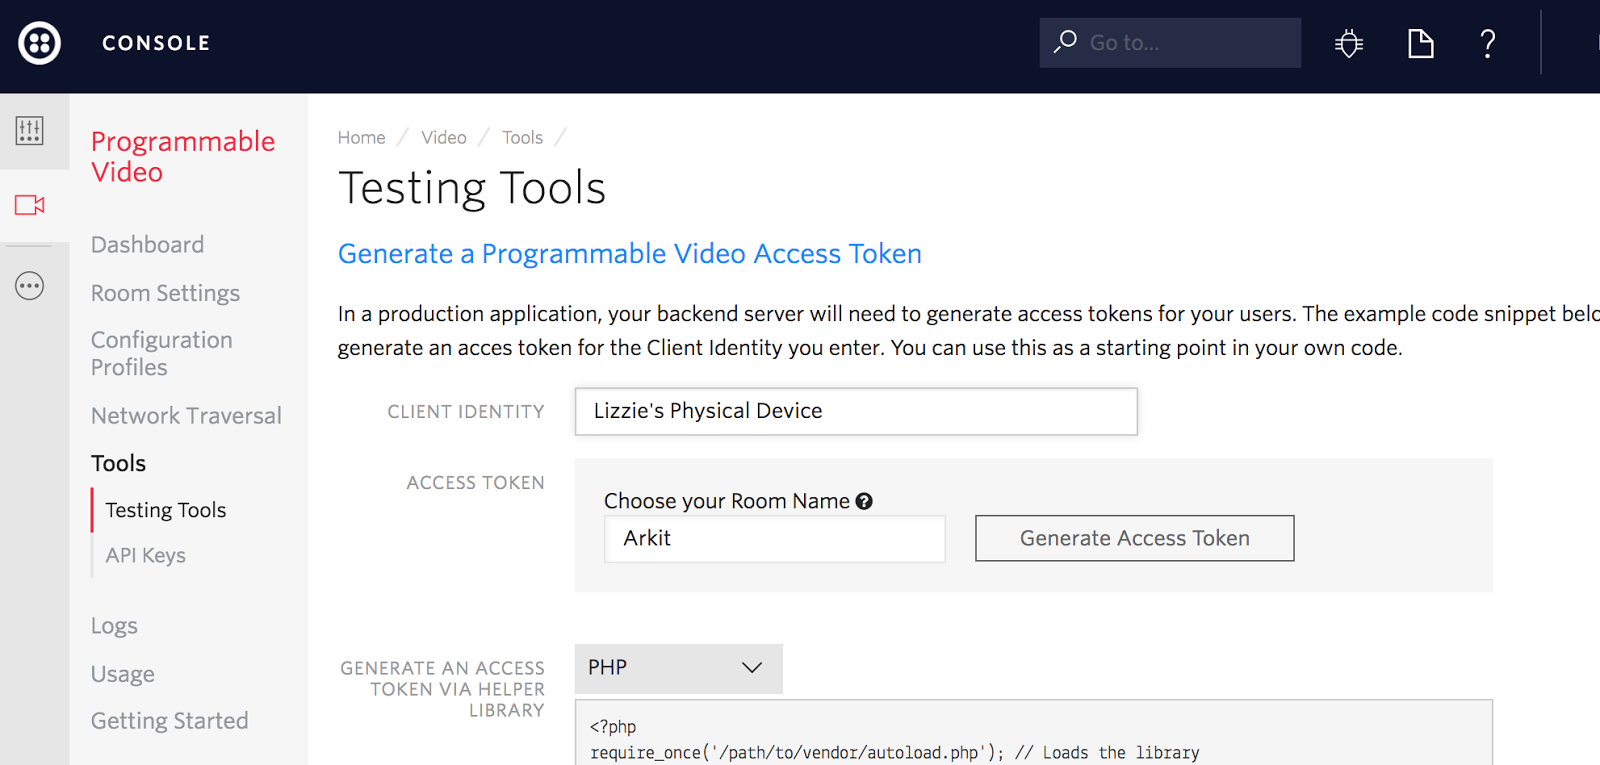
Use the Twilio Video console to generate an Access Token for the test app.
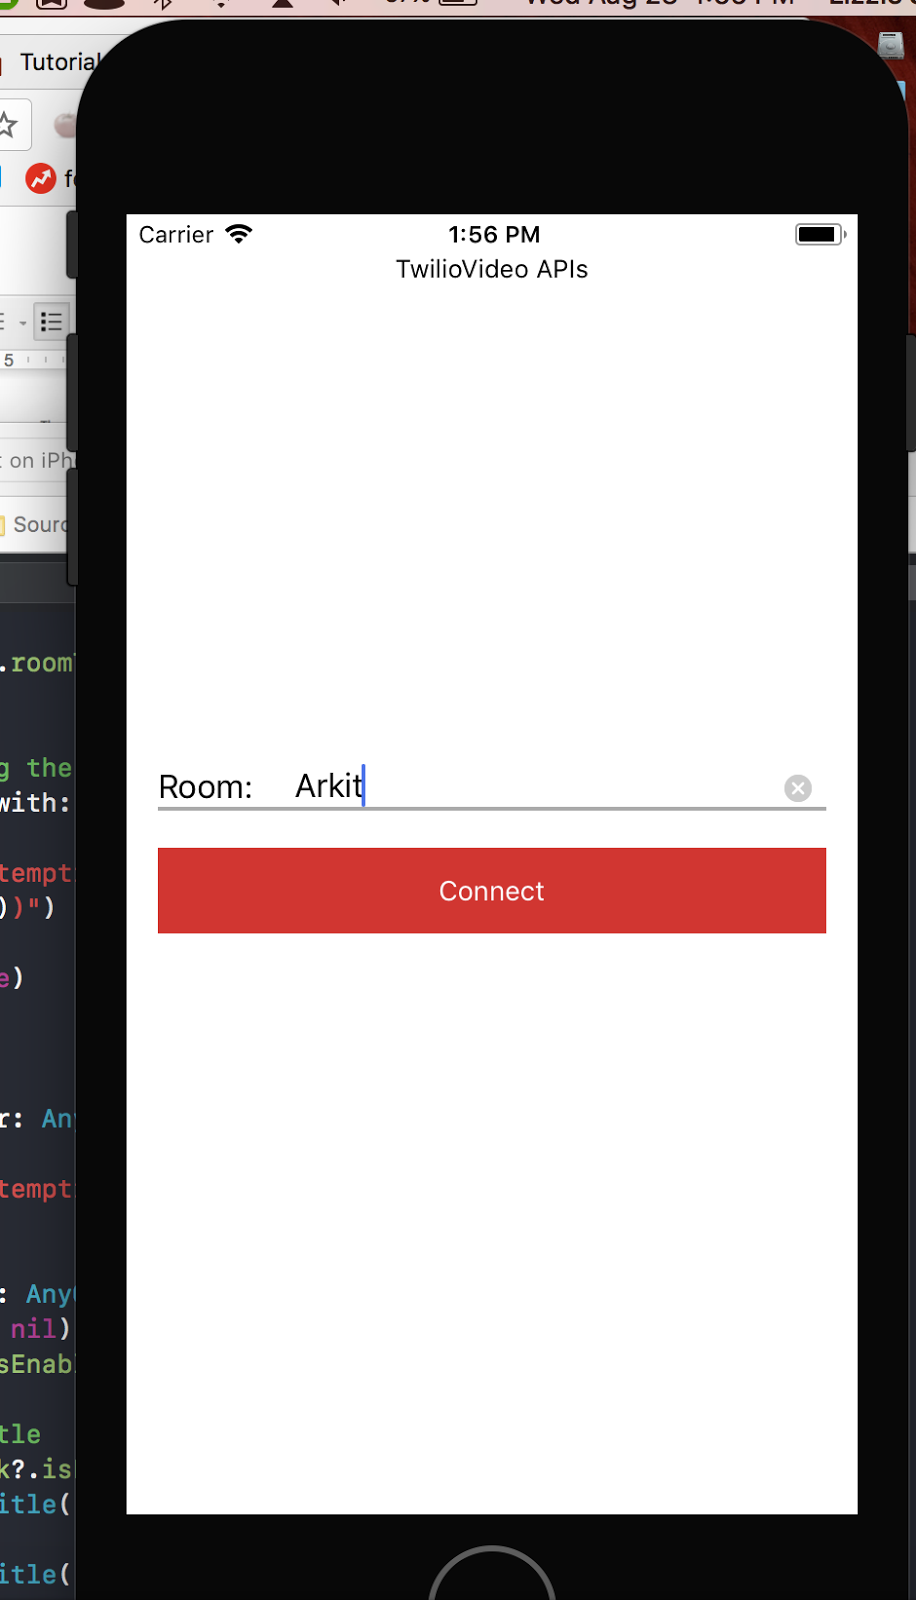
Take note of what you put under Room Name: in this post, we use ‘Arkit’.
After you click Generate Access Token, copy that token and go back into
ViewController.swift and replace TWILIO-ACCESS-TOKEN with it.
Copy and paste that token into the accessToken variable in VideoQuickStart’s View Controller and run the app. Connect to the ‘Arkit’ room. If you find yourself getting booted from the room, it is most likely because you didn’t use a different identity for the simulator or that your token expired. You can either keep generating a new one and replacing it in your code, or spin up a server like this.
Finally we can run the ARKit application and test that the video app in the simulator can see the ARKit demo. Testing on a physical iOS device is preferable because of performance issues from testing on the simulator.
Conclusion
Yes, it really is that simple to get started developing augmented reality applications. For the complete code, check out the GitHub repo. A huge thank you goes to Iñaqui Delgado, Chris Eagleston, and Piyush Tank of the Video team for their help with this post. AR complemented with Twilio Video is an amazing way to create new ways to communicate. Wouldn’t it be cool to run an immersive video app while playing Minecraft? Maybe that could be your next project—you can find me online at the links below, I can’t wait to see what you build.
- Email: lsiegle@twilio.com
- Twitter: @lizziepika
- GitHub: elizabethsiegle


Related Resources
Twilio Docs
From APIs to SDKs to sample apps
API reference documentation, SDKs, helper libraries, quickstarts, and tutorials for your language and platform.
Resource Center
The latest ebooks, industry reports, and webinars
Learn from customer engagement experts to improve your own communication.
Ahoy
Twilio's developer community hub
Best practices, code samples, and inspiration to build communications and digital engagement experiences.