Record Page Visits to your Flask Website with Twilio Segment
Time to read: 8 minutes
September 28, 2022
Written by
Reviewed by

If you own or manage a website, you likely want to know what pages your users visit the most. A popular way to obtain this information is to use a web analytics service such as Google Analytics, which uses cookies to keep track of your activity on the site. This approach can be problematic because it isn’t mindful of the online privacy of your site’s visitors. In many jurisdictions, most importantly in the European Union countries, users must provide explicit consent before tracking cookies can be installed on their browsers.
In this article you are going to learn how to record visits to a Python web application written with the Flask web framework. Page views will be captured in a completely anonymous and private manner and without tracking cookies, which is made possible by the flexibility of the Twilio Segment platform. As an additional benefit, this solution is implemented in the server, without any JavaScript tracking logic.
Requirements
To work on this tutorial you need the following items:
- A Segment account. Sign up for a free Segment account if you don’t have one yet.
- An account with a third-party analytics service that has a Segment integration. Good choices are Mixpanel or Google Analytics, both of which offer free accounts.
Prepare the Flask application
Since this is a hands-on exercise, you will need an example Flask application to add analytics to. I’m going to demonstrate how to do this on the Flaskr tutorial application from the Flask documentation. You are welcome to do this on your own application, in which case you can skip to the next section. If you prefer to try this on a small project first, read on to set up Flaskr on your computer.
Start by opening a terminal window, finding a proper parent directory for your project, and cloning the Flask source code repository there:
The Flaskr application is located in a subdirectory of this repository. The readme file on that directory has the installation instructions, but for your convenience you can also find them here. Change to the Flaskr directory as follows:
Next create a Python virtual environment and activate it. On UNIX and Mac:
If you are following the tutorial on a Windows computer:
Now you can install Flaskr into the virtual environment as follows:
Run the next command to create a database for this application:
Finally, run Flaskr with this command:
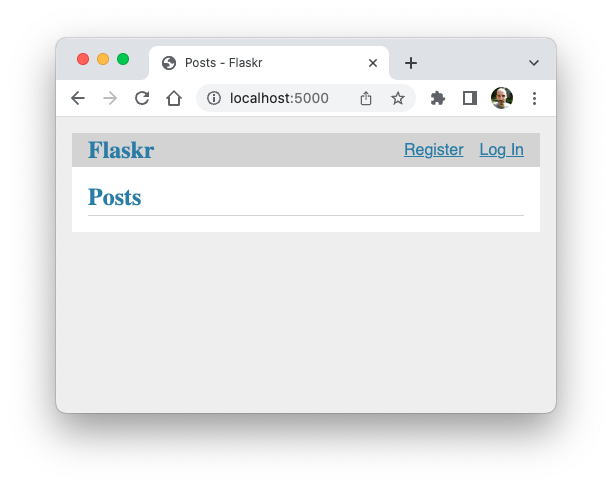
To confirm that the application is up and running, type http://localhost:5000 in the address bar of your browser. This is how Flaskr looks when started for the first time:
If you like, you can now create a Flaskr account for yourself and write some test blog posts.
Create a Segment Source
To incorporate Segment, you have to start by defining an event source. For a web analytics solution, there are two types of sources that can be used, Website and Server. The former is used for sources that generate events in the client-side (e.g. a web browser), while the latter is appropriate for servers written in most programming languages.
The solution presented in this article submits page view events from the Python web server. Generating events in the server makes it possible to have full control over what data from your users is shared, and as a side benefit it eliminates the need to load a third-party analytics library in the front end.
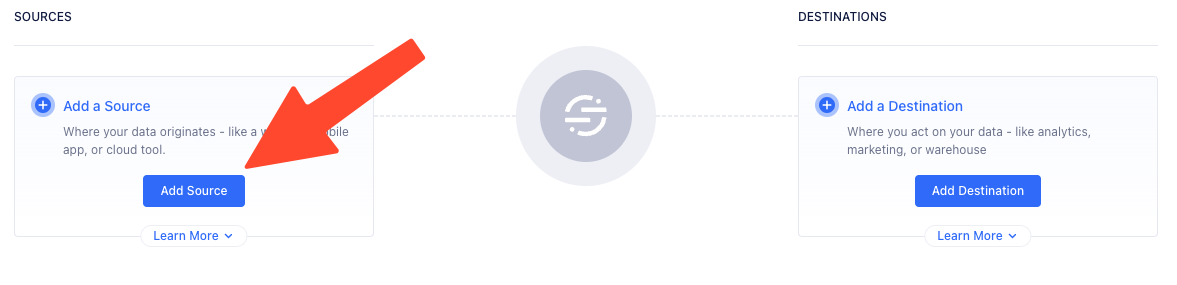
Log in to your Segment account, select “Connections” on the left side, and then click the “Add Source” button.
Type Python in the search box, select the “Python Server” source from the results, and then click the “Next” button.
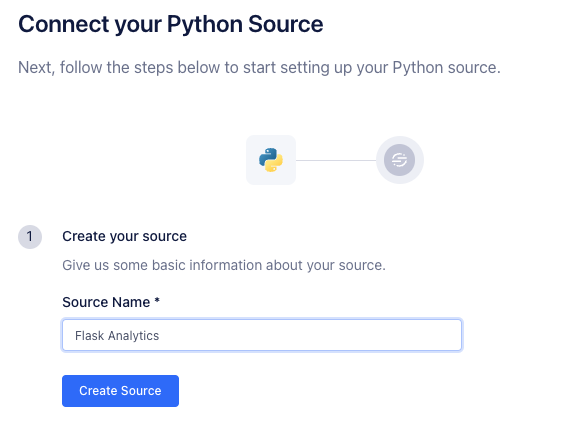
In the next screen, enter a name for the new source (for example, Flask Analytics) and click “Create Source”.
After a short wait, you will see the write key that is associated with your new source. You will need this key later. For now, click the “Copy” button, and then paste your key into an empty text editor window, from where you can retrieve it later.
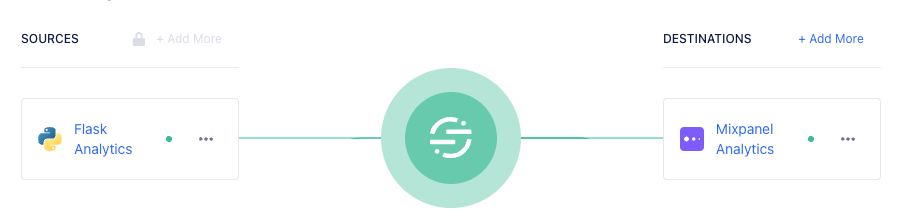
To complete the creation of the source, click the “Next” button once again, and then click “Done”. Your dashboard should now look like this:
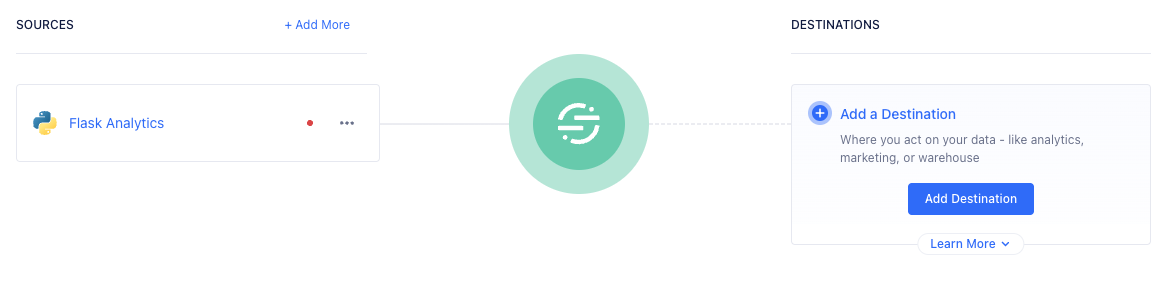
The red dot that appears in the source indicates that no events have been received yet. As soon as events start flowing the dot will turn green.
Record web traffic in Python
In this section you are going to add the page view logic to Flaskr. If you are working with your own Flask application, you should be able to make similar changes.
Install the Segment integration for Python
If you are still running the Flaskr server, stop it by pressing Ctrl-C on the terminal window in which you started it. Then install the Segment library for Python as follows:
Configure the Segment source
To be able to send page view events, it is necessary to configure the write key assigned to the Python Server source you created in the previous section. Add an environment variable with the write key you saved earlier. On UNIX and Mac, this is done as follows:
If you are following the tutorial on Windows and are using the command prompt, define the environment variable as follows:
If you are using PowerShell, then the syntax is:
If you need more information on working with environment variables in your terminal, consult this article.
After the environment variable is set, you can restart the Flaskr server. The command to do that is:
You can now leave the server running. The --debug option will make it automatically restart whenever changes to the source code are made, so the server will always use the latest code.
Generate page view events
Each time the server receives a request, a page view event will be submitted to Segment. In a Flask application, the most convenient place to add this logic is in a “before request” handler, because this handler is invoked before the actual route handler for all incoming requests.
In the flaskr subdirectory, locate the file named __init__.py and open it in your text editor or IDE. Replace the imports in this file with the following code:
Then add the following code at the bottom of the create_app() function, right before the return app statement:
This before_request handler submits a page view event to Segment for each GET request for a URL that does not have a dot in its path. The idea is to record page views only for pages requested by the client, which means requests in which the browser submits information such as POST requests have to be ignored, as well as GET requests for static files, which for most applications can be identified by looking for the period before the file extension.
The user_id argument to the page() method is required. Since this application is intentionally protecting the user’s privacy, a new UUID is passed with every page visit. An alternative implementation that you might consider is to pass the ID of the user if the user is logged in, which would allow the downstream analytics service to maintain user sessions.
The properties argument includes the attributes of the page view, which Flask handily provides in its request object. Note that these are just some of the arguments that can be passed when submitting a page view. Consult the documentation of the page() method to see the complete list.
Save the changes and wait a second or two for the application to automatically restart. Then visit http://localhost:5000 on your web browser once again and navigate to a few different pages to trigger some page view events.
In your Segment dashboard, open the Connections page and click on your source to view its details. Then click on the “Debugger” tab for the source. In this page you can view all the events from the Flaskr application as they are flowing through.
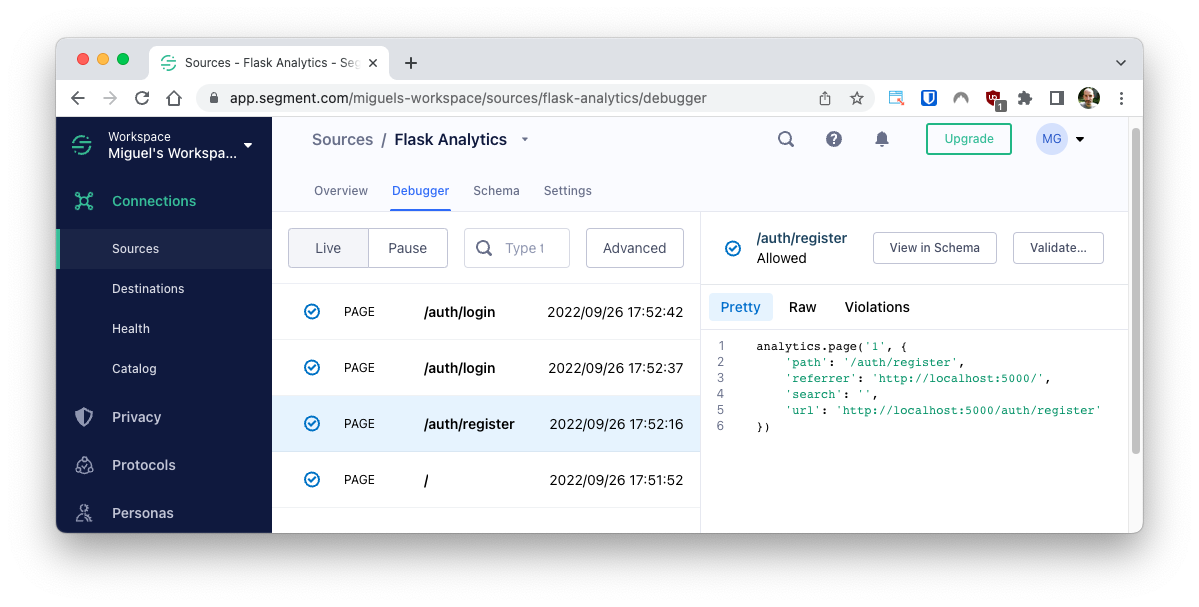
You can click on any of the events that are displayed in the debugger to see its properties and confirm that the information sent from the Python process is accurate.
Add an analytics destination
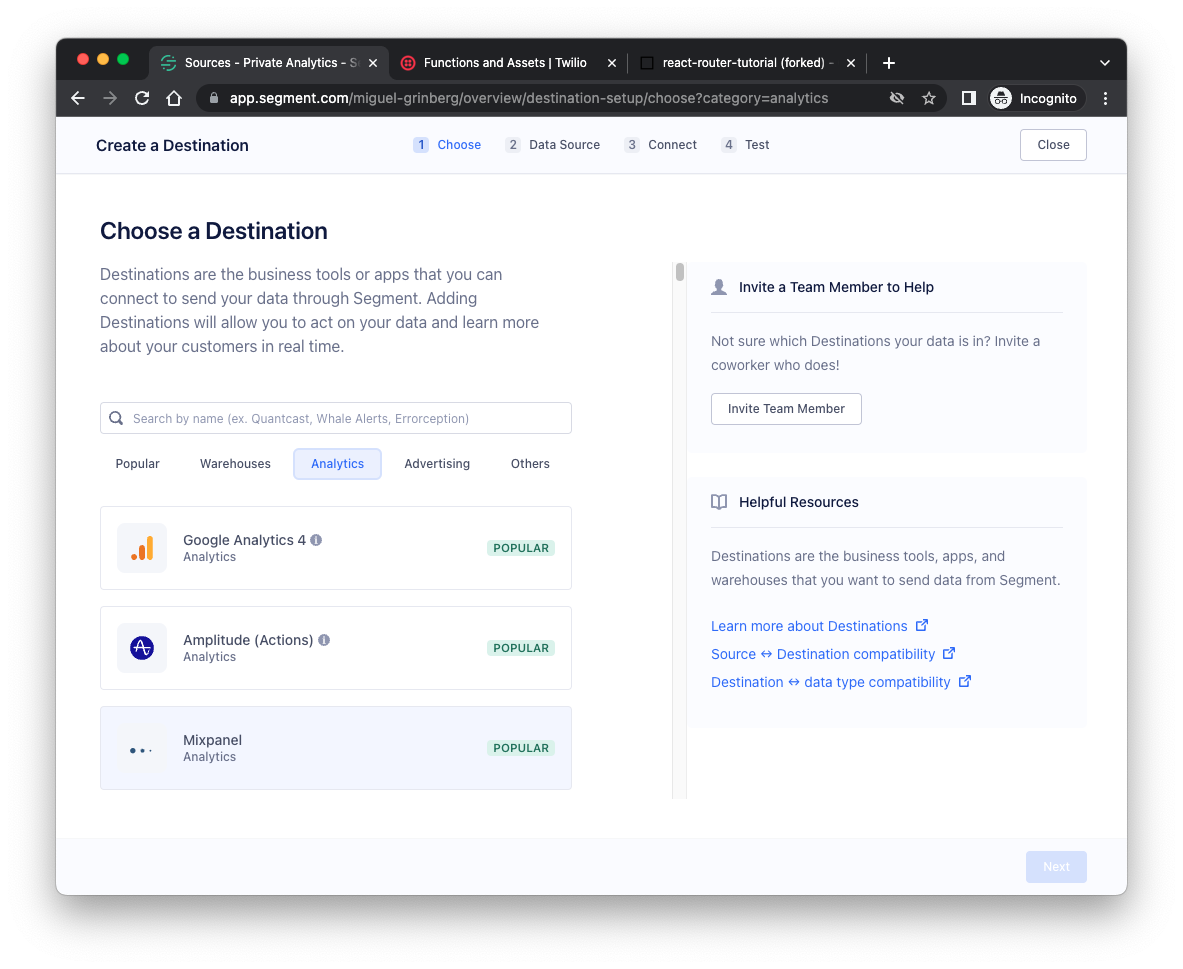
To be able to visualize all this traffic that is now being sent to Segment, you need to connect the source to a destination, and Segment will forward events received from the source to it. In the Connections page, click the “Add Destination” button, and then click the “Analytics” tab to see what options are available.
For tracking page views, the Mixpanel and Google Analytics 4 destinations are both good options to try. You may also find it useful to send traffic data to a generic data warehouse.
Before you continue, make sure that you have created an account with your chosen third-party analytics service.
Choose the desired analytics destination and click the “Next” button to continue.
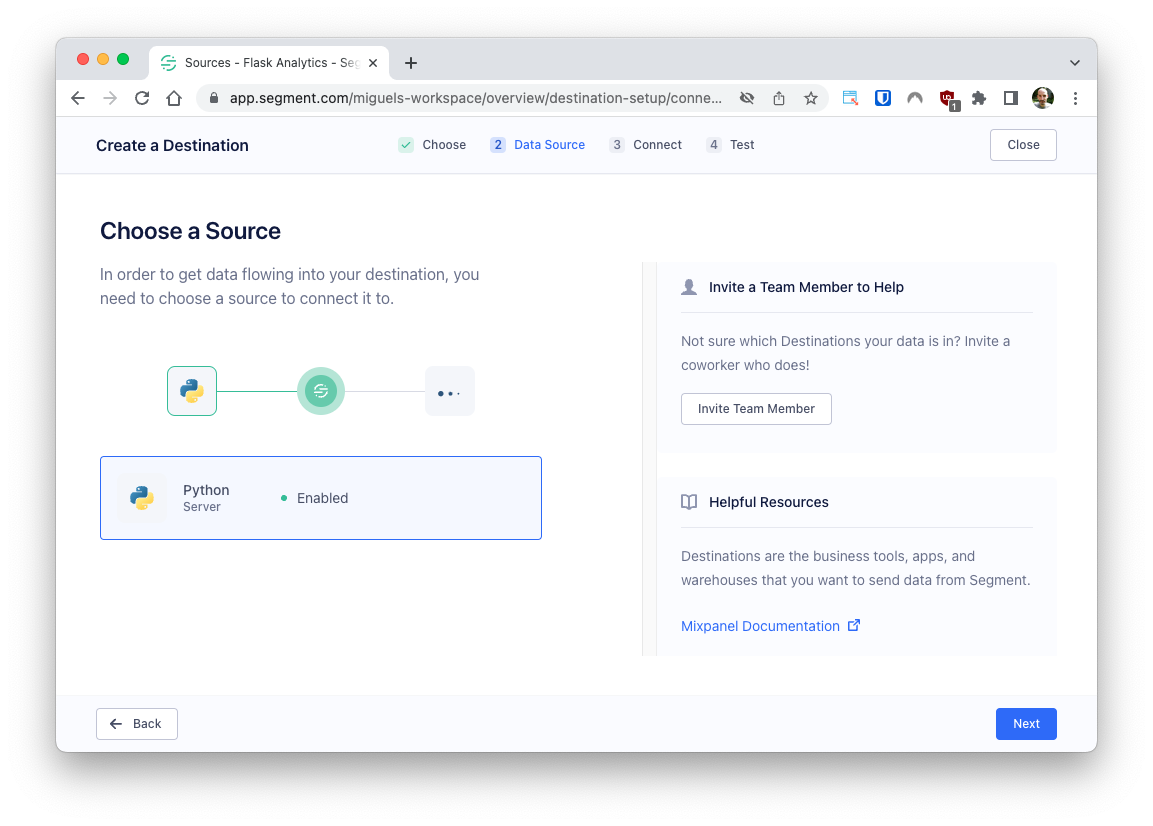
In the next screen, you need to associate the new destination with a source. Select the “Python Server” source and click “Next”.
The next configuration screen will ask you to name the new destination. In the screenshot below, the Mixpanel destination is given the name Mixpanel Analytics, but you are free to use your own preferred name.
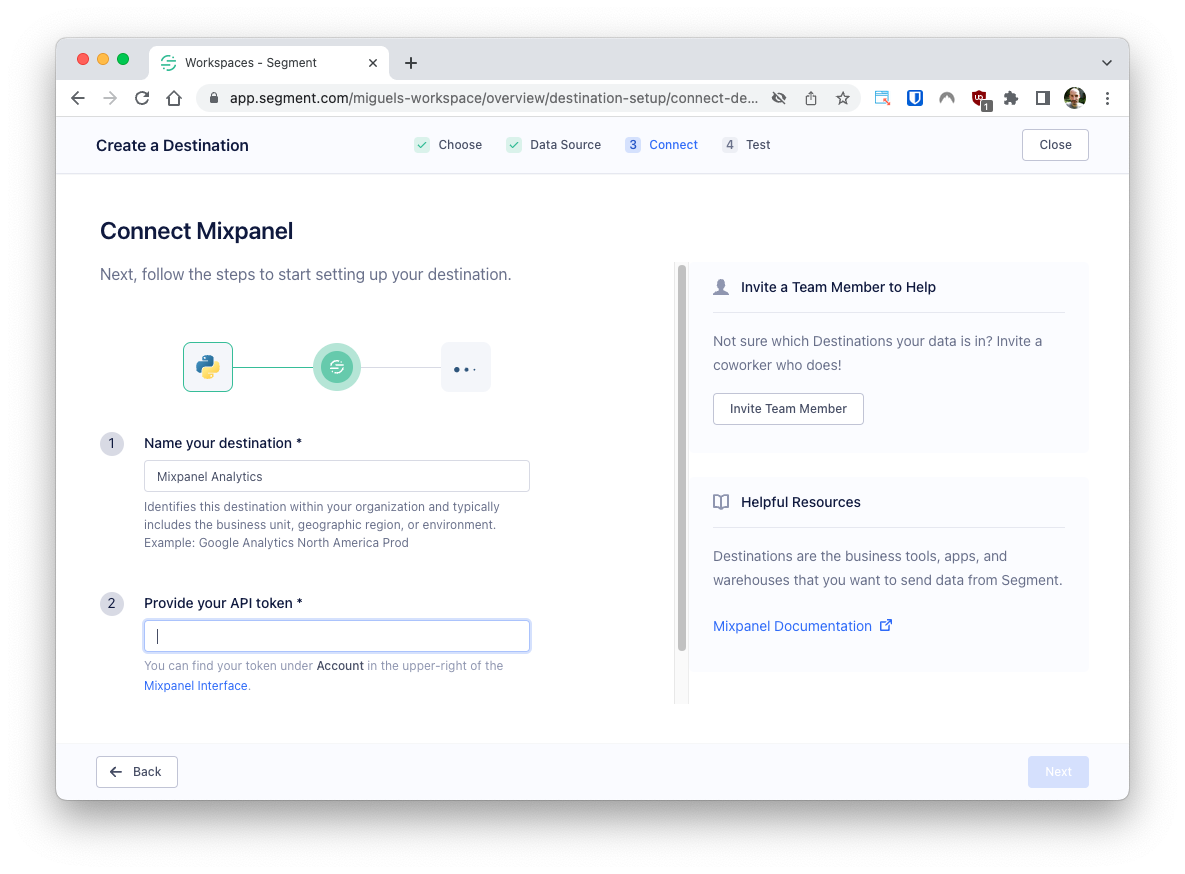
Some destinations may prompt you to provide additional information. In the case of Mixpanel, you have to enter the API token assigned by Mixpanel to your account. Provide any information that is requested and then click the “Create Destination” button.
Depending on the destination, you may see one more configuration screen that will give you the option to enable the destination. Do so if asked. Move through any remaining configuration screens by clicking “Next”, and then end the process by clicking the “Done” button.
You should now have the source connection to the destination. If you enabled the destination during its creation, then there is nothing more to do. If you were not asked to enable it, then the destination will be in a disabled state, possibly because authentication information still needs to be provided.
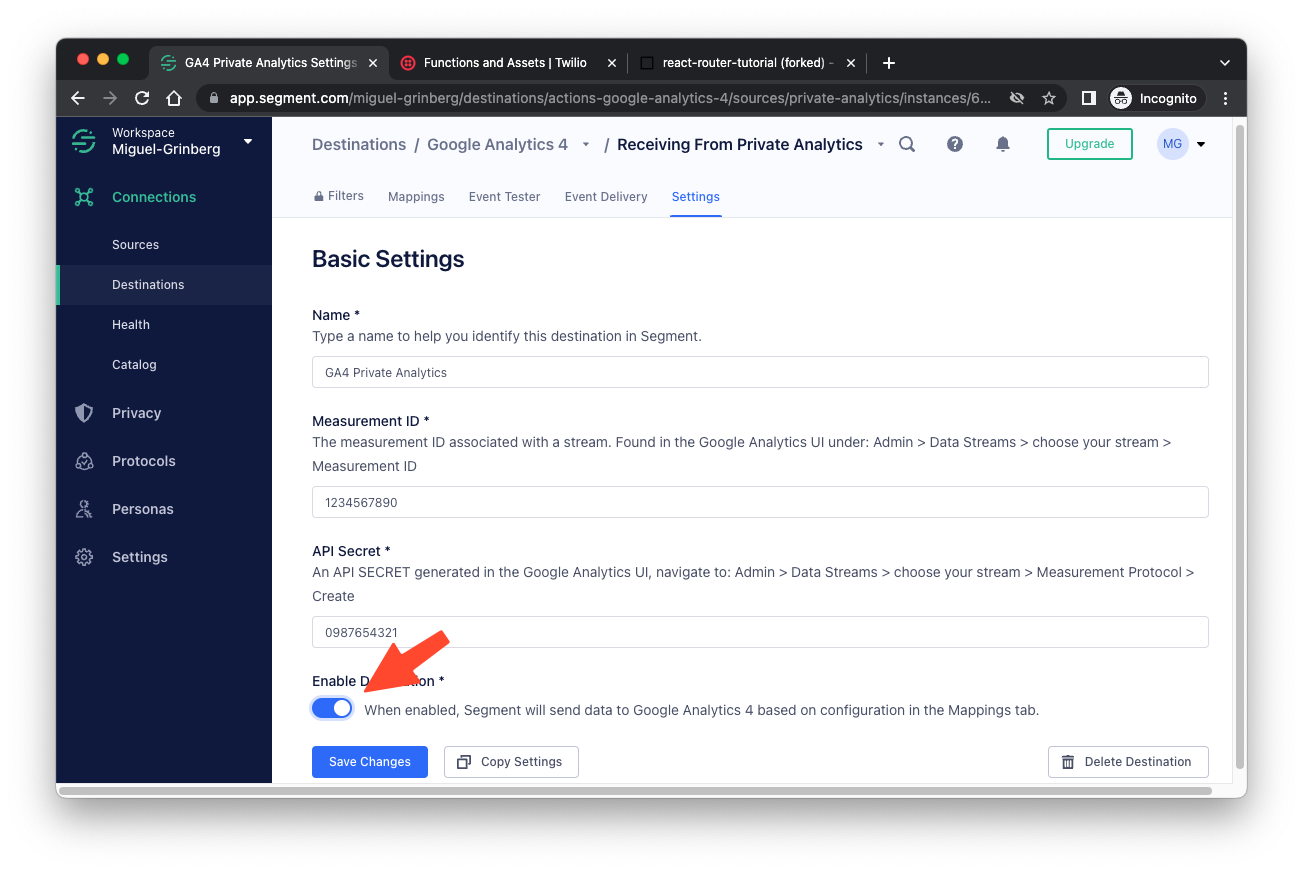
If the destination is currently disabled, click on it to open its settings page. In this page you will need to provide authentication details to allow Segment to forward events to it. Be sure to provide any items that are marked as required.
- For Mixpanel, you need the Project Token assigned to your project in the Mixpanel interface.
- For Google Analytics 4, you need the Measurement ID and the Secret Key assigned to your account.
At the bottom of the settings page you will see a switch to enable the destination. This switch can only be operated once all the required settings are entered. Make sure you enable the destination before clicking the “Save Changes” button.
Congratulations! Now you have a complete system configured, and any page view events reported by Flaskr will make their way into your chosen analytics service, where you can configure a dashboard or create any reports that you need. You can test the end-to-end system by navigating through the pages of the Flaskr application once again and observing how these page view events appear in the real-time view of your chosen analytics service a few moments after.
Conclusion
I hope this tutorial has given you a starting point in building a web analytics solution for your Python web application. The documentation for the Segment library for Python includes other event types beyond page views that may be useful. I also recommend that you review the dozens of Segment integrations available in the destination catalog to find more ways to use your event data.
I can’t wait to see what you build with Segment!
Miguel Grinberg is a Principal Software Engineer for Technical Content at Twilio. Reach out to him at mgrinberg [at] twilio [dot] com if you have a cool project you’d like to share on this blog!


Related Resources
Twilio Docs
From APIs to SDKs to sample apps
API reference documentation, SDKs, helper libraries, quickstarts, and tutorials for your language and platform.
Resource Center
The latest ebooks, industry reports, and webinars
Learn from customer engagement experts to improve your own communication.
Ahoy
Twilio's developer community hub
Best practices, code samples, and inspiration to build communications and digital engagement experiences.