How to Remove a Participant From a Twilio Video Call
Time to read: 7 minutes
February 28, 2022
Written by
Reviewed by

With so much of today's communication happening over video chat, people hosting meetings want to have some level of control over who is attending that meeting. For example, if a participant is being disruptive, the host will want a way to remove that person from the call.
Thankfully, Twilio Video provides an easy way to remove a participant with a single API call. In this tutorial, you will learn how to add a host panel to a video chat application that will display participants' names and allow you to remove them from the call at the click of a button.
Let's get started!
Prerequisites
- A free Twilio account. (If you register here, you'll receive $10 in Twilio credit when you upgrade to a paid account!)
- Node.js v14+ and npm installed on your machine.
- Twilio CLI and Twilio Serverless Toolkit set up on your machine.
Setup
This tutorial will add a new feature on top of an already-built video application. The starter project is built using Twilio Video, Twilio Functions, and vanilla JavaScript.
To get started, clone the starter video application by running the following command on your command line:
Copy the placeholder values in .env.template into a new file called .env. Then, replace the placeholder text with the values for your Twilio Account SID, Auth Token, API Key SID, and API Key Secret. You can find or generate these values in the Twilio Console.
Once you have completed this step, run the following command from the root of the project to install the necessary dependencies:
To run the application locally on port 3000, run the following command:
Once the application is running, you will be able to see it by navigating to http://localhost:3000/ in your browser.
Then, if you would like to deploy the application, run the following command:
Once deployed, you will see output in your terminal, part of which will look like the text below:
The application will be available at a URL with the format https://video-chat-serverless-XXXX-dev.twil.io. You will see your specific URL in the terminal output. Paste this URL into your browser, and you will see the video application. Feel free to test out joining and leaving a video room if you wish.
Now you're ready to add the host panel to your application.
Add a backend function to remove a participant
The backend of this application runs on Twilio Functions. If you take a look inside the functions directory, you will see that there is a file called token.js containing the function that grants access tokens for the user to join a video room.
Inside the functions directory, create a new file called removeParticipant.js. Inside that file, paste the following code:
This is the new function that will take a participant's sid and a video room's sid and then remove that participant from the video room. You will call this function from a button in the host panel, which you will add to the UI in the next step.
Add the host panel to the HTML layout
You may have noticed that there are two files named index.html — one inside the assets directory, and the other nested inside assets/assets. This is because Twilio Runtime has an interesting way of hosting root assets. Keep this in mind when developing your project and make sure to update the code in both places.
Open assets/index.html and assets/assets/index.html in your code editor. The code here is the same in both files. Here, you will see the basic structure of the application's interface, which currently consists of a gallery where the participants' video feeds will appear, a controls section where the participants will be able to join or leave the video chat, and a status section where any status messages will appear.
Just below these sections in each HTML file, add a new section with an id of admin-controls where the host panel will live:
Inside this new section is the host-panel div as well as an empty list where the names of the participants will appear. The host panel also includes a button which will allow users to close it from the inside.
Now that you have added the host panel section, add a new button to the controls section that will toggle whether the host panel will be shown or hidden:
This new button will start off as disabled — you'll want it to only be available once a participant has joined the video chat.
To style these new elements, grab the extra CSS styles from this gist and add them to the bottom of assets/styles.css.
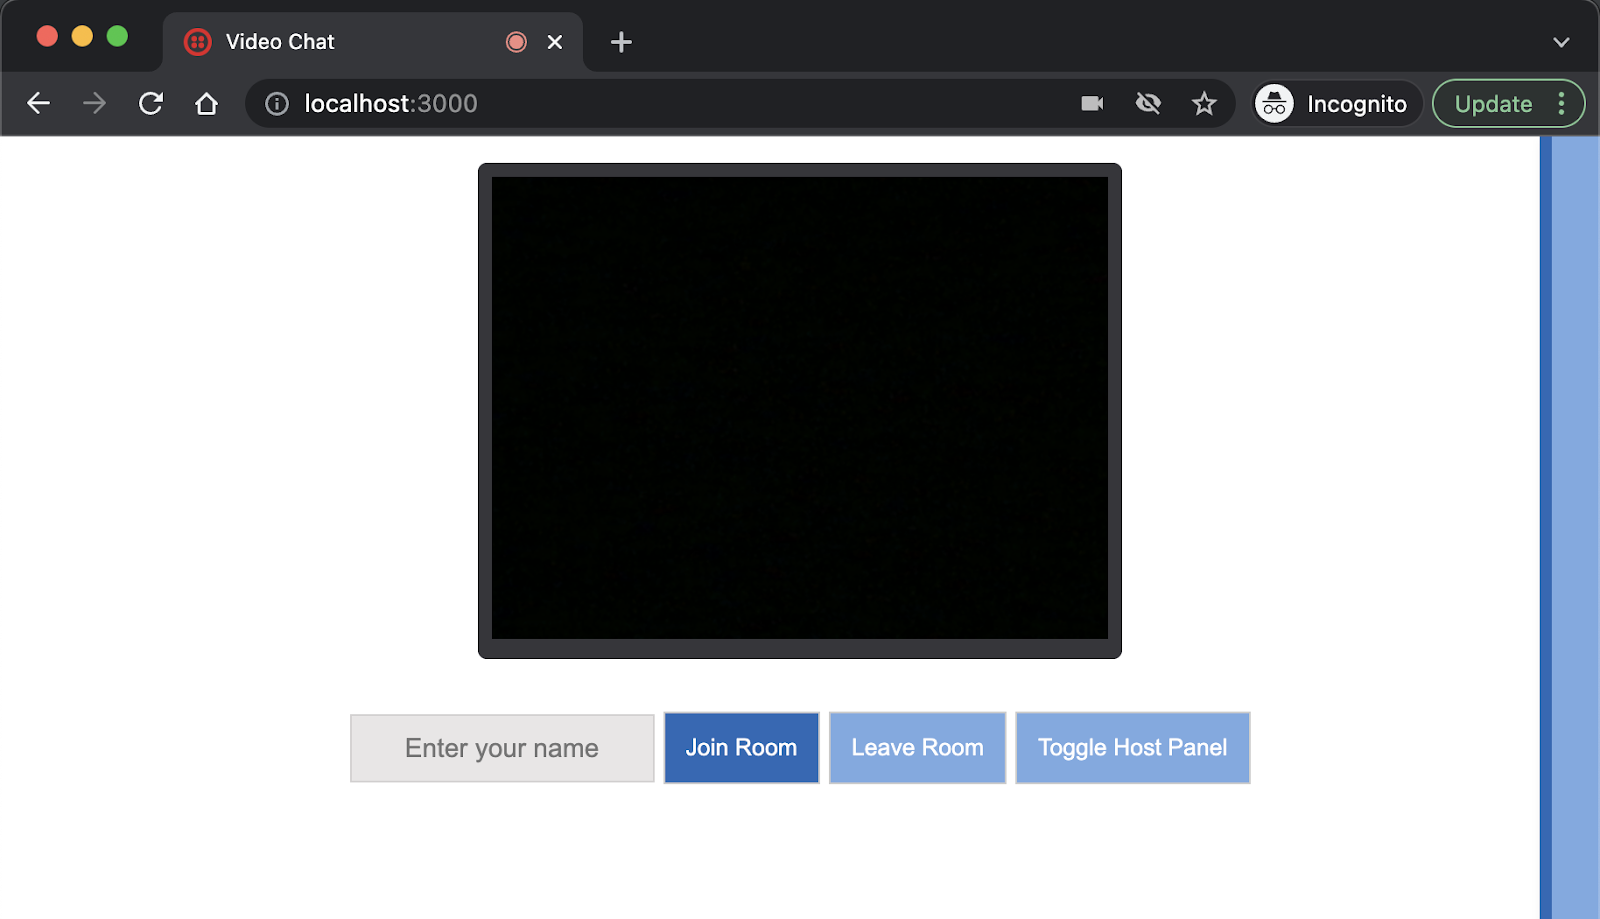
If you are running the application locally and refresh your browser window, you will see that the updated application looks like the image below:
Add logic to open and close the host panel
Now that you have the HTML set up, it's time to add some logic to control opening and closing the host panel. Open assets/app.js. Add the following constants for the host panel, the toggle button, and the close panel button:
Now, scroll down to the list of event listeners at the end of the file. Add the following new event listeners for the toggle button and the close panel button:
Toggling the host panel will add or remove the open class from the panel. On opening, the function openHostPanel() will be called, and on closing, closeHostPanel() will be called.
Just below the participantDisconnected() function, paste in the following openHostPanel() function:
This function gets the list of remote participants in the video room and shows them in the host panel. It also adds a Remove button next to each name, which when clicked, will kick the participant out of the video chat.
Since you're calling removeParticipant() in the function above, add it to the code next, just below openHostPanel():
This function takes the sid of the participant to remove, then calls the removeParticipant() backend function you created earlier. Once the participant has been removed, their video feed is disconnected, and this function cleans up their associated divs.
Now, add the following closeHostPanel() function, which will remove the name and button elements in the host panel when it slides closed:
You now have the logic for opening and closing the host panel, as well as removing a participant. There are just a few more small tweaks you'll need to make to some of the other functions in assets/app.js.
In the joinRoom() function, add the following highlighted line of code to activate the toggleButton:
Then scroll down in this same function and add the following highlighted lines to reset the UI when the localParticipant is the person who gets removed from the call:
When a participant joins a room, this code will make the toggle panel button active and able to be clicked. Also, a new listener is added so that if the local participant is the one who is removed from the video chat, their UI will be reset to show that they are disconnected.
There's also a small tweak to make in the leaveRoom() function:
When a participant leaves the video chat or is kicked out, the toggle panel button will return to being disabled. If a user is not currently participating in the video chat, they should not be able to remove other users. Additionally, if the local participant leaves or is kicked from the call, the host panel will be closed if it was open.
Now that you have made these changes, redeploy your application. From your command line, run the following command:
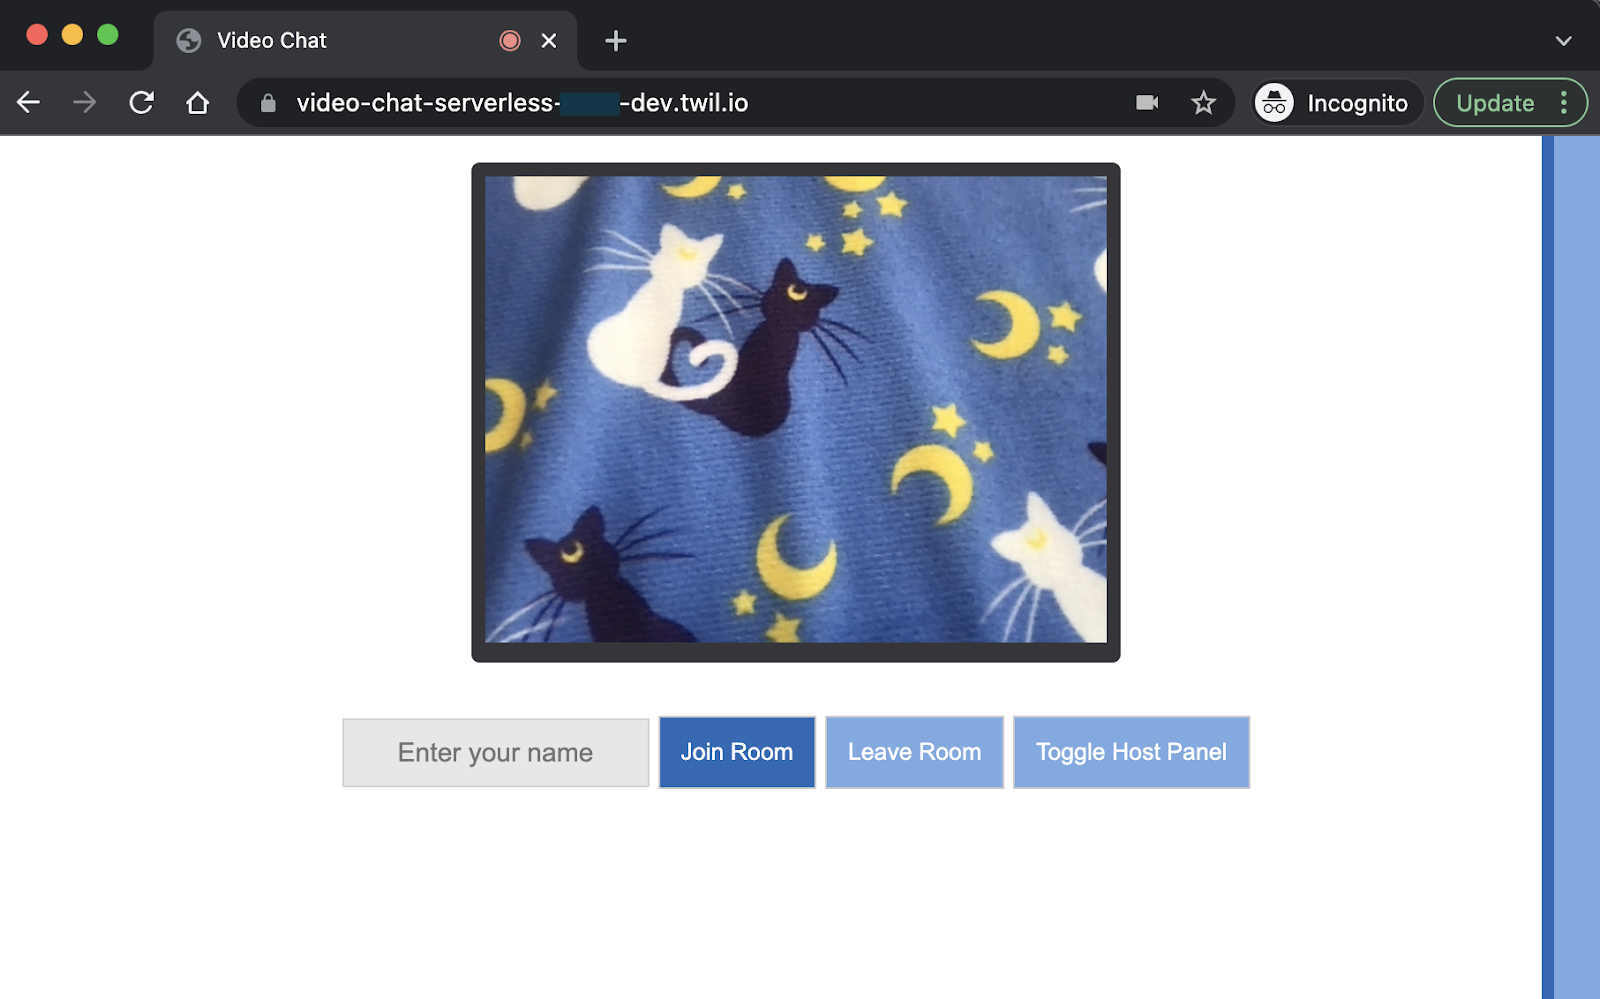
The project will be updated, and you can refresh your browser window to see the new layout and functionality:
You now have all the code you need! It's time to test out removing a participant from a video chat.
Test removing a participant from the video call
Join the video chat from two or more different browser tabs, with two different names. Alternatively, you could try testing this out with a friend.
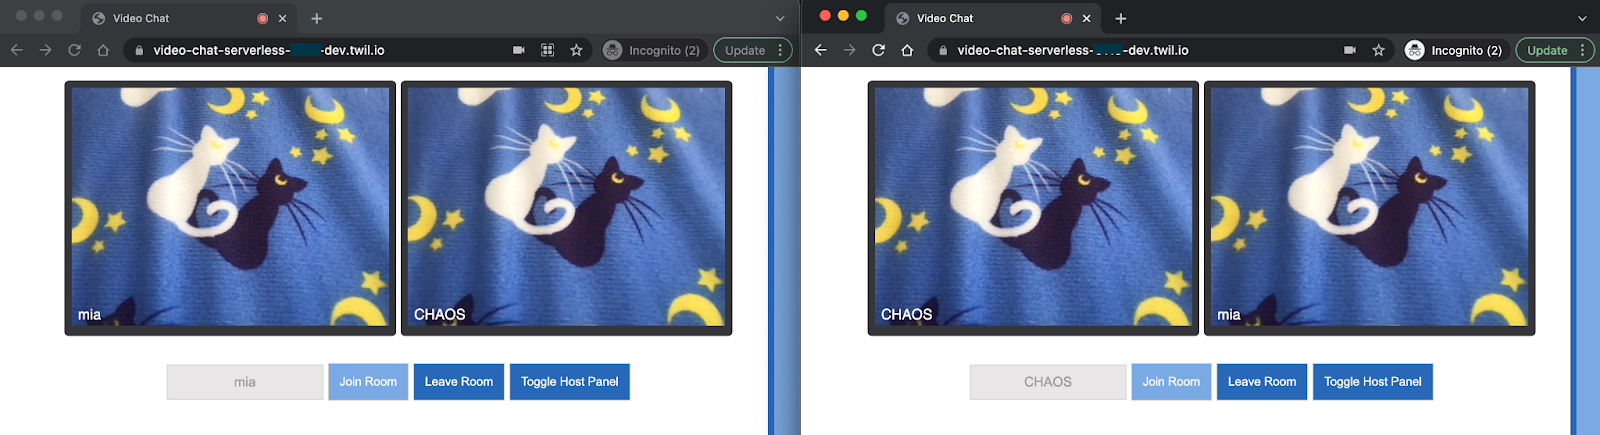
Here, I've joined the video chat with two different identities — "mia" and "CHAOS".
Once you're in the video chat, you will see the toggle panel button become active. Click on the toggle button to show the host panel. Inside the host panel, you will see a list of the remote participants, each with a Remove button next to their name:
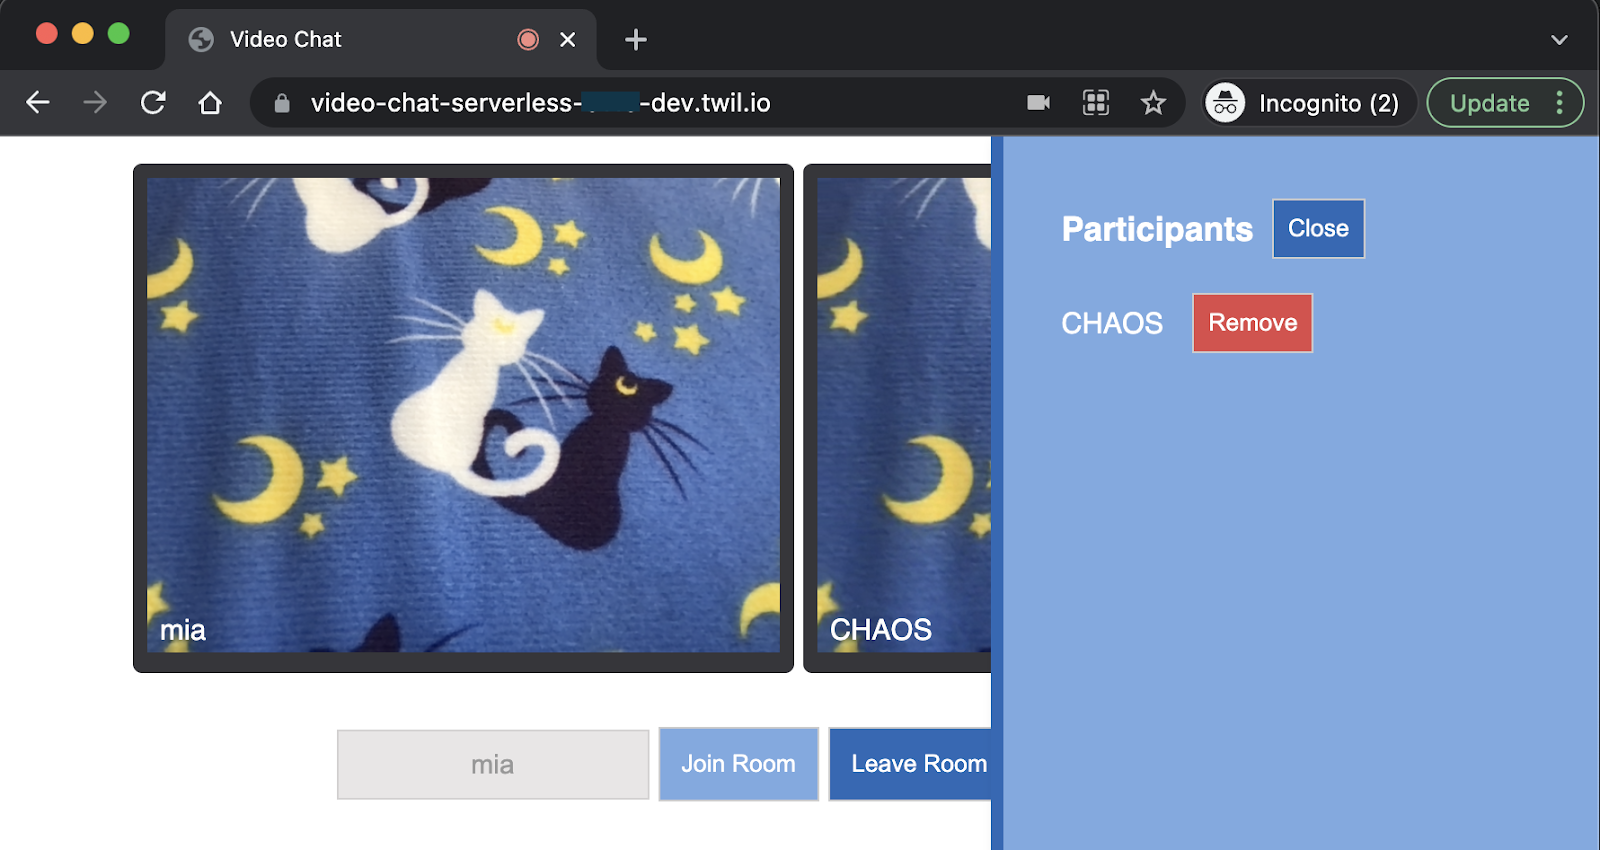
From my chat window, I can see CHAOS in the list of participants here.
If you click the button next to a name, this person will be removed from the chat, and their video feed will disappear from your window. The person who is removed will also see a message that they have been disconnected from the chat.
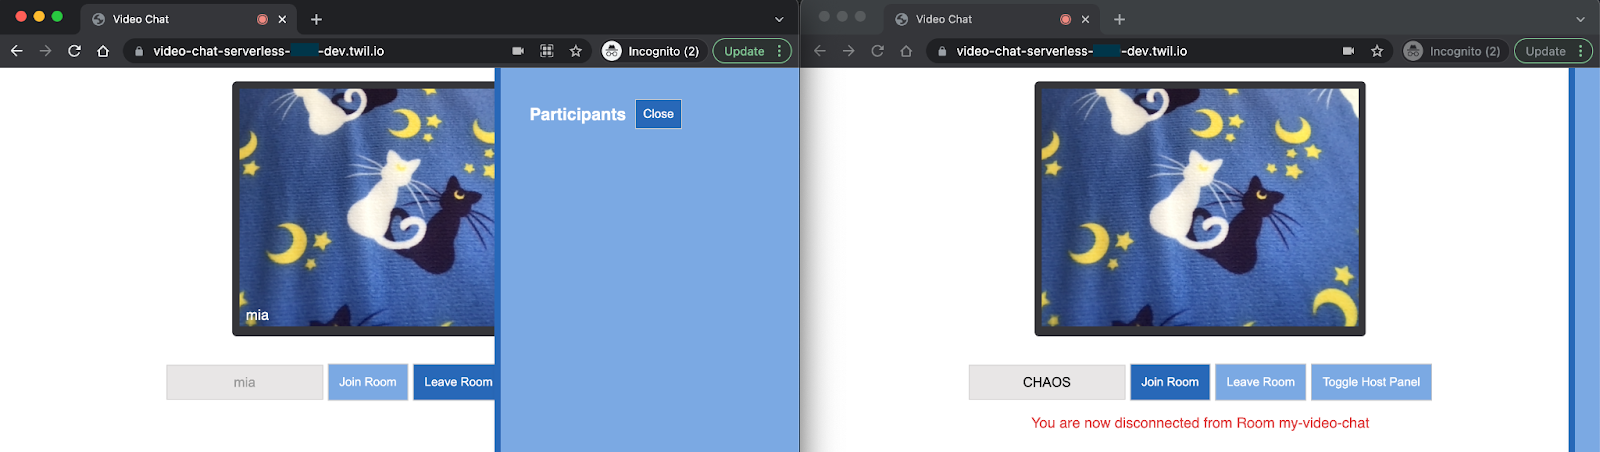
CHAOS has been removed from the chat!
What's next for video chat host tools?
In a video chat with multiple participants, it is important that hosts have a way to remove a participant who may be disrupting the video call. While this tutorial walks through the logic of how to add this feature to your application, you will still need to devise a strategy for roles and permissions so that you can identify which users will be allowed to carry out host actions.
If you're interested in getting even more details about what's going on in your video rooms, you might also want to check out the Room Monitor — there's even a great tutorial that will teach you how to add it to your application.
I can't wait to see what you build!
Mia Adjei is a Software Developer on the Developer Voices team. They love to help developers build out new project ideas and discover aha moments. Mia can be reached at madjei [at] twilio.com.
Related Resources
Twilio Docs
From APIs to SDKs to sample apps
API reference documentation, SDKs, helper libraries, quickstarts, and tutorials for your language and platform.
Resource Center
The latest ebooks, industry reports, and webinars
Learn from customer engagement experts to improve your own communication.
Ahoy
Twilio's developer community hub
Best practices, code samples, and inspiration to build communications and digital engagement experiences.