Run a Giveaway with Twilio SMS
Time to read: 7 minutes
April 26, 2021
Written by
Reviewed by
.png")
An Instagram giveaway, especially during the holiday season, usually goes like this: give someone a follow, drop a comment, and tag a friend. What if you could host your own giveaway without having to check to see if everyone entering has followed these instructions?
In this tutorial, you’ll learn how to host your own giveaway on a landing page using Twilio Programmable SMS so that followers can join your giveaway with an auto-generated text message!
Prerequisites
To follow this tutorial you’ll need:
- Milkshake account or self-hosted landing page
- Twilio phone number (through a free-trial account)
- Node.js
- npm or another package manager
- Twilio CLI
- Body-Parser
Setting up the giveaway entry
Before you get hands deep in some JavaScript, it’s important to set up the front-end of your giveaway. This section will guide you through the process of creating a URL that can create a pre-populated SMS message once clicked by a user on your landing page. Users will be all set up to enter your giveaway by simply clicking a link!
To get started, you need a Twilio phone number. Luckily, all you need to do is set up a free trial account to snag your own. You can access your designated phone number from the Twilio Console. This will be the phone number that users will text in order to enter your giveaway.
Next, consider what text will prompt a user to enter. For example, “Click here to submit an entry to win a $10 giftcard!”
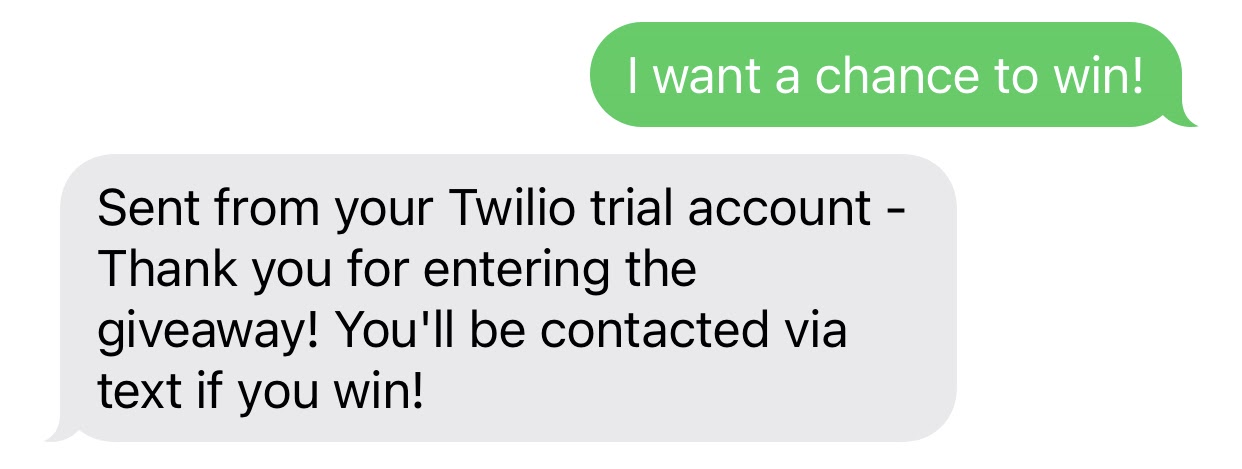
You’ll also need to decide on the content for a pre-populated text message that users will send to your Twilio phone number. For example, “I want a chance to win!”
The next step in preparing your giveaway message is to use an online URL encoder tool to encode the default message you chose above into a link. URL encoding is recommended so that the default text message doesn’t get confused with the actual URL linking to your Twilio phone number! Your encoded message should look similar to this:
I%20want%20a%20chance%20to%20win!
Now it’s time to add your encoded message to the tail end of a URL that will trigger the creation of an SMS message from the user’s smartphone.
My final URL is below. Yours should look similar but with your own Twilio phone number (including the plus sign and country code) in the appropriate place. In order to accommodate Android and iOS users, make sure to include a second link on your landing page.
iOS:
sms:YOUR_TWILIO_NUMBER&body=I%20want%20a%20chance%20to%20win!
Android:
sms://YOUR_TWILIO_NUMBER?body=I%20want%20a%20chance%20to%20win!
Now it’s time to stick your URL on a giveaway landing page!
Creating a landing page for your giveaway
The landing page is the first stop for users who want to enter your giveaway. Whether your social media platform of choice is Instagram or Twitter, the link to your landing page takes its rightful place in your profile biography.
Now for the fun part, designing the page itself!
Milkshake is an app that allows you to create a website from your phone. In this tutorial, you’ll learn how to use Milkshake to quickly build your landing page. If you don’t want to use Milkshake, you’re welcome to use your own self-hosted website for your landing page as well.
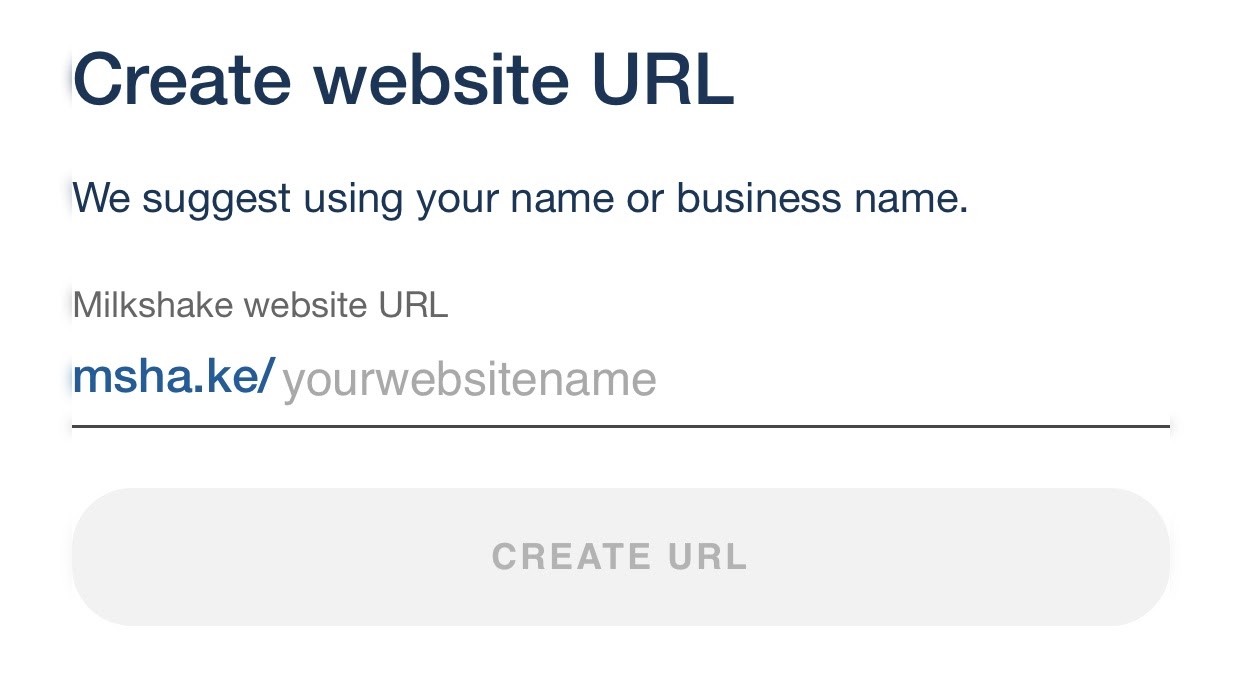
After downloading the app to your smartphone, create an account, and choose a website URL.
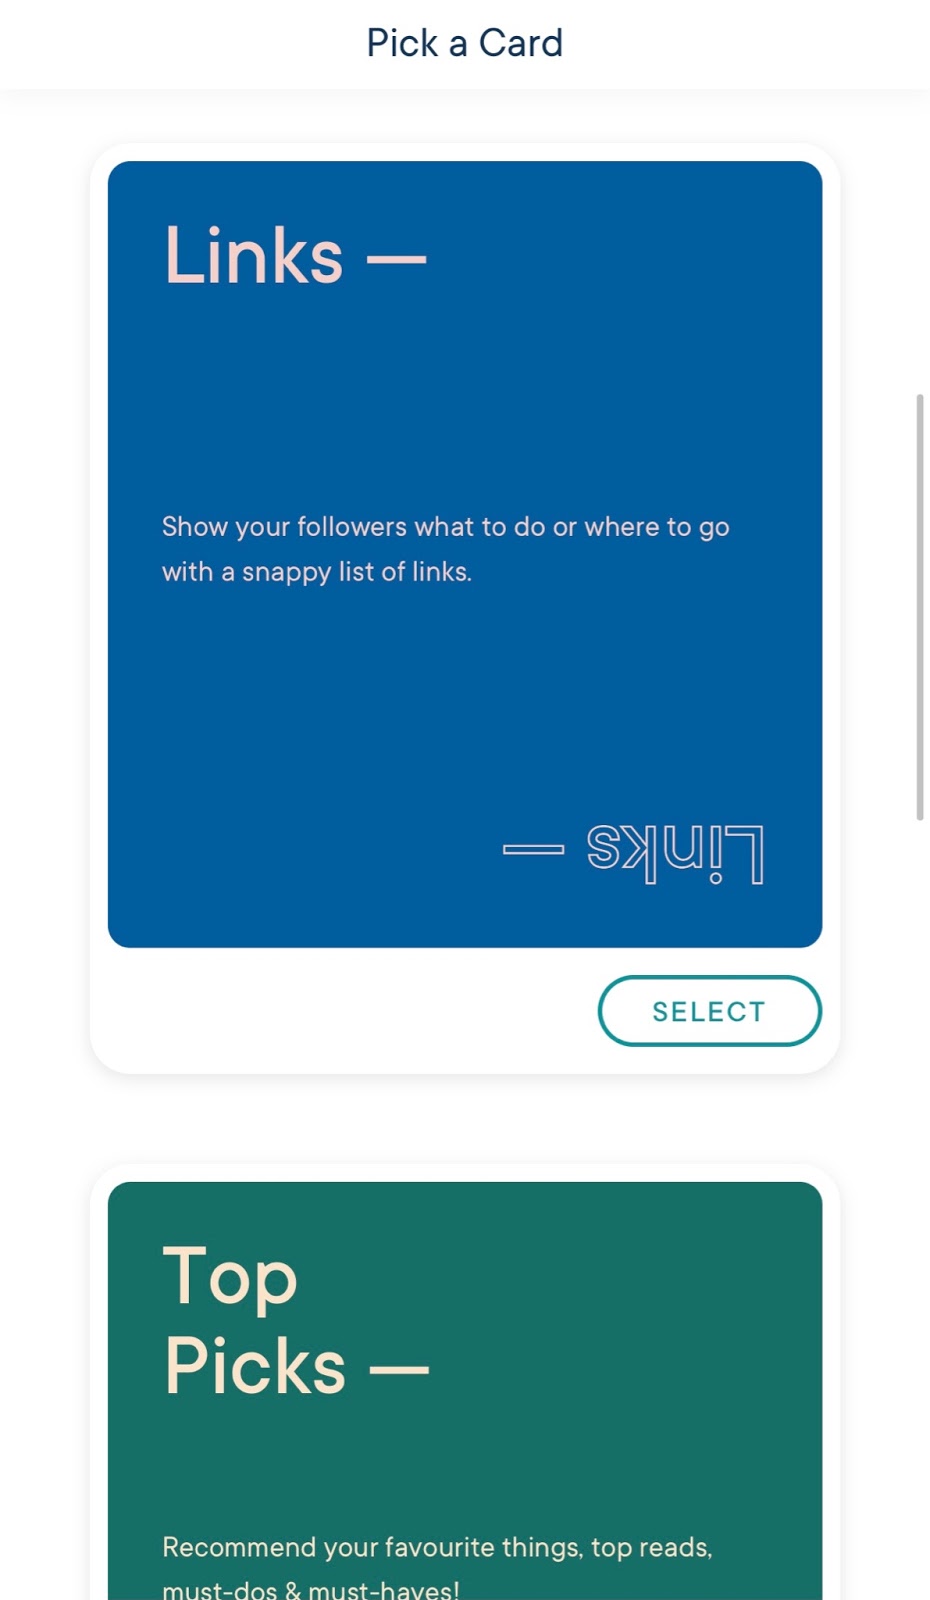
You can choose from a variety of “Cards” to add to your landing page. The cards that you can add are really useful for splitting up your website for different purposes. If you want users to see your “Top 3 Twilio Blog Tutorials” (hopefully including this one), you can add another card in addition to the one hosting your giveaway.
I recommend choosing a Links Card, just to keep the layout clean and simple.
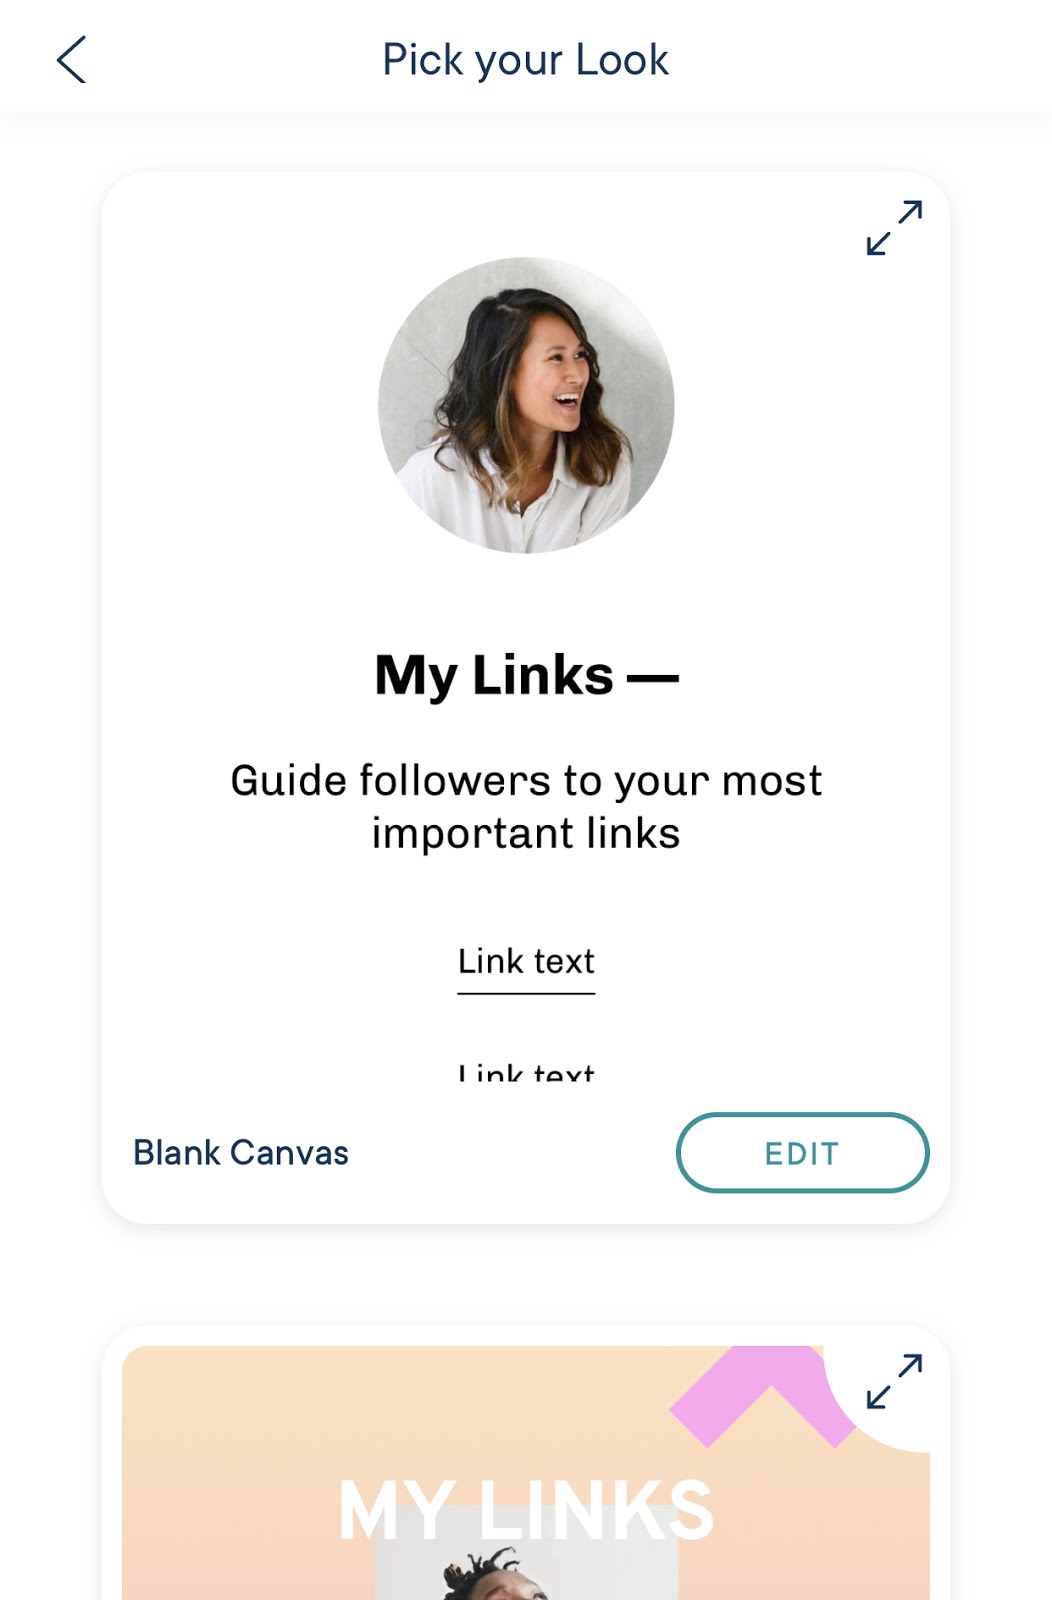
Adding “Looks” can help give your Milkshake website a consistent theme or design. You can further customize your Look by changing fonts and colors. I chose the Blank Canvas Look.
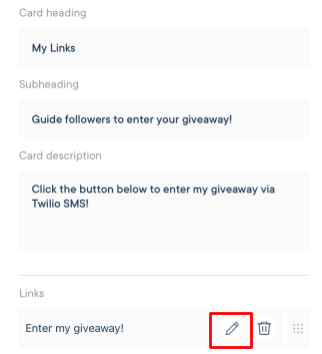
Upon editing the content of the card, you can add a heading, subheading, description and as many links as your heart desires! To add a link, press the plus button at the bottom of the page. To edit a link, click on the pencil icon outlined in the example below.
Within the next “Link text” box, add the giveaway prompt text that you decided upon earlier in this tutorial. Within the “URL” box, add the SMS URL you created above. Don’t forget to click Save!
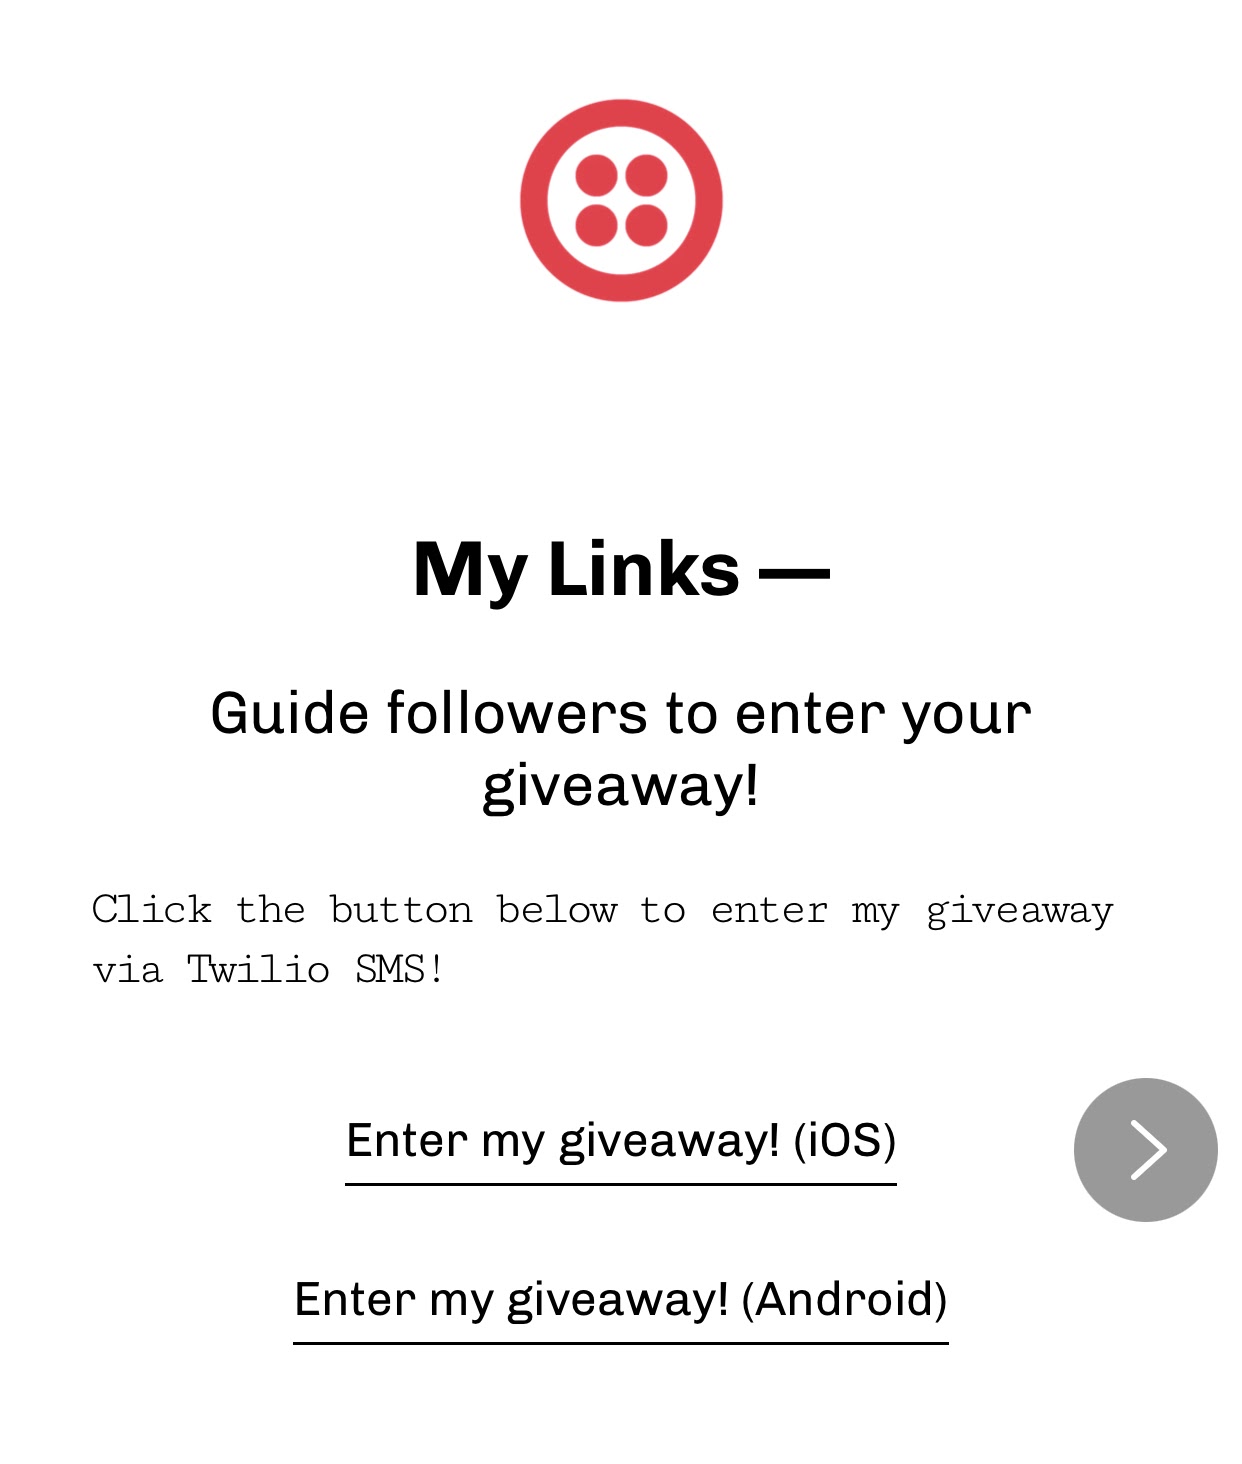
Click the “Preview” button to test out your link. After clicking the link to enter the giveaway, your text messaging app should open up with your default text message to send to your Twilio phone number.

Click the “Publish” button once you’re ready to release your landing page to the world. Congrats! But how will Twilio know how to respond to the incoming text message?
Teaching Twilio how to respond
It’s time to break out the JavaScript! First, you’ll want to create a directory that you’ll be working in for the remainder of the tutorial. I called mine TwilioGiveaway.
Then, navigate to the aforementioned directory and install the modules you’ll need using the commands below. These two specific modules are essential so that you can make HTTP requests, prepare your application to communicate with Twilio’s API, and analyze the request body. Run these lines one after the other in the command prompt.
Now, open your preferred code editor (I use Visual Studio Code), create a new file, and name it giveaway.js. In the first few lines of giveaway.js, load the packages that you installed earlier and initialize your application.
On the third line, you can see that you’ll be using TwiML, Twilio Markup Language. TwiML is an XM- based language which instructs Twilio on how to handle various events such as incoming and outgoing calls, SMS messages and MMS messages. I highly recommend reading more about what you can do with TwiML for Twilio Programmable SMS.
Beneath the code you’ve added so far, add the following line in order to utilize the body-parser middleware. This will interpret any strings in the body of the request, which is the text sent by the user to your Twilio phone number.
Next, you’re going to set up an HTTP POST request. This POST request will only be sent to the server once the SMS to your Twilio phone number is received, operating as a callback function or webhook.
The webhook I’ve written below will respond to Twilio with TwiML instructions on how to handle the incoming message.
I’ve added some useful if else logic to ensure that only users who send the scripted text, “I want a chance to win!”, will be eligible to enter the giveaway. All other messages will receive an error message in return.
Copy and paste the following code beneath the code you have so far in giveaway.js:
This last code chunk to add below will set up a port, or communication endpoint, to host the server. When you run your entire script, the server will start “listening” on this port for any incoming requests from Twilio.
Don’t forget to save your giveaway.js file within your TwilioGiveaway folder!
Running the code
Before running your script in the command prompt, it’s vital that you make your application accessible over the internet so it can communicate with Twilio. This is where Twilio CLI comes in handy. The Twilio CLI will set up a public webhook URL that is connected to your local server.
You can install it globally on your system by running the following code in your command prompt.
Next, log in to your Twilio account and from your Dashboard, grab your unique Account SID and Auth Token. Navigate back to your command prompt, run the following, and enter the credentials you just retrieved.
Then, run the next line to configure your Twilio phone number to call your webhook URL.
In another command prompt window, run the Node.js app you created.
Everything should be set up now for you to test your app!
Testing your giveaway app
With both command prompt windows running, access the landing page from your smartphone. Click on the link to enter the giveaway.
Your preferred text messaging app should open up with the default text prepopulated. Ensure that the recipient is your Twilio phone number. Feel free to send!
Note: If you run into errors during this step, ensure that your personal phone number is added to the Verified Caller IDs list under the Phone Numbers menu on your Twilio account.
Within seconds, you should receive a reply similar to the screenshot below.
Now, to observe the if else logic incorporated in your POST request, send your Twilio phone number a different message. You should receive the response below.

From this point forward, you can access a record of all phone numbers that have entered your giveaway from the Logs page of the Programmable Messaging menu on your account. If you encounter any messaging errors, their explanations will be logged here as well.
Conclusion
To wrap it up, Twilio Programmable SMS is a powerful and reliable service that’s perfectly suited to manage the mass amount of messaging required to run a giveaway. I hope you enjoyed this tutorial where you learned how to:
- Initiate SMS messages from URLs
- Write and configure Twilio webhooks
- Understand and interpret TwiML
- Utilize Twilio CLI to connect to your local server
Here are some ideas for enhancing this project:
- Learn how to use Twilio Serverless Functions to run your giveaway even while you’re not at your computer!
- Incorporate a Google Sheets API to automatically add someone’s phone number to a Google Sheet upon texting your Twilio phone number. This would make it possible to keep track of who entered the giveaway and randomly choose a winner.
- Upgrade your Twilio free trial account to remove the trial message from your text messages and accept text messages from unverified caller IDs.
Sophia Upshaw is a tech consultant. When she’s not working from her cozy home office, you can find her running her post-graduate lifestyle blog, coming up with countless app ideas, and binge-watching Dateline episodes. She can be most easily reached on Instagram (@sophiathegoodgraduate).


Related Resources
Twilio Docs
From APIs to SDKs to sample apps
API reference documentation, SDKs, helper libraries, quickstarts, and tutorials for your language and platform.
Resource Center
The latest ebooks, industry reports, and webinars
Learn from customer engagement experts to improve your own communication.
Ahoy
Twilio's developer community hub
Best practices, code samples, and inspiration to build communications and digital engagement experiences.