Sending SMS Messages with Deno, TypeScript, and Twilio Messaging
Time to read: 11 minutes
November 30, 2020
Written by
Reviewed by

There are over 4.5 billion text-enabled devices; that’s a huge potential to notify people about upcoming appointments, special events, breaking news, or commercial promotions. Sending SMS messages programmatically enables you to reach many people almost simultaneously. With Twilio Messaging you can create a Deno application that sends many messages and reports when each of them has been delivered, or not.
Twilio Messaging includes an HTTP REST API that makes it easy to interact with the SMS API. Once an SMS message request is created with the REST API, its status can be retrieved using another endpoint.
Deno is a new runtime environment for JavaScript that provides the capabilities of Node.js without the heavyweight package deployment and complex package management required for Node.js applications. Deno provides new features to support the wide range of contemporary server-side applications being developed with JavaScript, a range that wasn’t envisioned when Node.js was developed. Deno includes native support for TypeScript; no additional components are required.
You can create a mechanism for monitoring and reporting the status of an SMS message request using ReactiveX for JavaScript (RxJS) Observables, which can emit new results asynchronously as the data from an underlying source changes. By creating an Observable wrapper around each message request and calling the status endpoint periodically, you can get message delivery information for each number and asynchronously report the status for each number as it changes.
Important compliance note: There are rules for using SMS messaging and they vary between countries. Familiarize yourself with the rules of the countries in which you’ll be sending messages with the Twilio Regulatory Guidelines for SMS.
Understanding the tutorial project
This tutorial will show you how to create a helper library that enables you to send an SMS message to a phone number and reports the status of each message. The library that you will create will be built with Deno in mind. You’ll use the Twilio Messaging SMS service to send the messages by using Twilio’s REST API in your program. You’ll create a RxJS wrapper, a mechanism that enhances existing code with new functionality, around the SMS functionality in the helper library.
You’ll learn how to create an Observable from scratch and emit the status of an SMS request with an Observable. You’ll find out how to use the RxJS operators distinct, flatMap, takeWhile, and takeUntil. You’ll also create a timeout mechanism using the RxJS timer function to abandon status polling when a timeout interval elapses.
Prerequisites
To complete the project described in this tutorial you will need the following tools and resources:
- Deno – Follow the link for installation instructions for a wide variety of operating systems and package management tools.
- Twilio account – Sign up for free using this link and receive an additional $10 account credit when you upgrade to a regular account.
- Twilio CLI – The Twilio command-line interface requires Node.js and npm, which is installed with Node.js.
- Git – Required for cloning the companion repository or managing the source code as a Git repo.
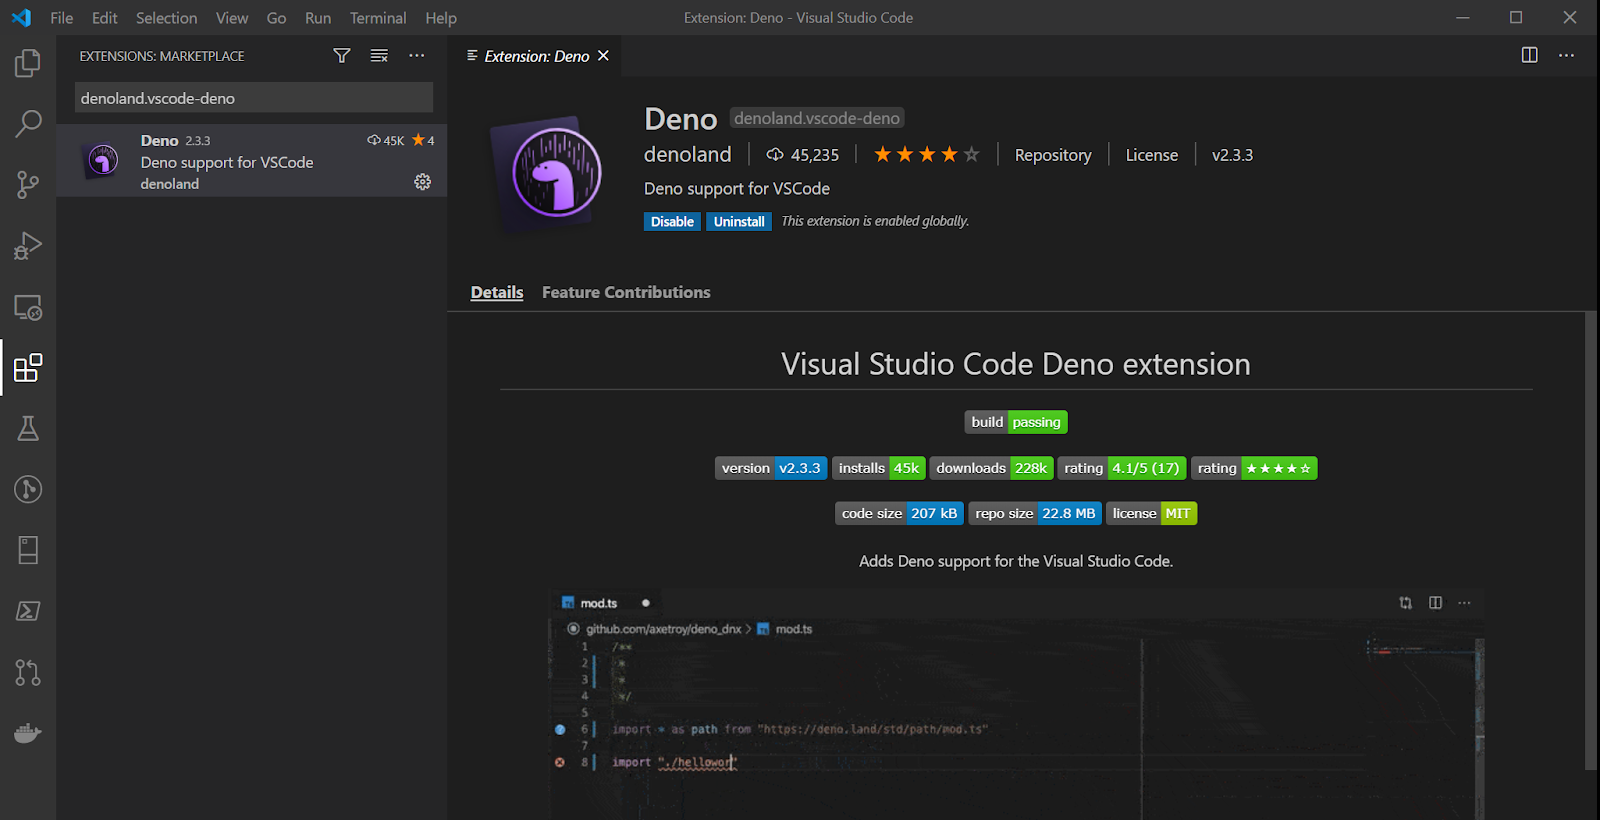
Visual Studio Code users, ensure that you have the denoland.vscode-deno extension installed:
The Deno extension provides numerous features, including intelligent module import and full intellisense support.
You should also have a working knowledge of the core elements of TypeScript, asynchronous JavaScript mechanics, and ReactiveX programming. Knowledge about Deno essentials is also beneficial; you can learn the basics from the Hello Deno post here on the Twilio blog.
There is a companion repository for this post available on GitHub. It contains the complete source code for the project described in this tutorial and it’s available under an MIT license so you can use it in your own projects.
Getting your Twilio account credentials
To use the Twilio CLI and interact with the Twilio APIs you’ll need three essential pieces of information from your Twilio console dashboard: Account SID, Auth Token, API Key, and API Secret. You can find the Account SID and Auth Token on the top right-hand side of the dashboard. To generate the API Key and API Secret, navigate to Settings/API Keys and click on the red plus button to generate a new key.
These are user secrets, so be sure to store them in a safe place.
To use your credentials in development, you’ll want to store them as environment variables or in a .env file. If you choose to store them in a file, ensure the filename is included in your .gitignore file, so you don’t inadvertently check them into a public repository. For this tutorial, you’ll store your secrets as environment variables.
If you are using a Unix-based operating system, such as Linux or macOS, you can set environment variables using the following commands:
If you are a Windows user, use the following commands:
Getting a Twilio Phone Number
Twilio SMS messages are sent using Twilio phone numbers, which provide instant access to local, national, mobile, and toll-free phone numbers in more than 100 countries with a developer-friendly API. You can get a Twilio phone number for free as part of your trial account.
Once you’ve created a Twilio account, you can use the Twilio CLI to get a phone number.
Note: If you’ve previously installed the CLI, be sure you have the latest version by executing the following command:
If you’ve stored your Twilio credentials as environment variables, the Twilio CLI will use them automatically. If you’ve stored them in some other way you’ll have to login by using the following command:
To list the phone numbers available for registration, use the following command, substituting the appropriate ISO 3166 alpha-2 country code for “US”, if necessary:
You should see a list similar to the below output:
Copy one of the numbers from the list and register it to your Twilio account by using:
If your registration attempt is successful, you should see:
Once registered, the phone number is available for your use (until you release it using the CLI or Twilio Console). Note that the SID associated with the phone number is a user secret and should be handled securely. Keep the registered phone number under the TWILIO_PHONE_NUMBER environment variable in E.164 format.
When using Linux, Unix, or macOS:
For Windows users:
To verify the number has been successfully added to your account, send a test message to an SMS-enabled phone number:
Note: With a trial account you can only send messages to phone numbers you’ve previously registered to your account. The SMS-enabled phone number you used to sign up for your Twilio account is the first number you’ve registered.
The API will return a response similar to the below output to indicate the SMS message has been successfully received and is queued to be sent:
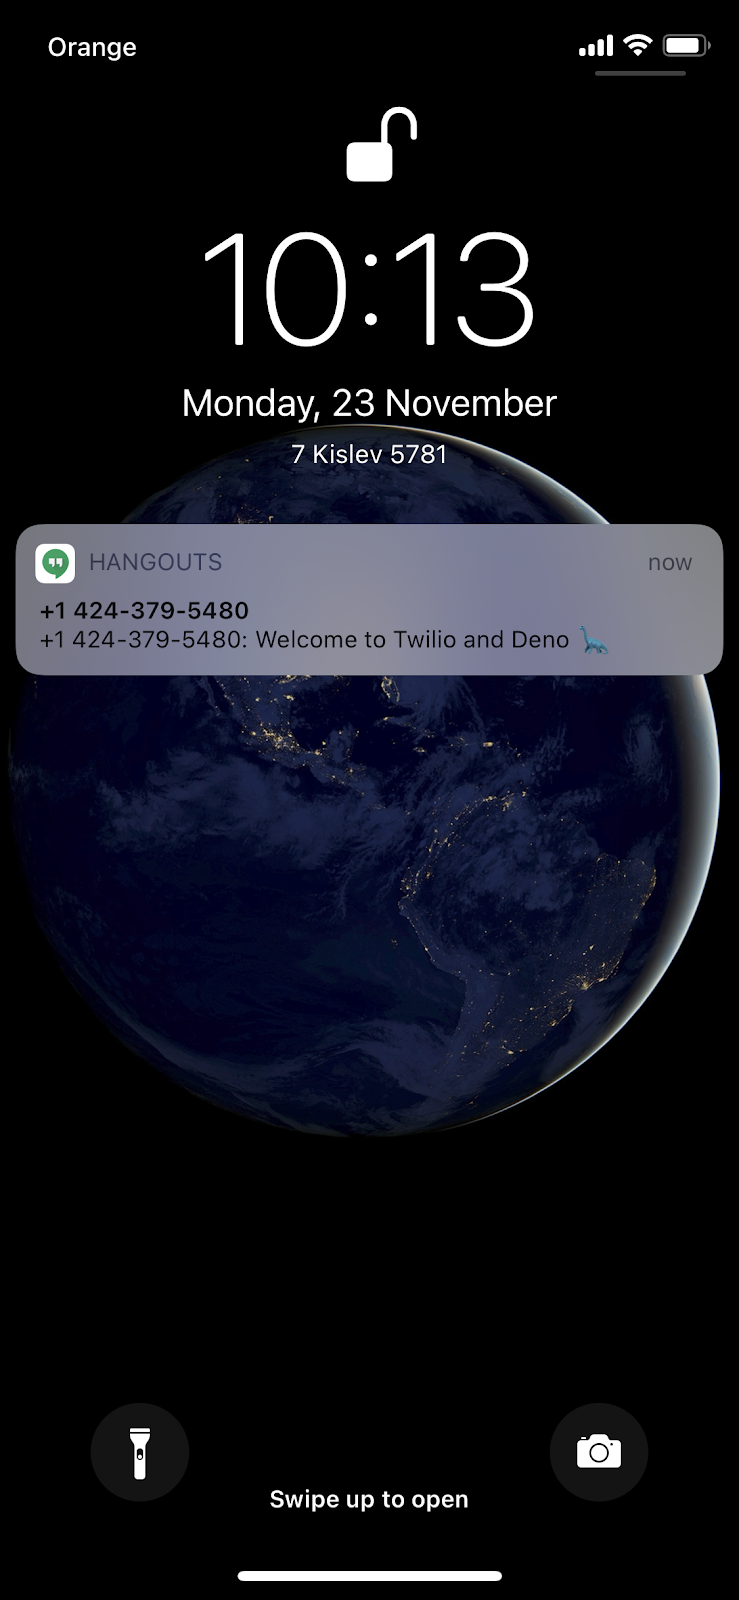
Within a short time you should receive an SMS message on your phone:

You can check the status of the message creation request using the following CLI command:
You will see a response similar to the following:
If your message isn’t delivered you can use the status logs in the Twilio console to help you identify the problem. If you’re using a Twilio trial account, be sure you’re sending to a registered phone number.
Initializing the Deno project
Once you’ve registered and tested the phone number, you can initialize the project and its Git repository with a series of command-line instructions.
Open a console window and execute the following instructions in the directory where you want to create the project directory:
These commands will create the project directory and the first code file, and initialize a Git repository for the project.
Enabling the Deno extension for Visual Studio Code
If you’re using Visual Studio Code and the Deno extension mentioned in the Prerequisites section, you’ll need to enable the extension for this project.
Create a .vscode/settings.json file in your project folder and add the following JSON:
You can also use the VS Code user interface to change the setting for the Workspace. Enabling the Deno extension for the User is not recommended.
Creating the helper class
Insert the following code into the twilioSMS.ts file you’ve created with the preceding command-line instructions:
The above code defines and exports the SMSRequest interface. At the beginning, the code informs the TypeScript Compiler that this interface is indexable, so can be treated as a map of the string -> string values. The interface contains three fields of string type:
- From – The Twilio phone number that you’re going to use to send an SMS
- To – The phone number which will receive the SMS message
- Body – The SMS content
Within the same file, create and export the TwilioSMS class by inserting the following code below the existing contents:
This class will be the helper that can be used outside of this file to send SMS requests through the Twilio API.
Create the TwilioSMS class constructor, beginning with importing the base64 helper function the class will use to encode the authorization header.
Insert the following code at the top of the file:
Declare the constructor by inserting the following code in the twilioSMS class:
The constructor accepts three parameters:
- accountSID – unique identifier of a Twilio account
- keySID – unique identifier of an API key
- secret – key secret value
The first parameter is preceded by the accessor keyword private, so it’s converted into a private class field and can be reused in other methods. Using the keySID and secret values, the constructor builds the basic access authentication header that must be sent with every HTTP request to the Twilio API. The constructor uses the base64 helper method imported above. The prepared header is stored in the authorizationHeader class field.
Implement the function responsible for sending SMS requests to the Twilio API.
Insert the following code in the TwilioSMS class below the existing contents:
The above code defines an async function, postSMSRequest that accepts as a parameter an SMSRequest object. It returns a Promise that resolves with a URI which can be called to check the request status.
The body of the function performs an HTTP POST request to the https://api.twilio.com/2010-04-01/Accounts/YOUR_ACC_SID/Messages.json URI to place the send SMS request, with the YOUR_ACC_SID placeholder replaced with your actual Account SID.
This HTTP request uses the Authorization header built in the constructor. The contents of the SMS message is passed within the body of the POST request. The body must be sent in the url-encoded form: key1=value1&key2=value2. The payload object is transformed into the url-encoded string using the URLSearchParams object.
If the request is accepted, a Promise returned by this function resolves with a URI, otherwise, it rejects.
Polling the message status
The URI returned by the postSMSRequest can be used to poll the status of the request, made to the Twilio API. The function which covers this functionality will return an Observable.
Add the following import statements at the top of the twilioSMS.ts file:
Add the following code at the bottom of the TwilioSMS class to implement the function that polls the message status:
The pollRequestStatus function accepts a URI as a parameter, which it will use to perform requests for the message delivery status. The function returns an Observable that emits the status whenever it changes.
Because the finalized message delivery status has some inherent limitations imposed by the way the SMS system works, the value “sent” can indicate either that the message is in the process of being delivered or that it was delivered and Twilio did not receive a delivery confirmation, or another status, from the carrier(s).
The timeout constant at the beginning of the function provides a basis for resolving message status Observable when Twilio doesn’t receive a carrier response.This constant will emit a single value after the time specified in the timer constructor: 10 seconds. When the timer emits, the function abandons the polling process.
Next, the timer constructor uses two parameters to instantiate an Observable that will emit a value every 0.5 seconds. This Observable is piped with the following operators:
flatMap – Request a message delivery status from the Twilio API using the fetch method. Because fetch returns a Promise, it needs to be transformed into an Observable using the from method. This call is performed periodically every 0.5 seconds.
distinct – Removes repeated status responses with the same value and passes forward only distinct values.
takeWhile – Specifies how long to poll the status. Continues as long as the status is different from “delivered” or “undelivered”. The optional second parameter, true, instructs the operator not to skip the first return value.
takeUntil – Specifies the condition to stop polling the status, which is the timeout constant: 10 seconds.
Last, but not least, add the method that will be available outside of the TwilioSMS class:
The sendSMS method accepts the SMSRequest object passed as a parameter. It returns an Observable that emits the message delivery status whenever it changes. That function calls the postSMSRequest, which returns a Promise. The from RxJS operator creates an Observable from that Promise. Once the Observable emits a URI which can be used to poll the message delivery status, the function passes this URI to the pollRequestStatus function, using the flatMap operator and returns the Observable emitted by that function to the sendSMS caller.
Testing the completed helper class
Now that you’ve built a Deno compatible wrapper class for the Twilio Messaging SMS service you can test the completed functionality. The best and easiest way to do this is to create a short TypeScript program that loads your Twilio credentials and sends an SMS message.
Create a twilioSMStest.ts file and insert the following code:
The program begins by importing the TwilioSMS class and SMSRequest interface. Then reads values of the environment variables used to communicate with the Twilio API:
- TWILIO_ACCOUNT_SID
- TWILIO_API_KEY
- TWILIO_API_SECRET
- TWILIO_PHONE_NUMBER
Once those values are loaded into the program, it sets up a message constant representing the SMS request to be sent to the Twilio API.
Replace the +12345678910 placeholder for the To field with the mobile phone number you registered with Twilio when you created your Twilio account. Be sure to use E.164 format, including the appropriate country code.
The program sets up an instance of the TwilioSMS class, invokes the sendSms method, and subscribes to the Observable returned by it.
Run the program using the Deno CLI:
The output should show that the message sent to the Twilio API has the status “sent”, which then changes to “delivered”, like the following:
You should also receive the message on your mobile device:
Using this code in other projects
The Deno ecosystem is designed for code reusability. Once this code has been published online you can use it in other Deno programs.
To try this out, remove the twilioSMS.ts file and modify the twilioSMStest.ts to import the helper library from the internet, as follows:
Re-run the program to verify if it works as expected. You should see the following output similar to the following in your console window:
You’ve built your own SMS messaging app with Deno! Share your accomplishment with your colleagues! 🙌
Cloning and running the completed project
If you haven’t been following along, but would still like to run the program in this tutorial, you can find the complete code in the companion repository. To clone the repo, execute the following command-line instructions in the directory where you would like to create the project root directory:
Once you’ve cloned the project you’ll need to update twilioSMStest.ts with the mobile phone number to which you want to send SMS messages before executing the deno run command.
Summary
In this post you’ve learned how to create a Deno helper library that uses Twilio’s REST API to send SMS messages. You’ve seen how to use distinct, flatMap, takeWhile, and takeUntil Observable operators in this context. You’ve also seen how to create a timeout mechanism using the RxJS timer function to abandon status polling when a timeout interval elapses.
Additional resources
Refer to the following sources for more information discussed in this post:
Hello Deno - Learn the Deno basics.
Asynchronous JavaScript: Introducing ReactiveX and RxJS Observables – Learn to program with the ReactiveX Observables.
Confirming SMS Message Delivery with RxJS Observables, Node.js, and Twilio Programmable SMS - Learn how to send SMS messages using Twilio in Node.js
TwilioQuest – Defeat the forces of legacy systems with this 16-bit style adventure game.
Maciej Treder is a Senior Software Development Engineer at Akamai Technologies. He is also an international conference speaker and the author of @ng-toolkit. You can learn more about him at https://www.maciejtreder.com. You can also contact him at: contact@maciejtreder.com or @maciejtreder on GitHub, Twitter, StackOverflow, and LinkedIn.
Gabriela Rogowska contributed to this post.


Related Resources
Twilio Docs
From APIs to SDKs to sample apps
API reference documentation, SDKs, helper libraries, quickstarts, and tutorials for your language and platform.
Resource Center
The latest ebooks, industry reports, and webinars
Learn from customer engagement experts to improve your own communication.
Ahoy
Twilio's developer community hub
Best practices, code samples, and inspiration to build communications and digital engagement experiences.