Write to a Notion Database via SMS with Twilio Serverless
Time to read: 4 minutes
June 14, 2021
Written by
Reviewed by

Notion is an app that bills itself as "an all-in-one workspace where you can write, plan, collaborate and get organized", letting you take notes, add tasks, manage projects, and more. They recently released their API. Read on to see how to write to a Notion database using Twilio Programmable Messaging, the Twilio Serverless Toolkit, and Twilio Functions.

Prerequisites
- A Twilio account - sign up for a free one here and receive an extra $10 if you upgrade through this link.
- A Twilio phone number with SMS capabilities - configure one here.
- Node.js installed - download it here.
- Notion account - download the Mac or iOS app here and make an account (or you can just make an account at that link and use Notion in the browser).
- A personal phone number to test the project.
Get Started with the Notion API
Go to the Notion API website and make sure you are logged into a Notion workspace as an Admin user. If you're not an Admin in your current workspace, make a new personal workspace for free here. From the Notion API site, click on My integrations in the top right corner.

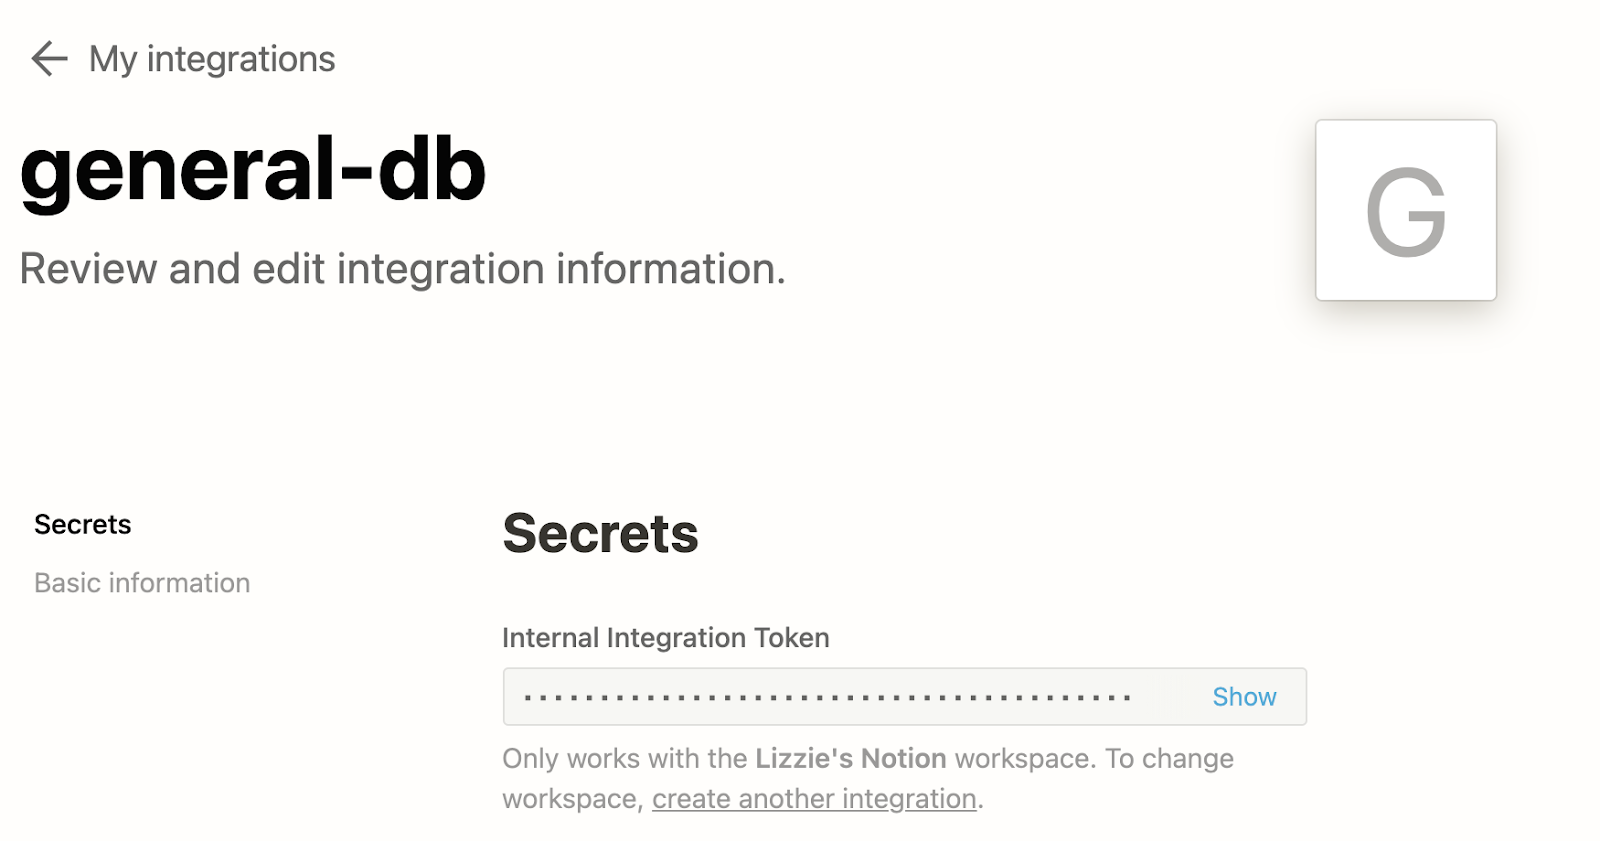
Select New integration and on the following page, give your integration a name like general-db. For the purposes of this post, the integration type can be internal.
After clicking Submit, you will be taken to a page with your integration's Internal Integration Token. Copy it and keep it hidden for later.
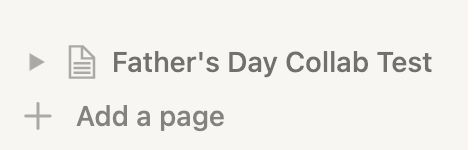
Make a new Notion page in your workspace either in your Notion app or at notion.so by clicking the plus sign next to Workspace. Your Notion workspace might have an Add a Page button beneath all the workspaces which you would click instead, like this.
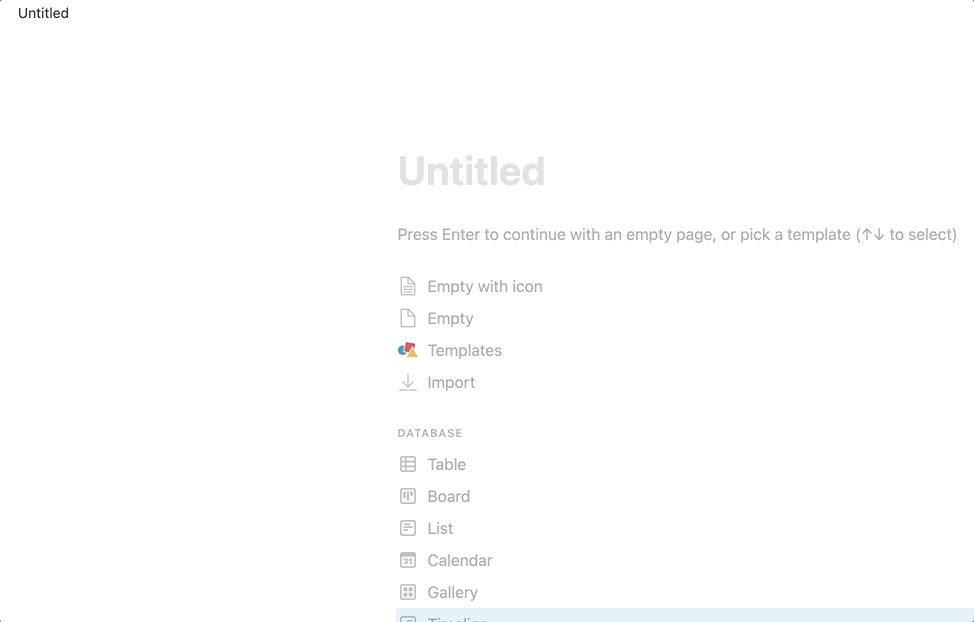
For this blog post, I made a workspace called Trip to-do's and then added a table as shown in the gif below: type "/" and select Table-Full page.
This inserts a new database into our workspace. You can read more on the types of databases in Notion here.
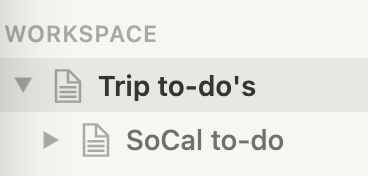
The workspace organization should look similar to the "Trip to-do's" directory with the database named "SoCal to-do" nested in the project workspace as seen in this example:
Integrations don't have access to any pages or databases in the workspace at first: a Notion user needs to share certain pages with an integration so that the pages can be accessed using the API and keep the information in Notion secure.
To let the Notion API access our database, click Share in the top right of your database (in the workspace) followed by the blue Invite button. Under Integrations, click Trip to-do's workspace.
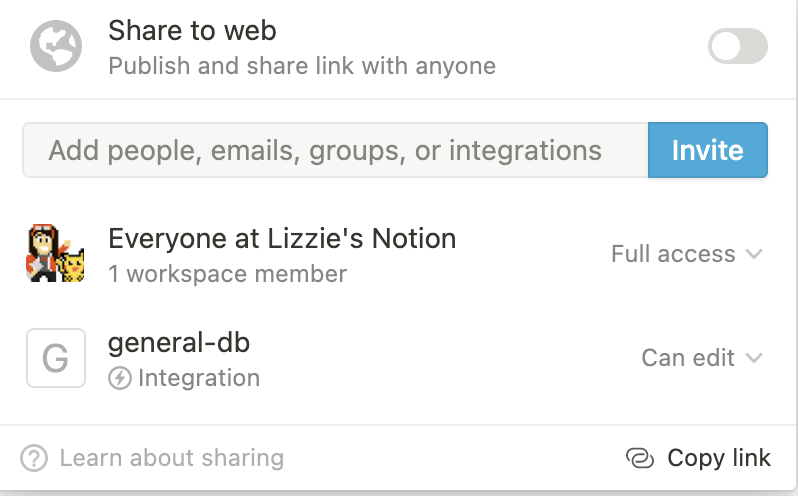
You can see more information on sharing a database with your integration here on the Notion API website.
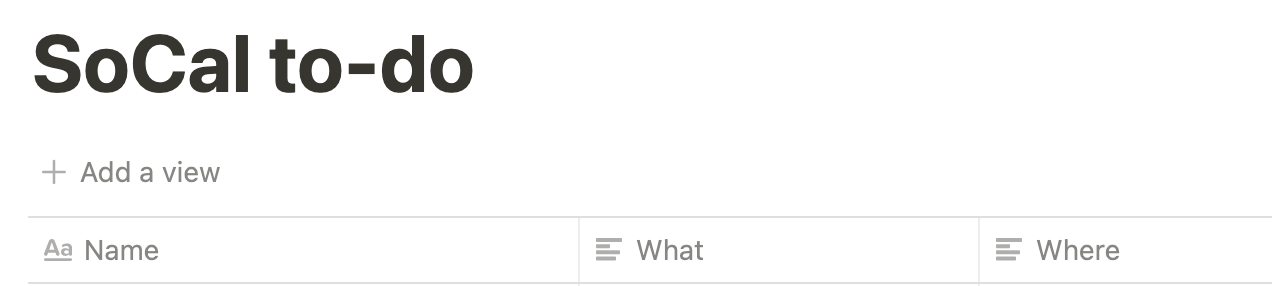
Give your database a title and some column names. This blog post's database is named "SoCal to-do". The column names reflect the data we want to keep track of such as Name, What, and Where. Set these in the Notion app like below:
Take note of the ID of the database you just created. Open Notion in a browser and view the database as a full page. The database ID is in between the URL after notion.so and ends before the question mark. The ID is 32 characters long with numbers and letters. Copy the ID and save it somewhere you can easily find soon.
The database in this article begins with dcfc and ends with e9e as seen below:

Make sure that your database link does not contain your Notion username. If you see this, you may have to make a new database under a different project workspace so that it looks like the image above.
So far, we can add items to the database in Notion, but what if a user does not have Notion? Now we can add Twilio to the project so that non-Notion users can fill the database via SMS!
Get your App Up and Running Quickly with the Twilio Serverless Toolkit
The Serverless Toolkit is CLI tooling that helps you develop locally and deploy to Twilio Runtime. The best way to work with the Serverless Toolkit is through the Twilio CLI. If you don't have the Twilio CLI installed yet, run the following commands in the terminal to install it and the Serverless Toolkit:
Run the following commands to create your new project and install the lone requirement superagent - an HTTP client library to make HTTP requests in Node.js:
Edit the .env file and add an environment variable called NOTION_API_KEY for your Notion API key.
Make a Twilio Function with JavaScript
cd into the /functions directory and make a new file called write_to_db.js containing the following code:
This code imports superagent so that we can handle HTTP requests in Node.js. It also makes a Twilio Messaging Response object which retrieves the inbound text message and checks the number of commas to decide which Notion database columns to post to.
The inbound message is parsed to separate the input based on commas and an object is passed to the Notion API's properties parameter which uses property names or IDs as keys. For more information on the Database object, check out this section of the Notion API documentation.
With superagent, we hit the Notion API's pages endpoint with the database ID to write content to the database. We set our Notion API key, the content-type, the Notion version, and then send a text message confirmation response back so the user knows what they texted was written to the shared database.
You can view the complete app on GitHub here.
Configure the Function with a Twilio Phone Number
To open up our app to the web with a public-facing URL, go back to the notion-api-twilio-sms root directory and run twilio serverless:deploy to deploy the app. This will return some information including a few URLs as shown below:
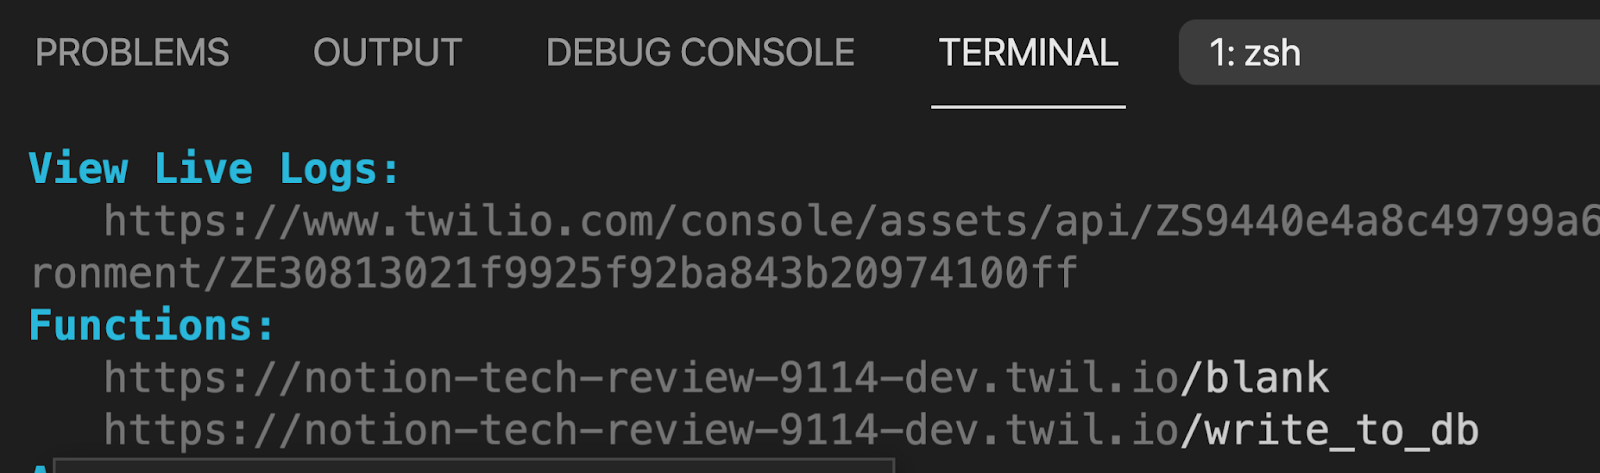
Grab the Function URL ending in '/write_to_db' and run these commands:
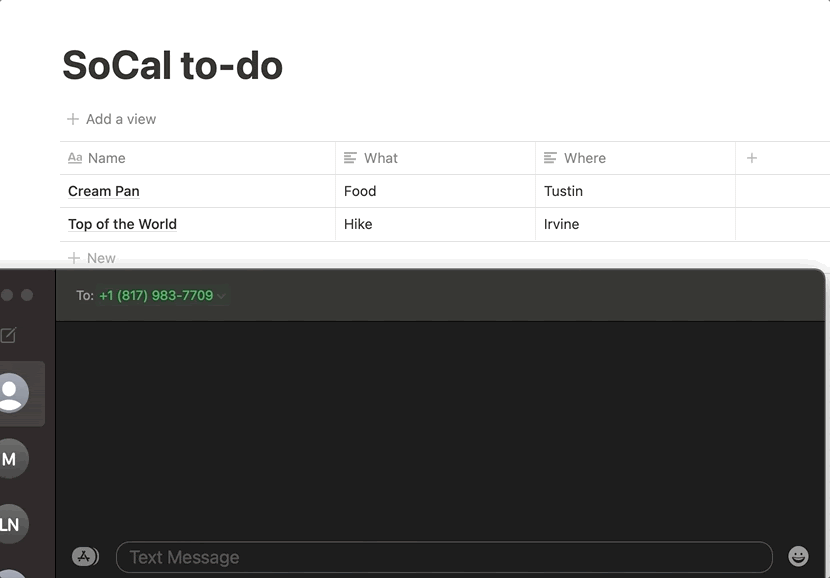
This connects the Twilio phone number to the deployed Function URL. If you view the phone number in your Phone Numbers Console, it will still show up there as a "Function" and not a "Webhook URL". You can now text your Twilio number things to do with its name, what, and , where separated by commas and have it written to your Notion database.
What's Next for Twilio Serverless and the Notion API?
There is a Notion integration that uses SendGrid to send an email whenever the Status property of a page in a database is updated, showing how Notion can cause an external action, and you can use the Notion API for so much more!
Let me know online what you're building with Serverless or how you use Notion.
- Twitter: @lizziepika
- GitHub: elizabethsiegle
- Email: lsiegle@twilio.com
- Livestreams: twitch.tv/lizziepikachu


Related Resources
Twilio Docs
From APIs to SDKs to sample apps
API reference documentation, SDKs, helper libraries, quickstarts, and tutorials for your language and platform.
Resource Center
The latest ebooks, industry reports, and webinars
Learn from customer engagement experts to improve your own communication.
Ahoy
Twilio's developer community hub
Best practices, code samples, and inspiration to build communications and digital engagement experiences.