Integrating Twilio Verification SDK for Android using the sample backend
This guide is part of the Twilio Verification SDK integration guides
For the full flow to be implemented, you must deploy your own JWT provider. The service will receive phone numbers and return signed JWTs, using your AUTHY_API_KEY as encoding key.
First, we'll integrate the SDK against a sample backend that we've already set up for you.
To begin, add a call to the sample token server, which you can deploy with one click from the GitHub repository.
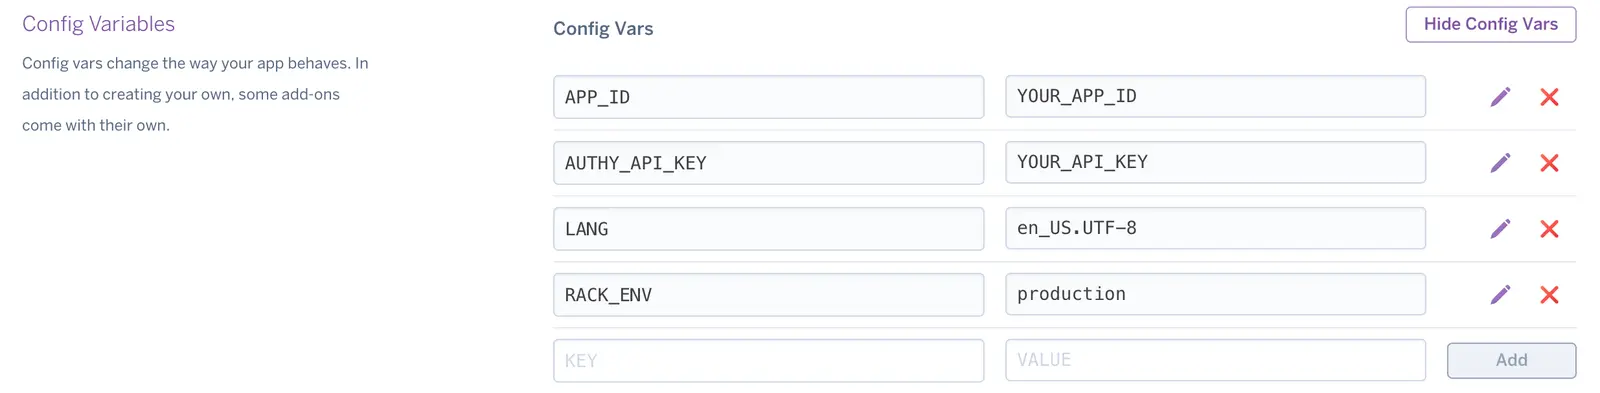
Then set your AUTHY_API_KEY and your APP_ID in the Heroku app as environment variables.
Note:
- If you need help finding your AUTHY_API_KEY, please follow these steps
- If you need help finding your APP_ID, please follow these steps

Create a new blank-activity project in Android Studio. This example uses Retrofit.
1compile 'com.squareup.retrofit2:retrofit:2.2.0'2compile 'com.squareup.retrofit2:converter-gson:2.2.0'
Retrofit interface: TokenServerApi.java
1public interface {2@POST("/verify/token")3@FormUrlEncoded4Call<TokenServerResponse> getToken(@Field("phone_number") String phoneNumber);5}
Response holder: TokenServerResponse.java
1public class TokenServerResponse {2@SerializedName("jwt_token")3private String jwtToken;45public String getJwtToken() {6return jwtToken;7}89public void setJwtToken(String jwtToken) {10this.jwtToken = jwtToken;11}12}
In the main activity initialize the service. Replace the TOKEN_SERVER_URL string with your deployed sample backend.
1private TokenServerApi tokenServerApi;23private void initTokenServerApi() {4String TOKEN_SERVER_URL = "https://verification-token.herokuapp.com";56Retrofit retrofit = new Retrofit.Builder()7.addConverterFactory(GsonConverterFactory.create())8.baseUrl(TOKEN_SERVER_URL)9.build();1011tokenServerApi = retrofit.create(TokenServerApi.class);12}
Make the call to the sample token server. This server will receive a phone number and return a JWT which will be used to verify the authenticity of the requester.
1button.setOnClickListener(new View.OnClickListener() {2@Override3public void onClick(View v) {4String numberToVerify = "1555555555"; //Should come from user input56tokenServerApi7.getToken(numberToVerify)8.enqueue(new Callback<TokenServerResponse>() {910@Override11public void onResponse(Call<TokenServerResponse> call,12Response<TokenServerResponse> response) {13String jwtToken = response.body().getJwtToken();14}1516@Override17public void onFailure(Call<TokenServerResponse> call, Throwable t) {18throw new RuntimeExecutionException(t); //Woops!19}20});21}22});
Add the SDK to your module's build.gradle:
compile 'com.twilio:verification:+'
Note: The SDK is exposed via the jCenter repository, so add that repository to your repository list in your app's build.gradle:
1allprojects {2repositories {3jcenter()4(...)5}6}
Create a TwilioVerification instance. Keep a reference in your activity or presenter
private TwilioVerification twilioVerification;
Instantiate it in onCreate(). The constructor will require a context.
twilioVerification = new TwilioVerification(this);
Add the start verification call when JWT is received
1public void onResponse(Call<TokenServerResponse> call,2Response<TokenServerResponse> response) {3String jwtToken = response.body().getJwtToken();4twilioVerification.startVerification(jwtToken, Via.SMS);5}
When the user's device receives a phone verification SMS from Twilio, Google Play services will automatically pass it to Twilio Verification SDK for validation. This will let your app know when the SDK has a response.
AndroidManifest.xml (inside the <application> tag):
1<receiver android:name=".MyVerificationReceiver" >2<intent-filter>3<action android:name="com.twilio.verification.current_status" />4</intent-filter>5</receiver>
MyVerificationReceiver.java
1public class MyVerificationReceiver extends BroadcastReceiver {2@Override3public void onReceive(Context context, Intent intent) {4VerificationStatus verificationStatus = TwilioVerification.getVerificationStatus(intent);56// NOT_STARTED, STARTED, AWAITING_VERIFICATION, SUCCESS, ERROR7state = VerificationStatus.State8}9}