Notify Android Quickstart
This Quickstart demonstrates how to send Push Notifications to an Android application using Notify and Twilio Functions.
Info
Note: In this guide we will use FCM (Firebase Cloud Messaging) as a messaging service to send Android Push Notifications. To configure FCM notifications for this Quickstart (if not configured already), follow this guide.
Warning
Note: Google Cloud Messaging (GCM) is deprecated, and we no longer maintain it. Please use Firebase Cloud Messaging (FCM) to send Android Push Notifications.
What we will do next:
- Set up a Notify Service Instance
- Gather account information
- Set up Twilio Functions
- Set up the Twilio Notify sample Android app
- Create a Binding for Firebase Cloud Messaging (FCM)
- Send a Push Notification to a device or an emulator
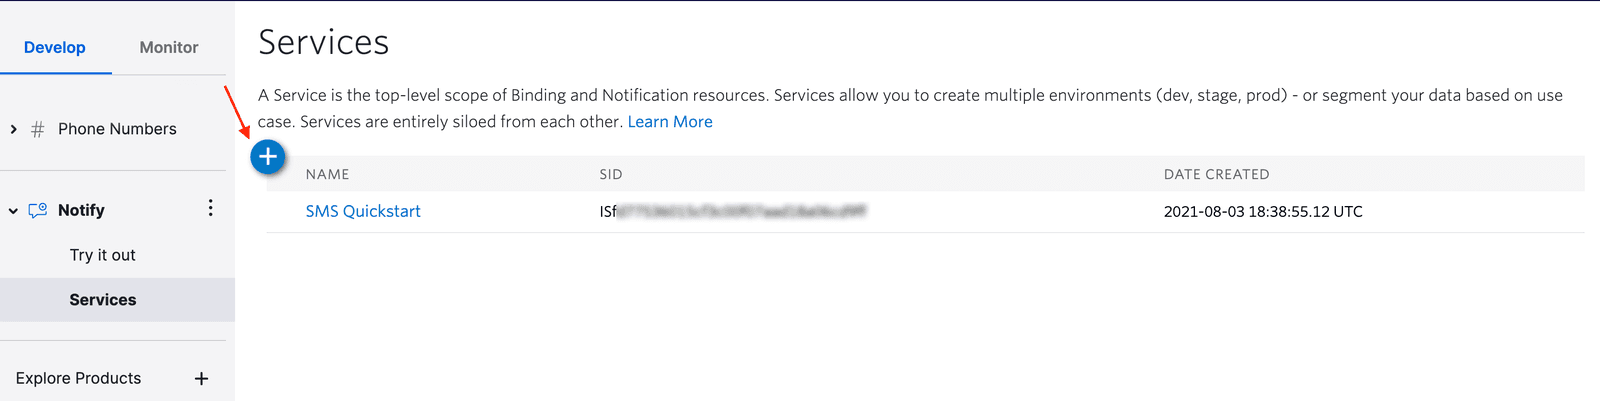
In the console, create a Notify service. Make note of the SID! You will use this later when you start writing code further down.
We need to do is grab all the necessary information from our Twilio account. Here's what we'll need
You will also need to create a push credential on the Twilio Console, and then configure it on your Notify service. You can upload your credentials here. If you do not yet have one, you can provision one following this guide.
Info
Note: Make sure that you set the package name to com.twilio.notify.quickstart when you register the app in the Firebase console to match the application package name of the Android quickstart app.
When using the Notify service, you'll need to be able to register devices to receive notifications, and then send notifications to those devices. To get you going quickly, you can use Twilio Functions.
What is 'Functions'?
Functions is Twilio's serverless code execution environment that lets you write Node.js code that can respond to Twilio webhooks or to regular HTTP POST or GET requests.
You can also always write your own server code using any of Twilio's supported server-side languages (Node.js, Python, Ruby, C#, Java, or PHP). Check out how to register bindings or how to send a notification in those languages.
The sample mobile app is already set up to communicate with Twilio Functions to register a device for notifications, but you will still need to create two Functions in your account and then specify the URL for one of those Twilio Functions in the source code of your app.
Be aware that the New Functions Editor doesn't support templates at this time, therefore, we will copy our Notify functions from the Functions (classic) editor over to the new Functions Editor.
Info
All the functions related to your application should live in the same service.
Info
Note: In the following steps we will be copying code from the classic Functions editor in the Twilio Console and pasting it in the new Functions editor. The new functions editor does not yet support templates, but this extra step will get us up and running with templated code.
We'll start by copying the Send notification and Register binding Function's code from the Functions (Classic) settings in the Twilio console. You will use this code later when you start creating your function in the new Function's editor.
First, navigate to the Functions section of the console and click the "Functions (classic)" dropdown, then click "List". Click the "Create a Function" button and then select Twilio Notify Quickstart as the template.
You will then be prompted for some configuration information. Paste the Notification Service instance SID you copied at the beginning of this quickstart. After doing this, you will now see the "Send notification" and "Register binding" functions. Click on each function, copy the functions and paste them into your favorite code editor for safekeeping.
Next, let's create a new service. Go to the Services page in the Twilio Console or to the Functions Overview page and click on the Create Service button. You will be prompted to provide a name for a new Service.
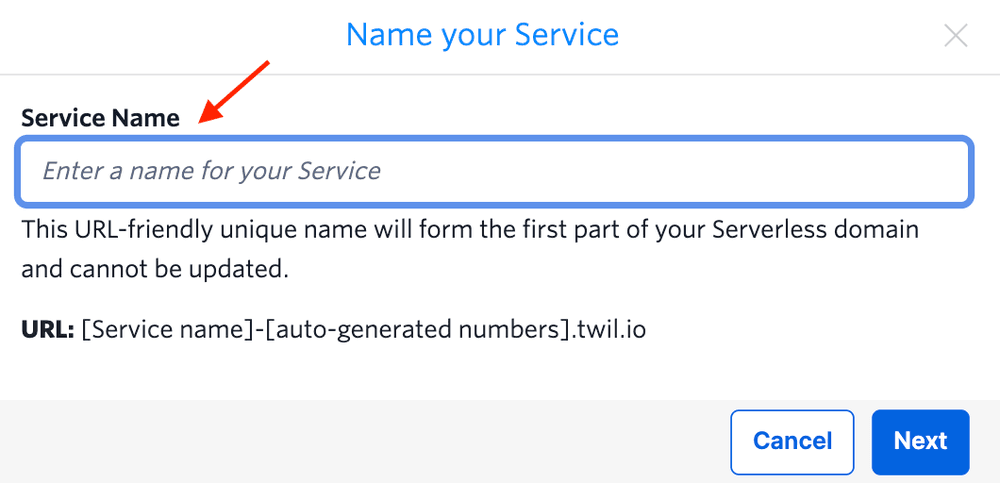
After adding the service name, click on the Next button. The Service will be bootstrapped, and you'll be redirected to the Functions Editor shortly after.
Now you can begin adding your functions. In the Functions editor, click on the Add + button, which is placed on the top left, and click on "Add Function" to create a new Function.
Use the same path name as you have in the Functions Classic. Let's add the register-binding path and paste the code you copied from function's classic inside the coding window.
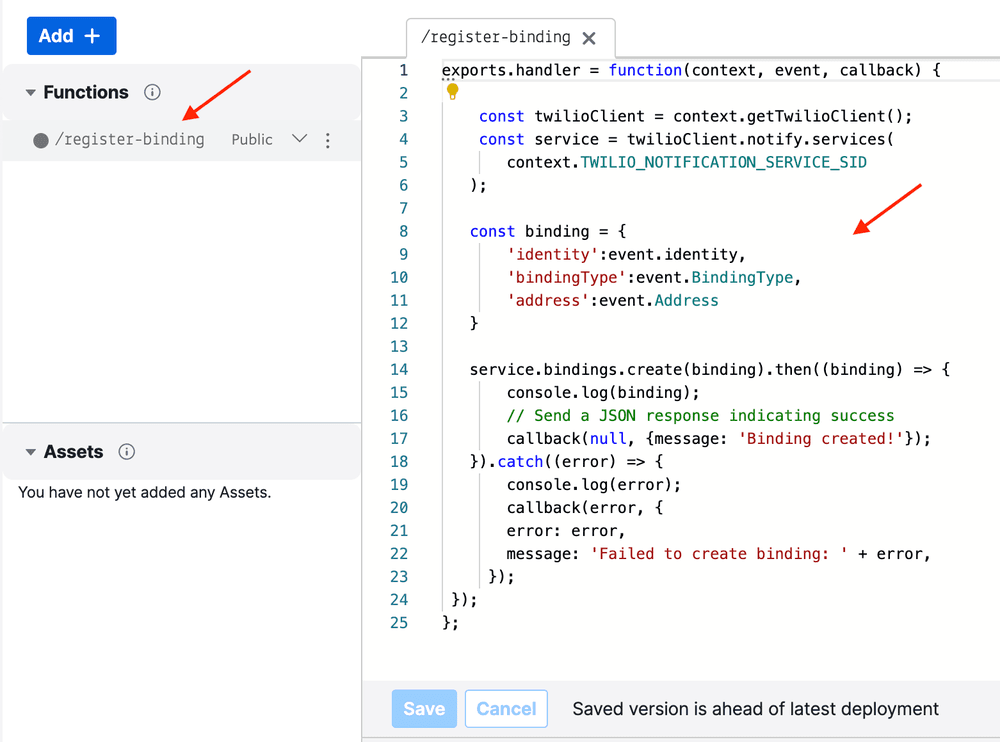
Click on the Save button.
This first function is Register Binding - available at the /register-binding path. The quickstart mobile app sends an identity and the device token that it gets from the Firebase Cloud Messaging service to this function to create a binding. Notify uses these bindings to map the device that someone is using to their identity when you send a notification.
In the same way, let's create the second function Send Notification, under the /send-notification path. Paste the code that you noted before in the new function's editor coding window.
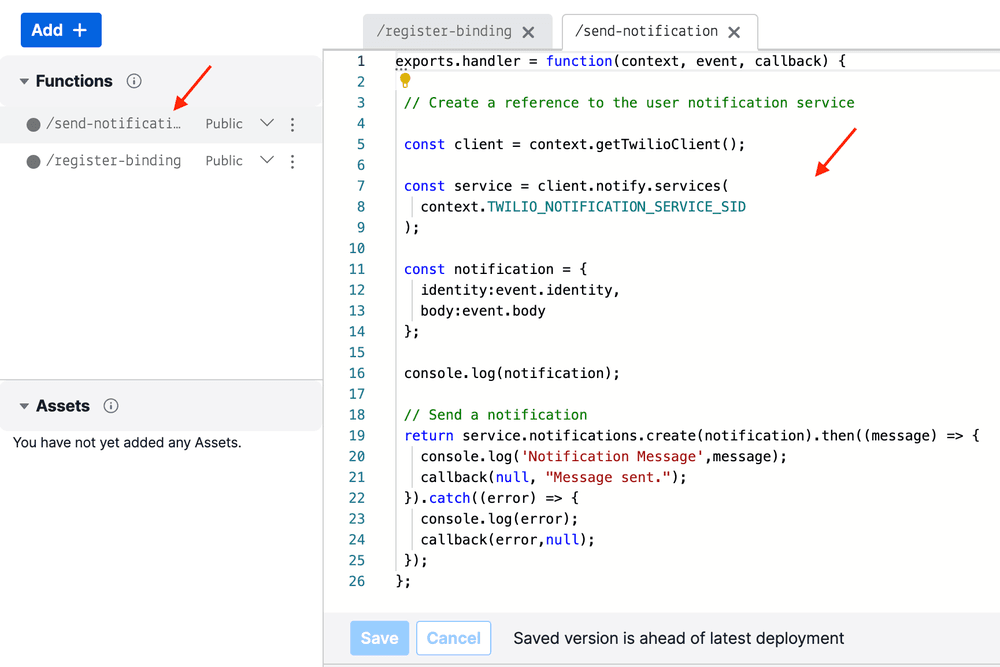
And click on the Save button.
This second function is Send Notification, and it is available at the /send-notification path. The mobile app does not use this function - instead, you can use it to send notifications to yourself on the Quickstart app.
Next, configure your environment variables. In the Functions editor, go to Settings > Environment Variables and add TWILIO_NOTIFICATION_SERVICE_SID as a key and the Service SID, that you created in the Set up Notify Service Instancestep, as a value. Click on the Add button. Don't forget to check the box "Add my Twilio Credentials (ACCOUNT_SID) and (AUTH_TOKEN) to ENV".
Now, in the Functions editor, go to Settings > Dependencies and select the Node Version: Node v12.
Finally, click on the Deploy All button. You will see logs under the editor showing your new build being created. Furthermore, you can find a link to your functions in the editor section on the right side under "Copy URL" and on the three dots on the left next to your functions' name.
Lastly, copy the URL for the register binding function. You will need that for the Android app. Each account has a different subdomain for Twilio Functions, for instance, yours might be something like this:
https://sturdy-concrete-9650.twil.io
Now that you have the Twilio Functions created, it's time to set up the Android app!
Next we need to:
- Step 1: Get the Twilio Notify sample Android app
- Step 2: Configure Android Push Notifications, if not done yet
- Step 3: Run Twilio Notify sample Android app
To get going quickly, we provide an Android sample app built as a stand-alone Android Studio project written in Java:
The application is built using the Gradle automation system and is available on GitHub.
Open Android Studio and import the project by double-clicking on its build.gradle file.
If not done yet, follow this guide to configure Android Push Notifications for the Twilio Notify sample Android app.
Use the following values for the sample app:
- App name: Notify Quickstart
- Android package name: com.twilio.notify.quickstart
Next, go to Firebase Console to generate a 'google-services.json' file for your app.
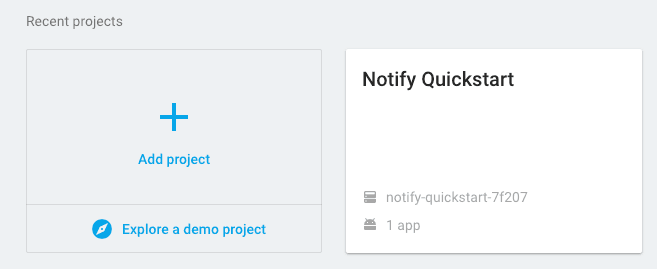
Open your project
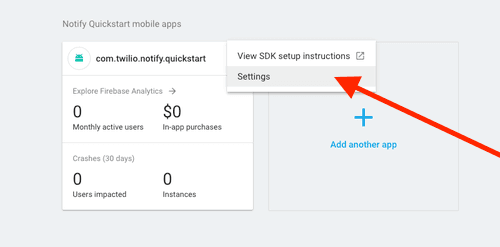
Go to the settings
Download the google-services.json file and save it to the /app folder. This file configures your app to receive notifications via FCM.

Compile the project and it will build your gradle dependencies automatically.
Next, in the notifyapi/TwilioFunctionsAPI.java file on this line: private final static String BASE_SERVER_URL = "YOUR_TWILIO_FUNCTIONS_URL"; replace the string with the address of your server.

Next, we need to create a Binding between the user Identity and the device running the app. User Identity can be any unique identifier you choose, like GUID. You can find out more about Identity and Bindings in the Binding resource reference API
In the app enter Identity you choose and click the button Create binding.
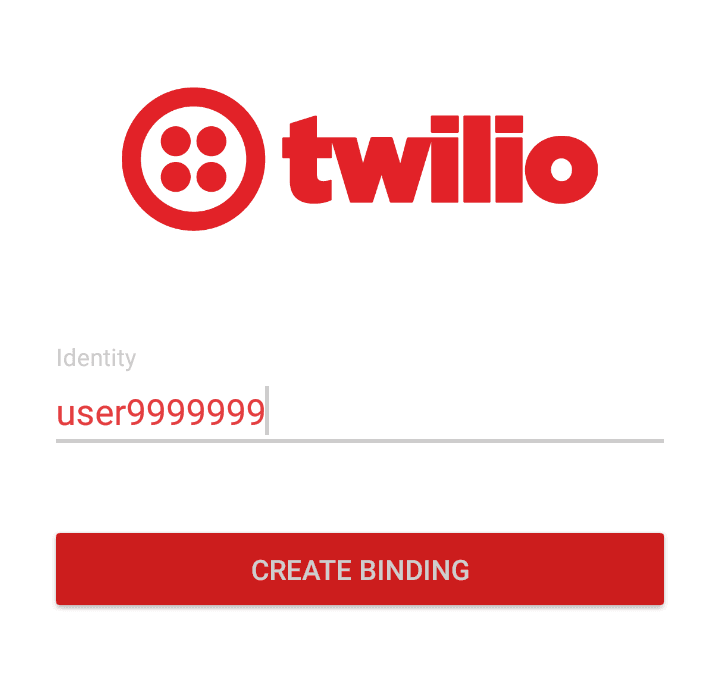
This action creates a Binding which uniquely identifies a user on a certain device, running your application.
Do not use Personally Identifiable Information for Identity
Notify uses Identity as a unique identifier of a user. You should not use directly identifying information (aka personally identifiable information or PII) like a person's name, home address, email or phone number, etc., as Identity because the systems that will process this attribute assume it is not directly identifying information.
Now that we have the Binding, we are ready to send a Push Notification to an Android app running on a device or on the emulator.
To send a notification, you can use the Twilio Notify Quickstart (Send Notification) Twilio Function you just created.
You can either send an HTTP GET or an HTTP POST request to the function. Typically, you would send a POST request to the function from your application (as you are performing an action, not retrieving information). If you don't have a way to POST a request (like Postman or curl), using GET is fine for testing your quickstart app.
For instance, you might make a request like:
1https://sturdy-concrete-1657.twil.io/send-notification?identity=user1&body=Hello2
Use the identity you used in the app. Because you registered a binding with Twilio, the server will send your device the 'Hello' message as a notification.
You're all set! From here, you can start building your own application.
There's much more you can do with Notify. Try our other Quickstarts to send:
Or learn how to: