Configure customer header and search (Public Beta)
Public Beta
Unified Profiles in Flex is currently available as a Public Beta product and the information contained in this document is subject to change. This means that some features are not yet implemented and others may be changed before the product is declared as Generally Available. Public Beta products are not covered by a Twilio SLA.
Not a HIPAA Eligible Service or PCI Compliant
Unified Profiles in Flex is not a HIPAA Eligible Service or PCI compliant and should not be used in Flex or Segment workflows that are subject to HIPAA or PCI.
The customer header and search component determines how the customer header appears to agents and how agents can search.
By default, the customer header and search component is turned off because the customer details and customer history components are turned off by default. When you turn on one or both of those components, the customer header and search component automatically turned on as well.
Before configuring these settings, ensure that you have already configured identifiers and traits.
Warning
The customer header and profile search settings are read-only for Flex UI versions prior to 2.8.0.
The customer header displays key customer information to your agents, including the customer's name and how long they've been a customer.
When enabled, this information appears to agents at the top of the section that includes the Details and History tabs:
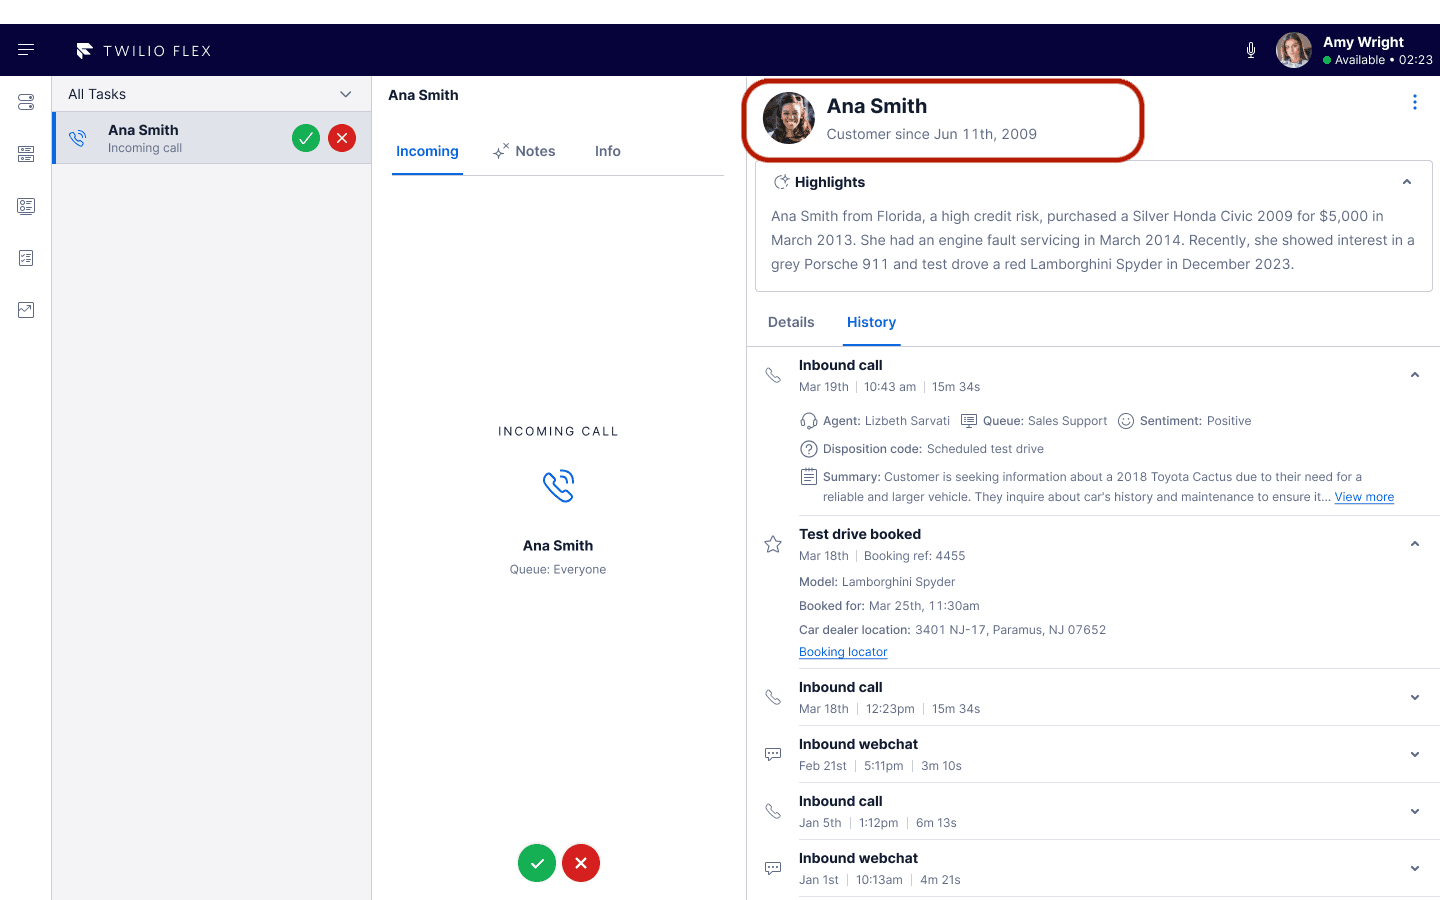
The customer header displays the following field names:
- Customer name
- Secondary trait
- Customer image or avatar
You can map these field names to your traits in Unified Profiles. For example:
| Field name | Trait |
|---|---|
| Customer name | First name Last name |
| Secondary trait | Customer since |
| Customer image or avatar | Profile image |
Agents can manually search for a profile if the automated Unified Profiles search doesn't find a profile.
To configure which identifiers agents can use in their search:
- From the Twilio Console, navigate to Flex > Contact center settings > UI components > Customer header and search.
- Select the Profile search tab.
- Choose to allow all identifiers for manual search, or limit the search to identifiers that make sense for your use case. For example, you might remove CRM IDs if they are unlikely to be relevant for your agents.
You can manage the identifier display name in Console and add or remove identifiers in Segment.
If you don't see the identifiers you want, or if manual search doesn't work as expected, check your customer profile identifier settings and mappings.
When someone reaches out to your contact center and can't be matched to a profile in your Segment space, an "unidentified profile" is automatically created in your Segment space.
Unidentified profiles are profiles that are not enhanced with data from your CRM or data warehouse and contain only the data added by Unified Profiles. A profile is considered unidentified if the user_id property isn't defined.
To display unidentified profiles to agents, navigate to the Profile search tab and check Show unidentified profiles to agents. If you uncheck this box, unidentified profiles will not appear in search results.
In the Profile search tab, you can also add a badge label for unidentified profiles, which Flex displays to agents in the customer header.
Looking for information about customer highlights or wrapup notes configuration?
Configure these settings in Agent Copilot.