Managed accounts
Info
The terms 'Accounts' and 'Projects' are used interchangeably. Twilio Admin and the Organizations API use the term Accounts, and the Console primarily uses Projects. Going forward, Twilio is standardizing on Accounts.
A Managed Account is an account that is owned and overseen by an organization. The organization has full control over its managed accounts' lifecycles and their settings.
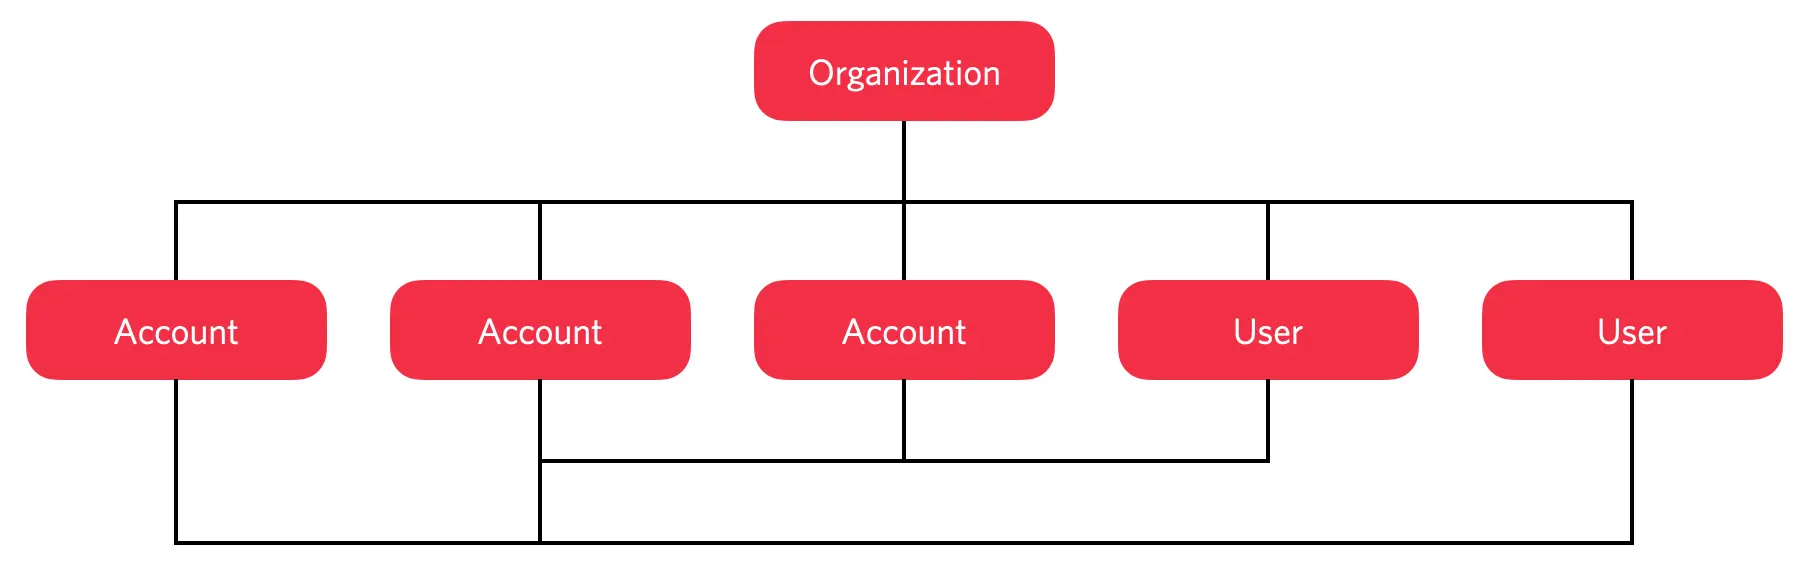
The organization encompasses multiple accounts and multiple users, who have access to some or all of those accounts.
Managed accounts provide you with a way to bring all of the accounts created by your company's employees into one place. You can see precisely which accounts your organization and its users are responsible for, who has access to them — whether they are company developers or outside contractors — and manage them centrally.
There are two ways to create a managed account:
- Create a new account in your organization. By default, this will be a managed account.
- Import an existing account that was created outside of your organization. Once imported, it becomes a managed account.
Organization Owners and Administrators have full control over the lifecycle of any account that is part of your organization. For example, they can change the settings or close the account.
Owners and Administrators also can manage account settings, such as choosing which users have access to a given account, and requiring the use of two-factor authentication to sign into the account.
Managed accounts, whether created by the organization or imported into it, still have an Owner — i.e., a user on the account with the Owner role. That user must be a managed user who is part of the same organization as the account itself.
Info
Custom account settings or configurations are not inherited on account creation. You may need to contact support to ensure that newly created managed accounts have the correct terms, invoicing, and specific features.
To view a list of an organization's managed accounts:
- In Twilio Console, navigate to Settings > Organization settings > Accounts.
- In the legacy Twilio Console, navigate to the Accounts section of the Twilio Admin and select the Managed Accounts tab.
These are accounts that an Organization Admin has explicitly added to your organization, but for which the account owner has not yet confirmed the request. They will be listed here until the import process is completed. See Add an existing account to learn how and when the added account's owner is contacted.
- Log in to Twilio Console and navigate to Settings > Organization settings > Accounts.
- Click Create new account.
- On the Account details page, set Account friendly name and select the account owner.
- Click Create account.
You can add an existing account to your organization from the Account management page or the legacy Twilio Console's Accounts section. The owner of the account you want to add must have signed up to Twilio through one of your organization's verified domains. The account's owner will be emailed, and they will have to confirm the request before the account is added to your organization.
You will also need the account's SID. A user with access to the account can get that for you from the Console.
- Log in to Twilio Console and navigate to Settings > Organization settings > Accounts.
- Click Add existing account.
- Enter Account SID.
- Click Add account.
-
Log in to Twilio Console and navigate to Settings > Account settings > User management.
The User access page opens.- To view the list of active users, click Active users.
- To view the list of invited users, click Invited users.
You can view sub-groups of users by clicking the user and then clicking Role assignments. To learn more about each of these roles, see Managed users.
-
To add users to your account, click Invite users and follow the instructions.
To see and update an account's settings:
- In Twilio Console, navigate to Settings > Account settings > Account details & security.
- In the legacy Twilio Console, click on the account in the Accounts section. This will open the General tab of the account's details page, where you can update settings or close the account.
- Ownership can only be changed for a managed account in your organization.
- Ownership can only be transferred to another managed user. If your desired user is not yet managed by your organization, you will need to invite them to your organization.
- Log in to Twilio Console and navigate to Settings > Account settings > Account details & security.
- Click Change account owner.
- In the pop-up, select the new owner and click Change owner.
- Log in to Twilio Console and navigate to Settings > Account settings > Account details & security.
- Click Close account.
- Review and check all acknowledgements boxes.
- Click Close account.