Single Sign On
Twilio Editions feature
Single Sign-On is available to all Twilio Editions customers. Learn more about Editions.
Single Sign-On (SSO) lets your users log in to the Twilio Console using their corporate identity provider (IdP) credentials, such as Azure Active Directory, Okta, or OneLogin.
SSO provides the following security and compliance benefits:
- You have a single source for authenticating your users through the IdP. You can also manage security and compliance policies, such as password policies and mandatory two-factor authentication, in one place.
- When users leave your organization, you only need to remove them from one place.
SSO for the Twilio Console supports the SAML (Security Assertion Markup Language) 2.0 standard. After you configure SSO, Twilio acts as a service provider (SP) and lets users log in through IdP-initiated or SP-initiated flows.
- You must create a user in Twilio before they can log in with SSO. You can create users manually, through Bulk User Import, or by using the SCIM API to automate provisioning from your IdP.
- Twilio uses the user's email address as the unique identifier (NameID in SAML terminology) and expects the NameID value in the SAML assertion to match it.
- When SSO is enforced, a user can only log in with SSO. They can't log in with their password.
- Twilio SSO handles authentication only. It doesn't manage account access or user roles. To manage these, use the Twilio Console or the Admin Center.
Twilio Console SSO supports the following features:
- SP-initiated login with Proof Key for Code Exchange (PKCE): Twilio SSO supports SP-initiated login, where the user starts the login process by visiting the Twilio Console and entering their email address. PKCE secures user authentication to Twilio. Any IdP-initiated login attempts to the Twilio Console (when a user clicks the Twilio app, link, or tile from your IdP) are converted to SP-initiated and then authenticate the user by sending a SAML authentication request to your IdP.
- SSO enforcement for users based on domains: You can enforce SSO for users based on their email domains. When you select domains and enforce SSO on them:
- All existing managed users belonging to those domains become SSO-enforced.
- Any new managed users created for these domains are also SSO-enforced. Users must set up their password during the initial login, but subsequent logins require SSO.
- After SSO is enforced for a user, they can only log in with SSO.
- Activate or deactivate SSO for specific managed users: If you have specific users who need to log in without SSO, you can deactivate SSO for them in the Admin Center and activate it again as needed.
- Multiple SSO profiles: If you have more than one IdP that you want to configure with Twilio, you can create multiple SSO profiles.
SSO doesn't manage the following:
- Role assignments or account-level permissions. Use the Twilio Console or the Admin Center to manage these.
- Just-in-time (JIT) user provisioning. Use the SCIM API for automated provisioning instead.
Info
The following configuration steps are for the self-service SSO product in the Admin Center.
If you use the legacy SSO configuration process (which requires Twilio Support), see Legacy Console SSO instead.
Before you start, make sure you have the following:
- An identity provider that supports SAML 2.0.
- A Twilio Organization with access to the Admin Center as an Organization Administrator.
- A Twilio Edition that includes Single Sign-On, with the feature turned on for your Twilio Organization.
- Verified domains for your users' email addresses.
- Your existing users added or imported as managed users in your Organization. You can use Bulk User Import to find and import all existing users from your domain, or use the SCIM API to automate provisioning.
The SSO configuration process involves the following phases:
- Add the Twilio SP metadata to your IdP and configure your IdP metadata in Twilio.
- Test the SSO connection to verify that everything works correctly.
- Select the verified domains for which you want to enforce SSO.
Follow the configuration guide for your identity provider. If your IdP isn't listed, use the Other SAML 2.0 Identity Providers guide.
Info
To turn on signed SAML, contact your Account Executive. To support signed requests, update your IdP settings and upload the certificate that the Twilio team shared with you.
You must set up an SSO profile before you can activate or deactivate SSO for specific managed users. See Configuring SSO for Twilio Console if you haven't configured an SSO profile yet.
-
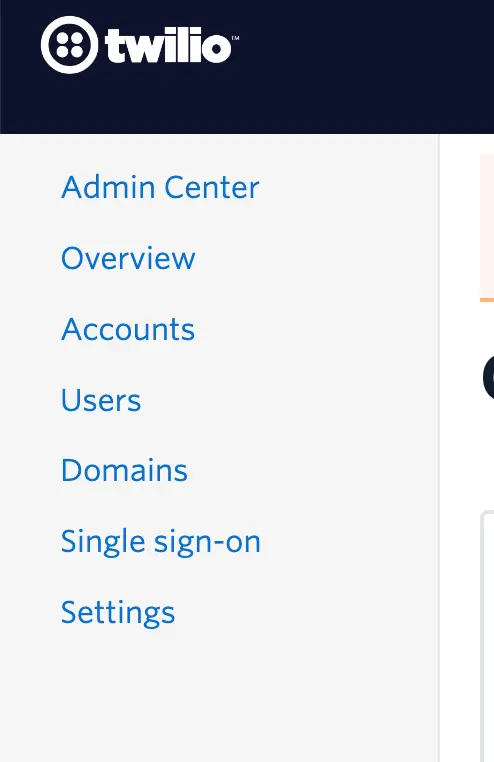
Go to the Admin Center.
-
Click Users.
-
Click the name of the user for whom you want to activate or deactivate SSO.
-
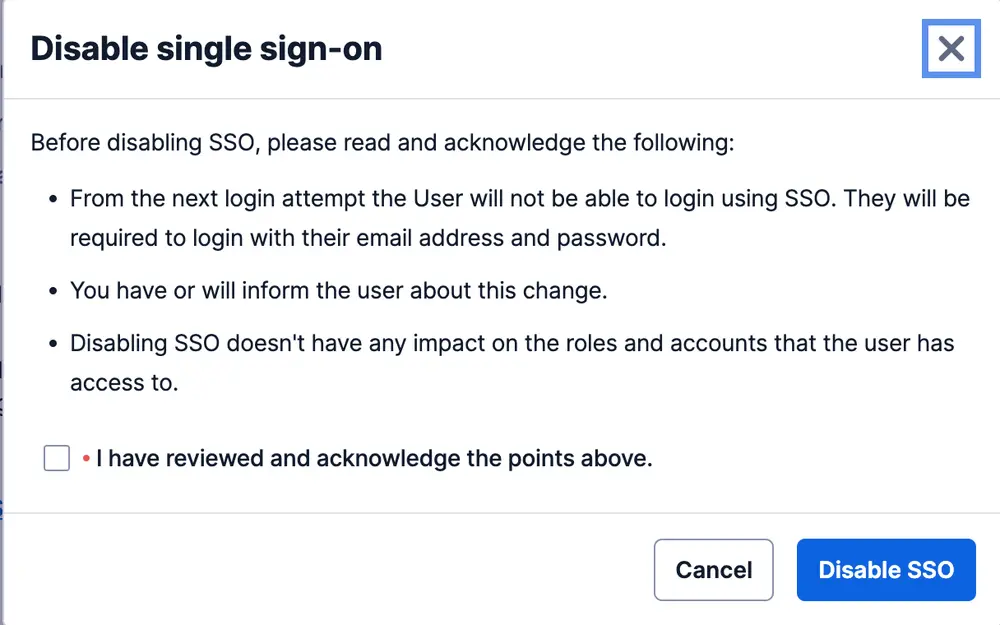
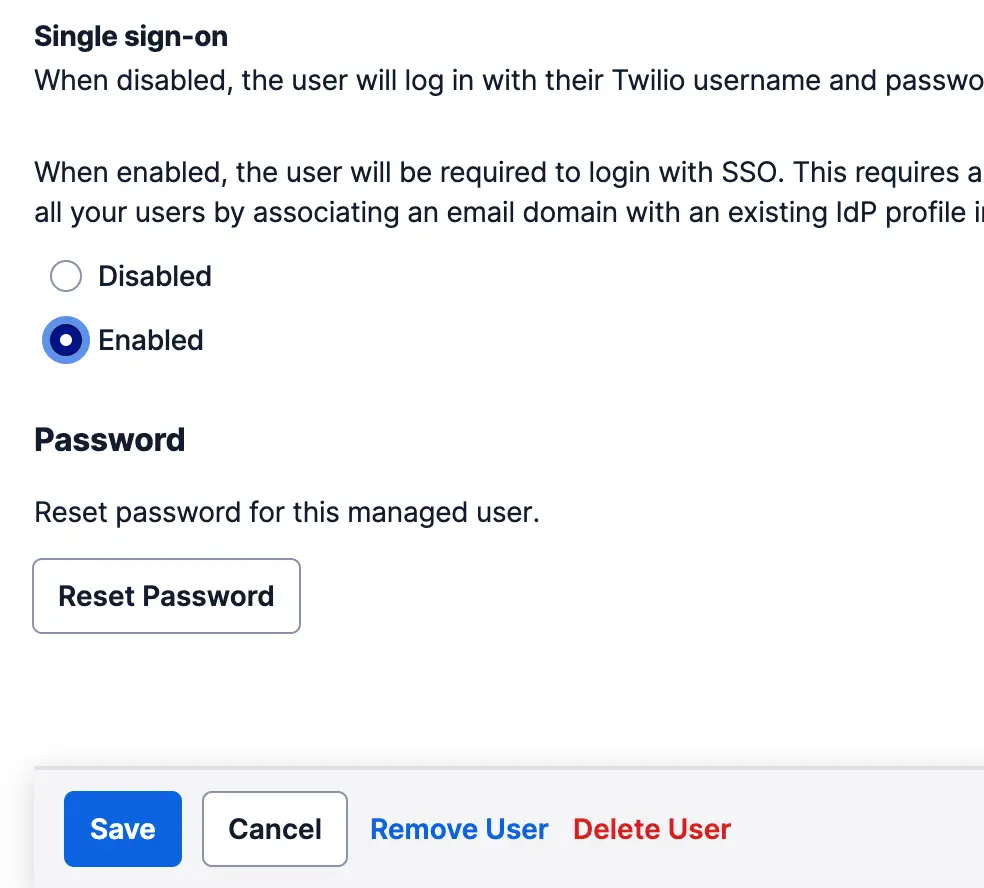
Select Enabled or Disabled for the user.
-
In the confirmation dialog, select the checkbox and confirm that you want to change the SSO setting.
-
Click Save.
Twilio supports automated user provisioning and deprovisioning through the SCIM API. You can integrate your IdP with the SCIM API to automatically create, update, and deactivate users in Twilio when you make changes in your IdP. For setup instructions, see the SCIM API overview.