How to Assign Personal Phone Numbers to Salesforce Users
Twilio allows you to assign a dedicated phone number to an individual Salesforce user — a "personal number". By default, Twilio for Salesforce chooses one of the numbers in your messaging service.
With a personal number configured for a Salesforce user, all outbound messages sent by that user come from the same personal number. This is useful if you need to establish a 1:1 relationship between a users and a phone numbers: for example, if the Salesforce user wants to put a contact number on their business card.
Warning
When you enable the personal phone number feature, Salesforce will begin importing messages from all phone numbers in your Twilio account. If you have some phone numbers with a high amount of traffic that are not used by Salesforce, these messages will be imported into Salesforce. Consider creating a separate Twilio account for Twilio for Salesforce if you don't want to be affected by this issue.
-
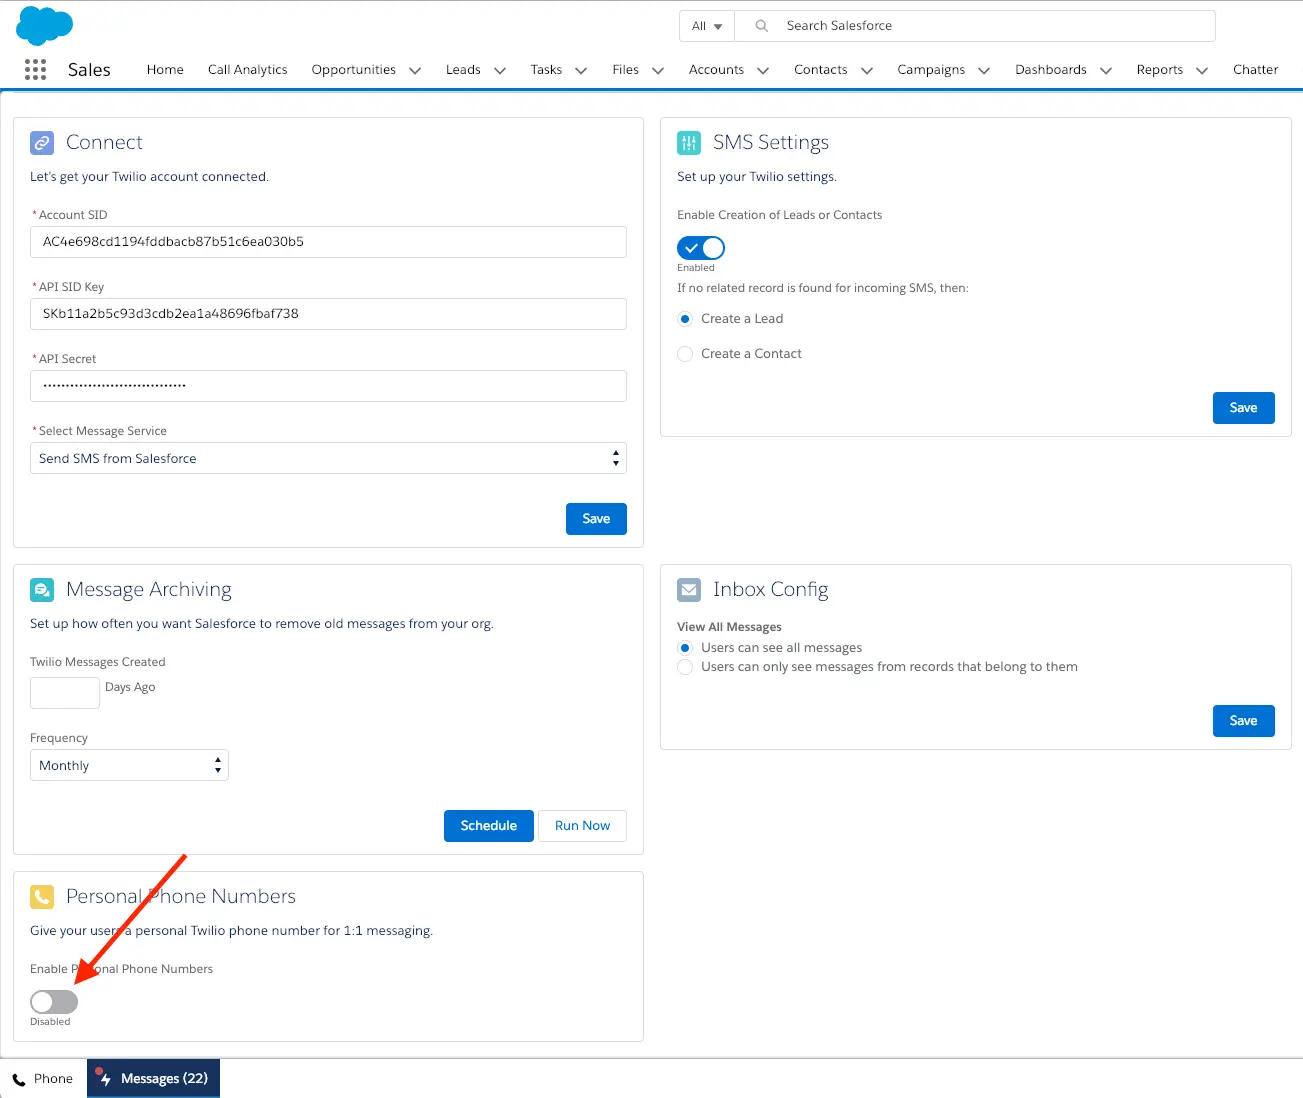
In Salesforce, go to the Twilio Configuration page, locale the Personal Phone Numbers panel, and click Enable Personal Phone Numbers :
-
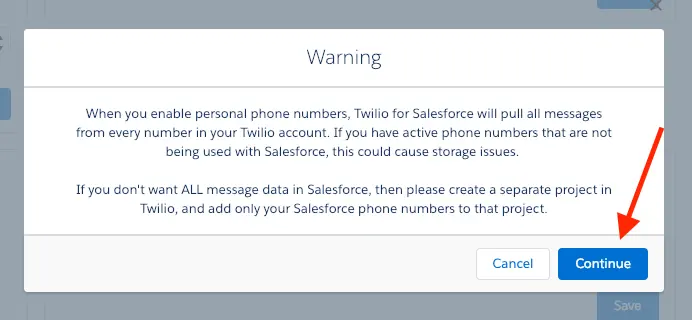
Make sure you understand the warning about pulling all messages from your Twilio project and then click Continue :
-
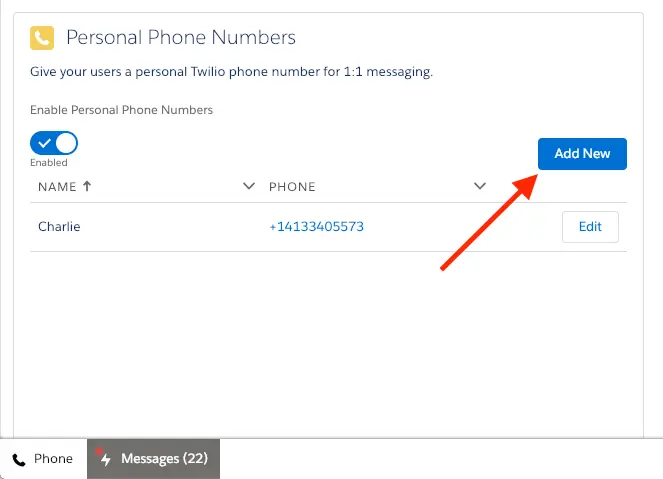
Click on the Add New button :
-
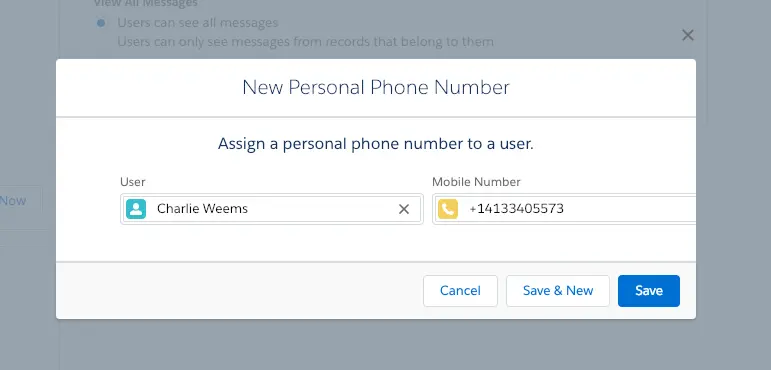
Select a Salesforce user from the User pop-up, select the corresponding phone number, then click Save :
Warning
Users will not appear in the User menu unless they have been added to the Twilio User permission set.
In addition to configuring personal numbers through the Salesforce web UI, it is possible to use Data Loader to bulk-update phone numbers to users.
-
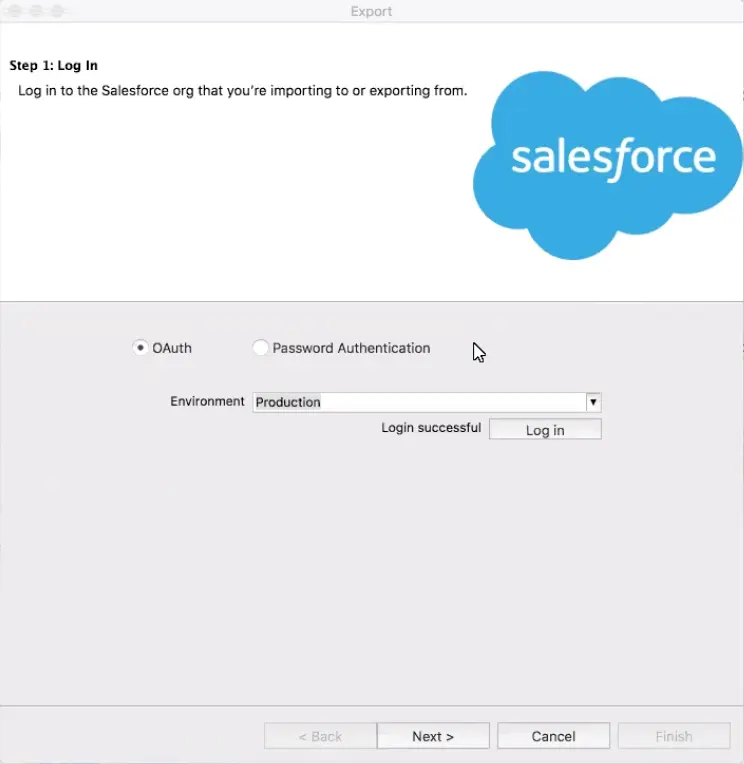
Log in to your Salesforce organization with Data Loader:
-
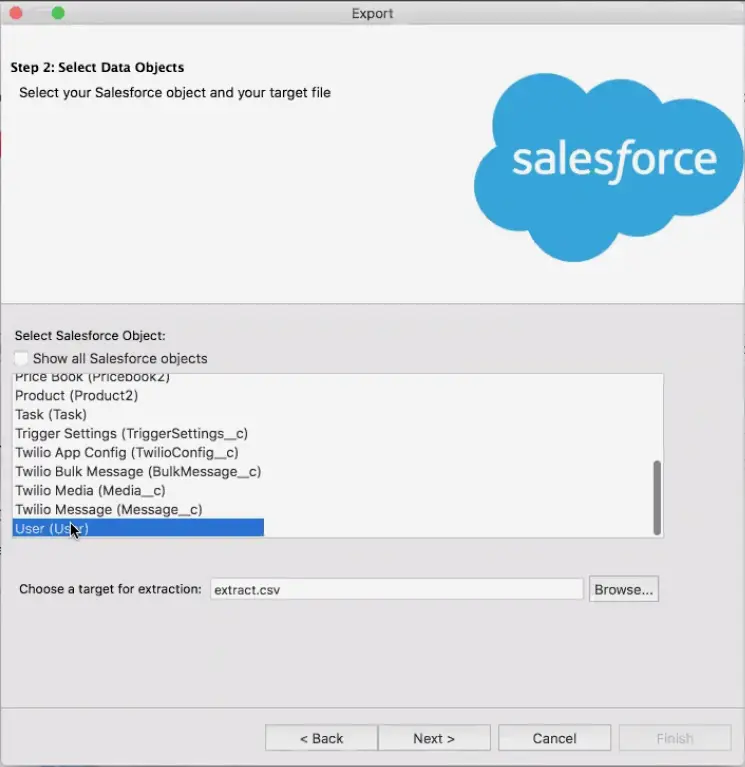
Select the User object to extract from your Salesforce organization and pick the directory where this data will be extracted to:
-
Choose the fields to extract from the user:
User ID(required)TWILIO_PERSONAL_NUMBER__C(required)First Name(optional)Last Name(optional)TWILIO_PERSONAL_NUMBER_IS_VALID__C(optional)
User IDandTWILIO_PERSONAL_NUMBER__Care the only required columns, but you should include others to make spot-checking easier.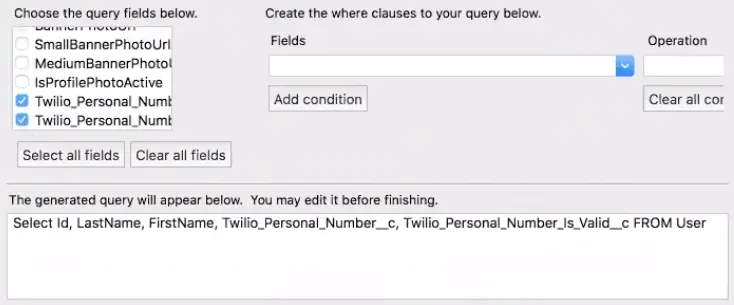
-
Click on Finish to extract the user records to your computer.
-
In Microsoft Excel, Google Sheets, Apple Numbers, or another spreadsheet editor, match User IDs to a list of personal phone numbers, which must be in your Twilio Account and entered in the E.164 format, e.g.,
+1234567890. Do not include parentheses, spaces or dashes, and prepend a+sign. If you're using Excel, make sure that the cell type is text so that it doesn't strip out the+: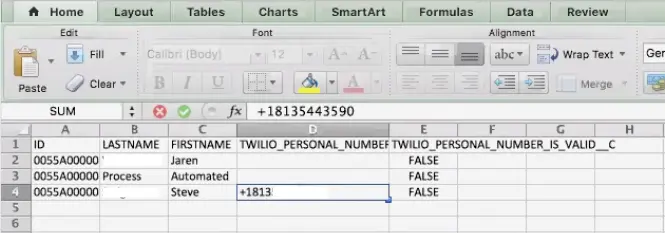
-
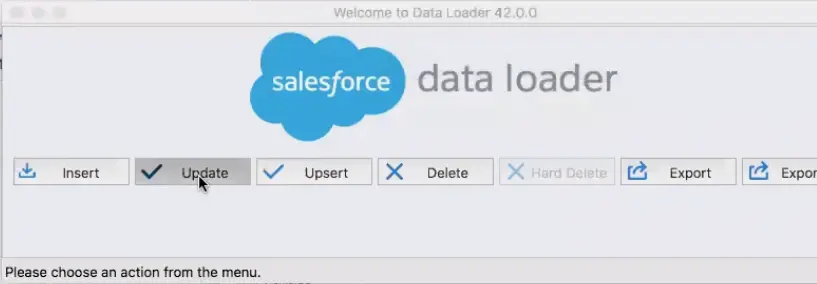
In Data Loader, click on Update :
-
Select User as the object to update, and the select the CSV file with your personal number assignments:
-
Map the User ID spreadsheet field to the User ID field in Data Loader, and map the phone number column to
TWILIO_PERSONAL_NUMBER__C: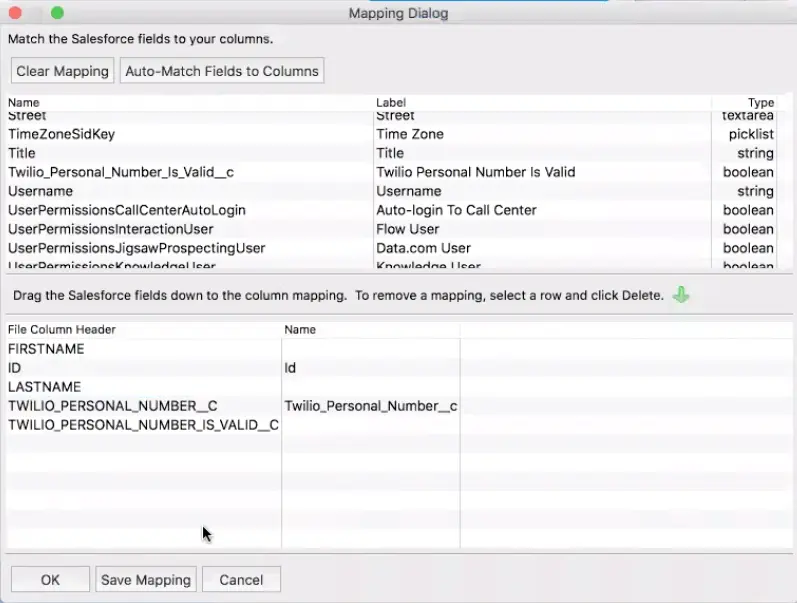
-
Set your log folder so that you can view debug logs if necessary. This is typically the same folder as your data source.
-
Click Finish in the wizard and import your data.
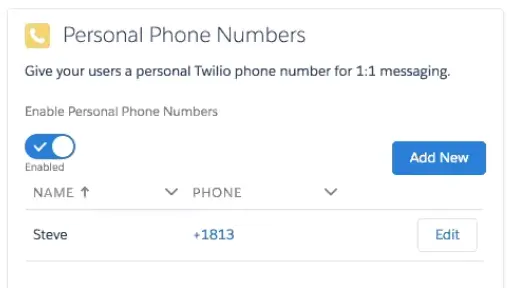
After you have configured your phone numbers, you'll see them appear in the Salesforce web UI in the Twilio Configuration page:
As Twilio for Salesforce bulk-assigns personal numbers, it checks to make sure that each phone number is present in your Twilio Account. If a number is invalid, we set the TWILIO_PERSONAL_NUMBER_IS_VALID__C on the User record to false. This will allow you to check and update phone numbers that were either entered incorrectly or do not exist in your Twilio account.