Push Notifications on Android for Conversations (classic)
Your end users can get push notifications when another participant in a conversation sends a message, joins the conversation, or leaves the conversation. You can configure which of these events send push notifications, as well as the message template used and any sound that plays.
Twilio uses the Firebase Cloud Messaging (FCM) service to send push notifications. You need to set up your Android app to use push notifications if you have not done so already. You also need to share an FCM API key with Twilio so that push notifications can be sent to your application.
IMPORTANT: The default enabled flag for new Service instances for all Push Notifications is false. This means that push notifications will be disabled until you explicitly enable them. Follow this guide to do so.
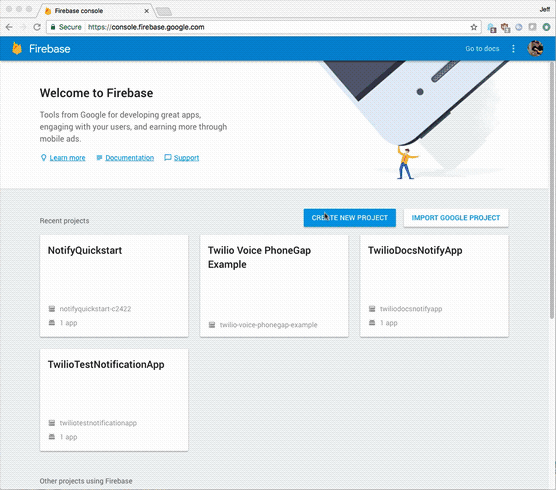
The Firebase Cloud Messaging (FCM) library looks for a file named google-services.json in your Android app to identify push configuration details. Google provides a web interface for generating this file that you can find in the Firebase Console.
Copy the google-services.json file you download in the step below into the app/ directory of your Android Studio project.
Once you've entered your app credentials, you can download the generated file to your desktop. Save the API Key that is displayed on the last page, as you will need it in a later step.
As the version numbers for the Firebase libraries are always changing, please refer to the Add Firebase to your Android project documentation guide for setup instructions. You can add Firebase manually to Gradle, or use the Firebase Assistant in the Android Studio IDE.
Adding Firebase Cloud Messaging is described in the Set up a Firebase Cloud Messaging client app on Android guide on the Firebase site. Be sure to add the com.google.firebase:firebase-messaging library to your dependencies.
Be sure to follow the steps to modify the app's AndroidManifest.xml file, and add the Java or Kotlin code to Access the device token. You will need to send that device token to Twilio, which we describe in a later step of this guide.
As a quick check at this point, you can send a push notification through Firebase Cloud Messaging to your app using the Firebase Web Console. Verify that you have Firebase Cloud Messaging working correctly with your server and that you can retrieve a device token before proceeding with the Twilio integration steps in this guide.
Now that you have your app configured to receive push notifications, upload your API Key by creating a Credential resource. Visit the Push Credentials Creation page to generate a FCM credential SID using the API key. You can also get to the Credentials page by clicking on the Account dropdown in the top left corner of the Twilio Console and then clicking on Credentials from the dropdown Account menu. Once on the Credentials page, click the Push Credentials tab.
On the Push Credentials Page, create a new Push Credential. Give the credential a name and make sure the credential's type is "FCM Push Credentials". Under "FCM Secret", paste your API Key from the end of Step 2. Then, click Create.
The next screen you see after creating the credential includes the new push credential's SID. Keep that credential SID handy for the next step.
For this step, you will modify your server application to add the push credential SID from the previous step into your server's Access Token generation.
Your Access Token needs to include the Push Credential SID that you got in Step 5. See below for examples in each Twilio server-side SDK of how to generate an Access Token with a ChatGrant that contains a Push Credential SID.
1const AccessToken = require('twilio').jwt.AccessToken;2const ChatGrant = AccessToken.ChatGrant;34// Used when generating any kind of tokens5// To set up environmental variables, see http://twil.io/secure6const twilioAccountSid = process.env.TWILIO_ACCOUNT_SID;7const twilioApiKey = process.env.TWILIO_API_KEY;8const twilioApiSecret = process.env.TWILIO_API_SECRET;910// Used specifically for creating Chat tokens11const serviceSid = process.env.TWILIO_CHAT_SERVICE_SID;12const pushCredentialSid = process.env.TWILIO_PUSH_CREDENTIAL_SID;13const identity = 'user@example.com';1415// Create a "grant" which enables a client to use Chat as a given user,16// on a given device17const chatGrant = new ChatGrant({18serviceSid: serviceSid,19push_credential_sid: pushCredentialSid,20});2122// Create an access token which we will sign and return to the client,23// containing the grant we just created24const token = new AccessToken(twilioAccountSid, twilioApiKey, twilioApiSecret, {25identity: identity,26});2728token.addGrant(chatGrant);2930// Serialize the token to a JWT string31console.log(token.toJwt());
You will need to call the ConversationsClient API methods, registerFCMToken and unregisterFCMToken, to send the individual Android device's FCM token to Twilio, so that Twilio can send push notifications to the right device. See the Twilio Conversations (classic) Android SDK documentation for details.
Nice! That's all you need to do to make sure the Conversations (classic) Client can use Firebase Cloud Messaging to send push notifications.