Using Facebook Messenger with Content Templates
This guide shows you how to set up a Facebook Messenger (FBM) sender and send Content Templates over Facebook Messenger with Twilio.
To get started with Facebook Messenger and Content Templates, you need the following:
- A Facebook page for your business
- A Facebook account with admin access
- Facebook Messenger Channel integrated with the Twilio Console
For more details on the prerequisites of using Facebook Messenger with the Content API, see Getting Started with the Facebook Messenger Channel.
-
Twilio/location and
twilio/list-pickerdo not work on FBM. -
FBM is in-session (user initiated) only. It means:
-
You can't start a conversation with a user, only respond to them.
-
Once they've messaged you, you can respond any number of times within a 24 hour period.
- FBM is subject to FB's commerce and business policies.
- Users can report spam, abuse, and unpleasant messages. If there is a pattern of such messages, FB will disable the page from FBM.
-
-
Quick Reply button IDs aren't returned in the message metadata and don't work. Quick reply button text will be returned instead.
-
Log into your Facebook Messenger Account.
-
Go to your Facebook Page.
-
Open a chat in Messenger.
-
Note the page URL's suffix, this your page's FBM ID. (for instance,
103800709108123in this URL). You will use this later in the configuration process.
- Go to the Twilio Console and navigate to Products & Services > Numbers & Senders > Facebook Messenger.
- Click Enable Facebook Messenger and sign in with the Facebook account that has admin access to your Facebook Page.
- Add the Facebook Page that you want to send messages from confirming the FBM ID matches.
Messages intended for Twilio must be sent from the Twilio platform
Messages sent from Facebook Business Manager won't appear in Twilio. Ensure that all messages intended for Twilio are sent directly from the Twilio platform.
- Set up a Messaging Service if you don't already have one. In the Twilio Console, go to Messaging Services and click Create a Messaging Service. This is the same Messaging Service and sender pool to which you can add your WhatsApp and SMS/MMS senders.
- To add a FBM Sender, navigate to the Messaging Service created previously. Go to the Sender Pool section and add the Facebook Sender that you've set up.
*This is not a hard requirement. But if you do not do this then you will need to set up the webhook in your FBM Sender. Additionally, you will need to specify a Messaging Service Sid parameter and put your FBM sender in the from field. Similar to here except replace phone numbers with the respective FBM sender id.
To send a message in FBM, you need to know your recipient's FBM ID. Facebook does not make FBM IDs public so you will need to use a webhook to retrieve the FBM ID from an inbound message. For setup purposes and testing purposes, you will need to set up a webhook and message yourself to get your personal FBM ID.
-
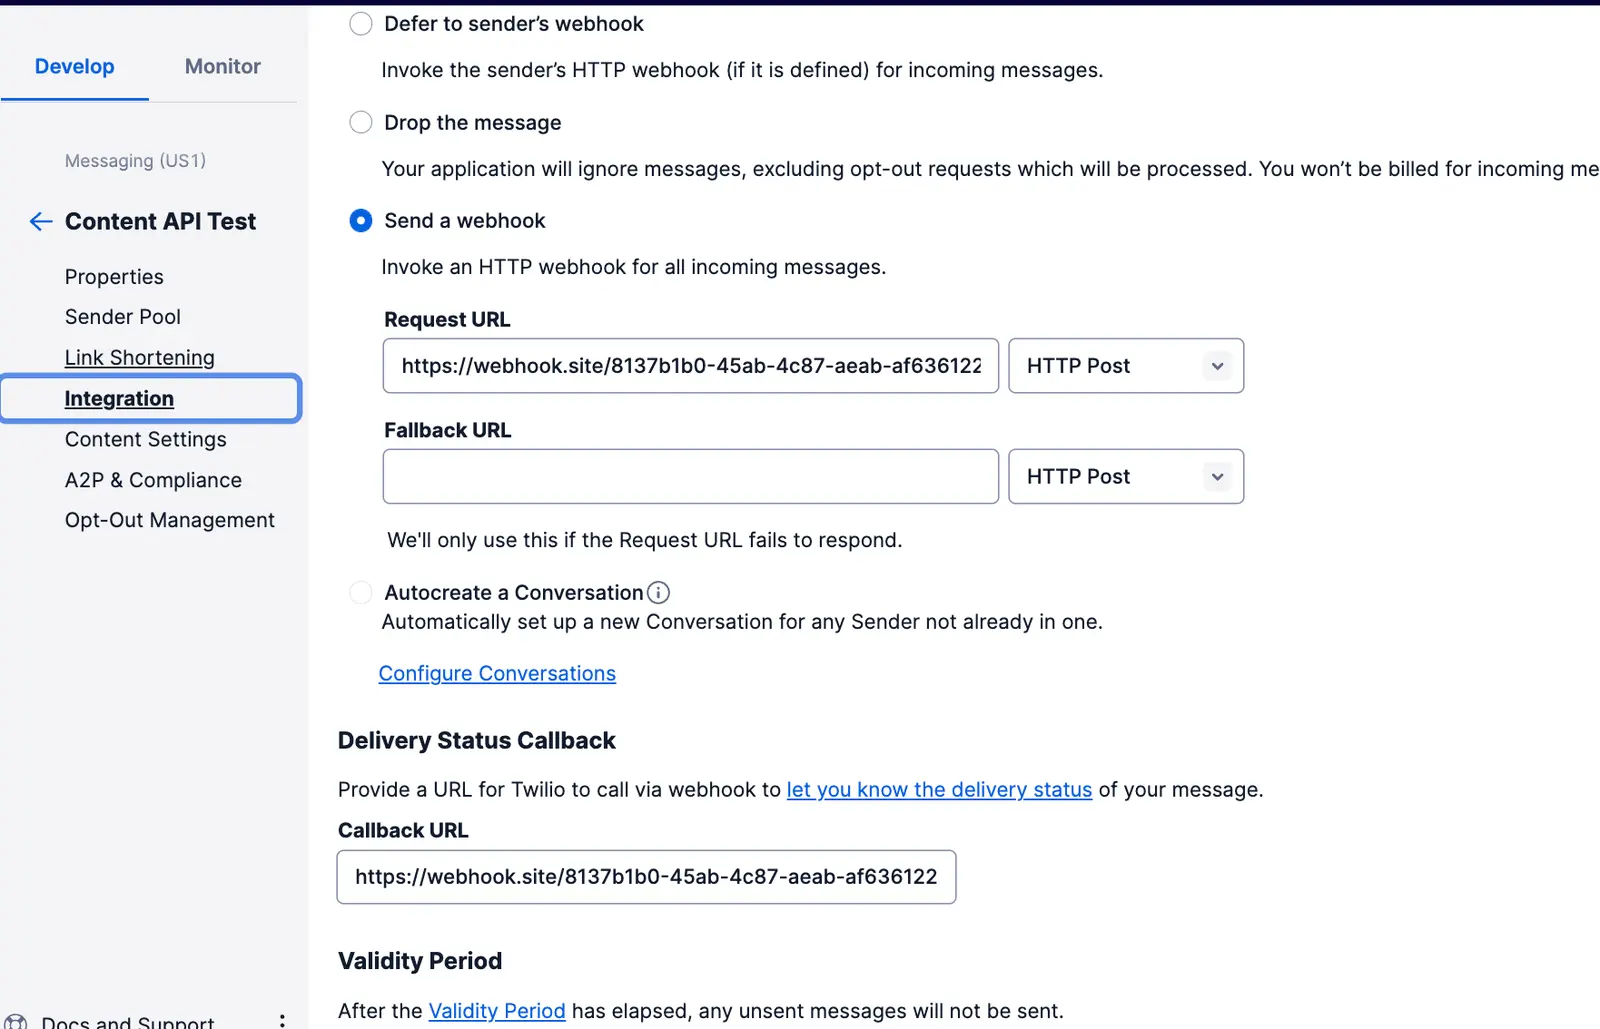
Navigate to Messaging Services and go to the Integration tab.
-
Select Send a webhook.
-
Add a "Request URL" where you can receive incoming messages from your end users. If you need a testing webhook, try going to webhook.site
-
Copy the webhook into the Delivery Status Callback URL section.
-
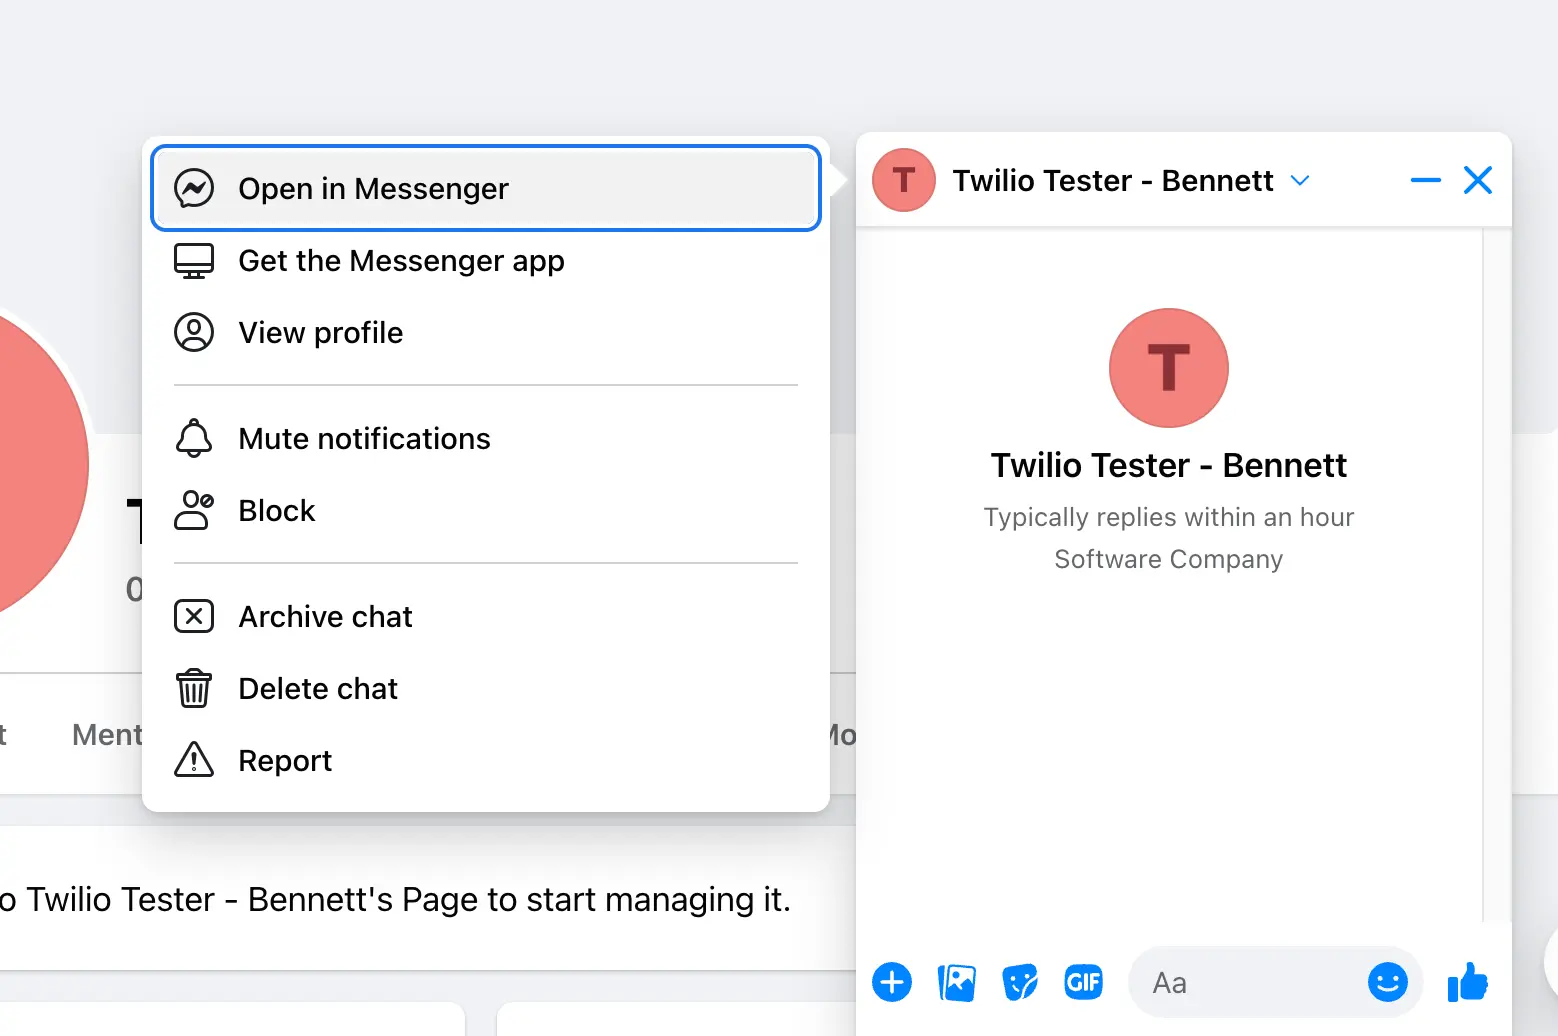
Send a message to your page from your personal Facebook Messenger:
- Log into your FBM account and click Message on your FBM page.
- Send any message.
-
After sending your FB page a message with your personal FBM account. Check the webhook for the
FROMfield. This will contain the end user's FBM ID. -
In your send request, you'll use the FBM ID found in the
Fromfield for the incoming message's webhook response.
1// Download the helper library from https://www.twilio.com/docs/node/install2const twilio = require("twilio"); // Or, for ESM: import twilio from "twilio";34// Find your Account SID and Auth Token at twilio.com/console5// and set the environment variables. See http://twil.io/secure6const accountSid = process.env.TWILIO_ACCOUNT_SID;7const authToken = process.env.TWILIO_AUTH_TOKEN;8const client = twilio(accountSid, authToken);910async function createMessage() {11const message = await client.messages.create({12contentSid: "HXXXXXXXXXXXXXXXX",13contentVariables: JSON.stringify({141: "YOUR_VARIABLE1",152: "YOURVARIABLE2",16}),17from: "MGXXXXXXXXXXXXXXX",18to: "messenger:REPLACE_WITH_VALUE_FROM_WEBHOOK",19});2021console.log(message.body);22}2324createMessage();
Response
1{2"account_sid": "ACXXXXXXXXXXXXXXXXXXX",3"api_version": "2010-04-01",4"body": "Hello! 👍",5"date_created": "Thu, 24 Aug 2023 05:01:45 +0000",6"date_sent": "Thu, 24 Aug 2023 05:01:45 +0000",7"date_updated": "Thu, 24 Aug 2023 05:01:45 +0000",8"direction": "outbound-api",9"error_code": null,10"error_message": null,11"from": "MGXXXXXXXXXXXXXXX",12"num_media": "0",13"num_segments": "1",14"price": null,15"price_unit": null,16"messaging_service_sid": "MGaaaaaaaaaaaaaaaaaaaaaaaaaaaaaaaa",17"sid": "SMaaaaaaaaaaaaaaaaaaaaaaaaaaaaaaaa",18"status": "queued",19"subresource_uris": {20"media": "/2010-04-01/Accounts/ACaaaaaaaaaaaaaaaaaaaaaaaaaaaaaaaa/Messages/SMaaaaaaaaaaaaaaaaaaaaaaaaaaaaaaaa/Media.json"21},22"to": "messenger:REPLACE_WITH_VALUE_FROM_WEBHOOK",23"uri": "/2010-04-01/Accounts/ACaaaaaaaaaaaaaaaaaaaaaaaaaaaaaaaa/Messages/SMaaaaaaaaaaaaaaaaaaaaaaaaaaaaaaaa.json"24}