
Free trial
Start building with Twilio for free
Sign up and start building your ideal customer engagement experience today.

Free trial
Sign up and start building your ideal customer engagement experience today.
Explore technical topics, solutions, and resources for building with Twilio – and beyond.


Explore the latest trends, best practices, and expert tips shaping the future of customer engagement.


Get the scoop on Twilio’s latest innovations—from upcoming betas to the latest product launches and feature updates.


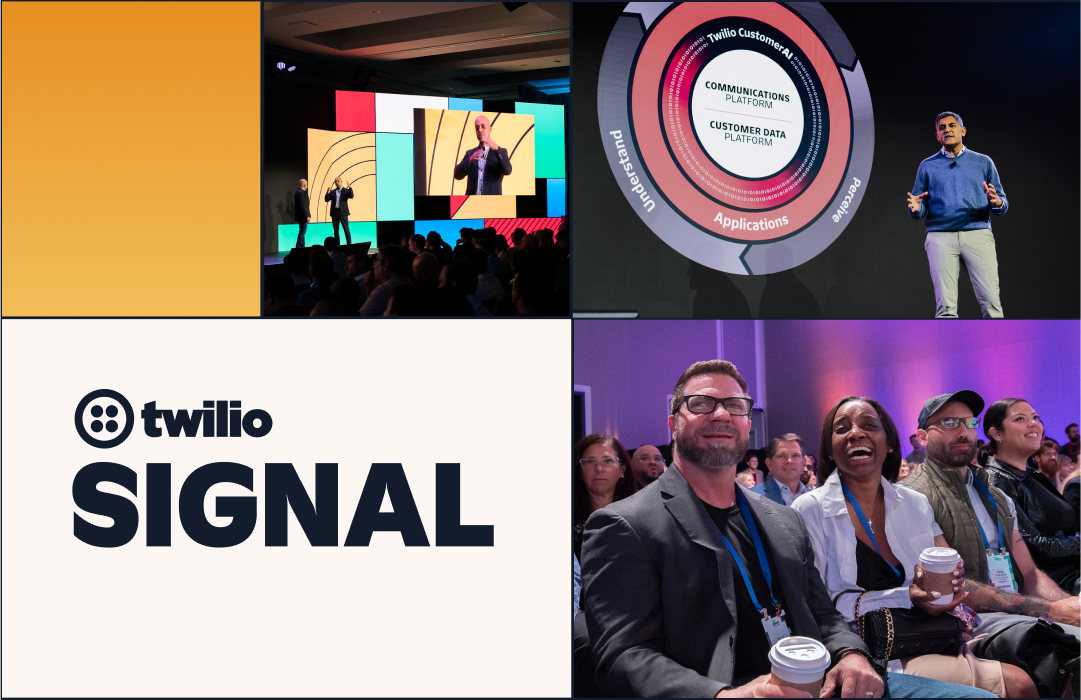
Learn about upcoming opportunities to connect with fellow builders and developers.


.png)


See how Twilio partners and platform integrations are powering innovation. Explore success stories and new collaborations.


Get the latest updates from inside Twilio—including leadership announcements, culture highlights, and more.


Jump into our vault for a look back at past posts and retired content.