Forward Calls with Twilio Studio
You can set up call forwarding with just one Studio widget. Divert calls to your personal or business number and never miss a critical call again.
Before you get started, you'll need:
- A Twilio Account. If you are new to Twilio, create a free account. You can review the features and limitations of a free Twilio account here.
- A Twilio Phone Number. View instructions for purchasing a Twilio Phone Number here.
Warning
If you are sending SMS to the U.S. or Canada, please be aware of updated restrictions on the use of Toll-Free numbers for messaging purposes. These restrictions do not apply to Voice, or to other non-SMS uses of Twilio phone numbers. But if you obtain a Toll-Free Number for non-SMS purposes and then wish to use it as well for Messaging, please read this first.
New to Twilio Studio? Before completing this tutorial, you should familiarize yourself with the mechanics of working with Studio by reviewing the Getting Started guide.
You'll start with a blank Twilio Studio Flow. Log into your Twilio account and navigate to the Studio Dashboard, then select Create new Flow or tap the + icon to create a new Flow. You can name your Flow anything you like, for example, "Call Forwarding".
You'll notice that the Canvas comes with a widget already in place. That is the Trigger (Start) widget, which kicks off your Flow when the trigger you specify occurs. In this case, the trigger is going to be an Incoming Call.
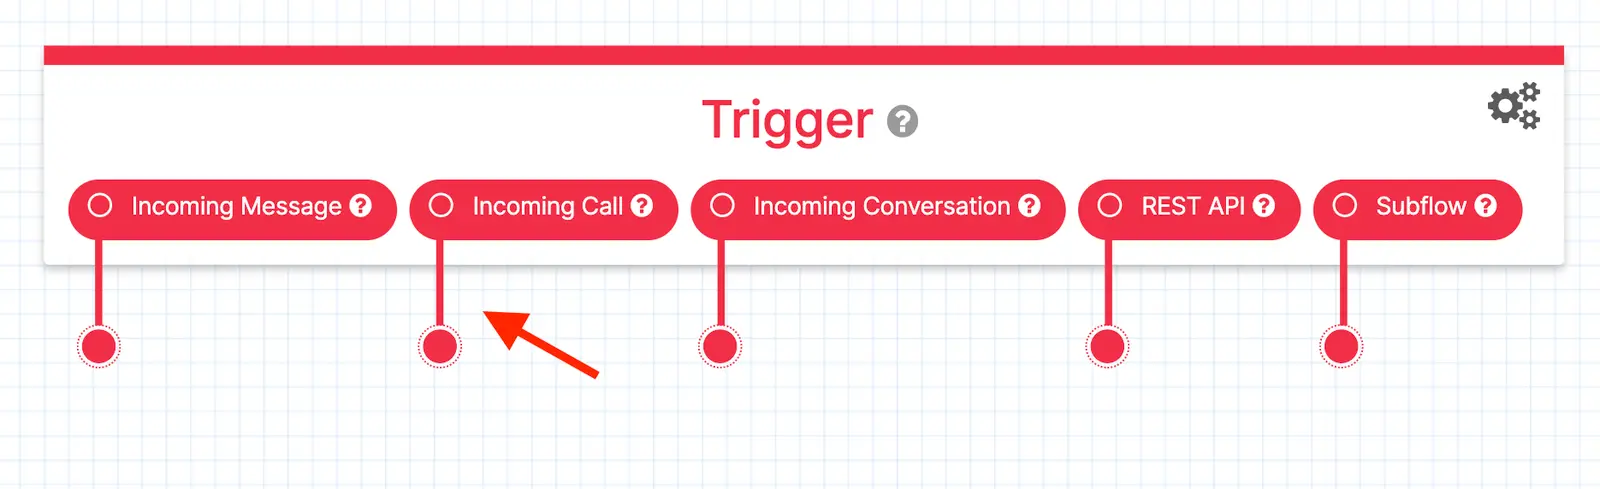
This Flow only requires one widget — the Connect Call To widget. Drag one onto the Canvas and connect the dot from the Incoming Call trigger to the dot in the upper left corner of the new widget. This creates a Transition from the Incoming Call Trigger to the Connect Call To widget.
In the right sidebar, you'll see the Connect Call To widget's Configuration Menu. Select Single Number from the Connect Call To dropdown, and enter the number you'd like to forward your calls to. The number should be in E.164 format. You can also specify a Caller ID, which is the number that will show up when the call gets forwarded to your number. In this example, you can you leave the default.

Your Canvas is now set up! Press Publish to update the Flow and you're ready to move on.
Once you're happy with your Flow and you've published all changes, you can connect it to a Twilio Number so people can start interacting with it.
- Go to Numbers & senders and select the number you'd like to connect to the Flow. If you don't have any phone numbers, click Set up a new phone number.
- Select the Configuration details tab.
- Select Voice and emergency calling, then click Edit details.
- On the Edit voice configuration dialog, select the Webhook, TwiML Bin, Function, Studio Flow, Proxy Service option.
- Under How do you want to set up your primary method?, select Studio Flow.
- Select the Studio Flow you'd like to connect to your phone number, then click Save.
Now it's time to test it out. Dial your Twilio number, and it should immediately connect you to the number you specified. Lean back, relax, and bask in the knowledge that you'll never miss an important phone call.