Aircall Source
Source Info
- The Aircall Source is an Event Cloud source. This means that it sends data as events, which are behaviors or occurrences tied to a user and a point in time. Data from these sources can be loaded into your Segment warehouses, and also sent to Segment streaming destinations. Learn more about cloud sources.
- This integration is partner owned. Please reach out to the partner's support for any issues.
This Source is supported in US data processing regions.
This Source is only supported in workspaces configured to process data in the US region. Workspaces configured with data processing regions outside of the US cannot connect to this source. For more information, see Regional Segment.
Connect Aircall with Segment to bring Aircall events and phone call data to your data warehouse. Improve your knowledge of customer touchpoints by using call activity.
This source is maintained by Aircall. For any issues with the source, contact the Aircall Support team.
This document is about a feature in beta
This means the feature is actively being developed, and some functionality may change before it becomes generally available.
Before you start, make sure that you have admin rights in both Aircall and Segment.
To begin, log in to your Aircall account.
- From your Aircall Dashboard, then select Integrations.
- Select Segment.
- Click Install.
Now you will be guided through the following steps.
- Click on Connect to Aircall.
- This will open a screen for you to add a required Authentication name. It will not be visible anywhere so any name can be used here — either the suggested default or a name that you choose yourself.
- Click Add and a pop-up will appear.
-
From the pop-up, click on Authorize to allow this integration to access information about your calls in Aircall.

-
If the integration is successful, you will see a message that says "Authentication for Aircall successfully created." Once you see this, click on Next.
Click on Connect to Segment
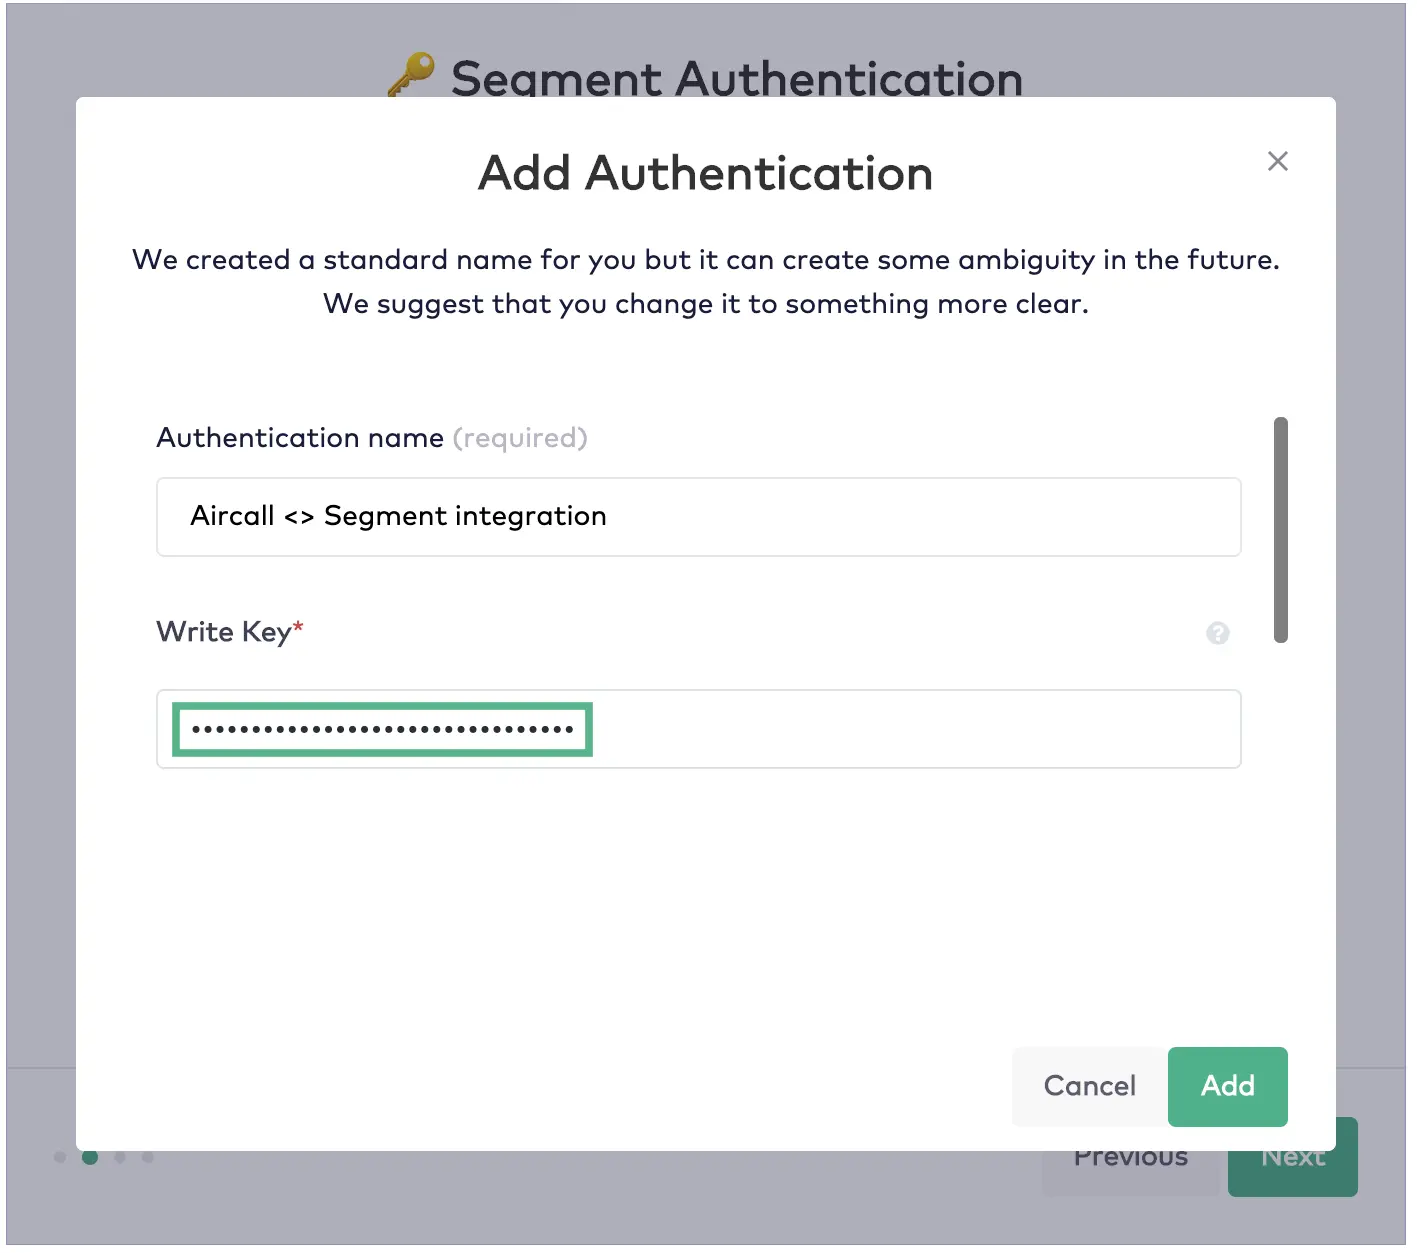
- This will open a screen for you to add a required Authentication name. You will see a default name already provided for you. While a name is required, it will not be visible anywhere — either use the suggested default or a name that you choose yourself.
- A Write Key is required. This is a unique tracking key for your project. You can find this key from the Segment dashboard by following the steps below.
-
Log in to your Segment account.
-
Go to Source.
-
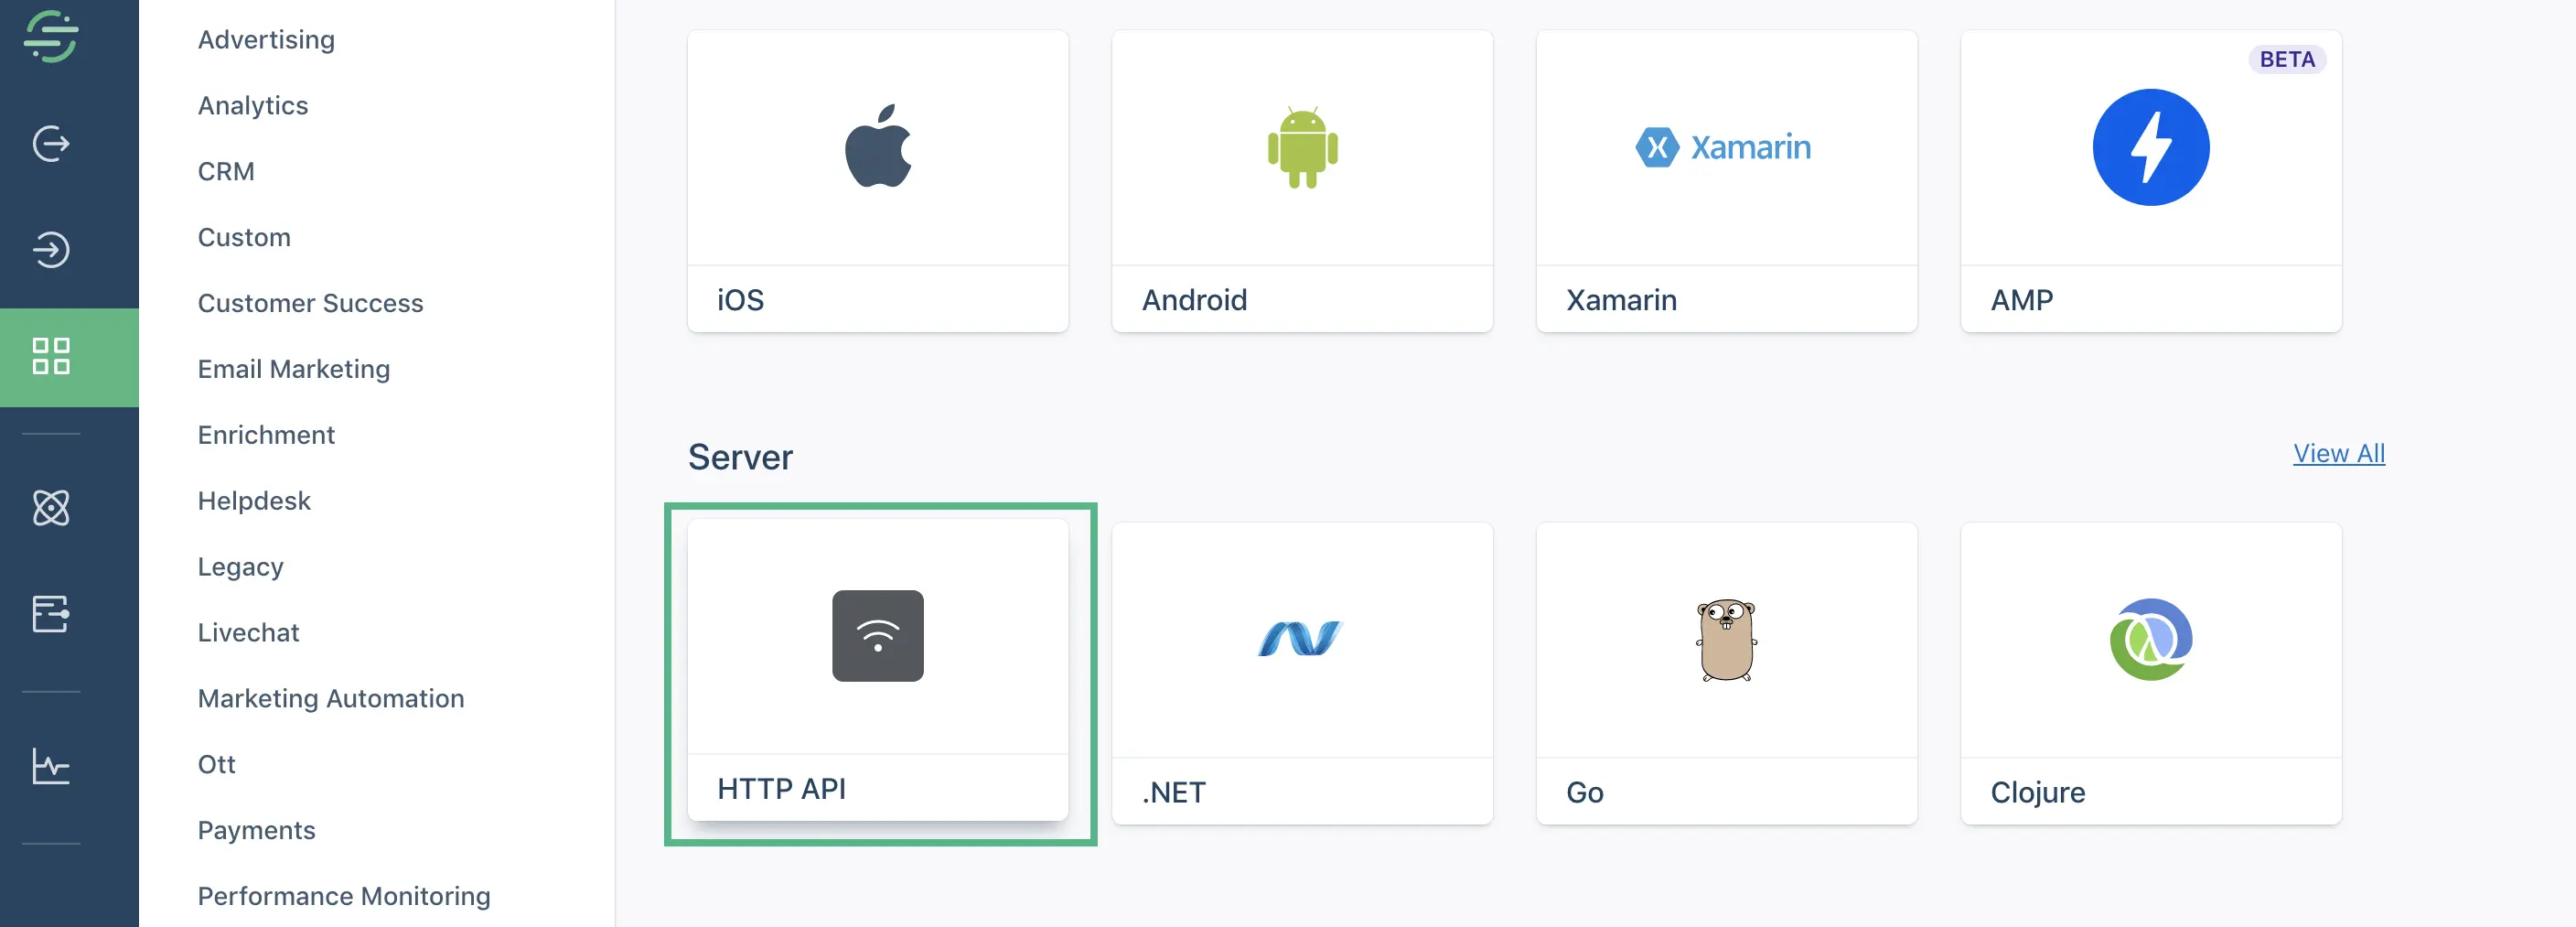
Click on Add Source and scroll to select HTTP API.
-
Click on Connect.
-
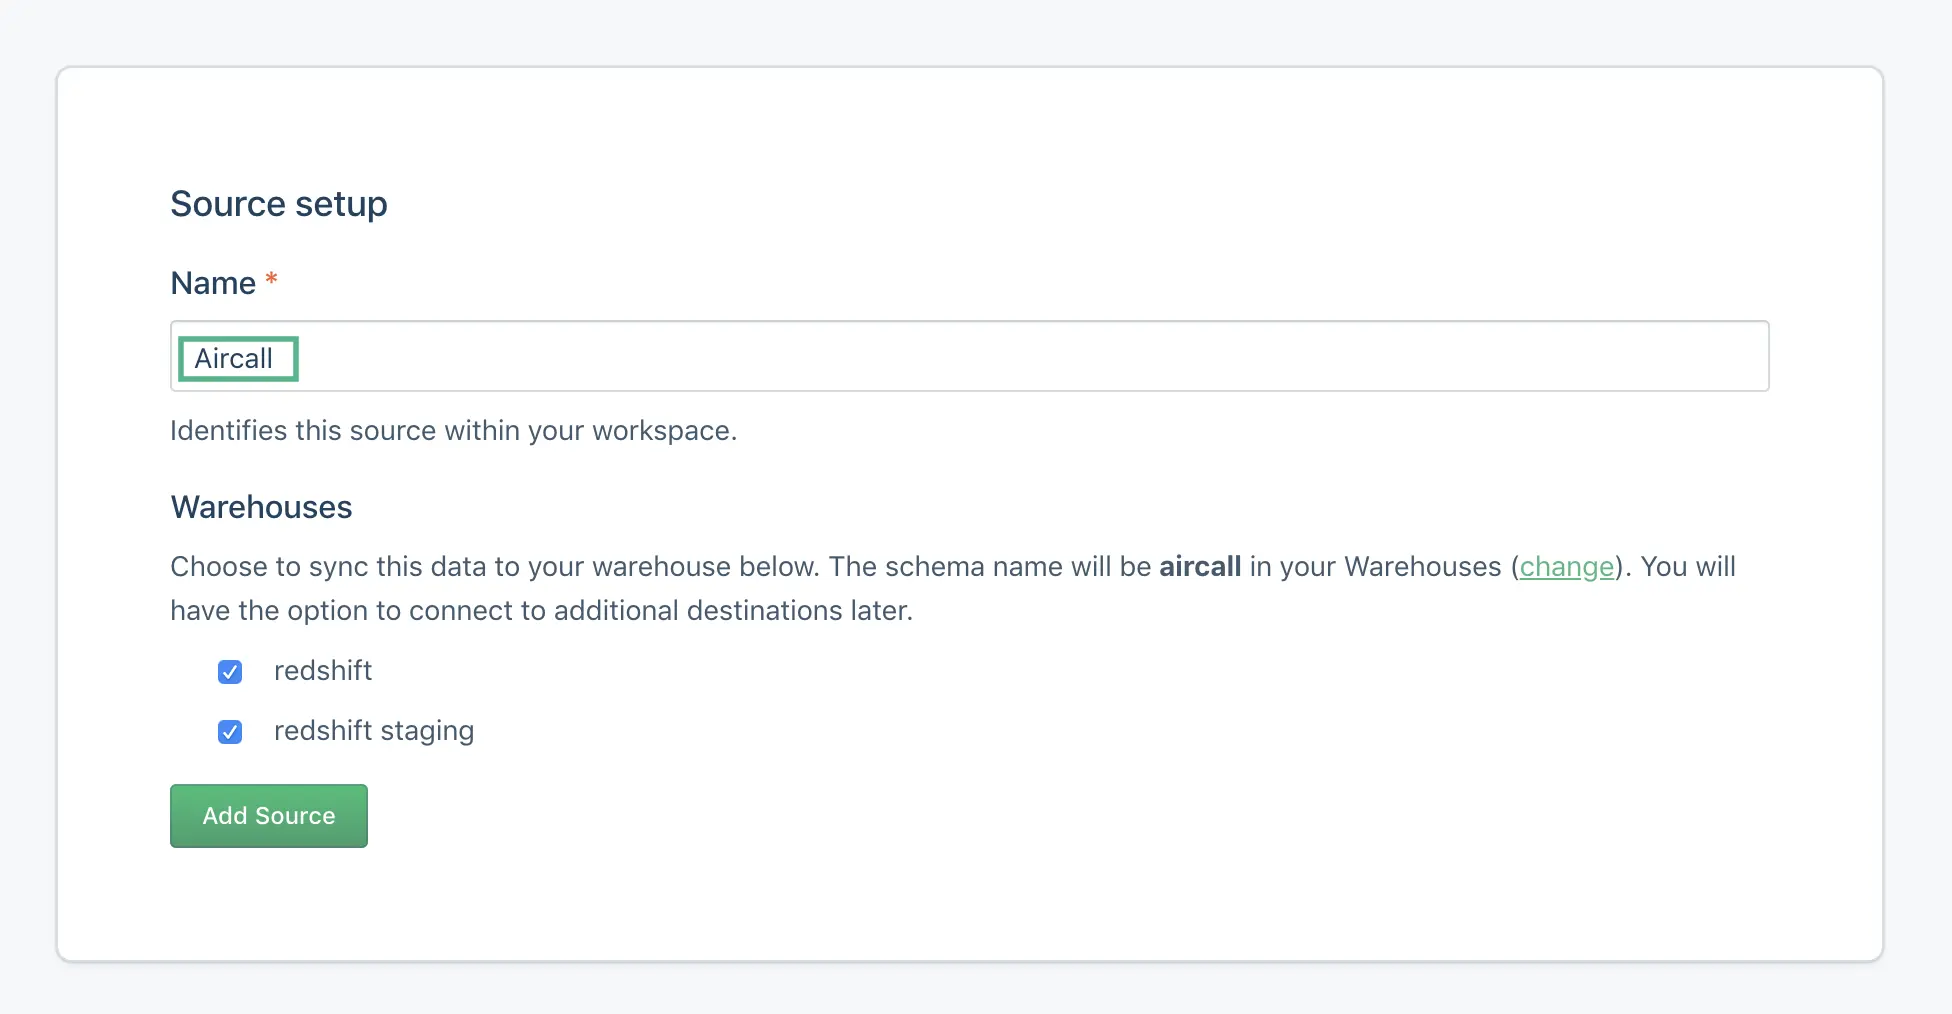
When creating a new Source setup, you will need to choose a name. We recommend that you choose an identifiable name such as "Aircall" for recognition. Then you may choose the warehouses or destination(s) where you'd like your data to be synced.
-
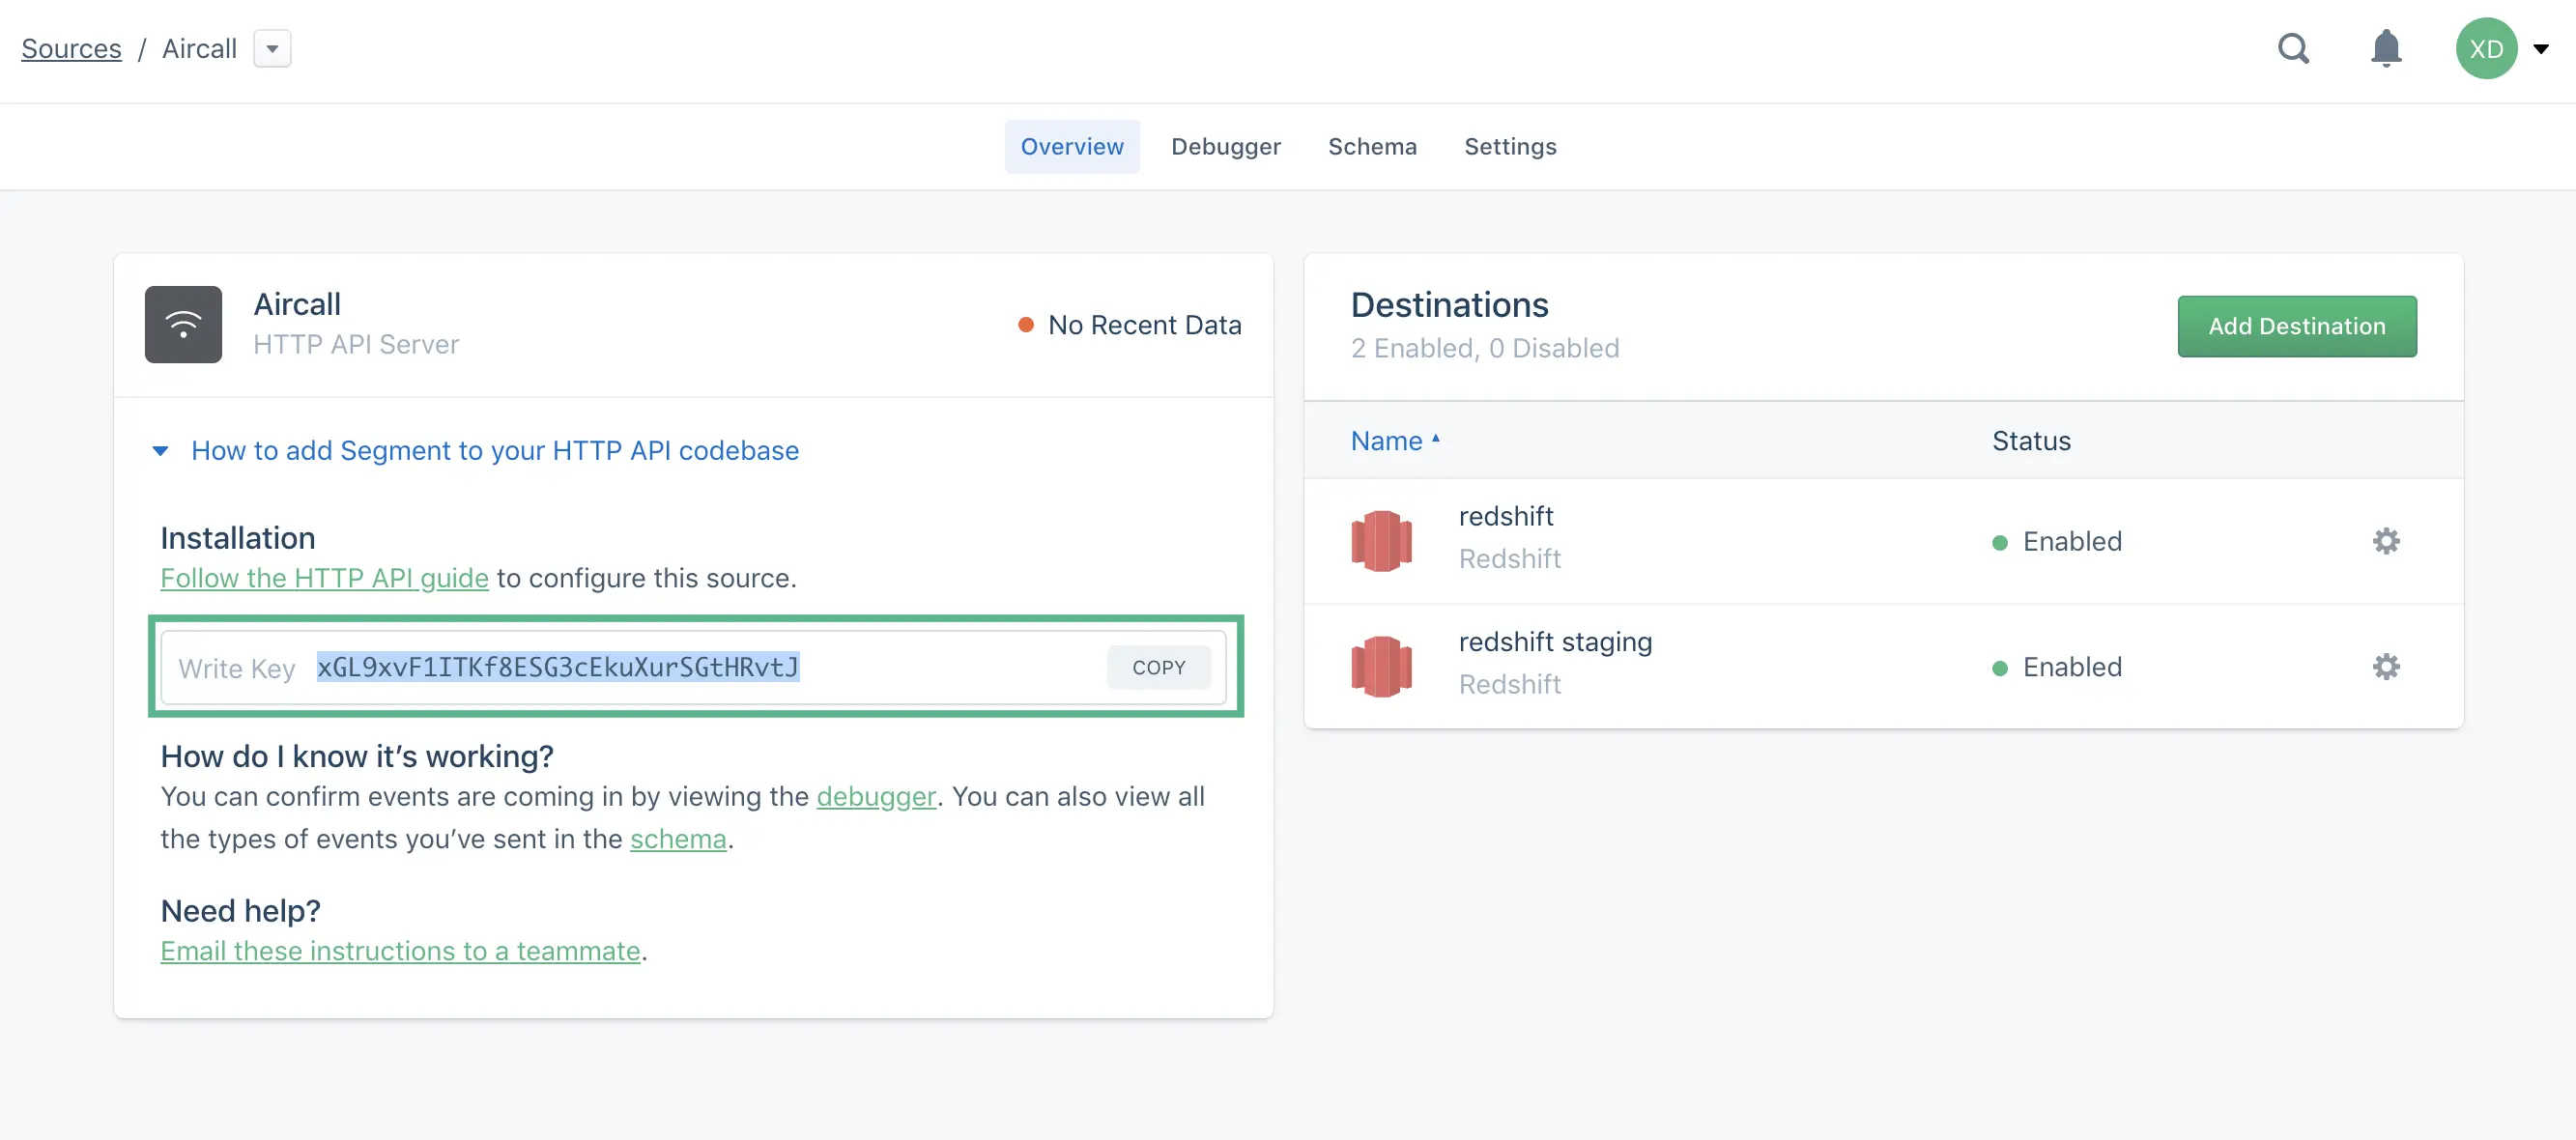
Once your source has been created, a Write Key will be generated. Copy this key and return to the configuration steps in Aircall to paste the key in the field as shown below.
- Note: if you see a field to input a Engage Key, this field is not required and you can leave this field blank.
-
When finished, click on Add.
-
If the integration is successful, you will see a message that says "Authentication for Segment successfully created." Once you see this, click on Next.
-
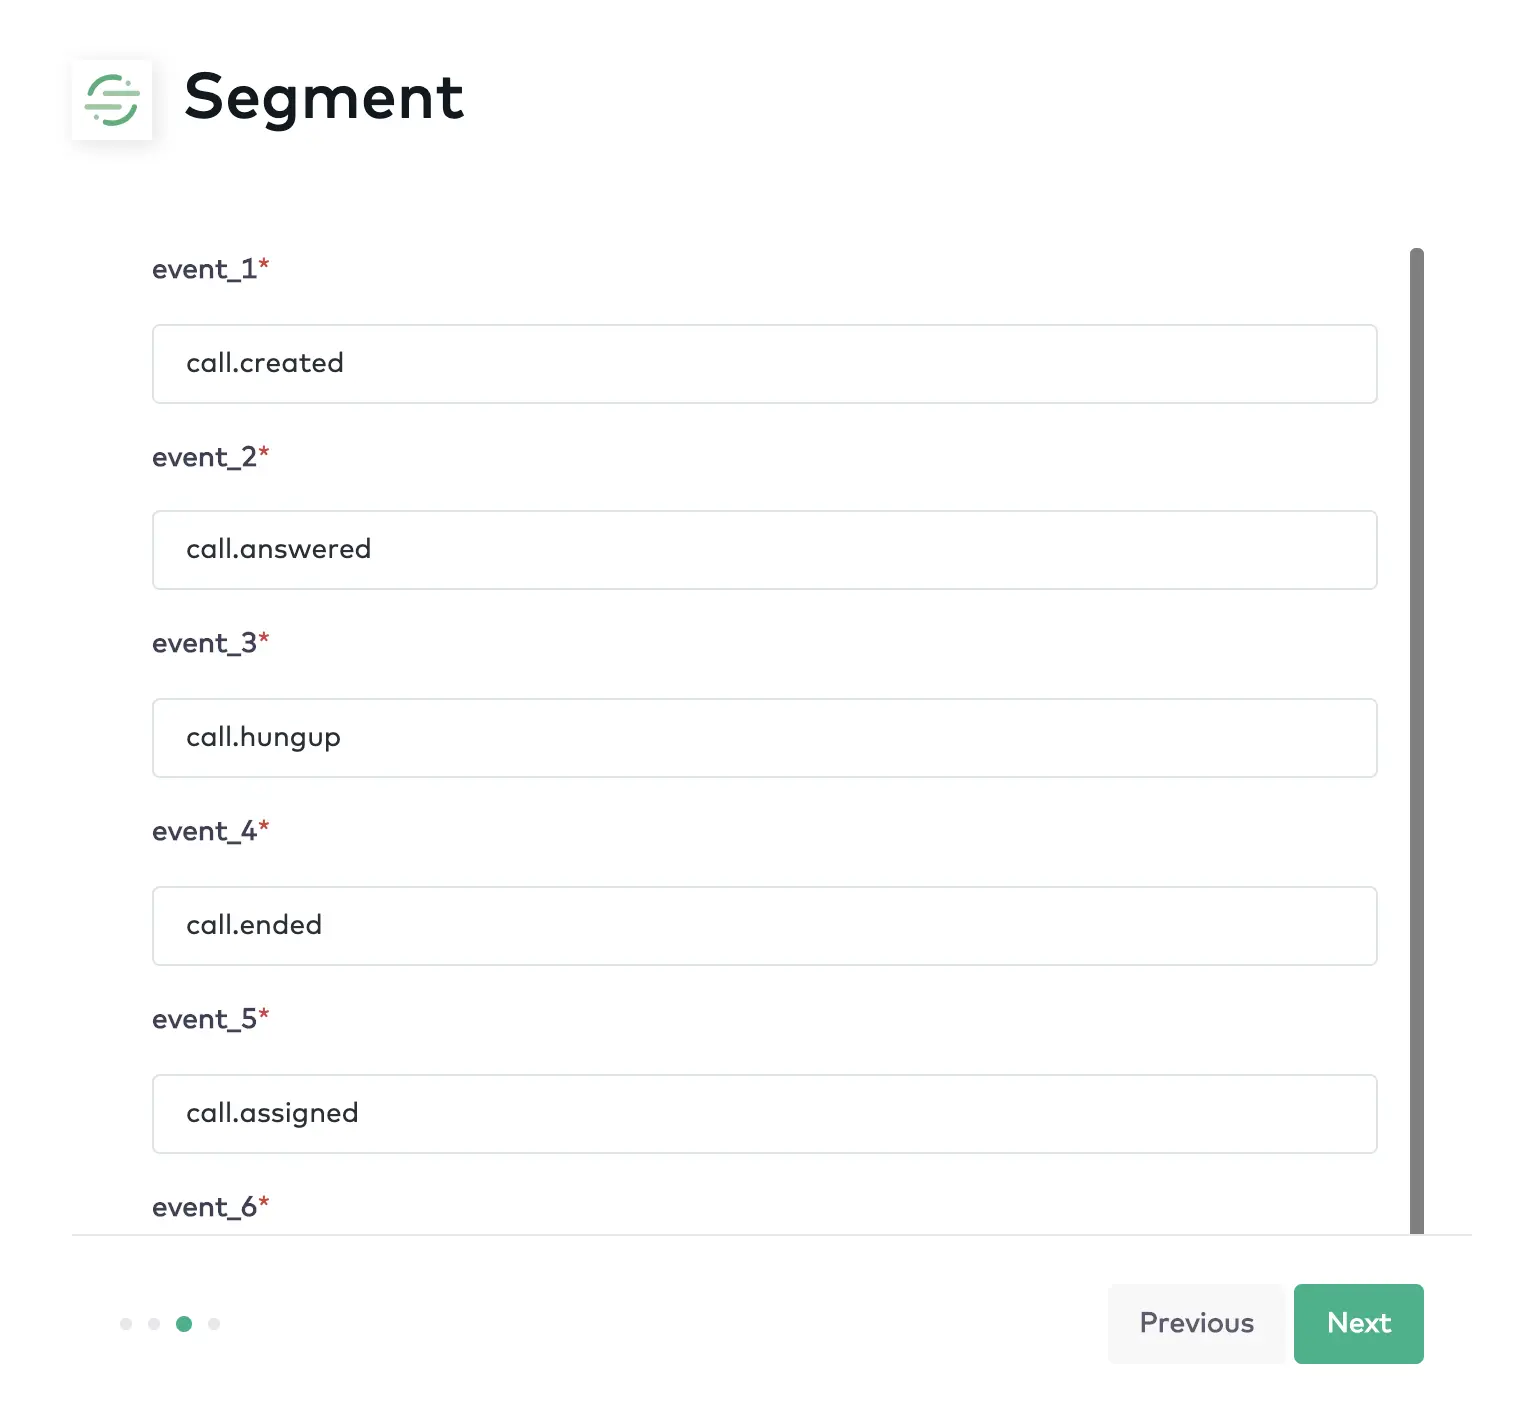
There are up to 26 Aircall events that can be pushed to Segment. As such, you will see a list of 26 possible events pre-populated for you as the default setting is for all and every Aircall event to be pushed to Segment.
-
If there are events that you do not want to be sent to Segment, delete the default value(s) shown in the list of 26 events (or write "null") if you determine that certain events should not be a source for Segment.
-
Click on Finish.
Your integration is active! Now just connect the Aircall number(s) that you would like to be active for this integration and, that's it! You're all set and ready to get the most out of your Aircall-Help Segment integration.
The following table lists events that Aircall sends to Segment. These events will show up as tables in your warehouse, and as regular events in your other Destinations. Aircall will send through the userId if available.
| Event name | Description |
|---|---|
| number.created | When a new number is created on your account |
| number.opened | When a number opens according to its opening hours |
| number.closed | When a number closes according to its opening hours |
| number.deleted | When a number is deleted on your account |
| contact.created | When a new contact is created on Aircall |
| contact.updated | When a contact is updated on Aircall |
| contact.deleted | When a contact is deleted on Aircall |
| user.created | When a new user is created on your account |
| user.opened | When an user becomes available according to its working hours |
| user.connected | When an user is logged in Aircall Phone |
| user.closed | When an user becomes unavailable according to its working hours |
| user.disconnected | When an user is logged out of Aircall Phone |
| user.deleted | When a user is deleted on your account |
| call.created | When a new call starts |
| call.answered | When a call is answered |
| call.hungup | When a call is hung up |
| call.ended | When a call ends on your account. It will be sent ~20sec after call is actually hung up, time to gather extra data like recording etc. |
| call.assigned | When a call is assigned to someone |
| call.archived | When a call is archived |
| call.tagged | When a call is tagged by someone |
| call.untagged | When a call is untagged by someone |
| call.commented | When a call is commented by someone |
| call.transferred | When a call is transferred to another person |
| call.ringing_on_agent | When a call starts ringing on an agent's app |
| call.agent_declined | When an agent declines an inbound call |
| call.voicemail_left | When a voicemail is left on a call |
Now that your source is set up, you can connect it to destinations.
Log in to your downstream tools and check to see that your events are populating and they contains all the properties you expect. If all your events and properties are not showing up, refer to the relevant Destination docs for troubleshooting.
If you experience any issues with how the events arrive in Segment, contact the Aircall team.