Using SendGrid with BriteVerify
Use BriteVerify to verify your SendGrid contact list. First, generate an API Key within SendGrid.
Info
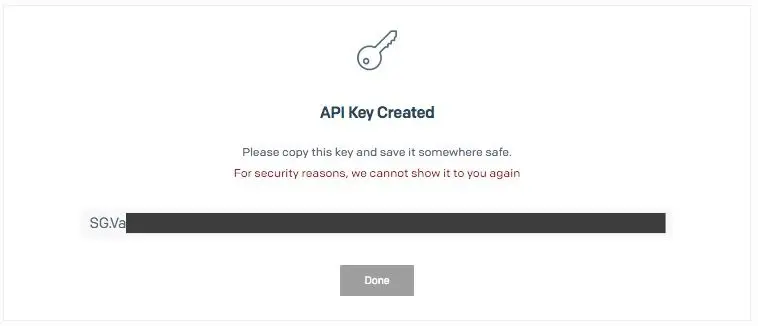
Once you generate the SendGrid Key, copy the API Key somewhere safe for future reference—this will only be visible once.
Info
We hid API Keys in this tutorial for security purposes.
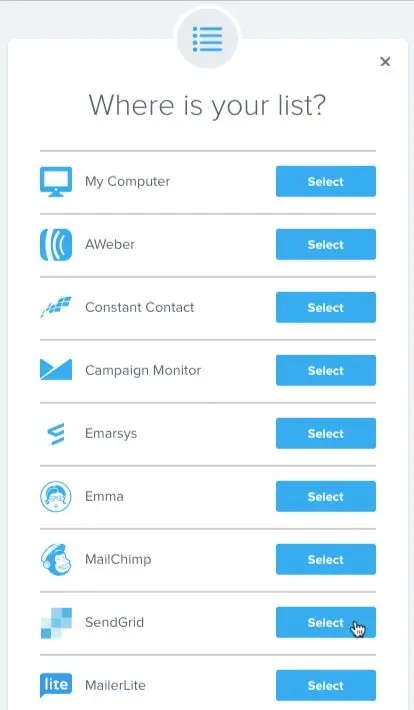
To get started, open the BriteVerify app and click Verify New List and then select SendGrid.

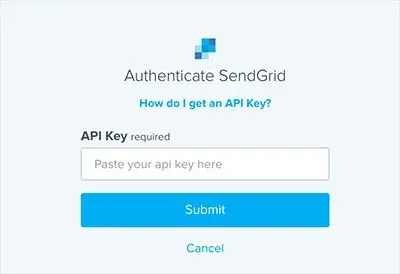
The app triggers the prompt to input the SendGrid API key. The app requires this authentication only once to link the 2 applications.
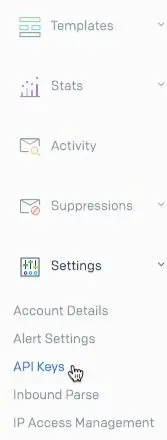
To generate the SendGrid API key, log into your SendGrid account. On the left side of the screen, click Settings and then click API Keys.
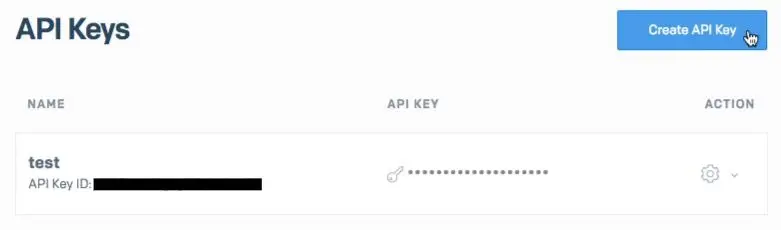
On the API Keys page, click Create API Key.
Here you will be able to name your API Key and set up the relevant permissions. Select Restricted Access to customize permissions.

To allow BriteVerify to work with your SendGrid list, make the following changes to your permissions:
- Email Activity - should have "read" access
- Stats - should have "read" access
- Suppressions - should have "full" access
- Marketing Campaigns - should have "full" access
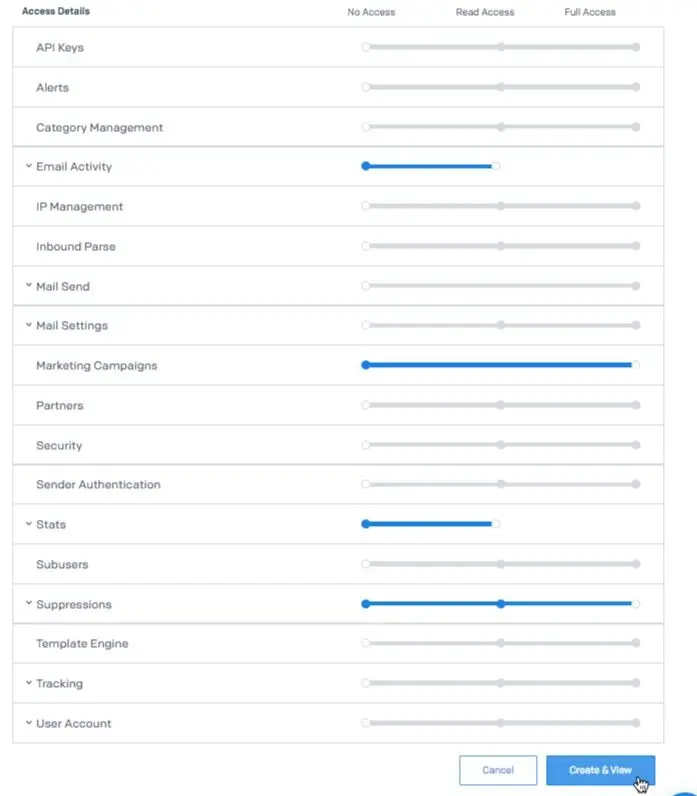
When finished, click Create & View to generate your API Key.
Warning
Remember to store this key somewhere safe because you will not be able to retrieve or restore it once you navigate away from this page.
Copy the key then paste it in the textbox in the Briteverify app. Make sure that there are no extra spaces when pasting the key. If you enter the key incorrectly, an error requesting you to review the info displays.
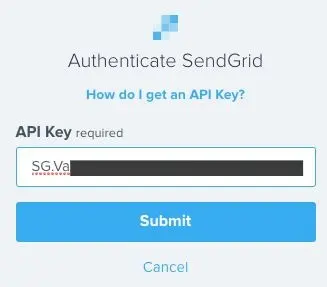
Once you provide the correct API Key, the applications sync, and you may now verify your SendGrid data.
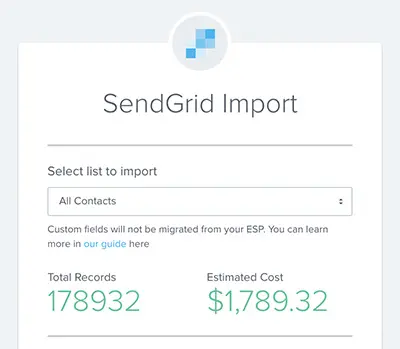
Choose the list you would like to verify and an estimated cost will display.
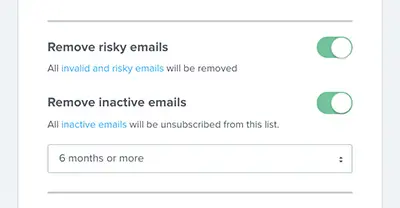
Risky emails include Unknown and Accept_all category emails. Remove these to prevent diluting a marketing campaign's overall performance. Enable the radio button to eliminate risky emails from the final list.
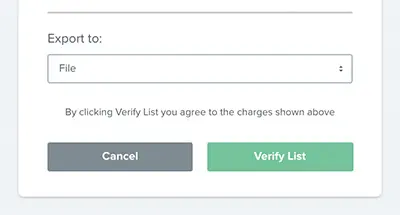
Next choose File as your Export Destination. Once the verification is complete, BriteVerify transfers the cleaned list directly to your SendGrid account.
Click Verify List to begin the verification.
For more information or support, contact BriteVerify.