Outlook 2013
These instructions will walk you through how to add an SMTP server to an existing Outlook 2013 setup, but you can also add these settings at the account creation stage.
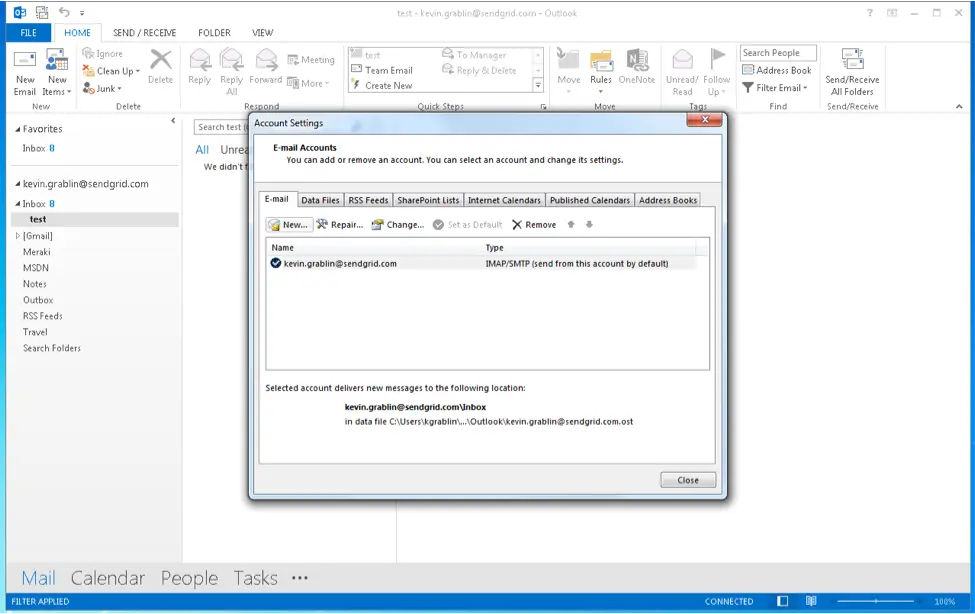
Select File and then select Account and Social Network Settings. Click Account Settings.
The 'Account Settings' window appears. Select the account you receive email through and click Change.
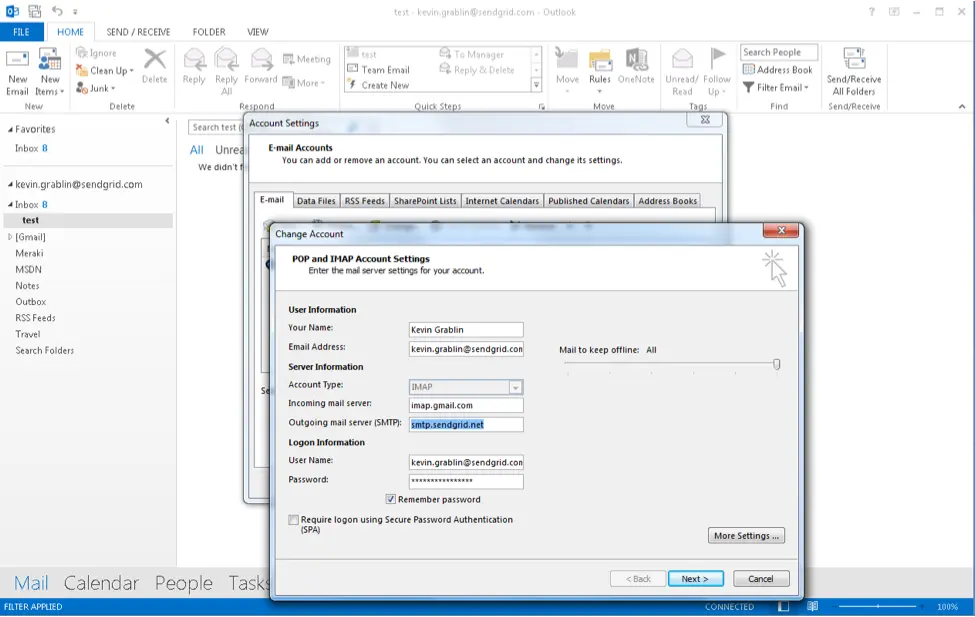
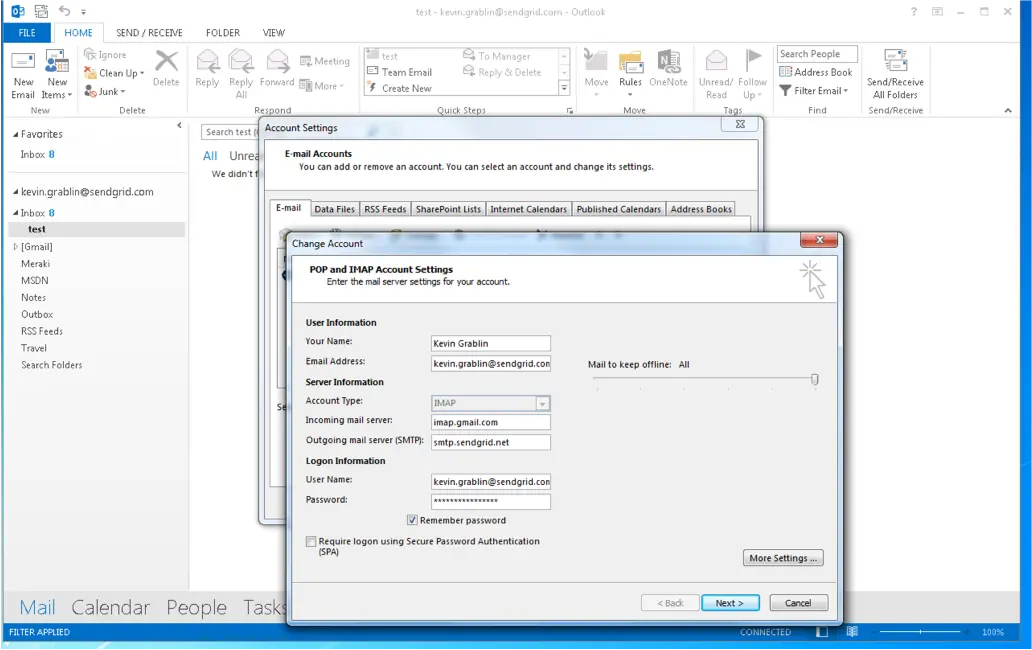
The 'Change email Account' window appears. This setting (in the red rectangle below) needs to be set for our SMTP address. Outgoing Mail Server smtp.sendgrid.net Under Login Information, please enter your SendGrid username and API key.
Info
Your SendGrid username may not necessarily be an email address. If your SendGrid username is example_user, enter example_user in the User Name field, not your email address.
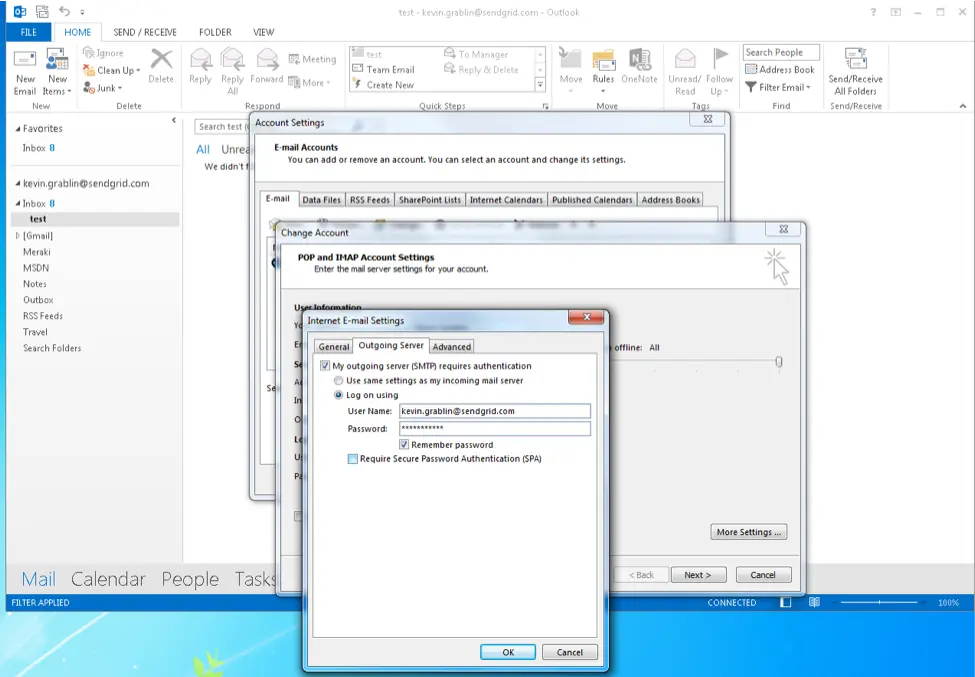
Next, click More Settings and enter the information as shown below. (Keep in mind you can also use port 25 with no security or 587 with TLS security.)
Under the "Outgoing Server Tab", select My outgoing server (SMTP) requires authentication. Click Log on using and enter your SendGrid Username and API key. Click OK and the 'Change email Account' window appears.
Once you are back on the Change Account screen, click Next to test that everything is setup correctly.
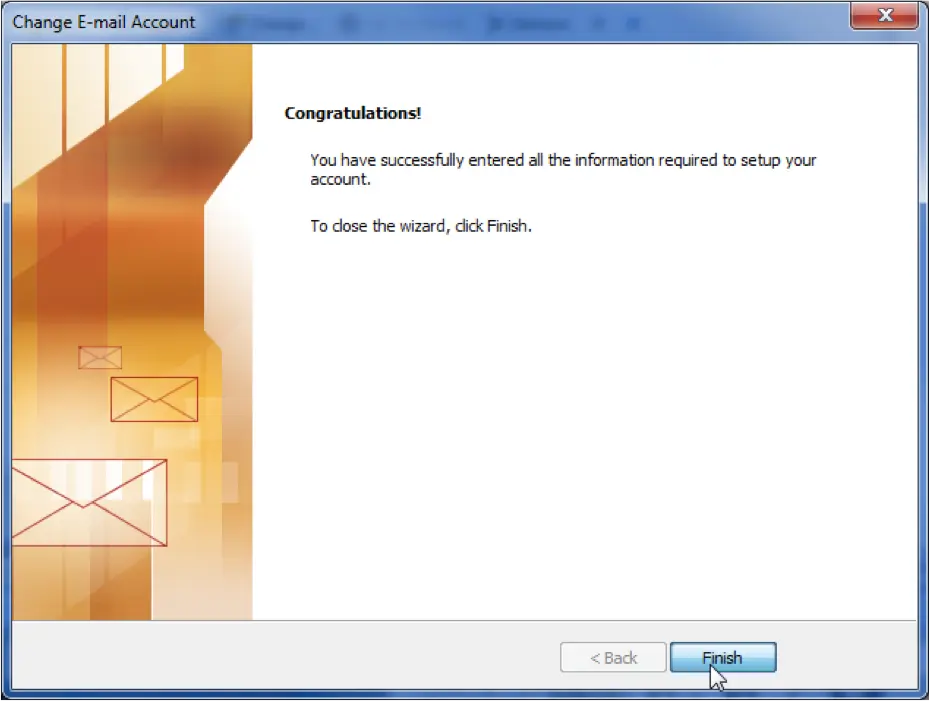
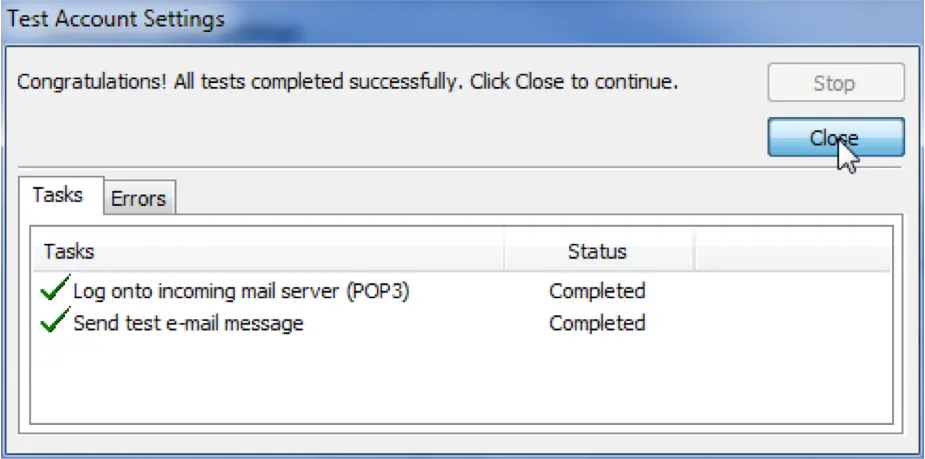
If everything checks out correct then you should see this.
You should be all set at this point. If you need more assistance, please contact support.