Send Emails Through SendGrid For New Caught Webhook Data
If you want to receive a SendGrid email every time you receive a new Event Webhook post, you can do that using Zapier.
You will need:
To establish a Webhook on Zapier, you need only your Zapier account. Zapier sets up a custom Webhook URL. For more information, see how to get started with Webhooks on Zapier.
To link your Webhooks on Zapier to Twilio SendGrid, you must have an active Twilio SendGrid account. To learn more, see the Twilio SendGrid API reference and how to get started with Twilio SendGrid on Zapier.
To begin, open the Send emails through Twilio SendGrid for new caught Webhook data Zap.
- Zapier will automatically generate a Webhook for you to send requests to. When you have this, click Ok, continue.
- Choose whether you wish to specify a Child Key for your Webhook or not. Click Save + Continue.
- Choose your SendGrid account from the list of accounts or connect a new account.
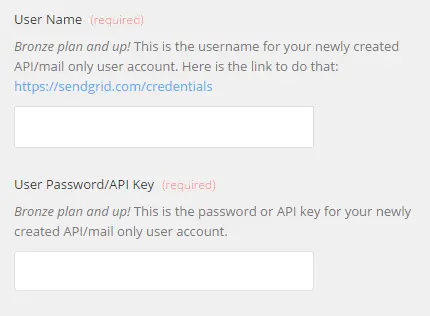
- To connect your Twilio SendGrid account to Zapier for the first time, enter your API key. If you haven't created an API key, go to the API Keys page in the Twilio SendGrid Console.
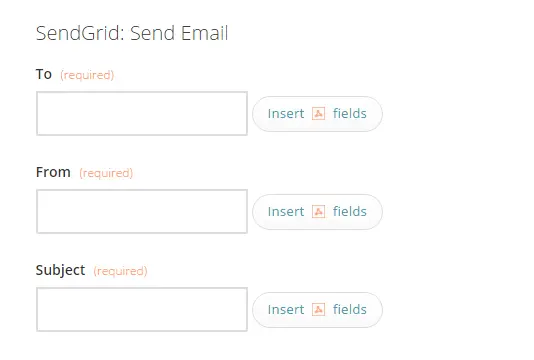
- Using fields from the Webhook, create and customize the To, From, and Subject email message that the Zap will send.
- Click Save + Finish.
Test the Zap. When the Zap is active, new webhook payloads trigger emails through Twilio SendGrid.
Info
Note: if you ever want to change this Zapier and SendGrid integration, just go to your Zapier dashboard and tweak anything you'd like.
You can also check out all that's possible with Webhooks on Zapier and other ways to connect Webhooks and SendGrid.