Manage WebChat Addresses
Info
This guide is for Flex UI 1.x.x and channels that use Programmable Chat and Proxy. Programmable Chat for Flex will reach end of life on June 1, 2026. If you're new to Flex or currently using Programmable Chat, build with Flex Conversations or migrate.
When a new Flex account is created, one default Address (Flex Flow) will be added to enable WebChat out of the box. You can test this out by clicking Launch in the Administrator view of the Flex UI.

At some point, you might need additional WebChat Addresses to handle your traffic. For example, you might be running multiple websites, or might be rendering your website in multiple languages and might want to route conversations differently per language.
In this case, we recommend creating a separate WebChat Address (Flex Flow) for each use case.
You can create WebChat Addresses (Flex Flows) via Flex Console > Channel management > Messaging:
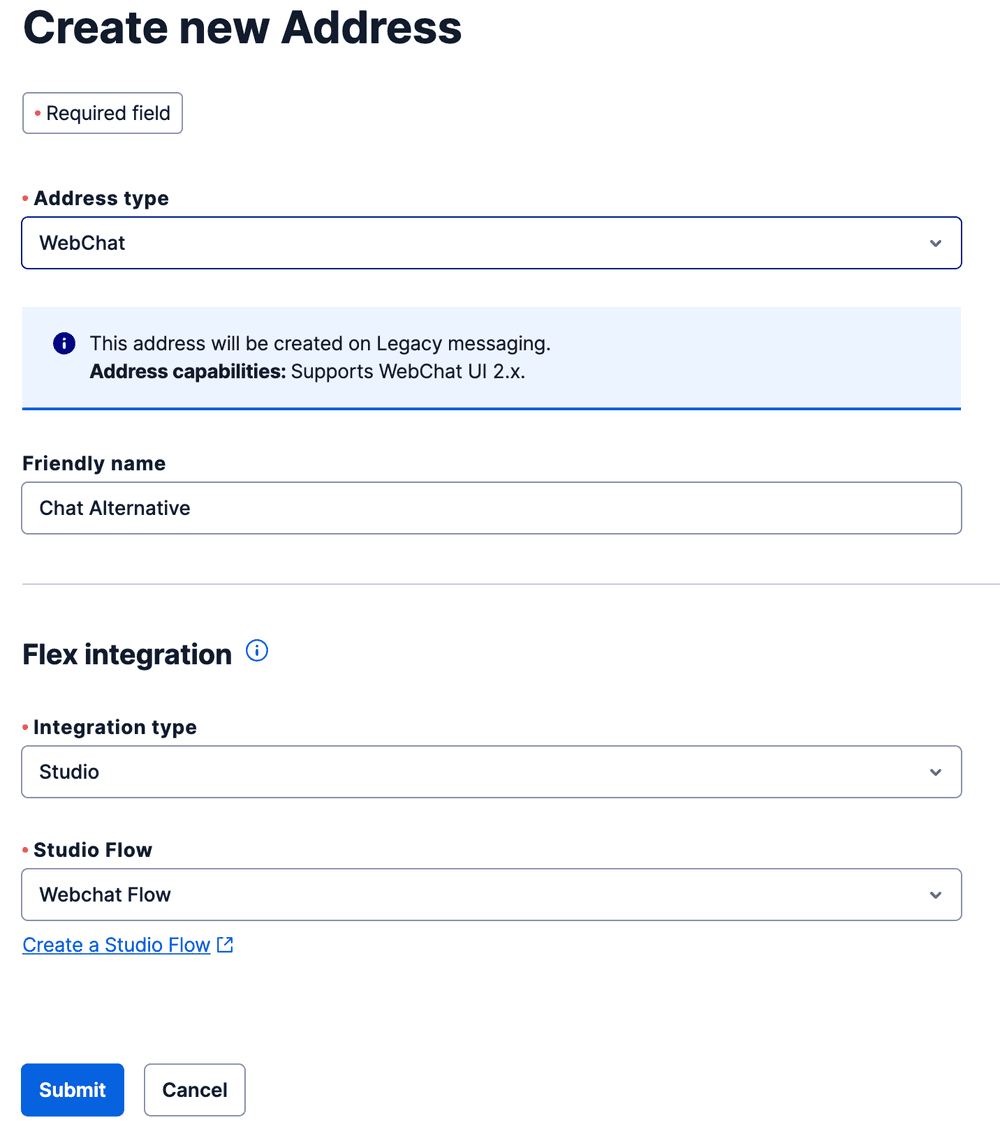
- Click + Create new Address from the Legacy Addresses tab.
- Select WebChat as the Address type.
- You can optionally enter a friendly name.
- Configure the integration to Flex - either by using Studio, Webhook, or Task. The most common configuration is to integrate a WebChat Address to Flex using a Studio Flow. Unless you have removed or reconfigured it, you can use the default WebChat Flow (or Chat Flow) that came with your Flex account. To learn more about configuring Studio Flows, see Configure pre-agent workflow with Studio.
- Click Submit to save your new Flex WebChat Address.
You can edit or delete WebChat Addresses at any point using the Flex Console. Use the Edit Address form to turn on or off the Channel Janitor for your WebChat Addresses.
1curl -X POST "https://flex-api.twilio.com/v1/FlexFlows" \2--data-urlencode "ChannelType=web" \3--data-urlencode "Enabled=True" \4--data-urlencode "IntegrationType=studio" \5--data-urlencode "FriendlyName=Alternate WebChat Flow" \6--data-urlencode "Integration.FlowSid=FWXXXXXXXXXXXXXXXXXXXXXXXXXXXXXXXX" \7--data-urlencode "ChatServiceSid=ISXXXXXXXXXXXXXXXXXXXXXXXXXXXXXXXX" \8-u ACXXXXXXXXXXXXXXXXXXXXXXXXXXXXXXXX:$AUTH_TOKEN
To implement separate handling, point this new Flex Flow to a different Studio Flow that implements the routing and handling nuances you are looking for.
To find your account's ChatServiceSid, navigate to Proxy > Services in the Twilio Console and select the Flex Proxy Service. You should see the Chat Instance SID field in the Optional section.
To locate your Account SID and Auth Token, navigate to your Account Dashboard (house icon in the left nav).
The quickest way to test your new Flex Flow and the routing behind it is to open the WebChat demo widget again from the Administrator dashboard. The URL format is as follows:
https://demo.flex.twilio.com/chat?accountSid=ACxxx&flexFlowSid=FOxxx
Replace the original Flex Flow SID in the URL with the SID of the new Flex Flow you want to test. Any messages you write to that new WebChat widget will be handled based on the new Flex Flow configuration.