Routing Part 1: Assign skills to your Flex agents
After you set up a basic Flex account, you can add task queues and configure skills for your agents. In this two-part tutorial, you'll learn how to configure skills, task queues, workflows, and Studio flows to enable skills-based routing for your Flex application.
Define your skills from the Flex Admin view in the Flex UI.
Log in to Flex as an administrator at flex.twilio.com or launch Flex from the Twilio Console. Select the Admin view, then click Skills.
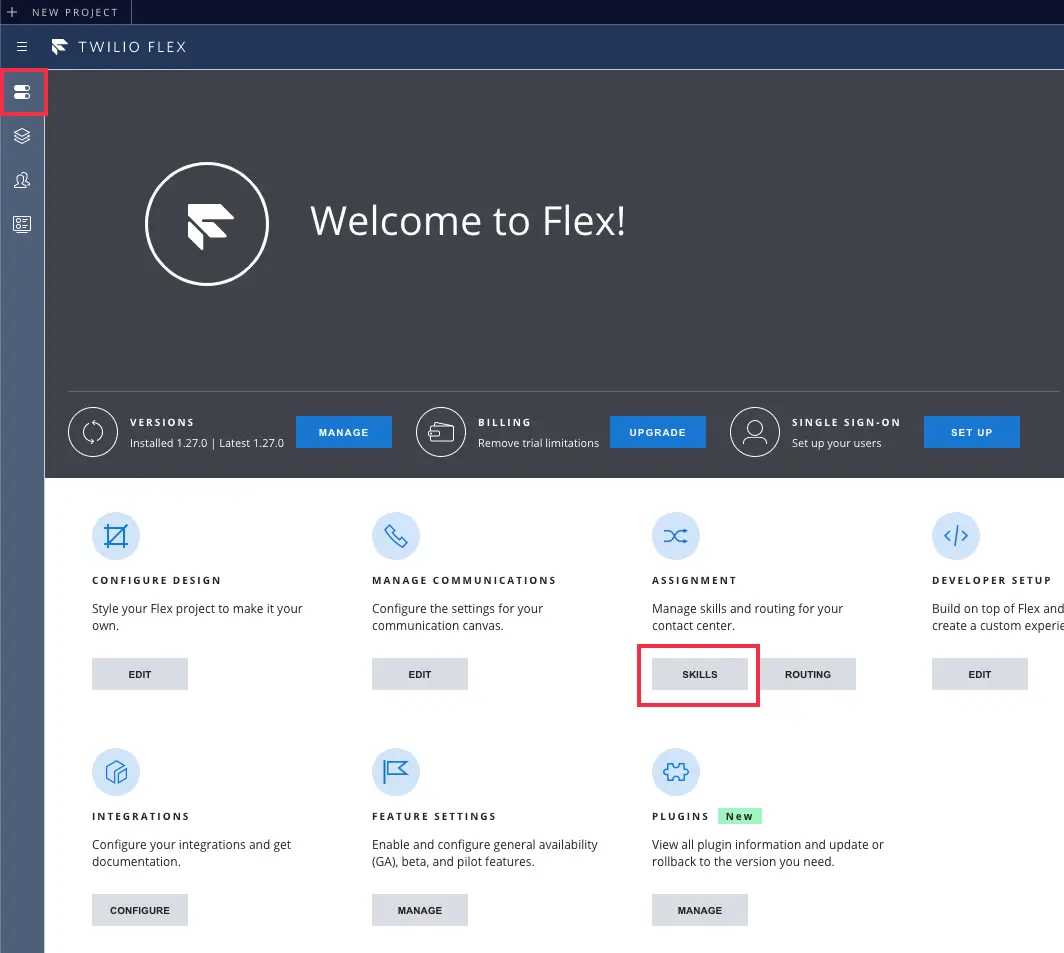
To create new skills, enter the name of the skill, then press Enter or click Add New Skill.
Info
To ensure compatibility with TaskRouter, skill names must NOT include spaces.
For this guide, we will create the following skills:
- CustomerService
- HR
- IT
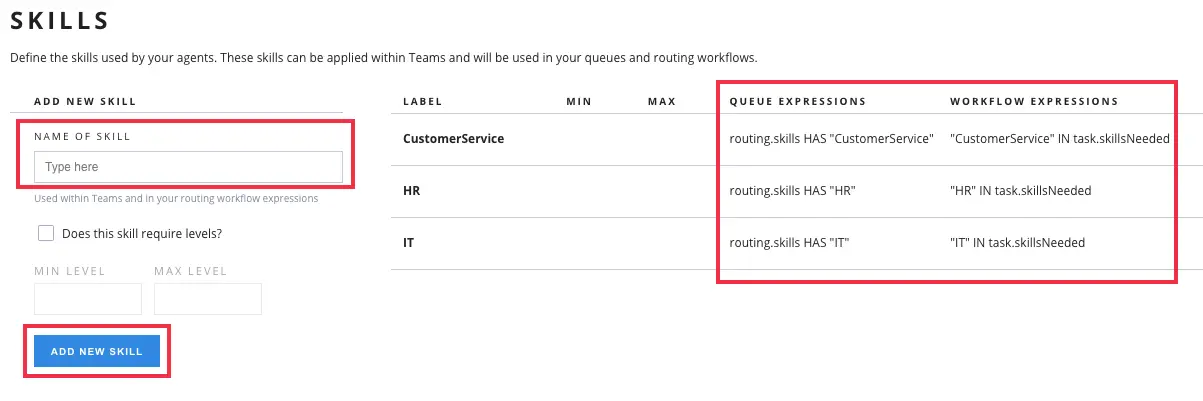
Copy the queue and workflow expressions, as these values will be used for queues and skills based routing.
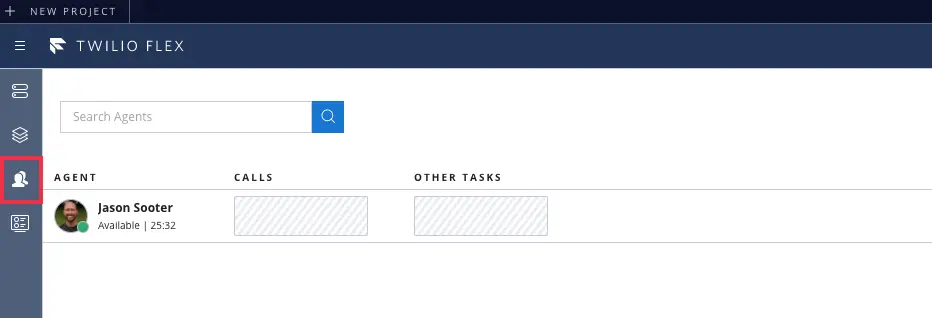
Next, assign skills to your agents using the Flex Teams View. A Flex user with the supervisor or admin role will be able to modify the skills for the contact center users.
To start, select Teams View by clicking on the People icon:
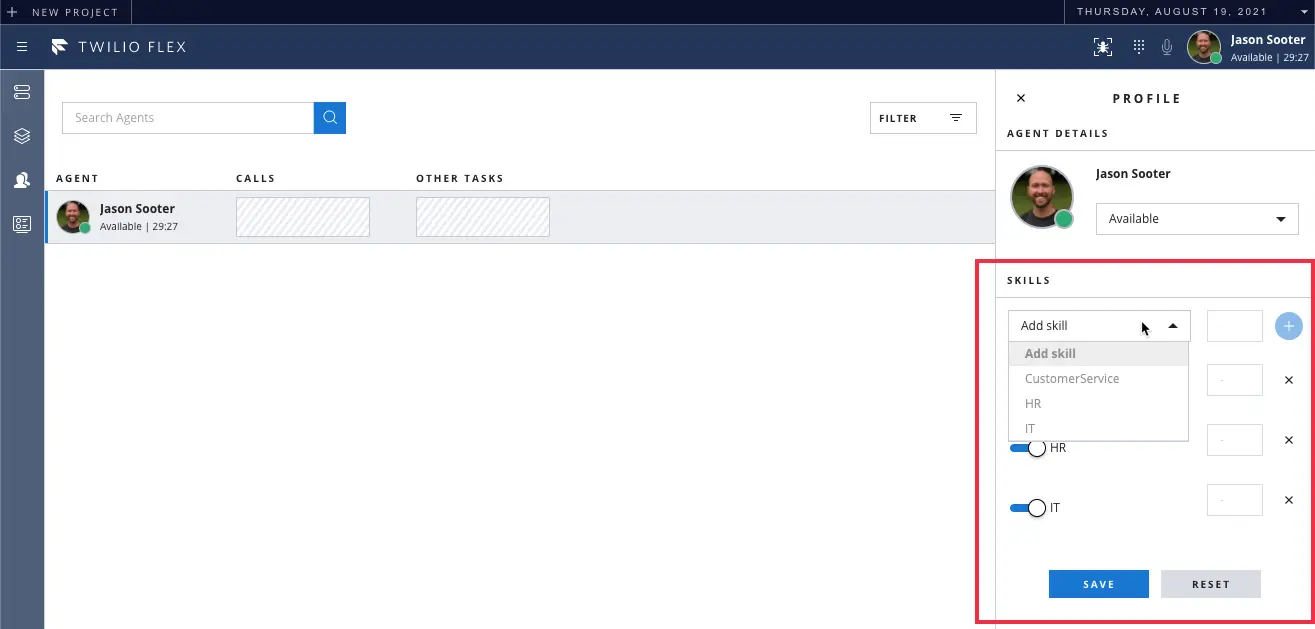
From Teams View, select the Flex user you wish to update. This will display the Agent Detail view. From here, you can add skills to an agent's profile.
Apply the appropriate skill(s) and save the profile:
Now, your agents are set up to participate in the skills-based routing of tasks. In part 2, we will cover setting up the task queues and routing tasks to the appropriate agents.