Test legacy SMS and chat
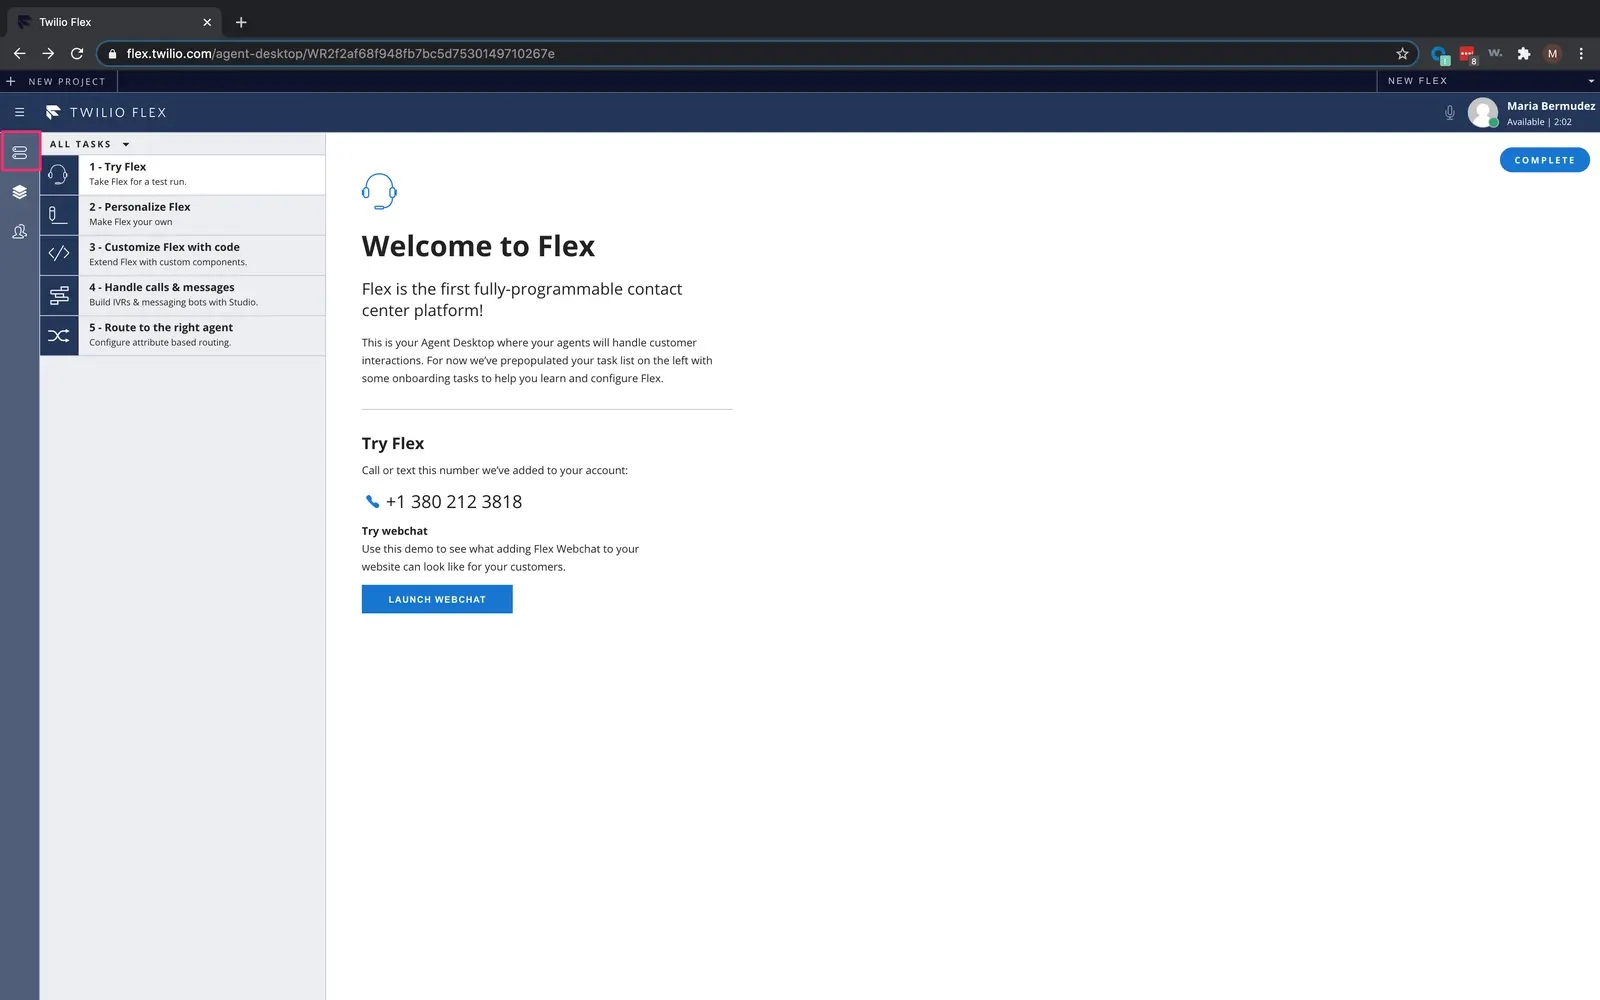
Flex includes built-in Voice, SMS, and Chat channels out of the box. When you launch your instance, the phone number Twilio provisions for your account can accept voice calls and SMS. This guide walks through testing the SMS and Chat channels. To test voice, see Test the sample voice experience.
Before you start, make sure you are available to accept tasks in Flex ("Available" is a good status, unless you have customized the Activities for your Flex account).
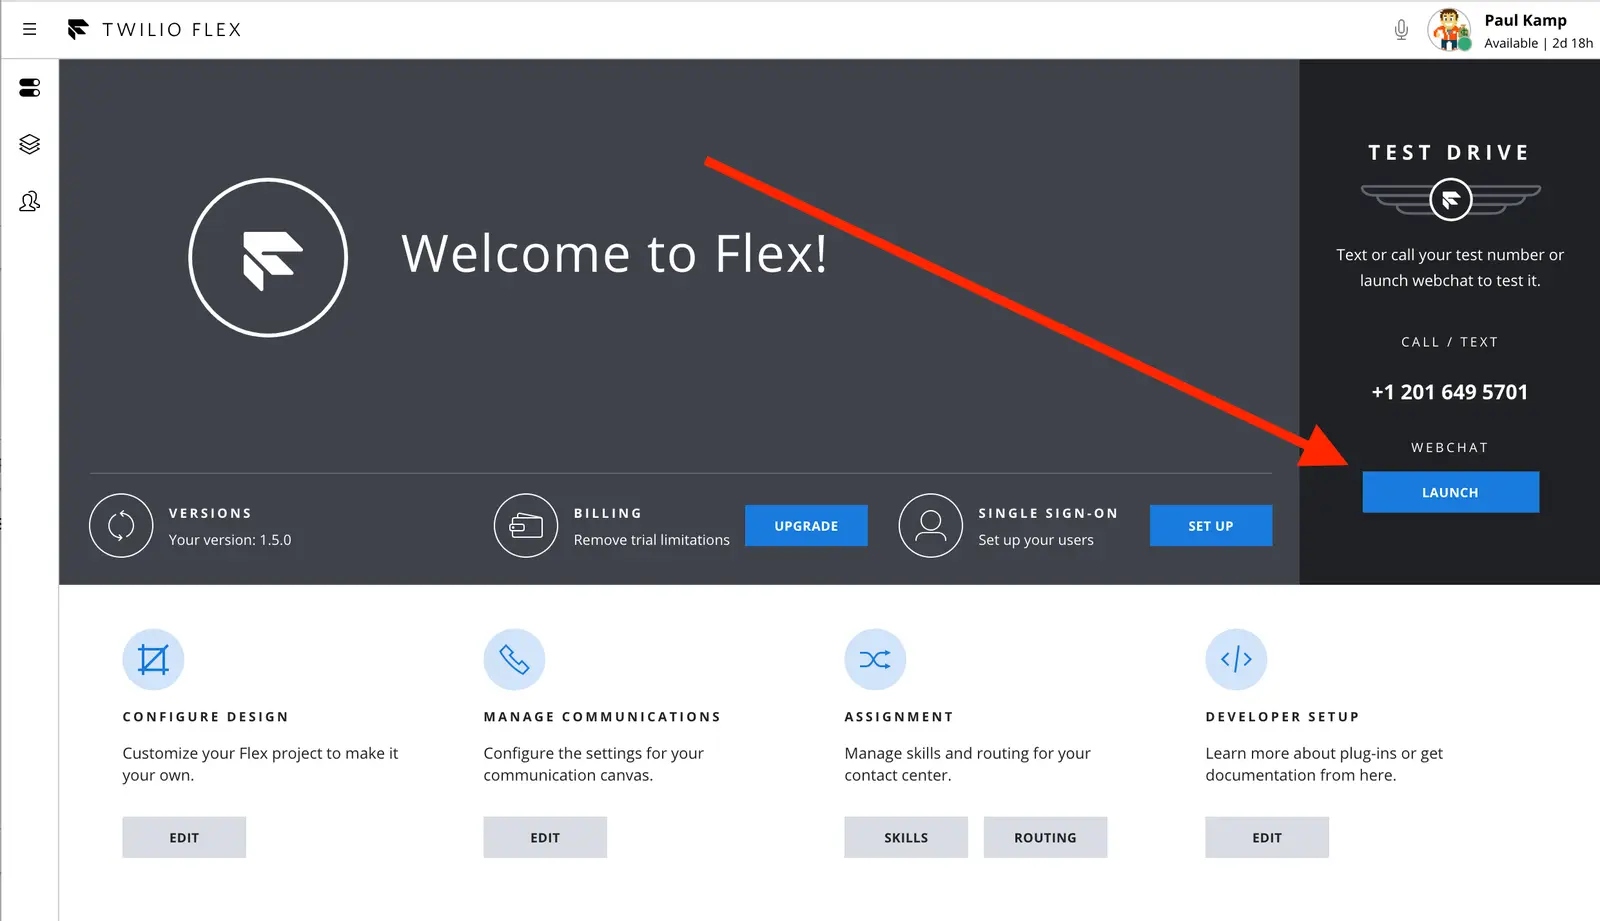
If you haven't yet, make a note of the phone number assigned to your Flex instance. You can find it on the Admin panel.
-
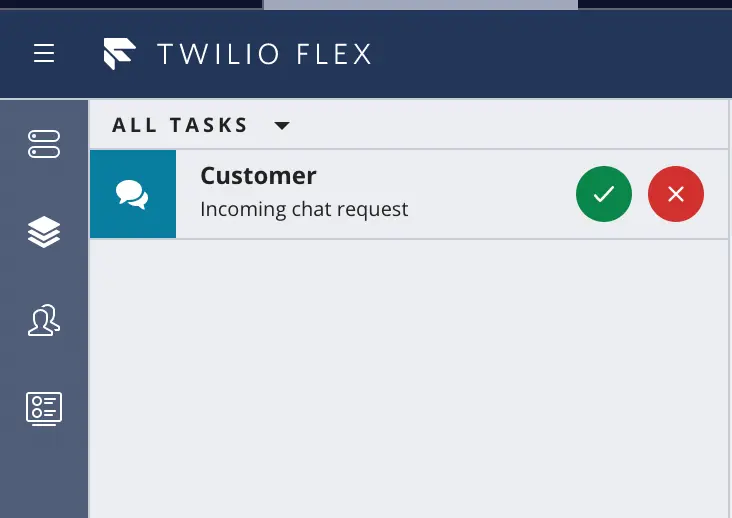
Send an SMS from your cell phone to your Flex phone number.
-
Inside Flex navigate back to the Agent Desktop, or click the "Stack" button on the left sidebar as you've done with your incoming call.
-
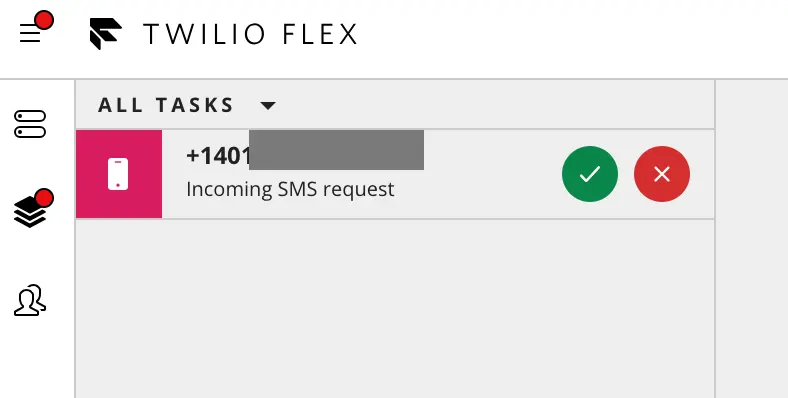
Accept the incoming request by clicking the green Accept button:
-
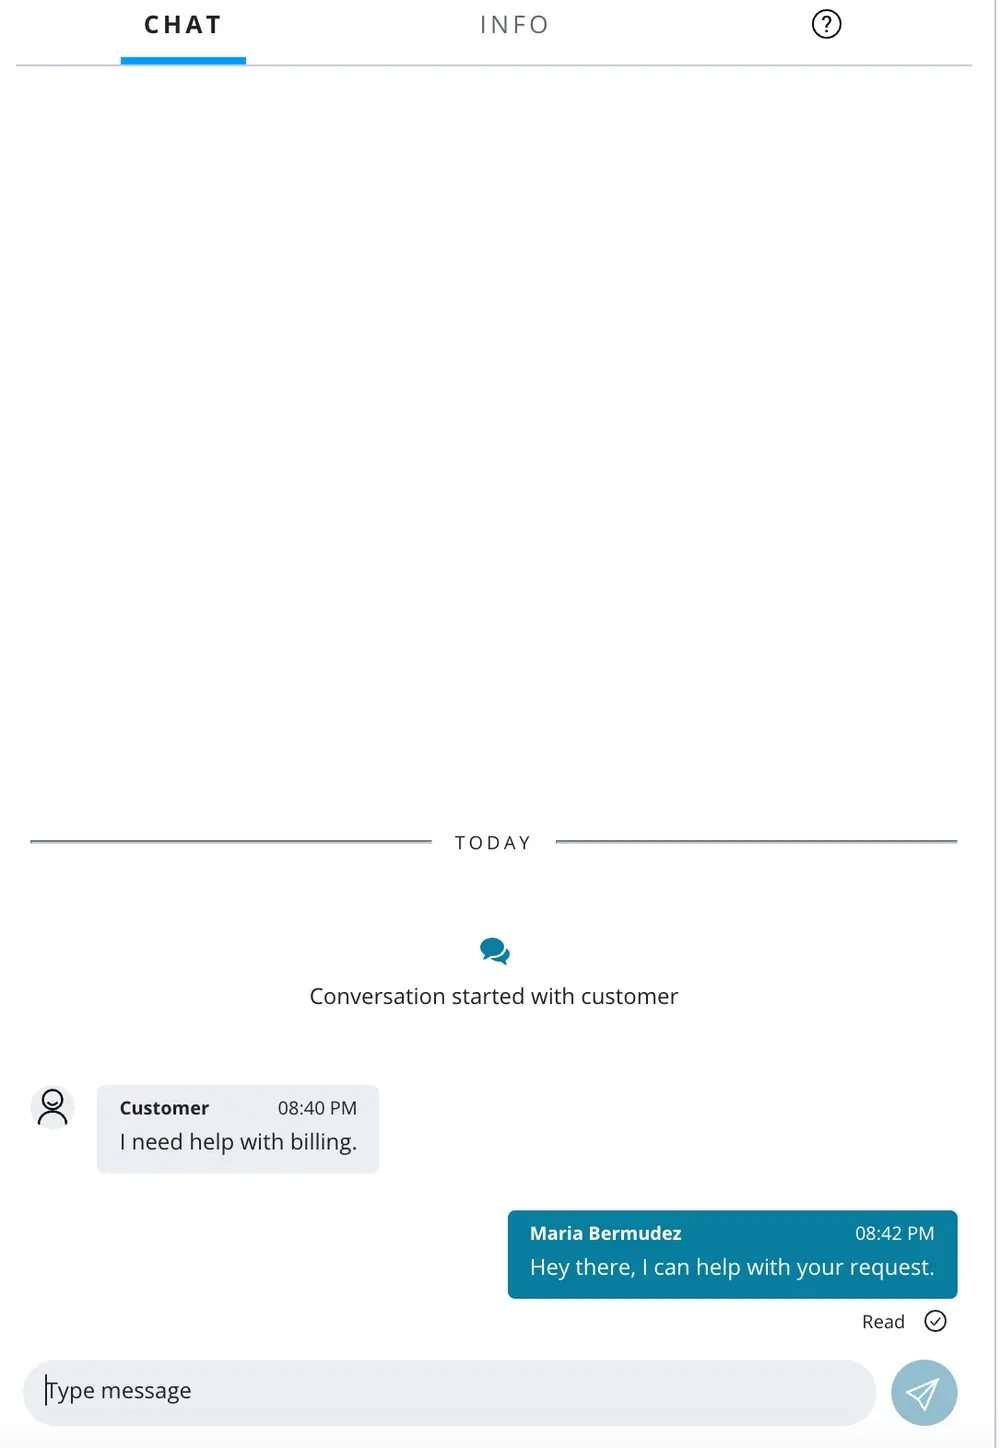
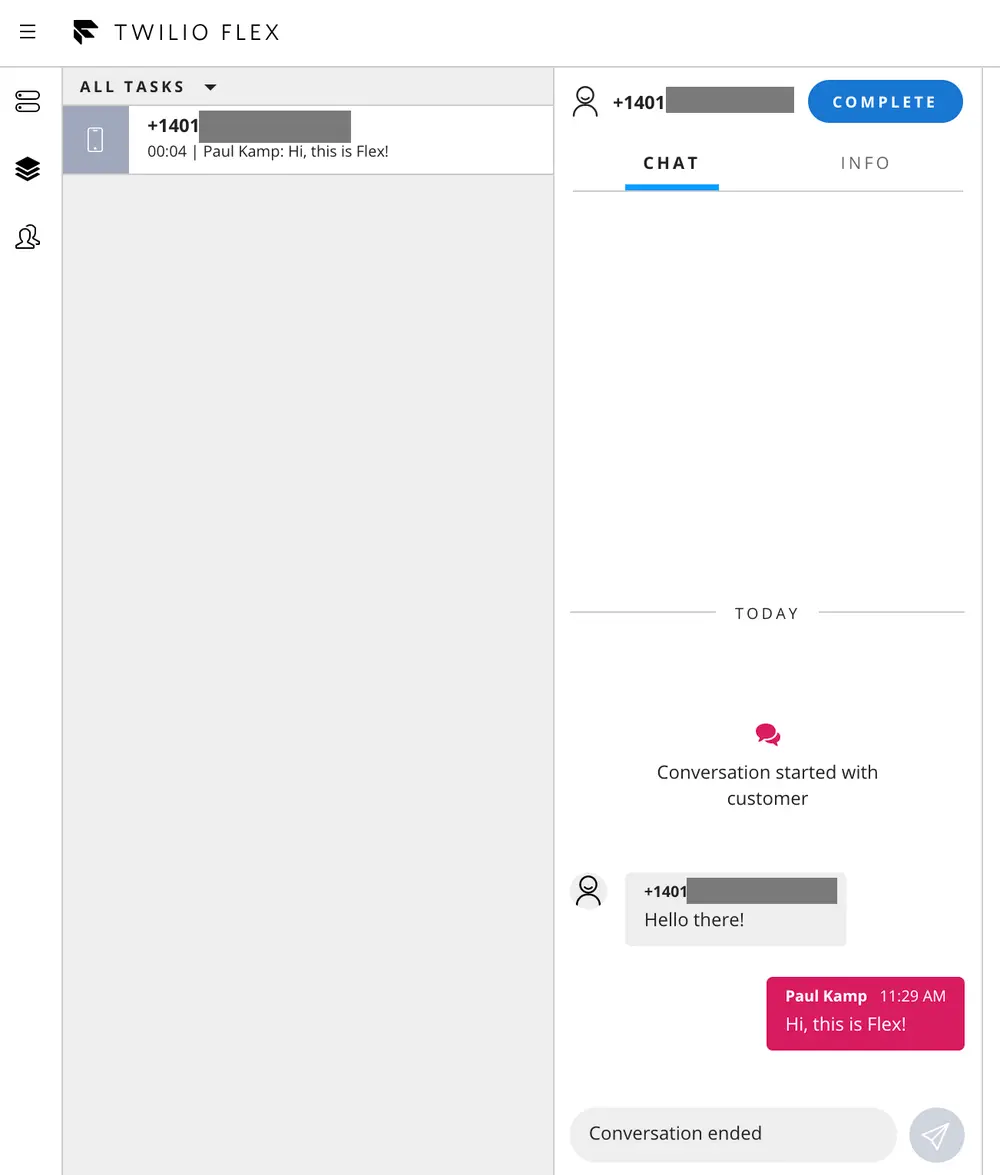
Send a message back to your phone by typing in the chat interface and sending your well-crafted response:
-
Verify you received the message you just sent from the Flex application to your phone.
-
Click End Chat to finish the SMS session.
-
Click Complete to wrap up the task.