Image Editor
Twilio SendGrid's Marketing Campaigns provides a built-in image editing tool that allows you to crop, flip, and filter your photos. This article provides an overview of the editor and its features with additional tips to make your images look their best.
Info
Because the Image Editor is available within the Design Library, you can edit images you send with the Email API as well as Marketing Campaigns.
You can upload new images and access existing images in the Marketing Campaigns Image Library. Supported file types include .jpg, .gif, and .png. To access the Image Library, navigate to Design Library > Your Images in the sidebar navigation of the SendGrid App. You can also access the Image Library while editing a Single Send or Automation email by adding an image into your content and clicking "Edit Image."
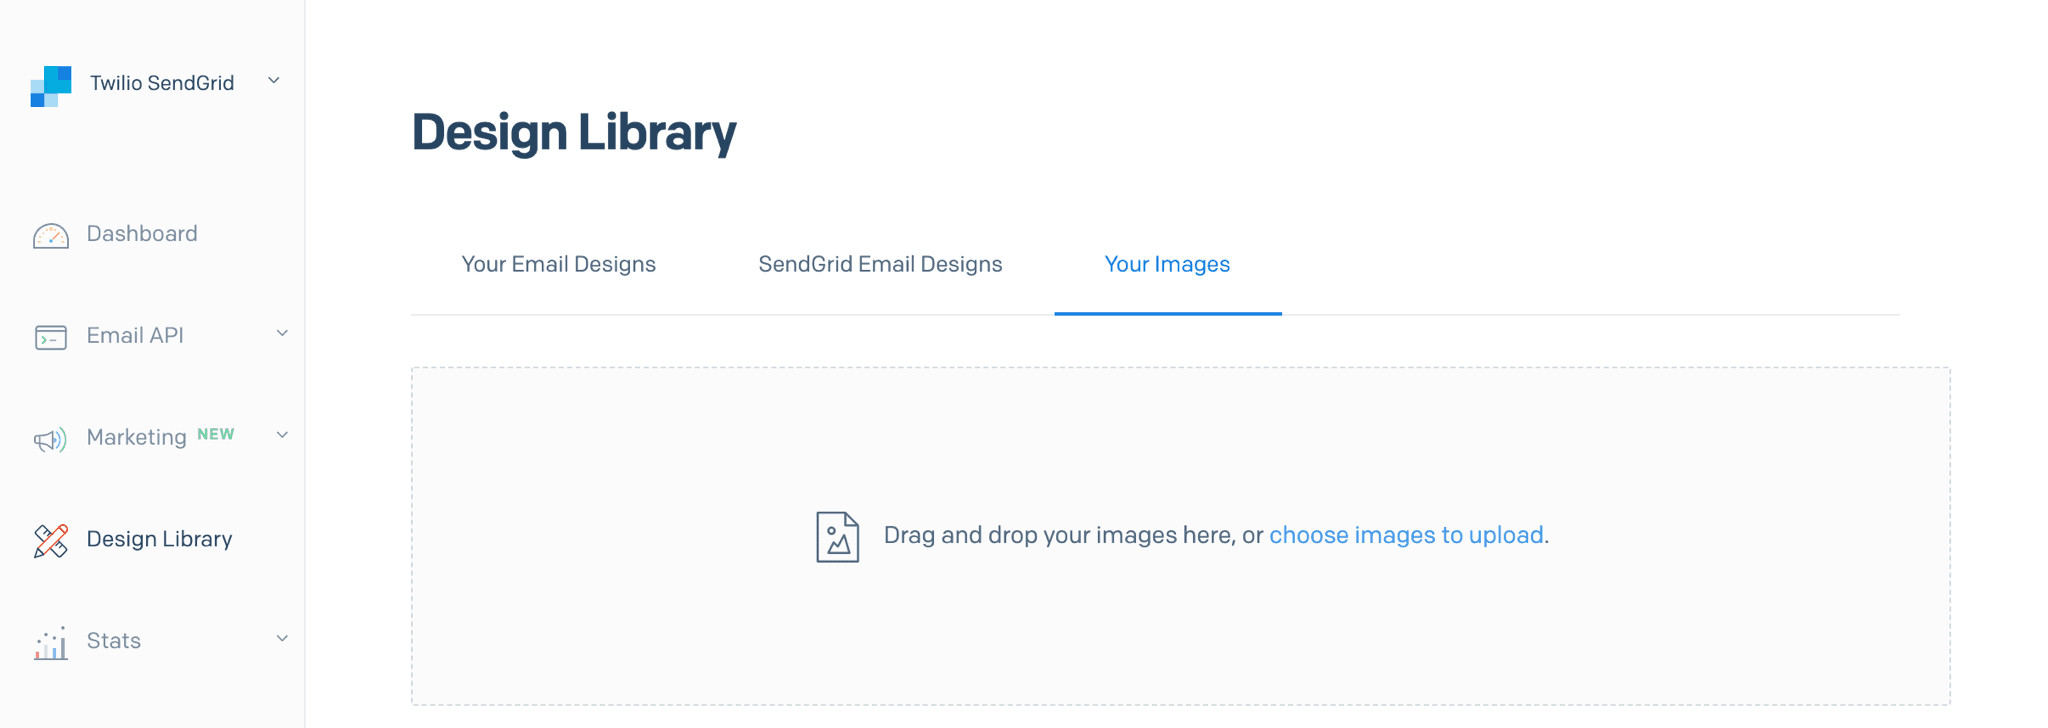
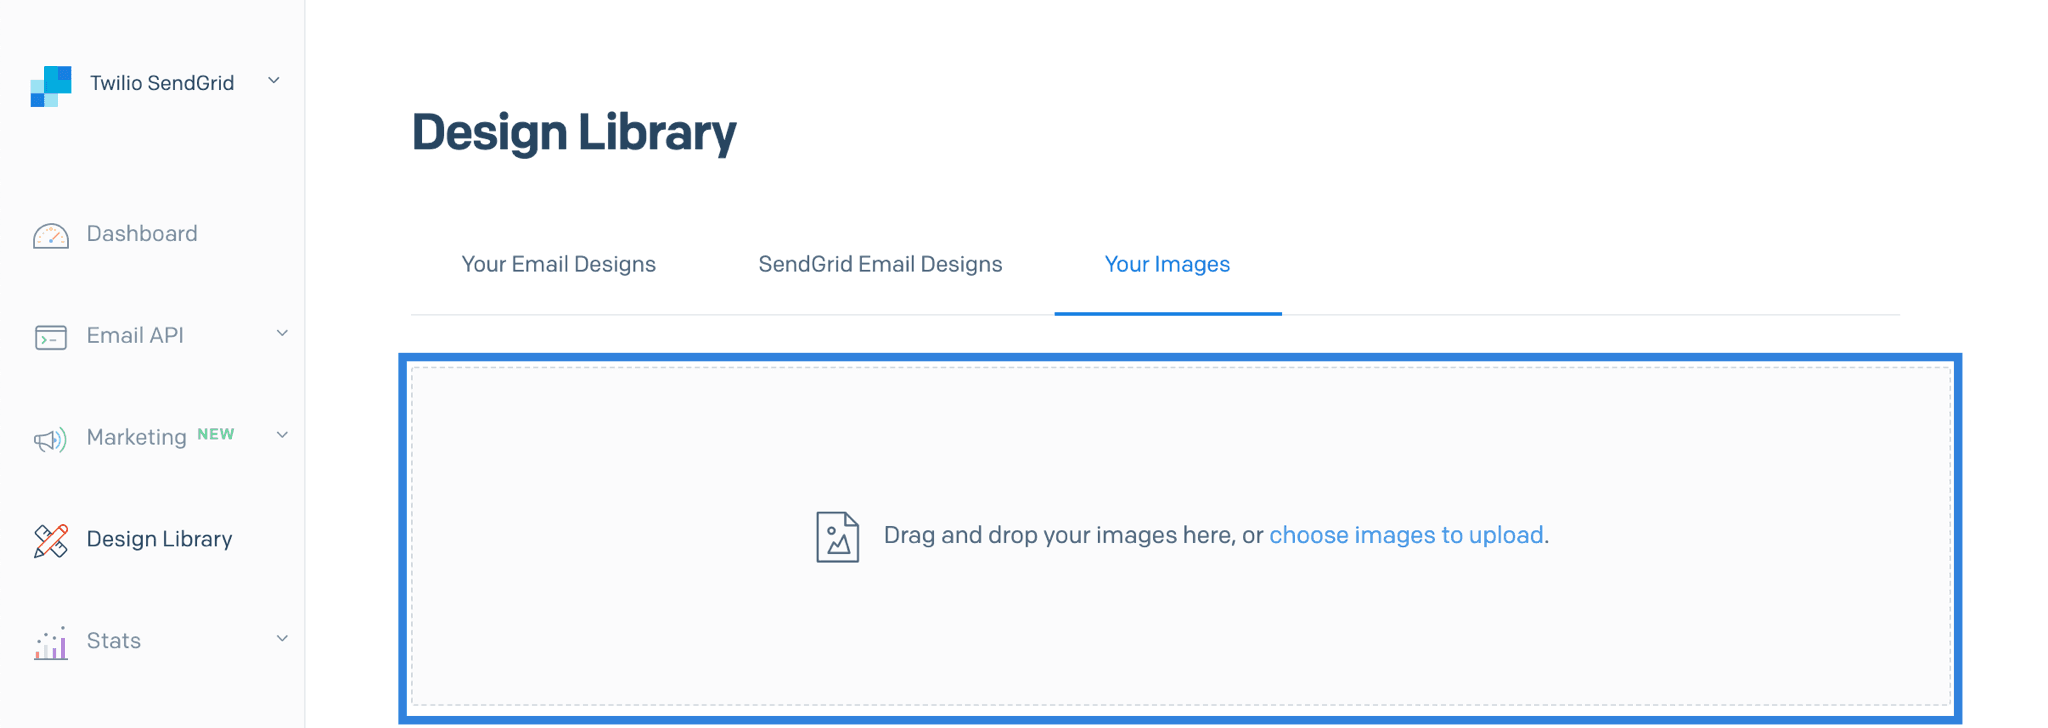
To upload an image, you can either drag an image onto the page where it says, "Drag and drop your images here, or choose images to upload." If you click the "choose images to upload" link, a system dialog will open, allowing you to browse for images on your computer.
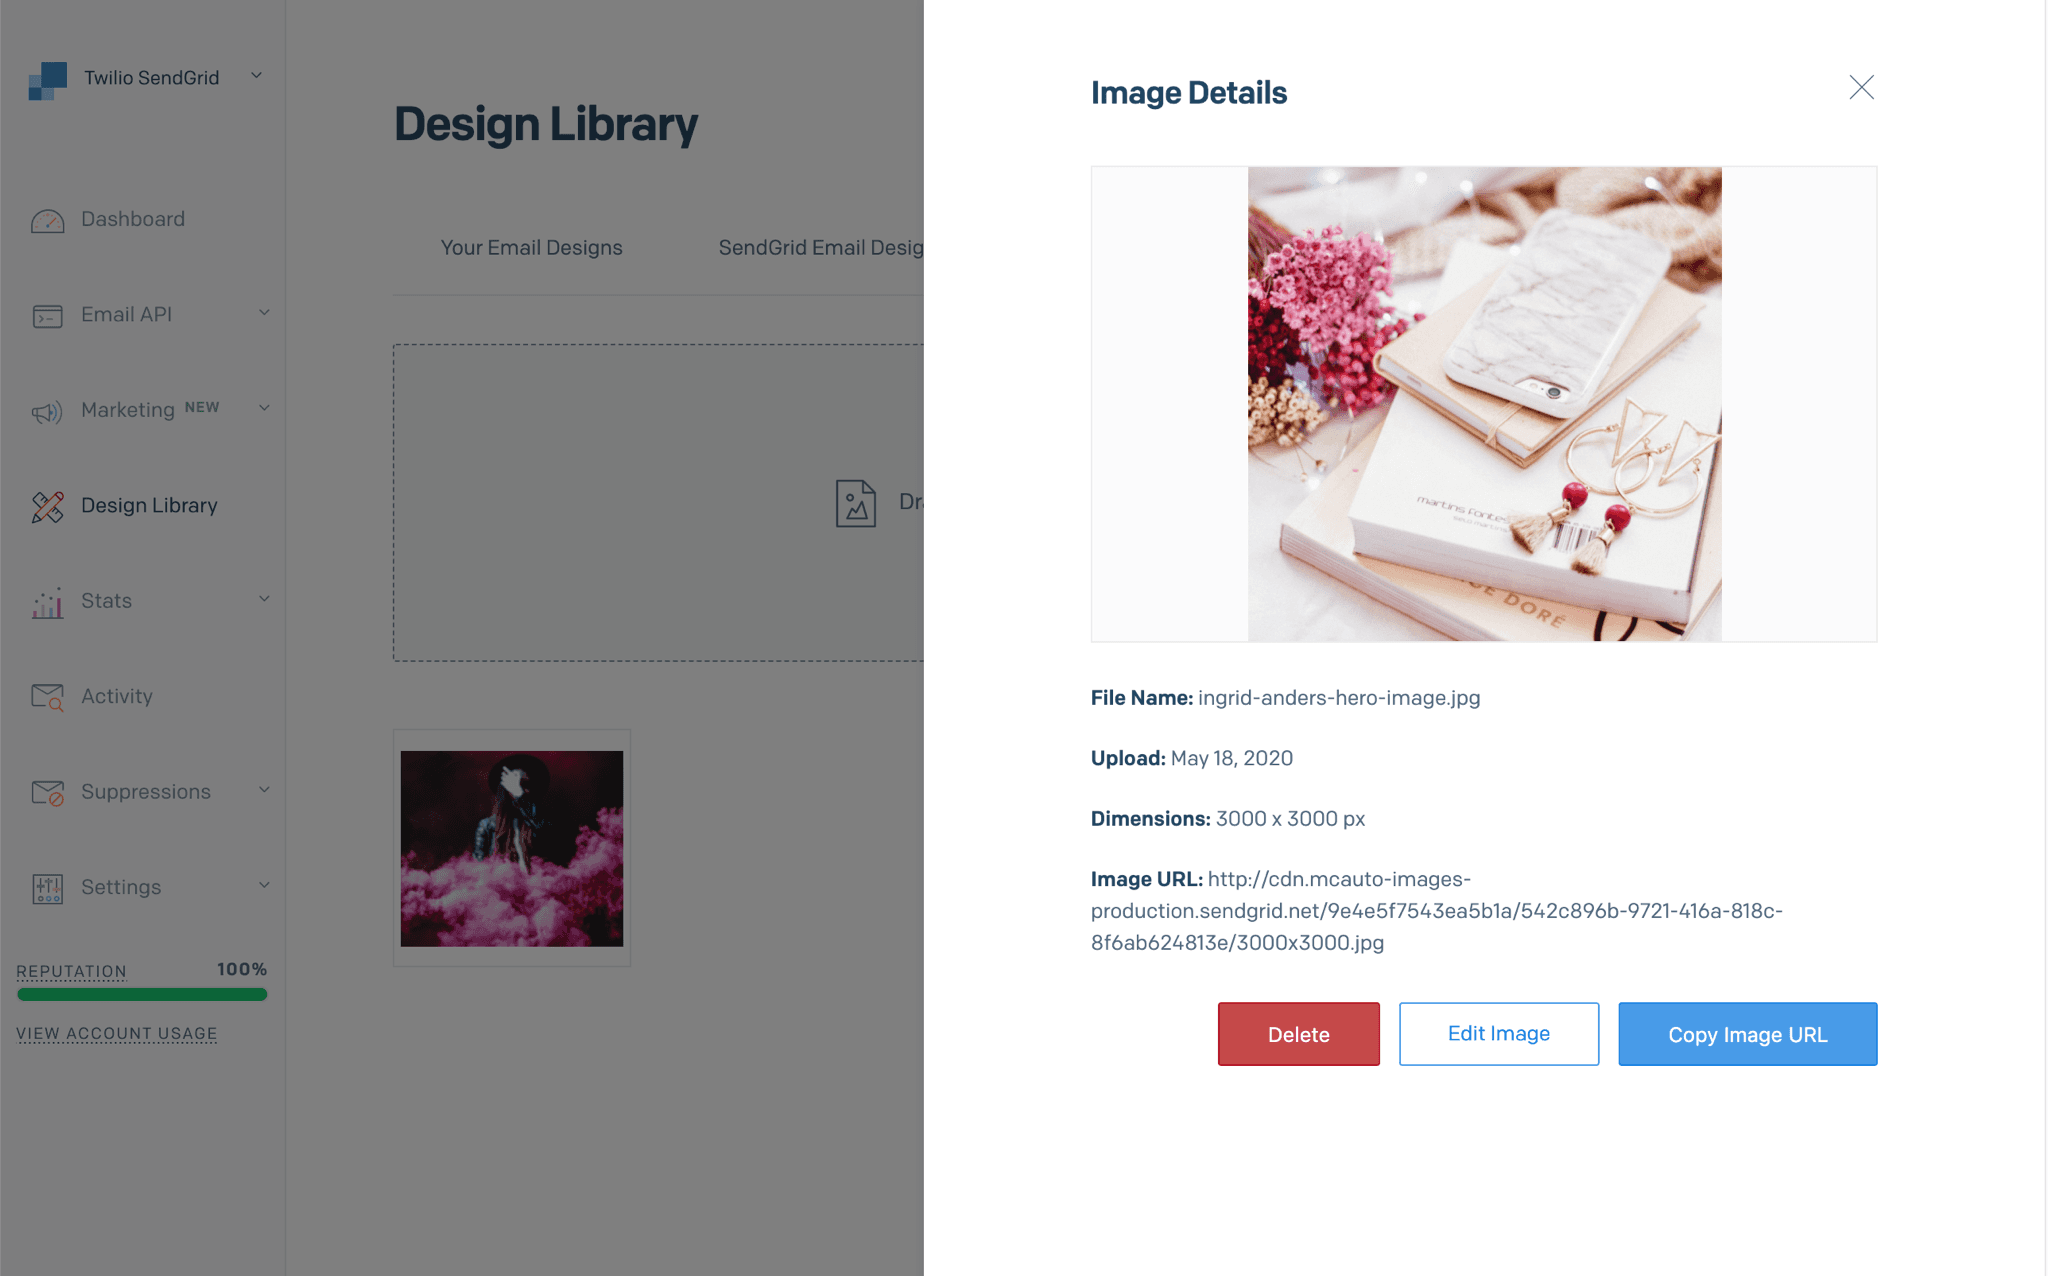
The Image Library displays all images you previously uploaded. You can click any of these images to load a sidebar overlay that displays the image's details. You will also have the option to delete the image, edit the image, or copy the image URL.
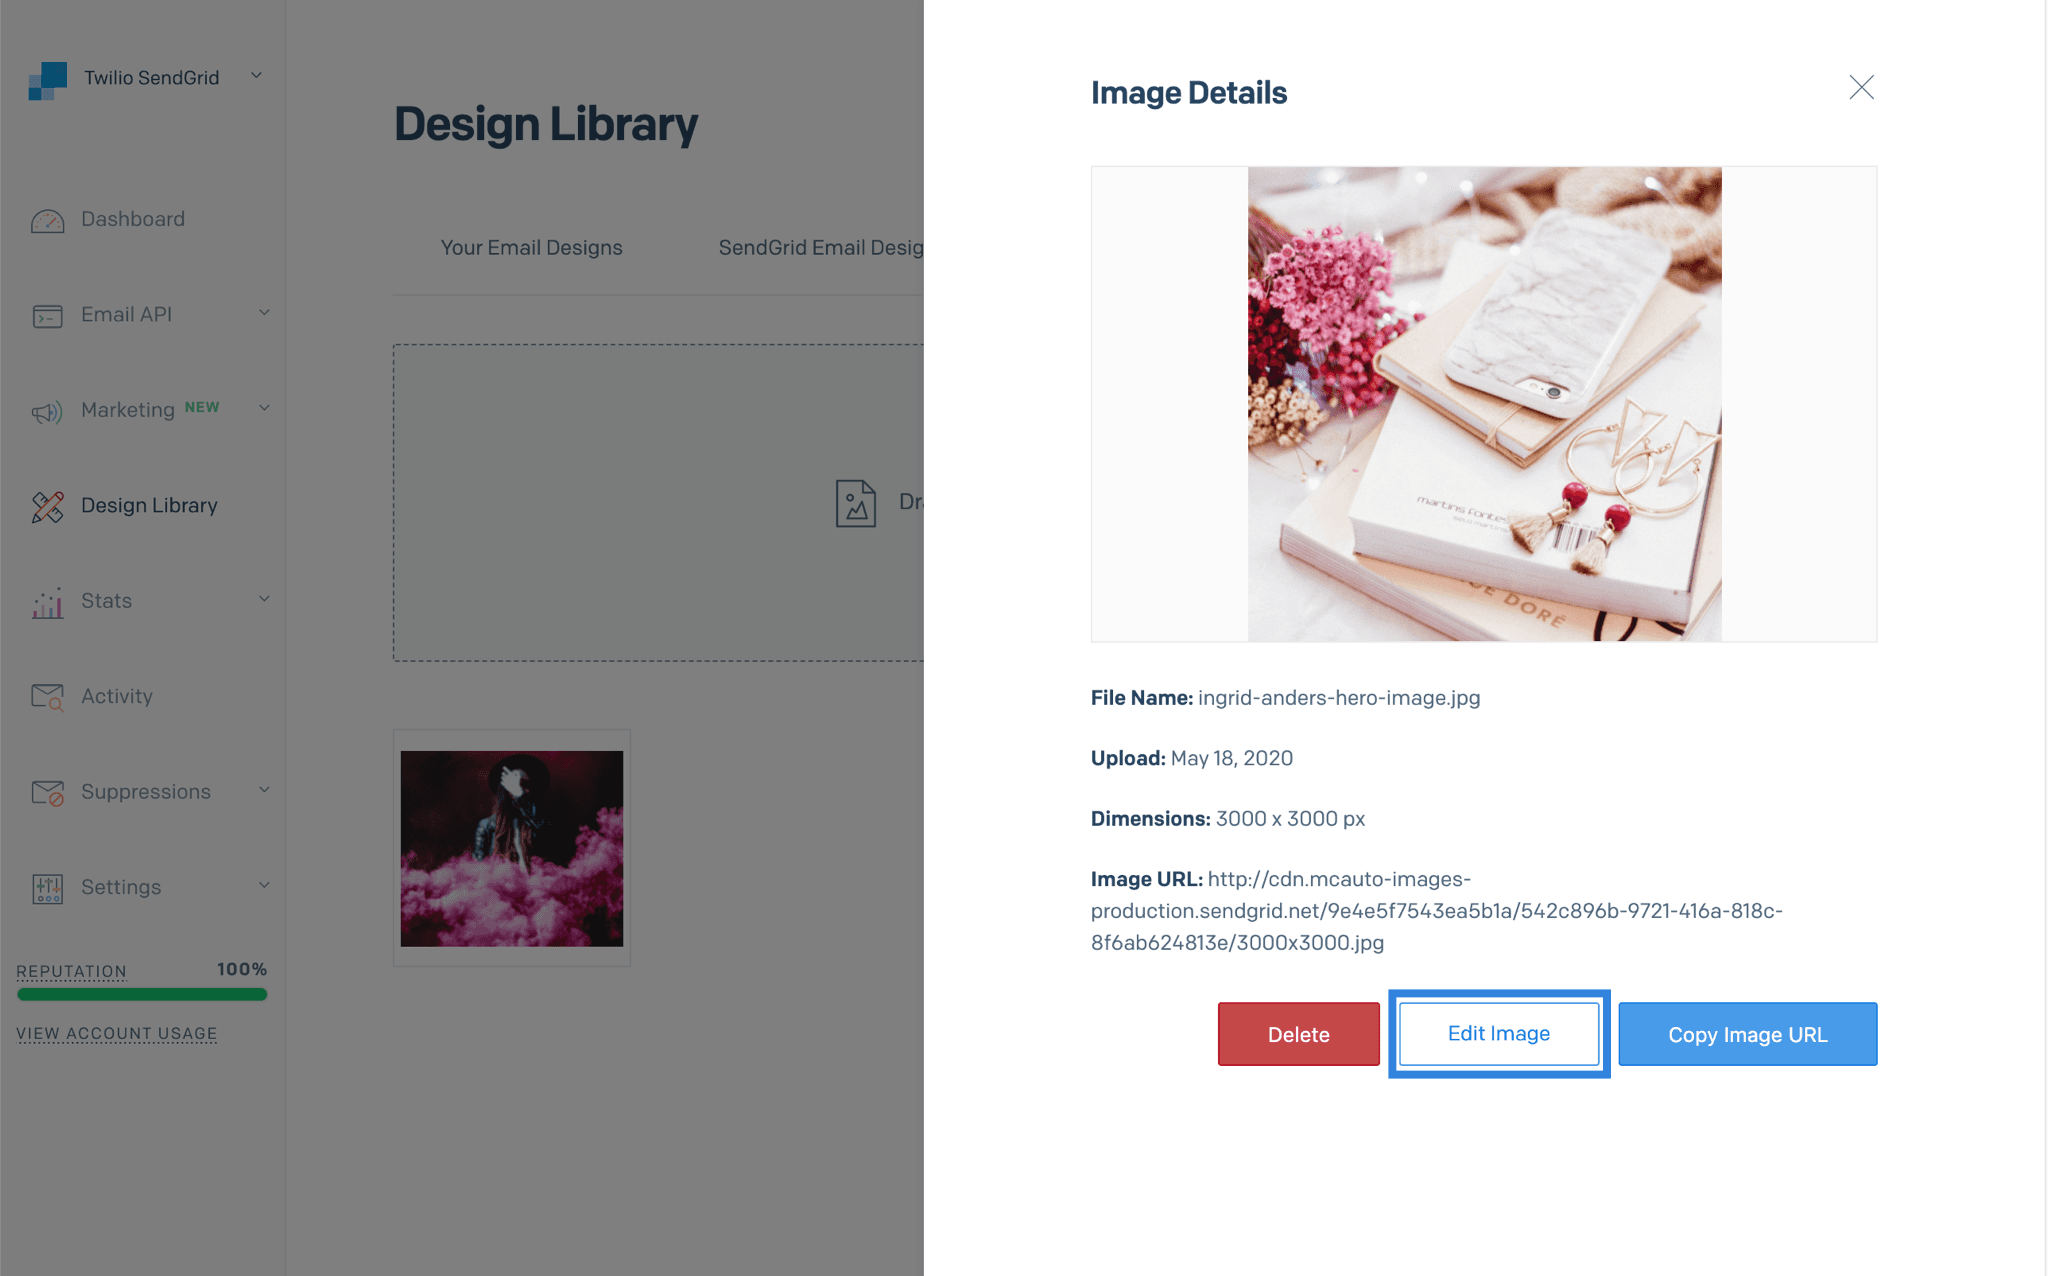
To access the image editor, open the Image Library and upload a new image or select a pre-existing image that you would like to edit. With an image selected, the detail menu mentioned above should load. Select "Edit Image" from this menu.
Info
You can also access the Image Editor by editing images already placed in your Single Sends and Automations designs. For more on Email Design, see Working with Marketing Campaigns Email Design
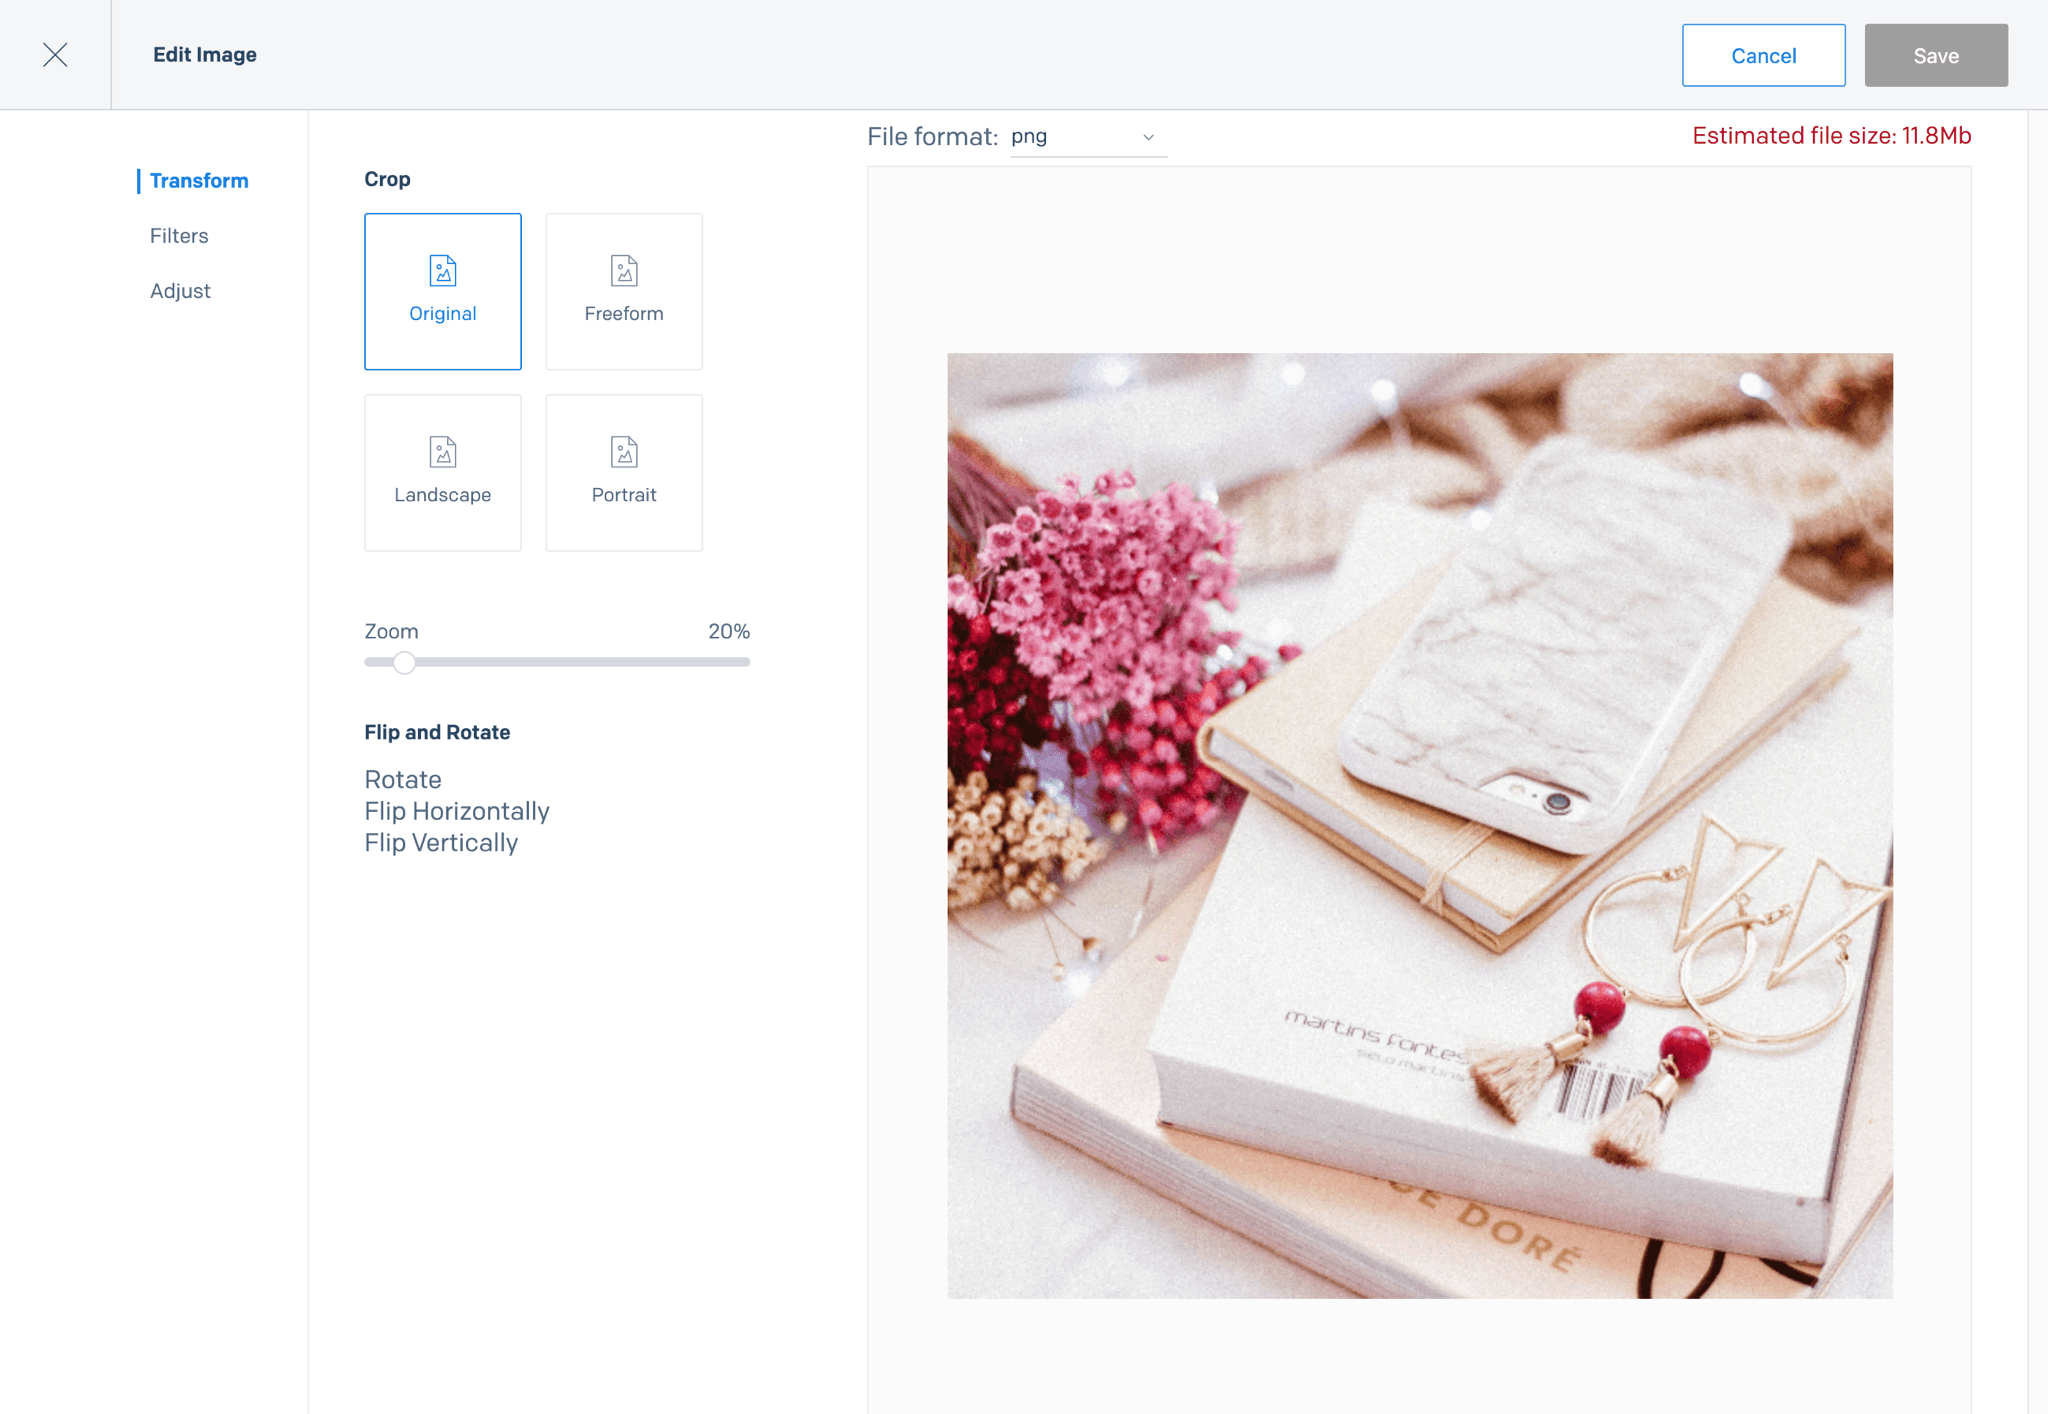
Once in the Image Editor, you will have three primary actions available, "Transform," "Filter," and "Adjust." Each category contains multiple actions that can be performed on your image. More details about these actions is provided below.
When saving edits to your images, a new image will be saved to your Image Library. This allows you to modify an image without overwriting your original photo. You can select "Cancel" at any time to abandon your edits without saving.
Info
You can save images in either the JPG or PNG format. If your image must support transparency, save the file in PNG format. JPG does not support transparency.
Info
Images cannot be larger than 4MB.
The transformation actions include cropping, flipping, and rotating an image.
Info
Cropping an image can change its composition to help communicate your story. Common guidelines for framing and cropping images include the rule of thirds and the golden ratio.
- Freeform: crop the image to any desired width and height
- Landscape: crop the image with a fixed 4:3 aspect ratio
- Portrait: crop the image with a fixed 3:4 aspect ratio
- Rotate: rotate the image 90 degrees clockwise
- Flip Horizontally
- Flip Vertically
The provided filters can help quickly alter a photo to create a look and feel without manual adjustments.
The adjustment actions allow you to manually alter multiple image settings. These manual adjustments can be used to modify an unedited photo or to further refine a look after you have applied a filter.
Info
Altering an image's color balance, contrast, and saturation is a powerful way to control your messaging. Color theory is the way designers and artists use color to communicate.
- Hue: adjust the image's color balance
- Saturation: adjust the intensity of the hues in the image
- Brightness: raise or lower the overall luminosity of the image
- Contrast: adjust the difference between the least and most intense image tones
- Opacity: control the image's transparency
- Blur: apply blur to the image
- Sepia: apply a sepia tone to the image
- Grayscale: convert the image to grayscale (this is similar to desaturating the image)