Real Time Rails 4: Using Server-Sent Events with Authy OneTouch
Time to read: 7 minutes
June 13, 2016
Written by

Server-Sent Events (SSE) are real-time events sent from a server and received by a browser, perfect for updating the front end when a server receives a webhook. We’re going to look at how to use SSE to implement Authy OneTouch using Rails 4.
Our end result should look a bit like this:
Authy OneTouch
Two factor authentication usually means copying a bunch of numbers from your phone to the place you’re trying to log in. Authy OneTouch is a more user friendly version of two factor authentication. As you can see above, the user just needs to accept the authentication attempt and they are logged in.
On the back end Authy sends a webhook to the application with the result of the authentication request. The application can then log the user in and choose how it updates the front end. Check out our tutorial on how to get started with Authy OneTouch and Rails for more detail on how it all works.
Real-Time Rails 4?
You might be thinking that Rails 5 is finally bringing real-time action to the Ruby world with Action Cable. If you are then you probably missed that Rails 4 included ActionController::Live, a means of streaming data from a Rails in real-time. Connect this up to the EventSource API in browsers and we have a full implementation of Server-Sent Events that we can use to send data from the server to the browser in real-time.
The tutorial for Authy that I mentioned earlier actually implements the OneTouch flow by polling the server for updates. As polling can be inefficient and result in many unnecessary requests to our server let’s replace it with SSE.
Tools
To follow this post and implement SSE in Rails you’re going to need a few things:
- Ruby and Bundler installed
- PostgreSQL, we’re going to be using the publish-subscribe feature to trigger events
- ngrok, to help us test webhooks to our locally running application
- A Twilio account so that you can get an Authy API key, sign up for free here
- A smartphone with the Authy app so that you can use OneTouch, you can download it for iOS or Android
- A browser other than Internet Explorer/Edge, which doesn’t yet support SSE but can be polyfilled
Once you’ve got all that we’ll get the tutorial application set up.
Getting started
The best instructions for running the tutorial are available in the project README. Follow the instructions all the way through until the application is running locally, you have enabled OneTouch on your Authy application and set the webhook endpoint to your ngrok URL.
Once you’ve followed the instructions you should be able to visit your application at http://localhost:3000 and sign up as a new user. Logout and log back in again and you will be presented with the following two factor authentication flow.
You can see in the console that the JavaScript is constantly polling our backend to see if the user is authenticated yet.
Let’s replace that polling mechanism with Server-Sent Events.
Adding Server-Sent Events
In order to run real-time features like SSE (and Action Cable when Rails 5 is released) it is recommended to use a threaded server, like Puma. The project currently uses Unicorn so we need to update that.
Open up the Gemfile and change
to
Stop your server and install the new dependency.
We also need to make one change to config/environments/development.rb. At the bottom of the configure block, add:
This allows concurrency in the development environment so that we can run our streaming endpoint and still respond to other incoming requests.
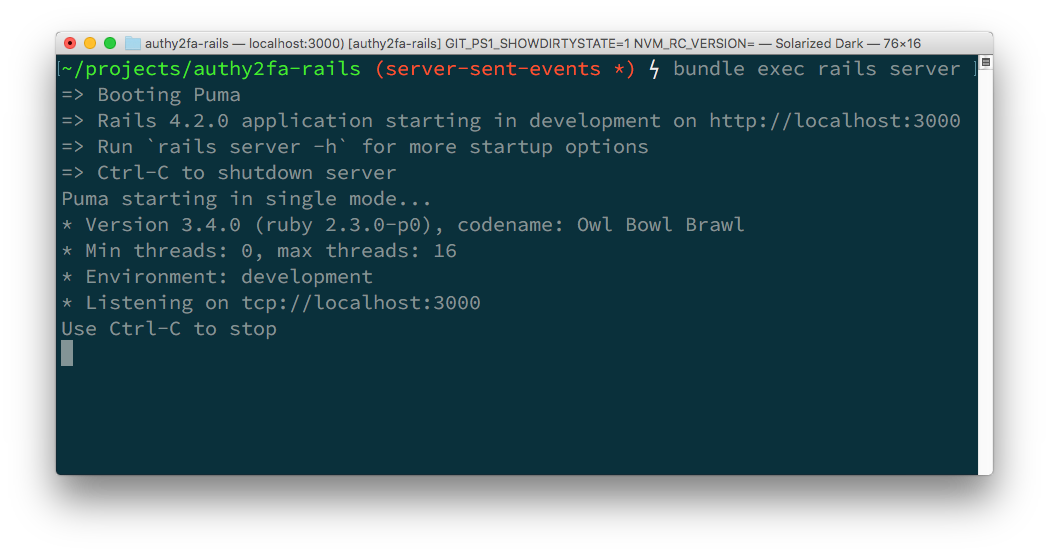
Start the server up again and you will see it is now running on Puma and has access to a number of threads. You can configure the minimum and maximum available threads if you want to, but for the purposes of this project, the default will do.
Updating the controller
Next, we need to set up a streaming endpoint on our Rails server. Enable streaming capabilities for the existing controller by opening app/controllers/authy_controller.rb and including the ActionController::Live module.
Now let’s create a test endpoint to see how it works.
Under the one_touch_status action, create a one_touch_status_live action:
We start by setting the Content-Type header to text/event-stream. Then we use the ActionController::Live::SSE class to wrap the response stream to make it easy to write events to.
For our test endpoint let’s loop and emit the current time once a second.
When the client disconnects the action will continue to try to send data to the client resulting in a ActionController::Live::ClientDisconnected error. We should catch that and close the stream in order to keep the error from being raised and prevent connections from leaking. We’ll put this inside an ensure block to make sure that whatever happens we close the stream.
Let’s add a route for this endpoint. Open up config/routes.rb and add the following route:
Head back to the application at http://localhost:3000, open up the dev tools console in your browser and paste in the following:
You will start to see JSON objects printed to the console once per second. Stop the stream by closing it in the console with:
Let’s update this now to push real data from the server to the front end.
Pushing real data with PostgreSQL pub-sub
In the tutorial application when a user approves or denies the authentication request, the Authy webhook hits the /authy/callback endpoint which runs the callback action in the AuthyController. This then updates the user with the status from the parameter of the webhook.
In order to push that status to the client we’d like to listen for that update whilst we have a live connection open to our streaming endpoint. Because we are using PostgreSQL in this example we can use its publish-subscribe feature. If you are using a different database without pub-sub you could achieve the same result by using something else like Redis to fill the gap.
PostgreSQL uses the keywords NOTIFY and LISTEN to publish and subscribe to events respectively. Active Record doesn’t directly support these keywords, but we can execute them using the database connection anyway.
We’ll add the notification code to the User model so open up app/models/user.rb. First, we want to send a notification when the user is saved and their authy_status has changed.
NOTIFY takes two arguments, a channel to notify and some text to send to that channel. We use the user id in the channel name to only send the notification to listeners subscribed to this particular user. We then send the updated status, which will come through as either “approved” or “denied”.
Because we’re using a raw connection to the database and executing SQL, I’ve actually added a couple of methods to sanitise and execute the SQL. Active Record has a santize_sql method, however it is a protected class method. I’ve made that available to instances via the clean_sql method. The private method execute_query handles sanitising and executing the SQL to reduce repetition.
We can run the notification method every time the user model is saved using an Active Record callback.
Now we need a method to subscribe to the user channel and listen for these notifications.
In this case, LISTEN only takes one argument, the channel name. We execute the SQL and then wait for the notification to arrive. When it does we yield the status. You’ll see how this works in the updated controller action below. We also ensure that we stop listening for the notification once it has arrived. Let’s see what the updated AuthyController looks like now:
This time, we select the user using the temporary session store of their ID. We then subscribe to changes to their authy_status and when we receive a change, push it to the front end. If the status is “approved” we also log the user in finally. As you can see here, we use a block with on_authy_status_change and when the status is yielded in the user method, it is passed into the block.
All we need to do now is update our JavaScript to stop polling and start listening for updates.
Updating the JavaScript
Open up app/assets/javascripts/sessions.js and replace the code within the checkForOneTouch function with the following:
We’re listening to our SSE for the “authy_status” event. When it arrives we parse the JSON and if the event is approved we close the stream and redirect the user to their account page. Otherwise we use the existing behaviour, show the token form and trigger an SMS.
Restart the server and go through the login process again (make sure ngrok is still running otherwise you won’t get your webhook).
Hooray! Real-time updates to the front end, no polling required. Check out my fork of the original tutorial to see the complete changes.
Rails 4 does Real-Time
Rails 5 and Action Cable might not be released just yet, but Rails 4 can still perform some pretty sweet real-time manoeuvres. This works really well for server based updates as we’ve seen with Authy OneTouch. It would also work for live updating call statuses on a dashboard like Sam showed using Socket.io and React or creating a dashboard for conference events like Dominik did using Socket.io and Angular.
Server-Sent Events just provide one-way real-time events though. Action Cable will bring two-way real-time streams to Rails for more complicated interactions, like a chat room. Of course, you don’t have to build all that complexity yourself if you use IP Messaging ;)
Do you like the look of SSE in Rails or are you going to be holding out for Action Cable? Let me know in the comments below, give me a shout on Twitter at @philnash or drop me an email at philnash@twilio.com.

Related Resources
Twilio Docs
From APIs to SDKs to sample apps
API reference documentation, SDKs, helper libraries, quickstarts, and tutorials for your language and platform.
Resource Center
The latest ebooks, industry reports, and webinars
Learn from customer engagement experts to improve your own communication.
Ahoy
Twilio's developer community hub
Best practices, code samples, and inspiration to build communications and digital engagement experiences.