Deep Dive into Laravel Development with Docker
Time to read:
November 05, 2023
Written by
Reviewed by
Docker is a versatile containerization tool that simplifies the management of the essential components that power your web application. What's more, it saves you the stress of grappling with various independent tools and configurations.
In this article, we will explore how Docker can be used in Laravel development to:
- Streamline the process of serving your Laravel applications locally
- Migrate Laravel applications across different computers or servers
- Eliminate software compatibility concerns
- Deploy an application to a remote server
Before we delve deeper though, it's important to note that within the Laravel development ecosystem, Laravel Sail serves as the standard for Docker integration. Sail simplifies the process of working with Docker in Laravel, offering a user-friendly approach for developers — especially those without prior Docker experience.
However, in this tutorial, you will get an in-depth exploration of Docker — in the context of Laravel. Then, rather than relying on Laravel Sail's pre-configured environment, you will learn how to run Laravel inside a Docker and deploy it with Docker Compose.
This deeper dive will enhance your understanding of how Laravel Sail works under the hood, empowering you to not only leverage its advantages, but also troubleshoot any potential issues that may arise during usage, or when making custom configurations with Sail.
By the end of this tutorial, you should be able to use Docker to assemble your Laravel application like a well-organized LEGO set, allowing you to construct and operate it seamlessly.
Prerequisites
- A Digital Ocean account
- Docker Engine
- Docker Compose
- PHP 8.2
- Composer installed globally
- Prior experience with Laravel development would be ideal, but not mandatory
What is Docker?
Imagine you're making a cake. Instead of baking it in your own kitchen, you use a special portable kitchen. This portable kitchen has everything you need – ingredients, an oven, mixing bowls, etc.
This is like a Docker image. It's a self-contained environment that holds everything your Laravel app needs to run – the code, the supporting files, and the command line tools, etc. It keeps everything organized and separate from your computer's setup, just like the portable kitchen keeps your cake-making separate from your home kitchen. This makes it super easy to move your app between different computers or servers without worrying if they have the right software installed.
Key Docker terms
Now, let's cover a few of the key Docker terms that you need to be familiar with.
Image: Think of an image as a blueprint for what your application needs, much like a recipe guiding Docker in creating a specific environment for your Laravel app. An image includes your code, the web server, and any required tools. These images are akin to ready-to-bake cake mixes, waiting to be transformed into containers at runtime.
Container: A container is analogous to the actual cake baked from the recipe (image). They represent isolated virtual environments where your Laravel application operates, shielded from external influences. Multiple containers are often used simultaneously, each hosting different components of the application, such as the application's database, web server, and caching server.
Dockerfile: Think of a Dockerfile as a set of step-by-step instructions for Docker to build an image. It's akin to documenting the process of mixing ingredients and baking a cake. Within a Dockerfile, you define your app's requirements, such as the PHP version, necessary packages, configuration settings, and environment variables.
Docker Compose: Docker Compose is a tool that simplifies the management of multiple Docker containers by allowing you to define, configure, and run them as a single application, streamlining complex deployments and ensuring seamless communication between containers.
Why should you use Docker?
There are three great reasons for using Docker:
- Development: Docker gives you a consistent environment across all developers' machines. No more "It works on my machine" issues! Everyone uses the same setup, so the code behaves the same for everyone. Plus, you can quickly start and stop containers as you work on different parts of your app.
- Testing: With Docker, you can create an image that mirrors your production server. This means you can test your app in an environment that's identical to where it will actually run. Bugs and issues are easier to catch before they reach users.
- Deployment: Docker containers can be easily moved from one host to another. So, the setup that worked on your local development machine will work on the deployment server too. You package everything neatly into an image, which you can then deploy to your production server. This consistency reduces deployment problems.
Dockerize a Laravel application
With all this said, let’s create and configure a Laravel application powered by Docker. First, create a new Laravel project using Composer, and change into the new project directory with the commands below.
Then, open .env in your preferred text editor or IDE and make the following three changes:
- Set
DB_HOSTtodatabase. This needs to match the hostname of the container containing the database. - Set
DB_USERNAMEtolaravel. It's best to use an account other than root to connect to a database. - Set a value for
DB_PASSWORD
Laravel applications require multiple services to function. Let's create the default Docker Compose configuration file, to define the services required by our Laravel application. The file will contain settings applicable whether the application is running locally or in production. The environment-specific settings will be added in additional configuration files.
In the root of your Laravel application create a new file named docker-compose.yaml, like so:
In this file, we will define all the services needed for our Laravel application to function. We can start and stop these services using Docker Compose. Let's get started by defining our database service.
Let’s talk a little about some of the configuration above:
- image: This points to the base image that this image will be built from. Specifically it will use the official Docker Hub MySQL image.
- ports: Here, we are defining the port mappings between our local development machine and the Docker container (or between the host and the guest). The port on the left is the port of the local machine while the port on the right is the port on the container.
- environment: This is where we specify the database credentials needed to connect our Laravel application to the
mysqlserver container. These are assigned from environment variables of the same name in the environment where the container is started, from the .env file of our Laravel application. - healthcheck: This ensures the database container is fully started, not just running. If not, the PHP container will not be able to run the database migrations when it starts up.
- volumes: Docker Volumes make it possible to persist data. Here, we assigned a volume where the changes would be stored, on the local filesystem.
Next, we need to create a Redis service. Add the following after the database service in docker-compose.yml,:
Similar to the database service, the Redis service above defines the image that the service is based on and its port mappings. In addition, it defines the command which will be run when Docker builds the Redis image (command). The command requires the Redis password (${REDIS_PASSWORD}), which is obtained from the .env file of our Laravel application.
Next, we need to configure a PHP service for our application to run. Add the following lines to the end of the services section in docker-compose.yaml.
The PHP service is a little different to the others. Lets go over some of its key concepts:
| build | This keyword tells Docker that when the "docker-compose build" command runs, it is to build the content of the file defined with "dockerfile" |
| context | The context contains the path to the Dockerfile or, in some cases a Git repository URL that contains the value to build. The context is set to ".", which signifies that our Docker file is in the same directory as our docker-compose.yml file. |
| dockerfile | This specifies the Dockerfile to use, which contains the instructions for building the image for the php service |
| target | This is the name of the build target, or build stage, within the Dockerfile, applicable when using multi-stage builds. |
| args | This is assigned the value of "APP_ENV" which is defined in .env. It tells Docker if our application is in development or production mode. |
| command | This runs a small script during the service's startup, which we'll see later. |
| volumes | This mounts the project directory to /var/www/html in the service. |
| environment | Contains "APP_ENV=${APP_ENV}" and "CONTAINER_ROLE=app" from our .env file which Docker Compose requires of our application. |
| depends_on | Here, we specify that the database and redis services must be fully started and considered healthy before the php service starts. |
Now, create a file named Dockerfile in a new directory docker/php. Note, this file does not have a file extension. Add the configuration below to the file.
This file builds a custom image for the PHP container. The image will be based on the 8.1.24-apache-bookworm tag of the official Docker Hub PHP image. It only makes a few additions, those being adding the PDO MySQL, BC Math, and Redis extensions for PHP.
Then, in the docker/php directory, create a new file named post-start.sh, and add the following code to it.
This is a small shell script that overrides the PHP image's default CMD instruction. The reason for doing this is to ensure that the database migrations are run during startup, in addition to starting Apache. That way, the application's ready to use, without requiring any manual intervention.
The script starts Apache and puts it in the background. Then, it uses Laravel's Artisan Console to run the database migrations. After that, updates the ownership and permissions of the storage directory, so that Laravel's log file can be written to by the web server user (www-data). Finally, it brings Apache back into the foreground, listening for requests.
Database migrations can be destructive. So it’s not, always, smart to run them in production. However, it seemed acceptable for the purposes of a simplistic example.
Next, create a file named Dockerfile in a new docker/node directory, and add the code below to it.
This file builds a custom image for the node container. The image will be based on the 14-alpine tag of the official Docker Hub Nodejs image.
We also need Node.js to handle JavaScript related tasks in our Laravel application. Let's define a service for it. Add the following to the end of the definition in docker-compose.yml, after the php service:
Create a development Docker Compose configuration file
Now, create a new file in the project's top-level directory named docker-compose.dev.yml. This file has additional directives that are only applicable when deploying the application locally, in development. In it, add the configuration below.
The changes in this configuration file map ports in the database (3306), redis (6739), and php (8080) containers to ports on the host (the local development machine). In the case of the database and redis ports, this is so that, if required, we can use clients to interact with them, such as MySQL's command line client.
Start the Docker containers
First up, run the command below.
This symlinks the development configuration file to Docker Compose's second configuration file, docker-compose.override.yml. If Docker Compose finds this file, it will merge the configuration directives in the file with those in the default configuration file.
Now, run the command below to serve up the application.
If you need to stop the container configuration, use the following command.
The command spins up all of the services we have configured and prints out information about them in your terminal. Your terminal should look like the image below, after the command is run.
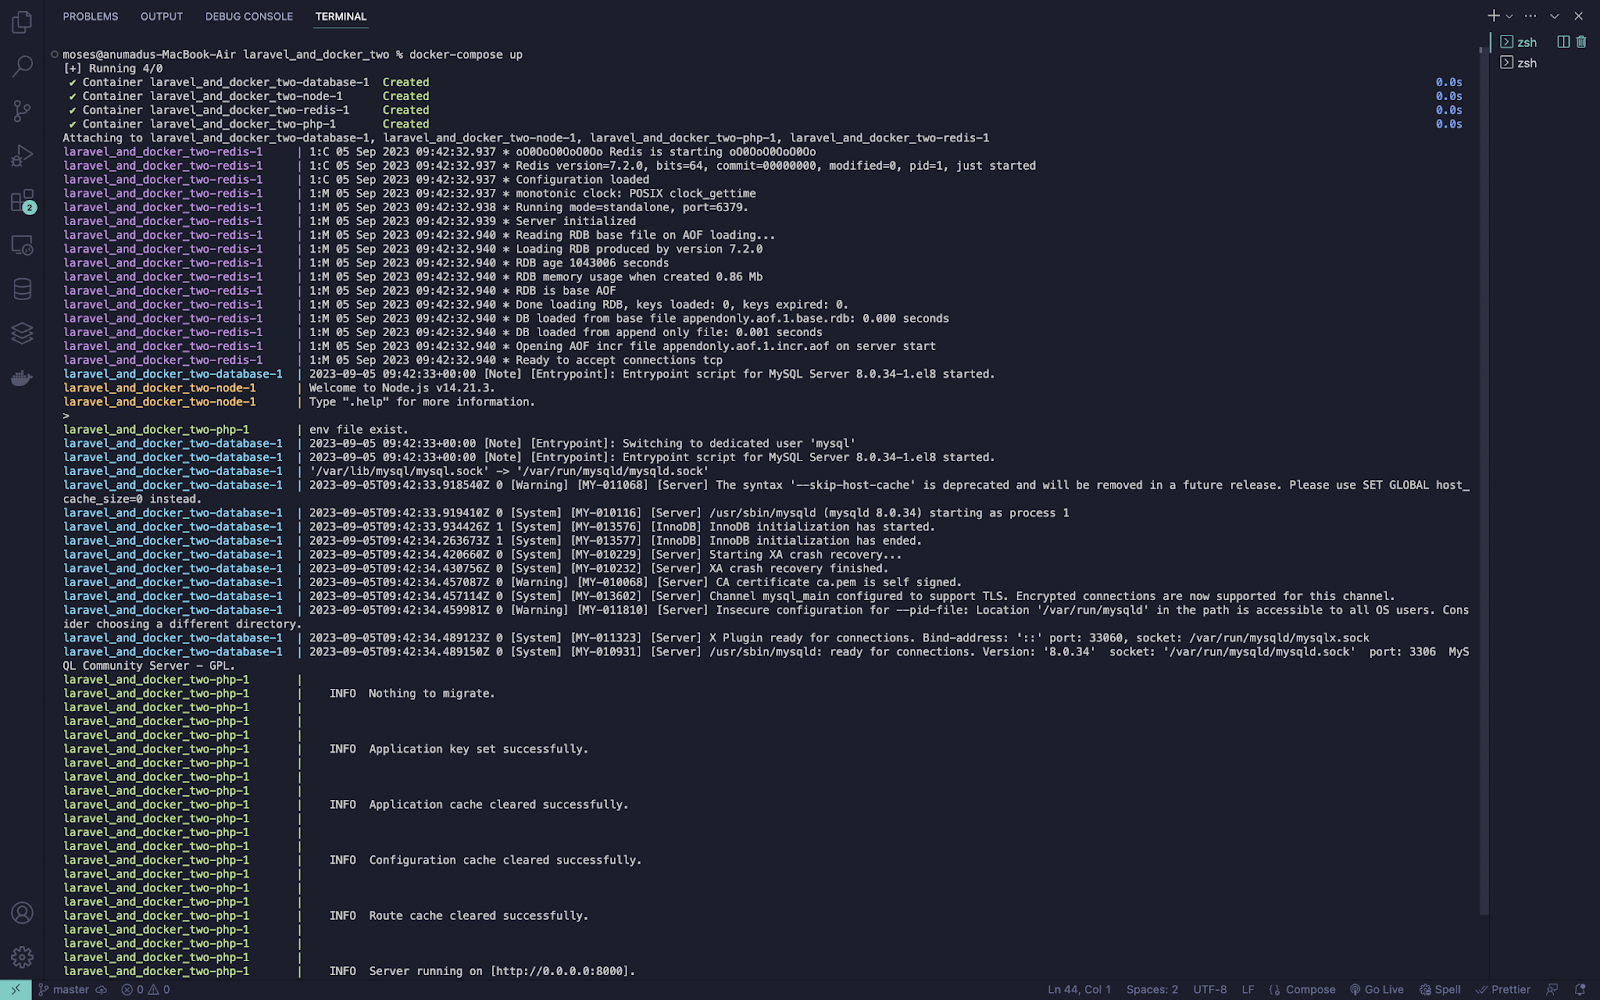
In a separate terminal tab or window, run docker-compose ps command to see all the running services. Your terminal should look similar to the image below.

Implement authentication in our application
At this point, our services are running. To ensure that everything works, we need to interact with our database. Let's implement authentication using Laravel Breeze as a way of testing that our Docker configuration works completely.
Install Laravel Breeze using the command below.
Next, we need to run the following commands to set up Laravel Breeze.
Test our application locally
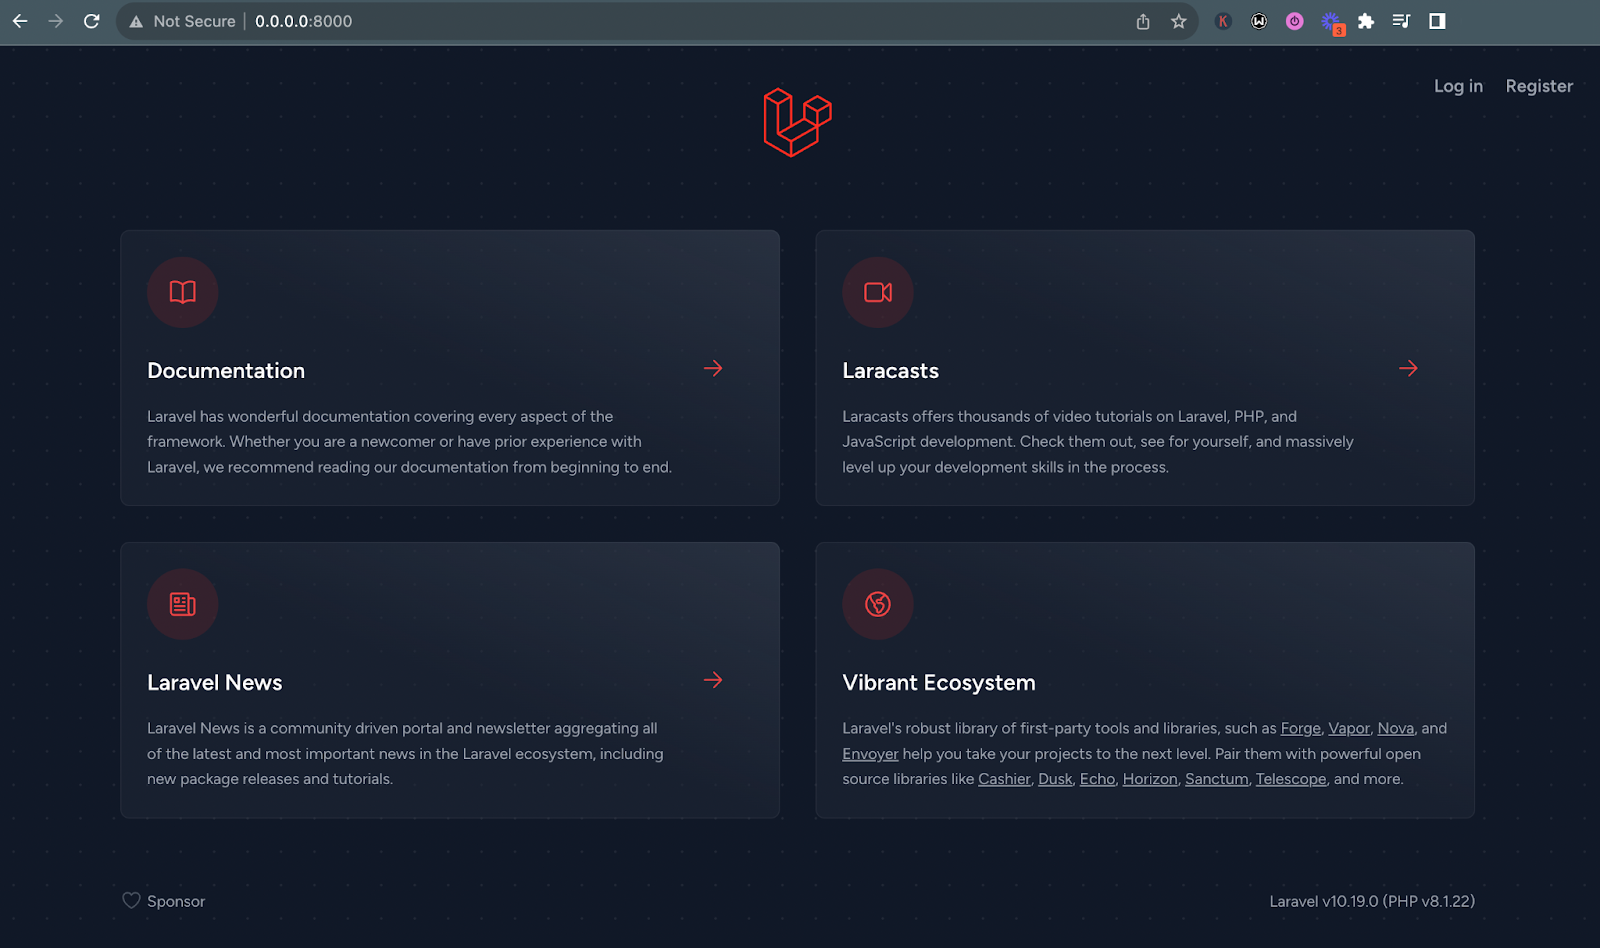
Now you can test that the application works. Start it up, again, by running docker compose up --detach. Then, open http://0.0.0.0:8000/ in your browser. In your browser, you should see the application running, similar to the screenshot below.
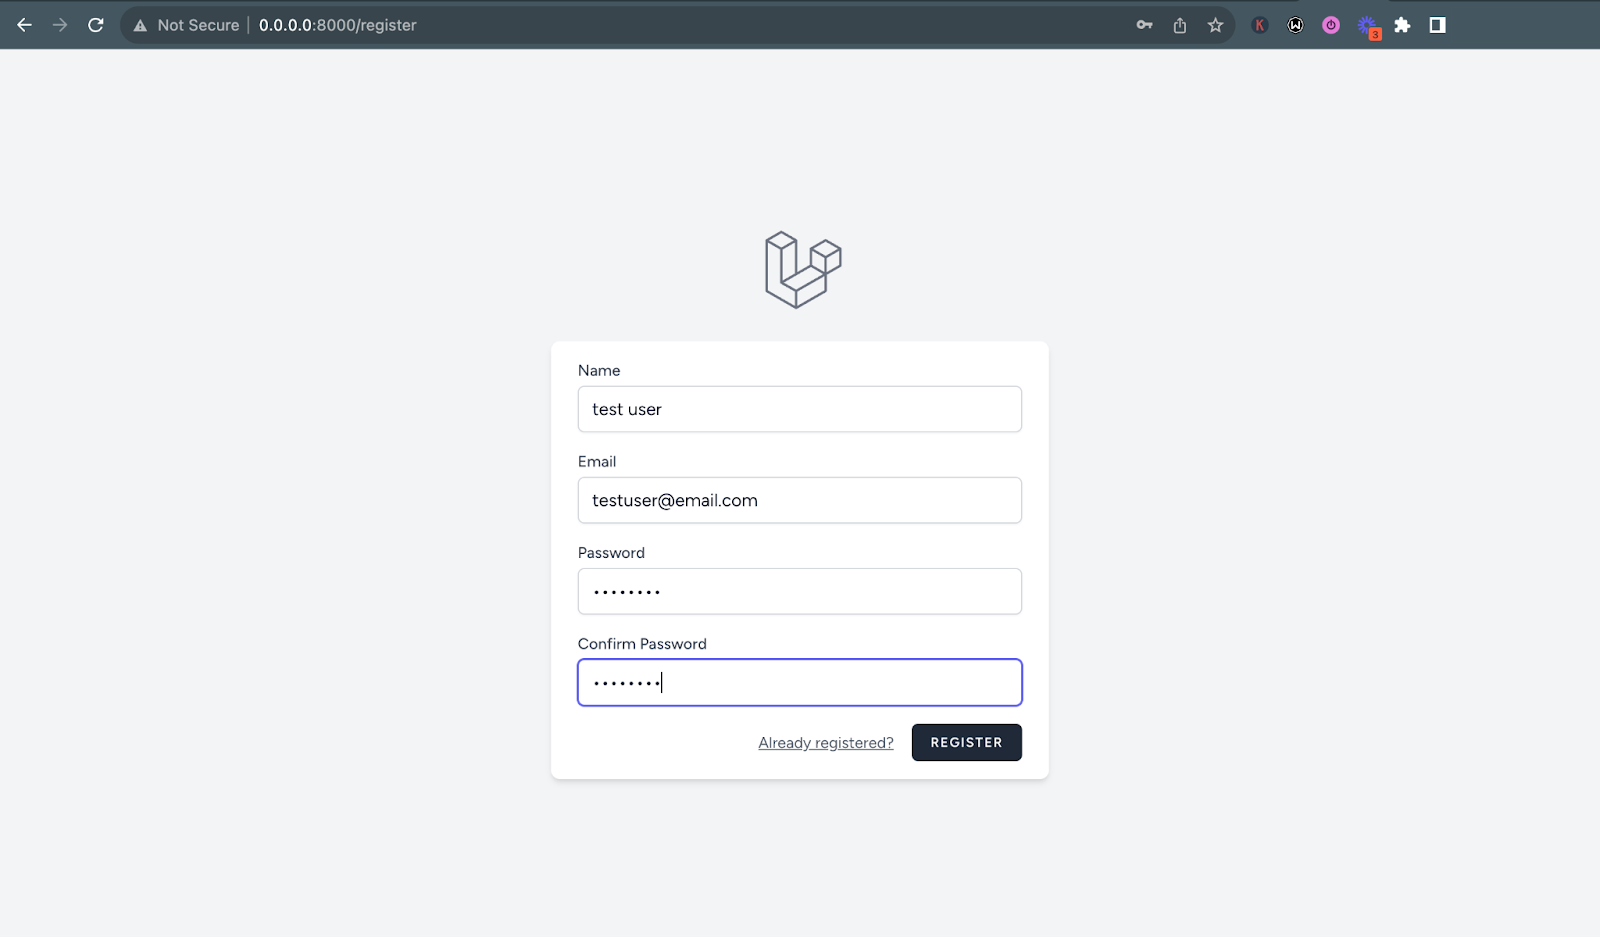
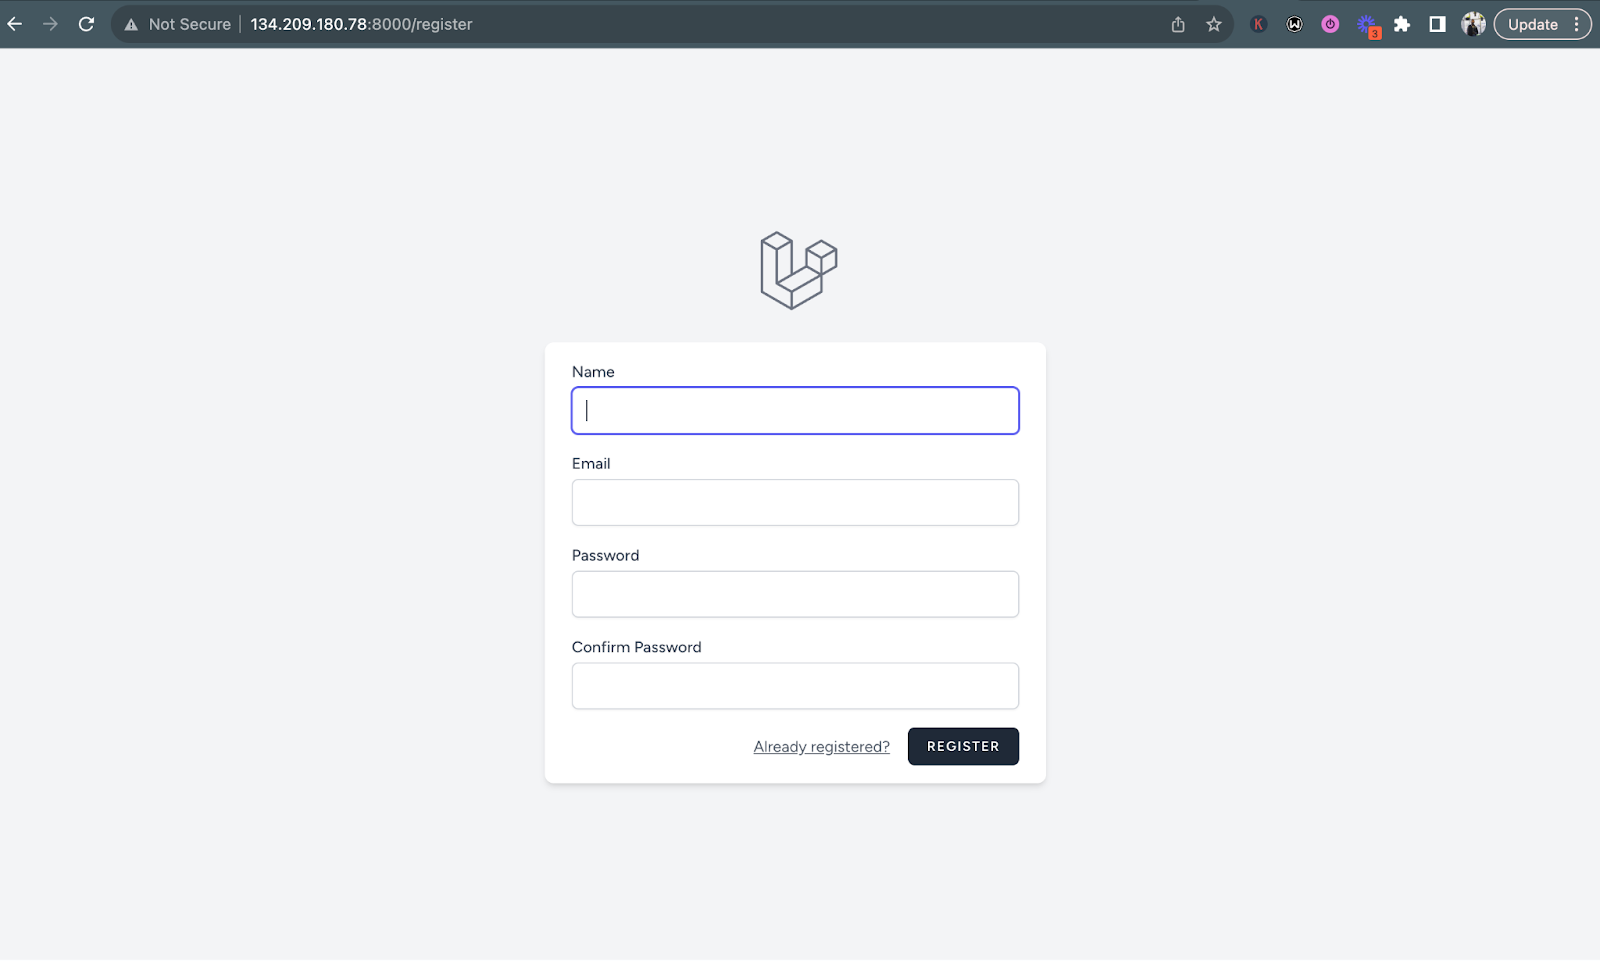
Let’s create a new user to see that our authentication works. Head to the /register route by clicking on the Register link and create a new user, like so.
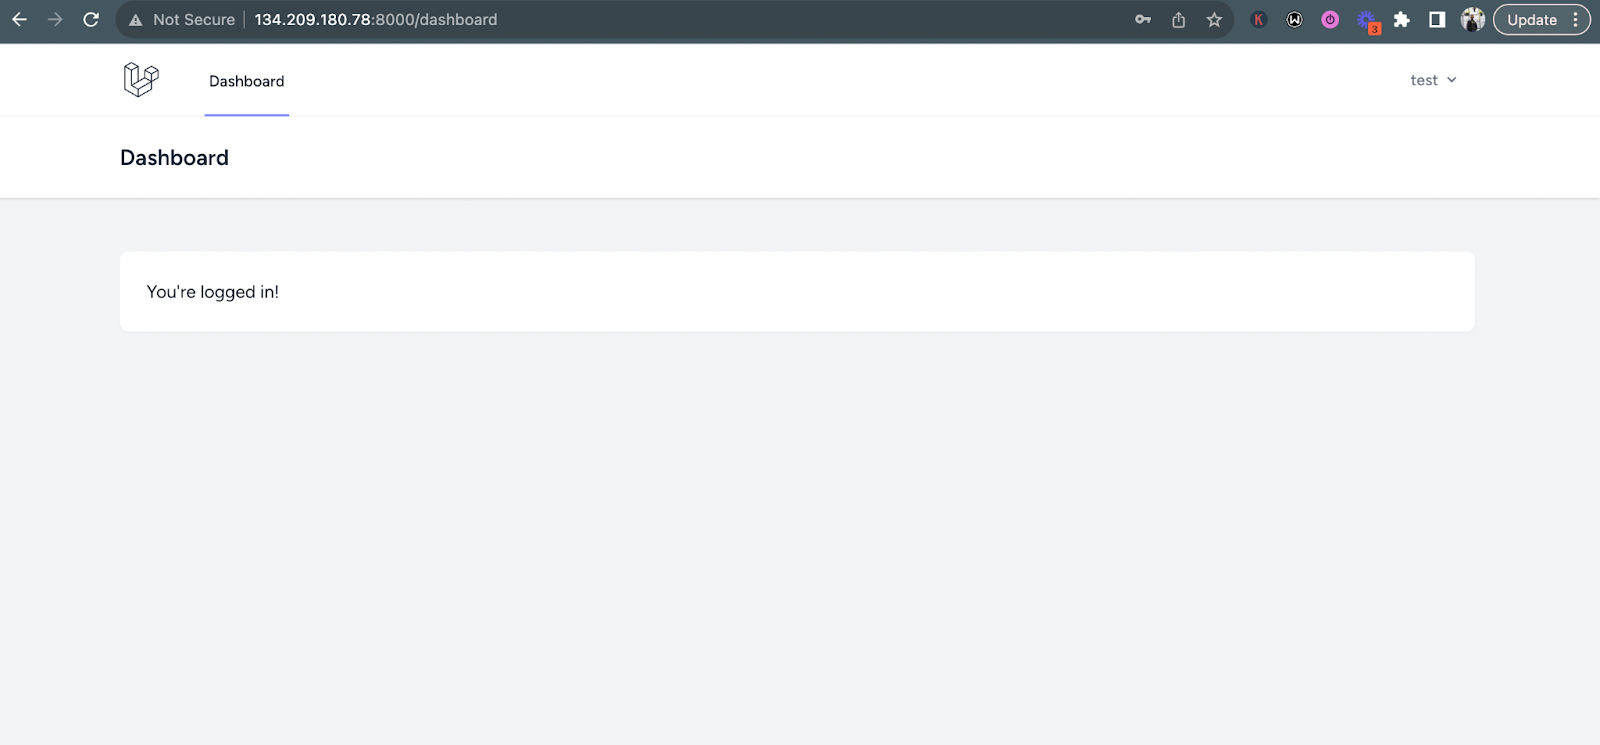
After creating the user, you should be redirected to the application dashboard like so.
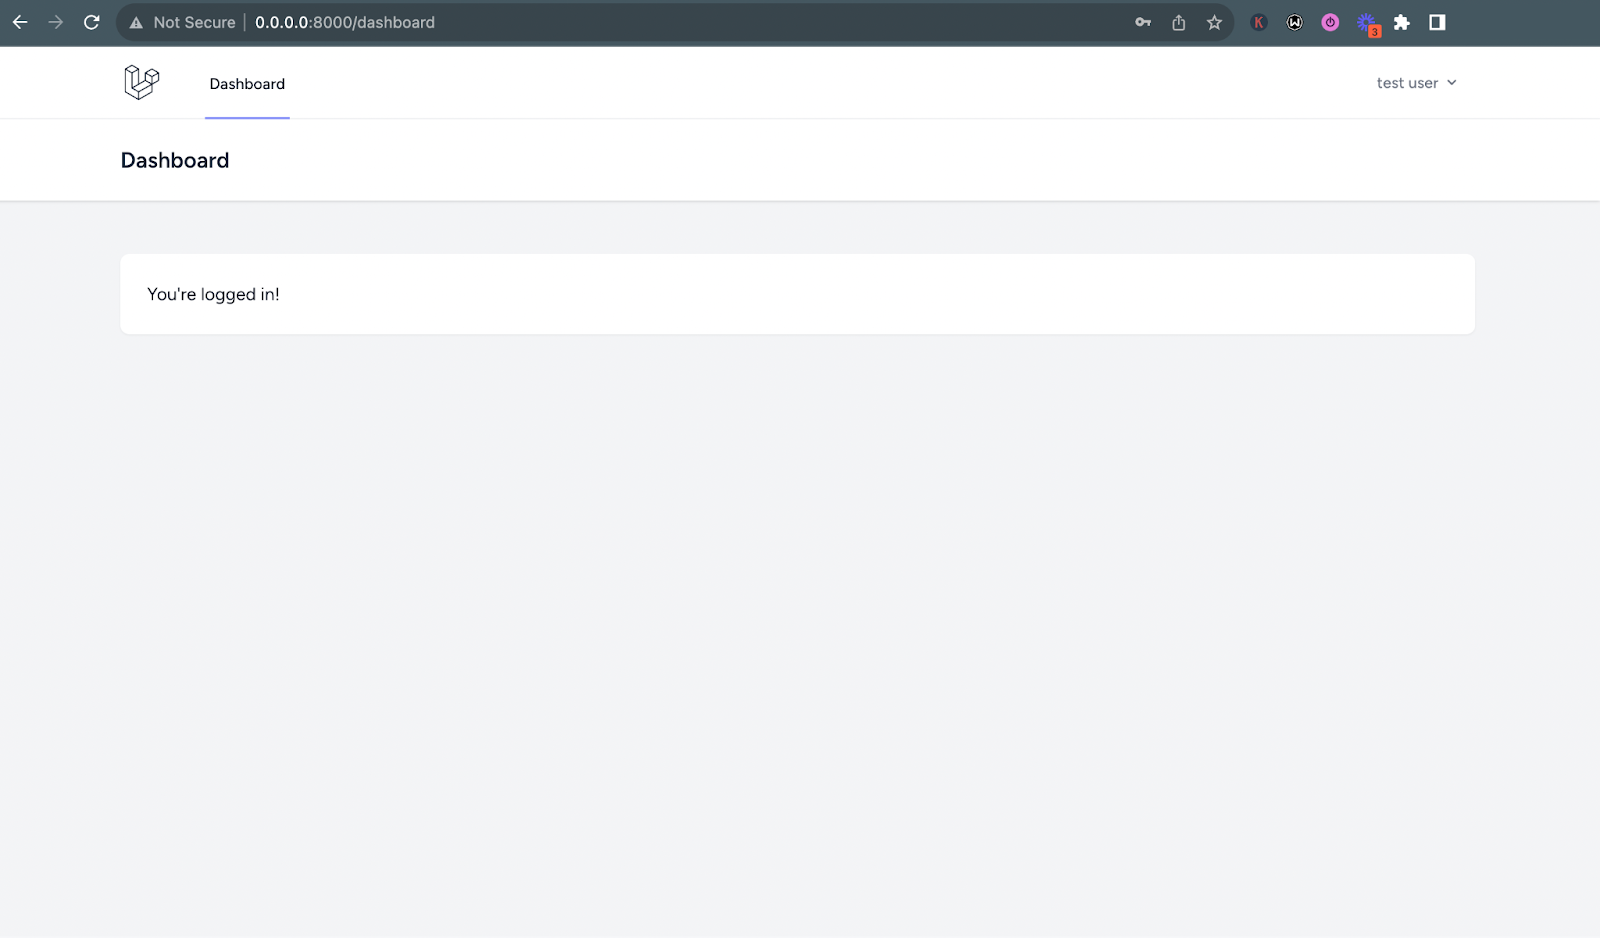
Now, we are sure our Laravel application works when powered by Docker Compose.
Deploy the Laravel application to production with Docker Compose
Prepare the application for deployment
Good job, if you’ve gotten to this point. Now, let's dive a little deeper by deploying our application to a cloud host service. For the purpose of this tutorial, we will deploy to DigitalOcean.However, the steps are basically the same for most service providers, as long as you have SSH access.
Let's get started by creating a Digital Ocean Droplet. However, before we proceed, update your APP_ENV value in .env from development to production like so.
Create a production Docker Compose configuration file
Now, create a new file in the project's top-level directory named docker-compose.prod.yml. This file has additional directives that are only applicable when deploying the application to production. In it, add the configuration below.
There's very little going on in this configuration. It just maps port 80 in the service to port 80 on the host. That way, the application can be accessed on the standard HTTP port, when deployed.
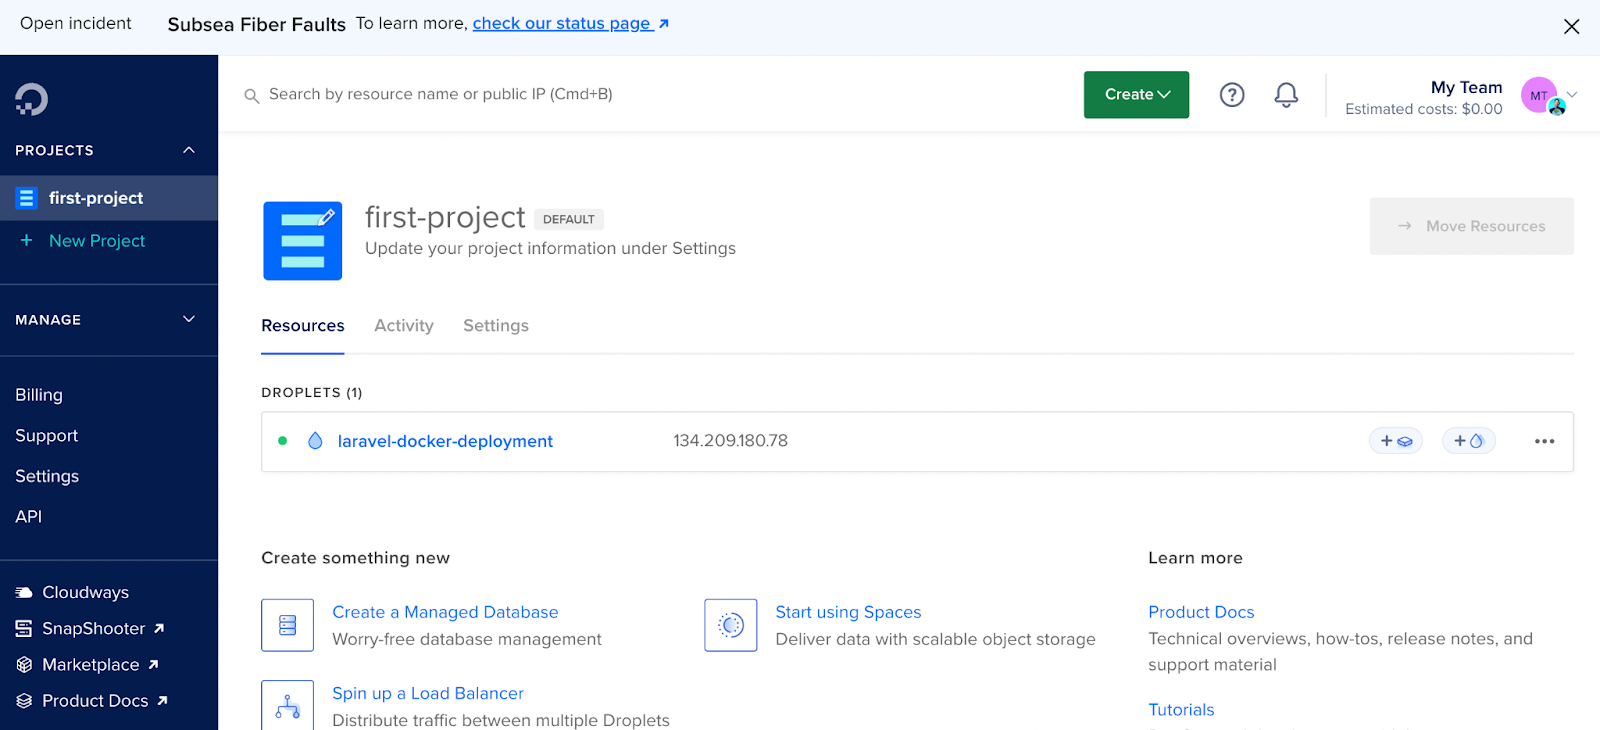
Set up a new DigitalOcean droplet
Creating a DigitalOcean Docker Droplet is very straightforward, requiring just a few clicks. First, open the Docker app in the DigitalOcean Marketplace. Then, click Create Docker Droplet. From there:
- Choose the region nearest to you, which should also set the datacenter
- Leave the image, size, and cpu options set to their defaults
- Leave the authentication method set to SSH Key and select the applicable SSH key to use to access the droplet
- Finally, click Create Droplet
After about a few minutes, the new droplet should be ready to use.
Next, we need to ssh into our droplet using its IP address.
To ssh into the server as the root user, replace <<Your Droplet's IP-Address>> in the command below, with the IP address of your droplet, and run it.
Next, let's create a non-root user who can deploy the application, using the commands below.
This command prompts you to create a password for the user. After creating the password, skip through all the other prompts until the user is created.
Lastly, so that the deployment user can login to the droplet, in a new terminal session, create an SSH public key for the deployment user, then copy it to the deployment user's .ssh directory, by running the command below (after replacing the placeholder).
Then, in your original terminal session, set the deployment user as the owner of the public key that you just uploaded for them, by running the command below.
Copy the project files to the droplet
With that done, log in as the deployment user and create a new directory, named laravel_and_docker, in their home directory, by running the command below. This is where our application will be deployed.
Now, we need to copy the files from our local machine to the droplet. There is more than one way of doing this, which you'll see in future tutorials. For the purpose of this tutorial, we will make use of the rsync command, which has a very simple syntax, rsync (options) (location project directory) (server IP address).
In a third terminal session, run the command below to copy the project files from our local machine to our server.
Deploy the application to production
Now, you're ready to serve up your Laravel project. In the terminal session where you are logged in to the droplet as the deployment user, change into the project directory, symlink the production configuration file to Docker Compose override file, and start the application by running the commands below.
This command would build and serve our Docker containers and we can launch our project using the IP address.
At this point you should be able to view your project on the browser, as you can see in the screenshot below.
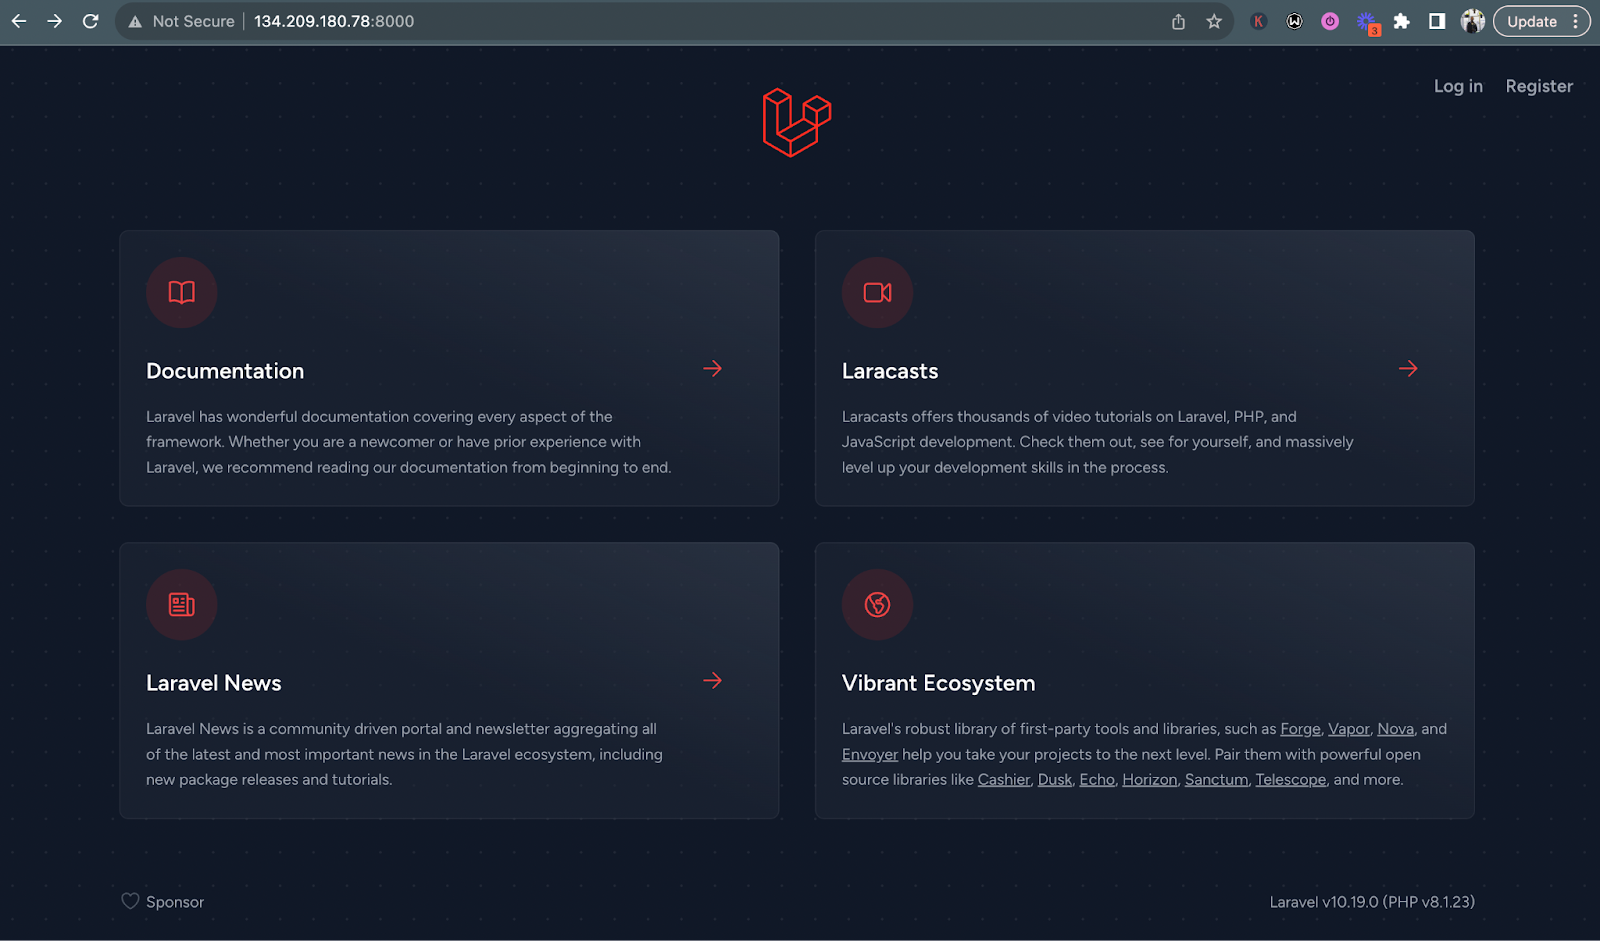
Now, your application should be accessible and function exactly the same way as what we have locally. Lets verify this by creating a new user account and login in with it.
That's been a deep dive into Laravel Development with Docker
In this tutorial, we've explored the powerful combination of Laravel development with Docker, enabling you to build, test, and deploy web applications with ease. By creating Docker images for PHP, MySQL, Redis, and Node.js, you've gained the ability to maintain a consistent and reproducible development environment.
You can find the code on GitHub, if you got stuck at any point during the tutorial.
Moses Anumadu is a software developer and online educator who loves to write clean, maintainable code. I create technical contents for technical audiences. You can find me at Laraveldev.pro.
"oakland1" (in the tutorial's main image) by -tarat- is licensed under CC BY-NC-ND 2.0.
Related Resources
Twilio Docs
From APIs to SDKs to sample apps
API reference documentation, SDKs, helper libraries, quickstarts, and tutorials for your language and platform.
Resource Center
The latest ebooks, industry reports, and webinars
Learn from customer engagement experts to improve your own communication.
Ahoy
Twilio's developer community hub
Best practices, code samples, and inspiration to build communications and digital engagement experiences.