Send SMS Notifications for Gumroad Orders with Python and Twilio
Time to read:
October 24, 2020
Written by
This post is part of Twilio’s archive and may contain outdated information. We’re always building something new, so be sure to check out our latest posts for the most up-to-date insights.

Gumroad is a simple ecommerce tool that allows creators to sell digital products such as films, courses, e-books etc. Gumroad provides Ping, which is an alert in the form of an HTTP POST request that notifies you in real time whenever a product has been purchased.
In this tutorial we’ll build a Flask application that automatically sends you SMS notifications whenever there is a sale of one of your products on Gumroad.
Technical requirements
To follow along, you’ll need the following:
- A free Twilio account and a Twilio phone number. If you use this link to register, you will receive $10 credit when you upgrade to a paid account.
- Python 3.6 or newer
- Ngrok. This will make the development version of our application accessible over the Internet.
- A Gumroad Account.
- A Heroku Account
- A mobile phone with SMS support
Creating a Python environment
Let’s create a directory where our project will reside. From the terminal, run the following command:
Next, cd into the project directory and run the following command to create a virtual environment.
To activate the virtual environment, run the following command:
If you are using a Windows computer, then the activation command is different:
Next, we’ll install all the dependencies our project will be needing:
- Flask: A Python web framework.
- twilio: A Twilio helper library for interacting with Twilio’s REST API.
- python-dotenv: A library for importing environment variables from a
.envfile. - gunicorn: This is a Web Server Gateway Interface (WSGI) server implementation commonly used to run Python applications. This will be used to run our application when it’s deployed to Heroku.
Run the following command to install all of the dependencies at once:
To complete the Python set up, run the following command:
This will generate a requirements.txt file for us which contains all our project’s dependencies along with their versions.
Setting up Ngrok
Since we’ll be building and testing our application locally, there is no way for Gumroad’s HTTP Ping request to reach our application. Thankfully, this is where Ngrok comes in handy, allowing us to set up a temporary public URL so that our app is accessible over the web.
Run the following command on your terminal window to start ngrok:
In this command, 5000 refers to the port your Flask application will eventually be listening on.
You should now be presented with a screen similar to the one below:
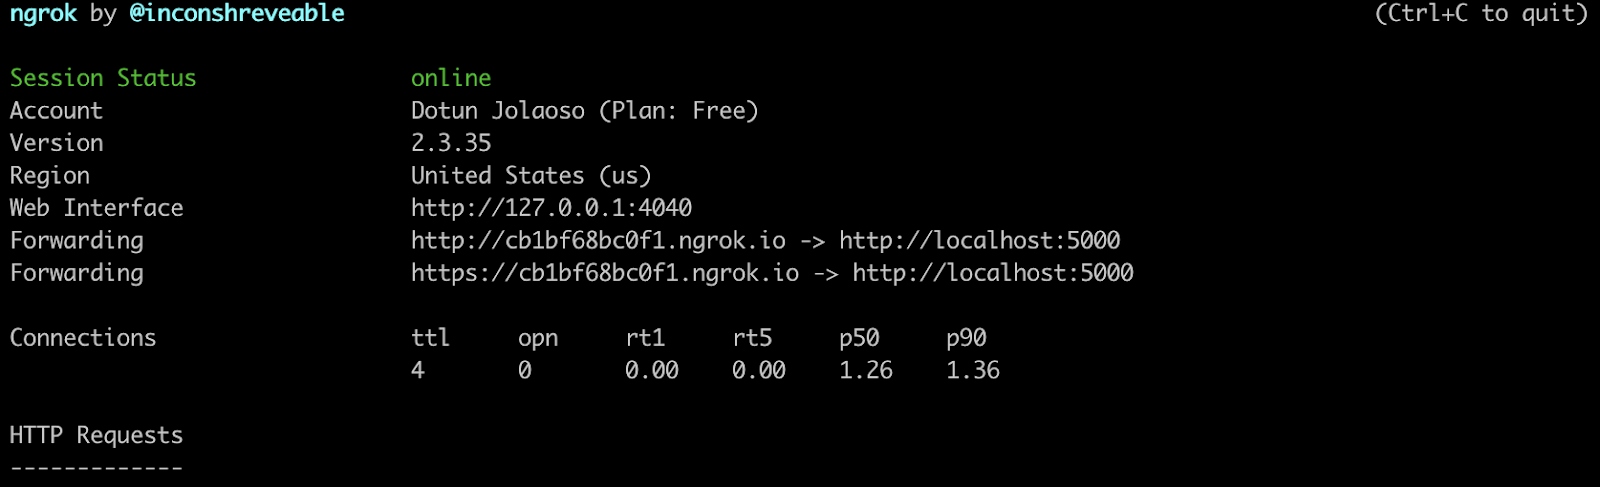
Take note of the https:// “Forwarding” URL as we’ll be making use of it shortly.
It’s important to note that when using ngrok for free, the public URLs it creates are only valid for a period of eight hours. We’ll use these URLs only as a development tool. Later on, we’ll cover how to deploy the application we’ll be building to Heroku to come up with a permanent solution.
Configuring Gumroad
Now we need to configure Gumroad to send sales notifications to the ngrok URL. To begin we need to generate a token to include as a query string in the URL. This is so that our Flask application can verify that the sales notification request is legitimate and was sent from Gumroad.
To generate a uuid to use as the token, you can open up another terminal and run the following command:
Next, Head over to the Settings page of your Gumroad account. Select the “Advanced” tab and under the “Ping” field, paste the ngrok https:// URL we noted earlier with /incoming/sales?token=xxxx added at the end. Replace xxxx with the uuid that was generated for you above.
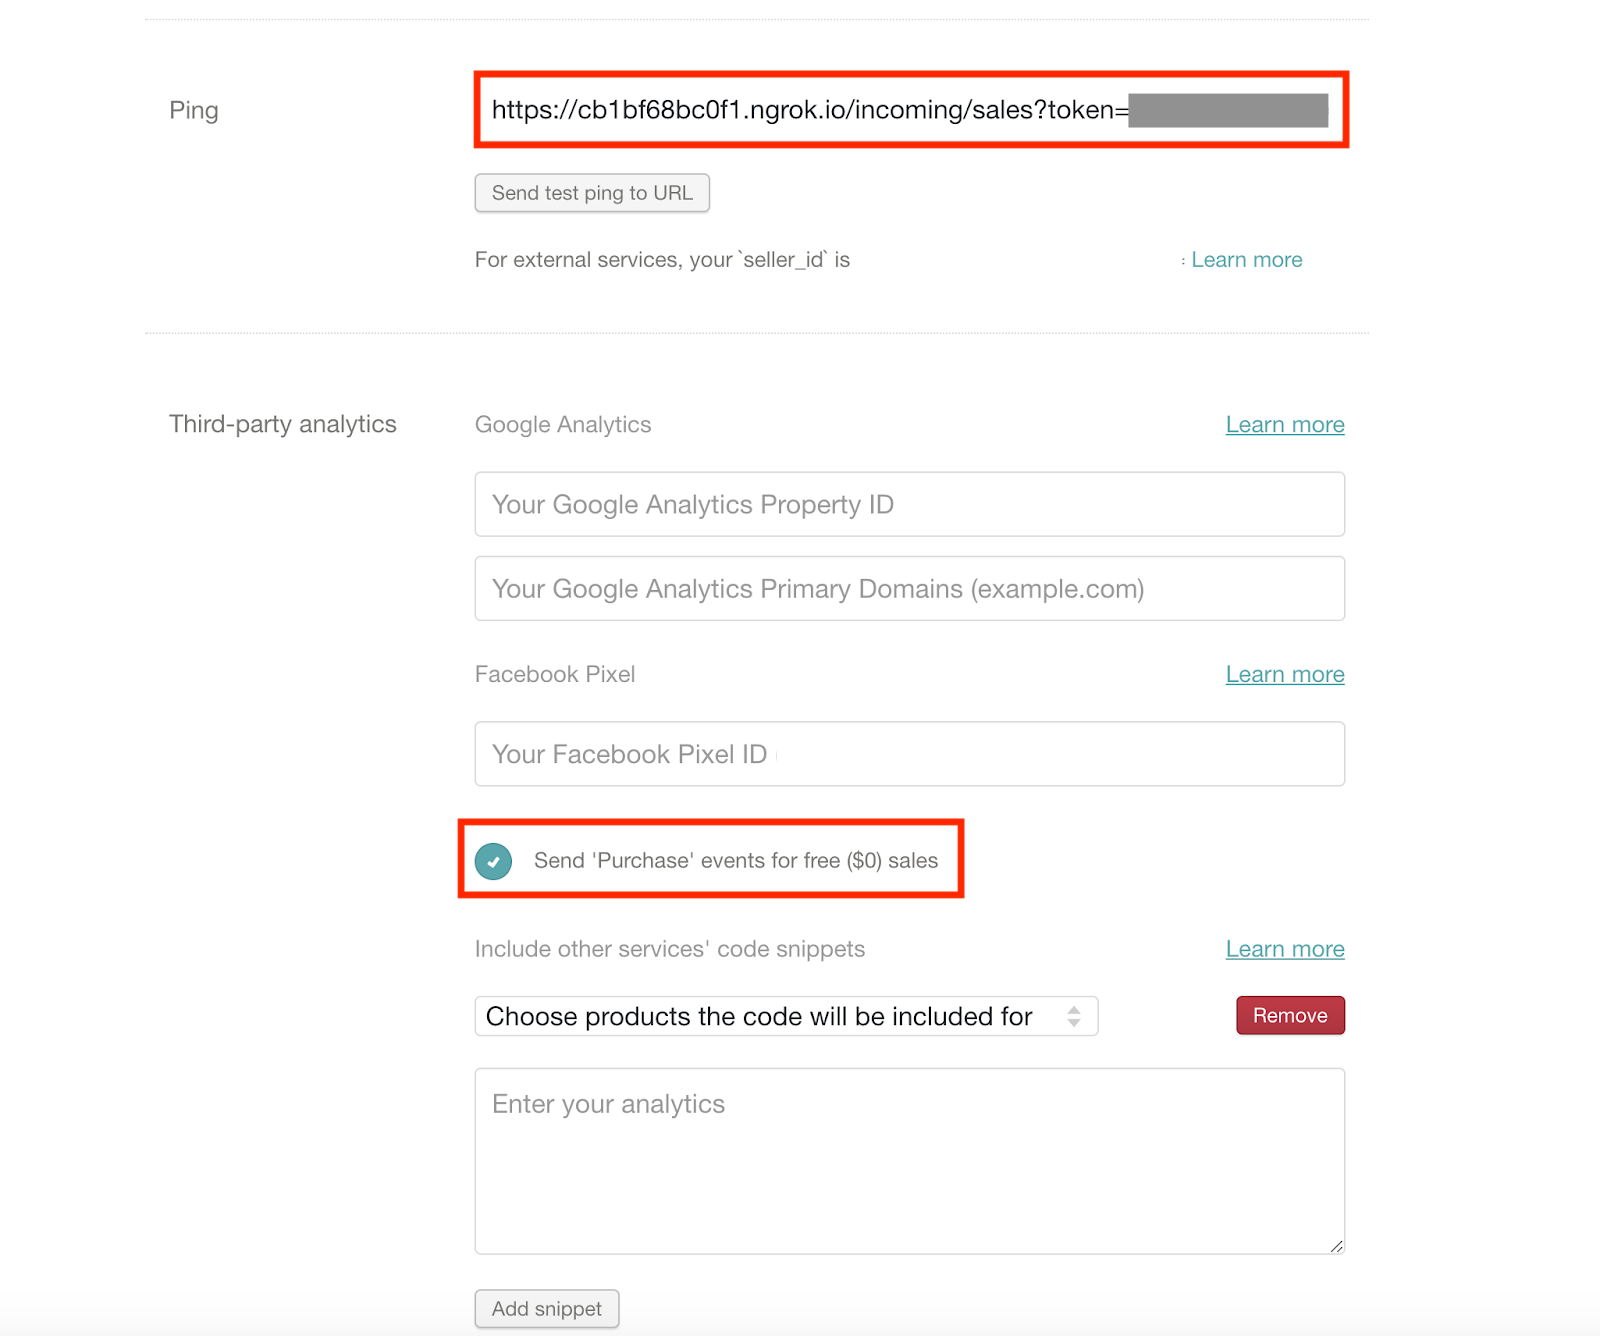
Make sure the “Send ‘Purchase’ events for free ($0) sales” option is checked and then click the “Update account details” button towards the end of the page.
At the root of your project’s directory, create a .env file and add the token that was appended to the end of the Ping URL as an environment variable .
Setting up Twilio
Head over to the Twilio Console, and take note of your Account SID and Auth Token. We are going to need these values to authenticate with the Twilio service.
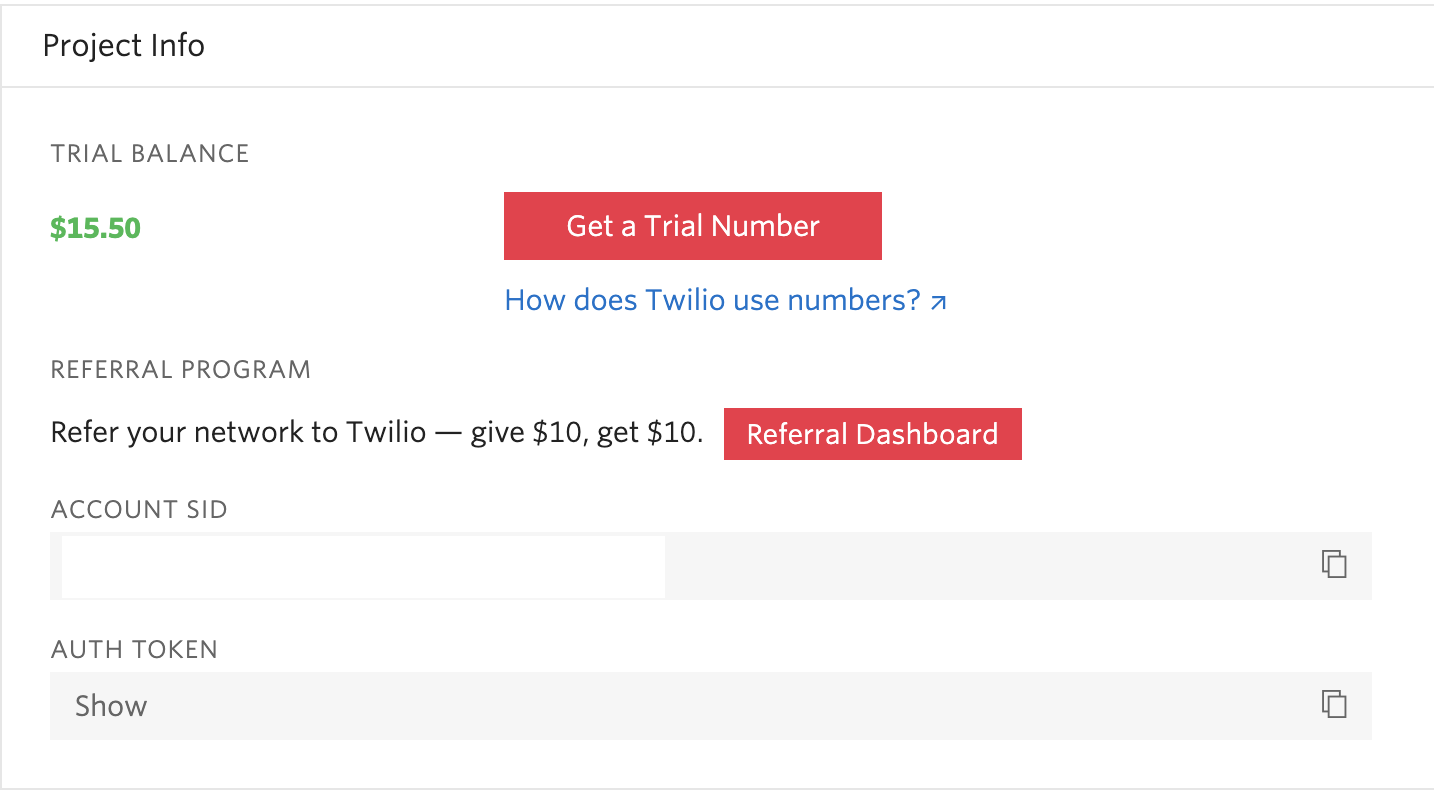
Add your Twilio credentials, along with the Twilio phone number associated with your account to the .env file we created earlier:
The TO_PHONE_NUMBER is the phone number SMS notifications would be sent to. The TWILIO_NUMBER and TO_PHONE_NUMBER need to be given in the canonical E.164 format.
Creating a Webhook Endpoint
Within the twilio_gumroad directory, create a main.py and add the following code to the file:
At the top of the file, we’ve imported all the major dependencies our project will be needing:
- The
load_dotenv()function loads our environment variables from the.envfile. - The
twilio_clientobject will be used for interacting with the Twilio API to send the SMS notification. TheTWILIO_ACCOUNT_SIDandTWILIO_AUTH_TOKENenvironment variables loaded by theload_dotenv()function will be automatically used to authenticate against the Twilio service.
We’ve defined an HTTP POST endpoint at /incoming/sales. This is the endpoint Gumroad will make a HTTP POST request to whenever any of your products has been sold. When a request is received at this endpoint, the token query string along with the name of the product that was sold are obtained using Flask’s request object. The product name comes in the payload of the POST request with a key of product_name. You can check here for additional data contained in the request payload. A check is then carried to ensure the token query string matches the GUMROAD_TOKEN value stored in the environment. Once the check is successful, an SMS notification is sent to the configured phone number using Twilio.
From the terminal, run the following command to start the application
Testing
There are different ways to go about testing. If you already have a product on Gumroad and have made a few test purchases as the product owner, you can simply go to the Advanced tab on the Settings page, and under the “Ping” field, click “Send test ping to URL”. Gumroad will then make a HTTP POST request to the webhook endpoint we added earlier and you should receive an SMS notification.
If you are new to Gumroad and have yet to add a product, head over to the products page on your Gumroad account. Select the type of product you would like to sell and provide a suitable name and price for your product.
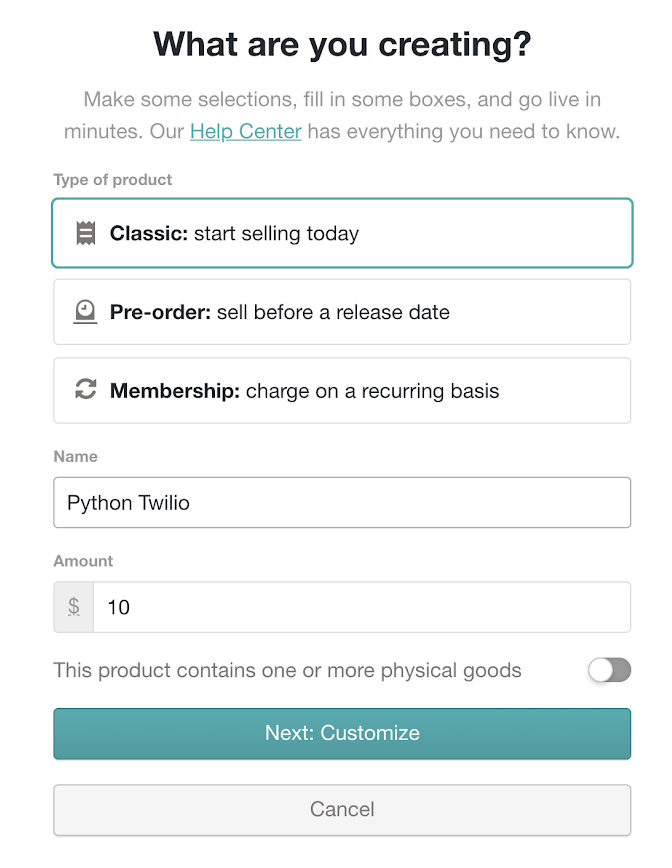
Click the “Next: Customize” button. You’ll be presented with further configuration settings for the product. You can customize the product as needed and once you’re done, Click the “Publish” button at the top of the page. Once the product has been published, you’ll be presented with a screen similar to the one below:
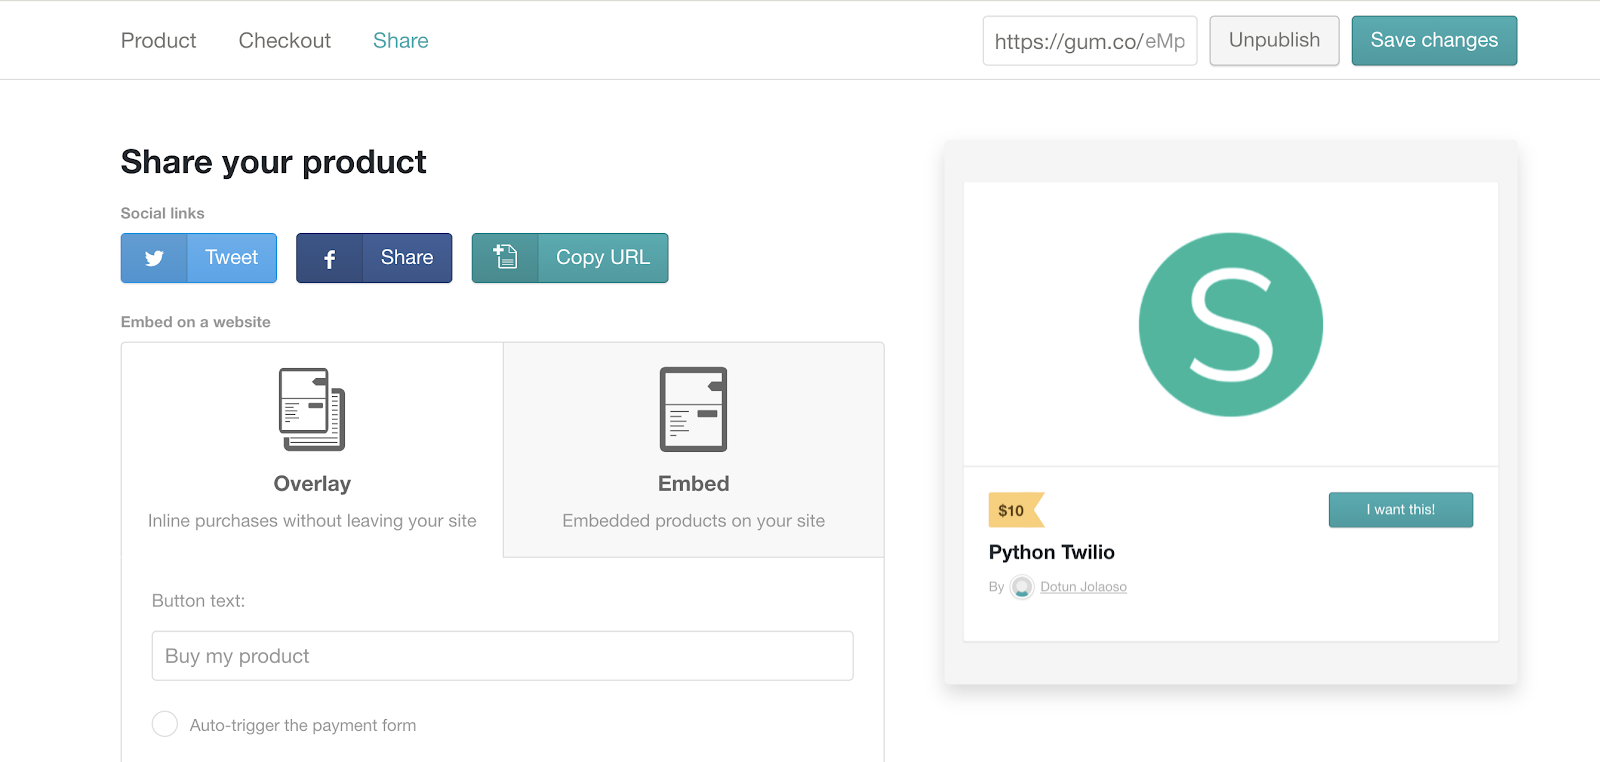
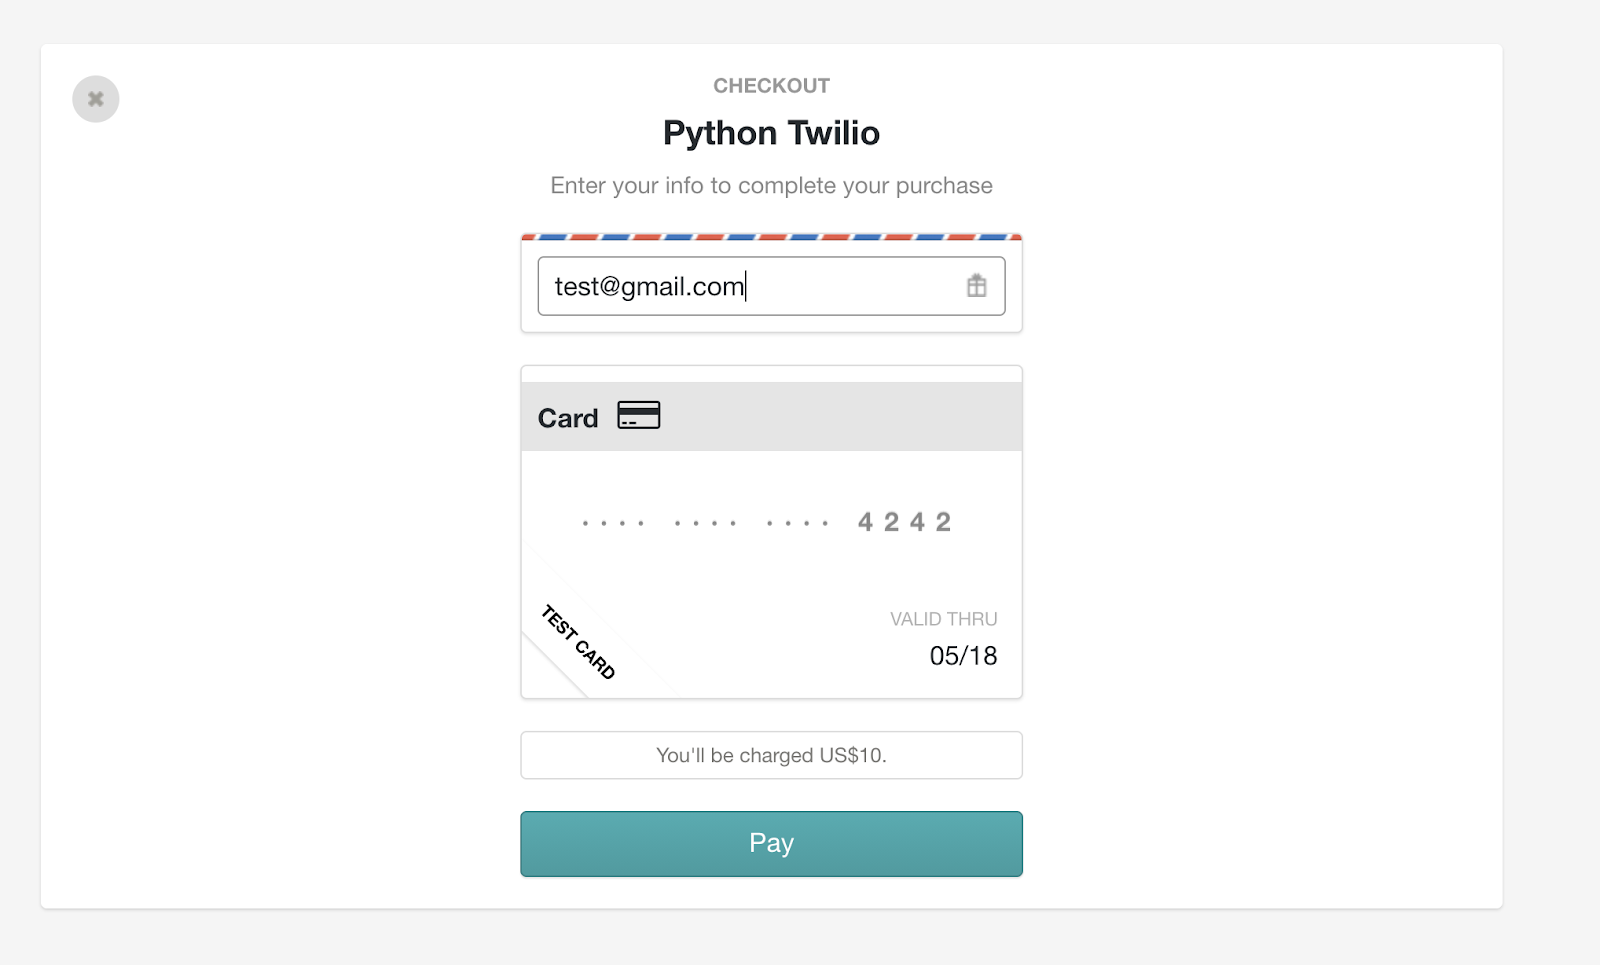
Hover around the product preview section to the right and then click the diagonal arrow that comes up on the section. This will open the product page in a new tab. Select “I want this!”, you’ll be presented with a checkout screen with an already prefilled test card and all you have to do is click “Pay”. Gumroad always allows you to make test purchases of your own product while logged into your account.
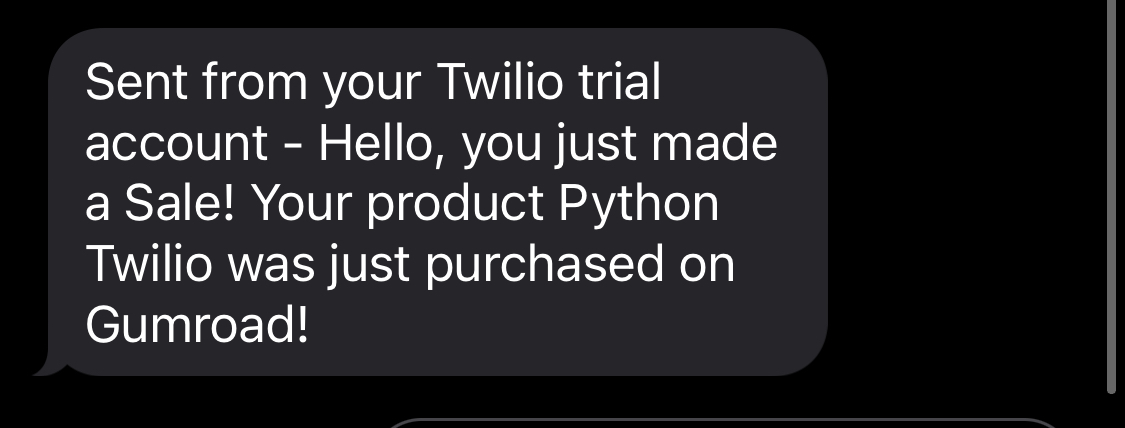
You should then receive an SMS notification informing you about the sale.
Deploying to Heroku
In this section, we’ll be covering how we can deploy the application to Heroku, so that it is permanently available without having to run it on your computer. If you don’t have an account on Heroku, you can create one here. You’ll also need to have the Heroku CLI installed locally.
To get started, create a file named Procfile with the following line in it:
This tells Heroku how to run our application.
Next we need to commit all our files to source control using git. At the root of your project’s directory, run the following command:
From the terminal, run the following command to login into Heroku:
This will prompt you to login into Heroku by pressing any key. After you’ve successfully logged in, run the following command to create an app on Heroku:
Replace app-name with an actual unique name you find suitable for the application. If the name that you pick is taken you will receive an error message. Try different names until you find one that is unique.
Now you can push from your local repository to the Heroku remote by running the following command:
Congrats! Your application has been deployed. However, there’s still one more thing left, we need to set all our environment variables. To do that run the following commands:
Don’t forget to replace xxxx with their actual values, which you can find in your .env file. Your application should now be live at https://app-name.herokuapp.com/. Don’t forget to replace app-name with the actual name of your application.
Now, you can head back to the Settings page of your Gumroad account and update the Ping URL with the Heroku URL. The URL that you enter should be https://app-name.herokuapp.com/incoming/sales?token=xxx, with app-name and xxxx replaced with the correct values for your project.
Conclusion
In this tutorial, we’ve learnt how to send SMS notifications with Twilio whenever a sale is recorded on your Gumroad account. The source code for this tutorial can be found here.
Dotun Jolaoso
Website: https://dotunj.dev/
Github: https://github.com/Dotunj
Twitter: https://twitter.com/Dotunj_


Related Resources
Twilio Docs
From APIs to SDKs to sample apps
API reference documentation, SDKs, helper libraries, quickstarts, and tutorials for your language and platform.
Resource Center
The latest ebooks, industry reports, and webinars
Learn from customer engagement experts to improve your own communication.
Ahoy
Twilio's developer community hub
Best practices, code samples, and inspiration to build communications and digital engagement experiences.