A Swift Adventure: Building BasicPhone with TwilioClient – Part 2
Time to read:
August 18, 2015
Written by
This post is part of Twilio’s archive and may contain outdated information. We’re always building something new, so be sure to check out our latest posts for the most up-to-date insights.

In the first post in this series we wrote a simple iOS app using Swift that made an outbound phone call using the Twilio Client SDK for iOS. To do that we set up the basic server infrastructure we need in order to generate a capability token, created a TwiML application that told Twilio what experience to give the caller and used the Client SDK APIs to create a new Device and Connection.
In the second part we’ll look at using the SDK to receive inbound calls. I’ll show you how to accept calls while the application is running in the foreground, as well as how to use notifications to alert the user of incoming calls while the application is in the background.
Just want to grab the app code and run with it? Head on over to Github to get the full source for SwiftPhone. If you want to start from where the first post left off, grab the code from Tag 1.
If you want to build your own Swift version of BasicPhone you’ll need a copy of XCode 6.1 or newer. For you bleeding edgers out there, sorry this won’t work with XCode 7 beta and Swift 2 just yet.
You’ll also need a Twilio account. Don’t worry, trial accounts are free, so if you don’t already have one, head on over to the Twilio website and sign up.
Calling Jenny
Any voice connection coming into Twilio be it PSTN, SIP or Twilio Client can be bridged to an instance of Twilio Client by using the TwiML noun. Here we are telling Twilio to try connecting the inbound voice connection to an instance of Twilio Client named “jenny”:
You can also use the REST API to have Twilio make an outbound call to an instance of Client. This is what we’ll do to call our iOS application. Once the call to instance of Client is answered, we’ll use same Greeting.xml we used in the previous post to have Twilio provide an experience to the person answering the call.
Using your favorite Twilio helper library, start an outbound phone call providing the From, To and URL parameters. In my case I’ll use the Python library:
Notice that we can call a client name using the same Twilio API we use to call traditional telephone numbers. Client names are prepended with the ‘client’ prefix in order to tell Twilio this value is the name of an instance of Client.
Additionally, remember that TwiML app we created in the previous post to handle outbound calls from Twilio Client? We want to provide the same in-call experience to the answerer of our inbound call so we will pass in that TwiML Apps Sid instead of a URL:
Now that we know how to make calls to our client using the Twilio REST API, let’s see how we receive them in our iOS app.
Your Call Is Important To Us
In the previous post we created an instance of the TCDevice object and saw how to make an outbound phone call using it. TCDevice however is not only for making outbound calls. Passing it a capability token containing permissions that allow accepting inbound calls tells it to begin to listen for incoming calls.
If you’ve been following along since Part 1 of this series and built the node application to generate the capability token you should be good to go. If you went with the option of deploying the Mobile Quickstart to Heroku, you’ll need to make sure are passing the ‘client’ parameter in the URL in order for the quickstart to set the incoming calls permission.
To notify you that it is (or isn’t) listening for calls or has received a call, the TCDevice instance lets you specify a delegate, notifying that delegate of changes in its listening state or of incoming calls via methods defined in the TCDeviceDelegate protocol.
In the previous post we already generated a capability token that includes permissions for accepting inbound calls, so now all we have to do is implement the TCDeviceDelegate protocol on our Phone class and tell our instance of TCDevice where the delegate is.
Because TCDeviceDelegate is an Objective-C protocol, we first need to change the existing Phone class to inherit from NSObject and then specify we want to implement the TCDeviceDelegate protocol
The protocol defines four methods, one required and three optional, that we can implement. For our application we’ll implement the required didStopListeningForIncomingConnections method and two optional methods: didStartListeningForIncomingConnections and didReceiveIncomingConnection in our existing Phone class:
With the protocol implemented we need to tell the existing TCDevice that its protocol delegate methods are located in this class. We can do that by updating the initialization of the TCDevice in the Phone class, changing the delegate parameter value from nil to self:
We’re now ready to accept an incoming call. For now, we’ll just accept every incoming connection but don’t worry, later in the post I’ll show you how to be a bit more discriminating with your incoming calls.
Awesome! Let’s test it out.
Start your app in the iPhone simulator and from the Python console (or wherever you are starting calls from), start a new call to client:jenny. Your app should receive and accept the incoming call and you should hear the greeting from Twilio.
Who Goes There?
OK. So now we can accept incoming calls, but blindly accepting all calls probably isn’t the greatest idea. A better experience would be to let the app’s user decide how to handle an incoming call. Twilio Client allows us to accept, ignore or reject incoming calls. Let’s modify our app to allow the user to choose how to handle the incoming call.
We’ll start with a few changes to our existing Phone class. When a call is received by our application, we need to give the user time to decide what to do with it. To hold onto that connection while they decide we’ll create a new variable named pendingConnection:
Now in the didReceiveIncomingConnection function, instead of blindly accepting the incoming connection, we’ll put it into the pendingConnection variable and then send a Notification to allow interested parties to know that there is a new incoming connection:
Next, we’ll add 3 functions to the Phone class that let developers using the class to act on the connection:
Notice that if the connection is accepted we take the pendingConnection and assign it to our connection variable. In each situation we also set the pendingConnection to nil so we can accept another connection if one arrives.
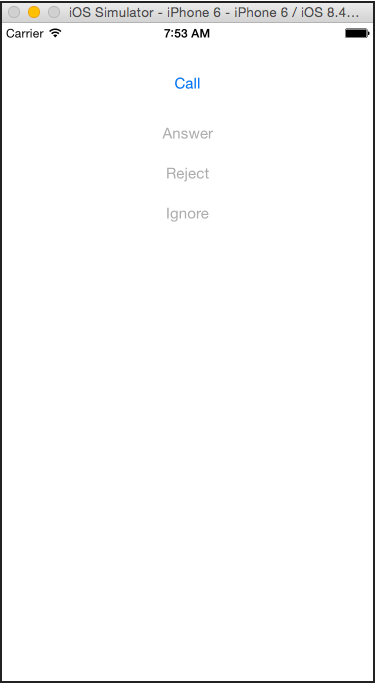
With the Phone class modified to accept, reject or ignore the incoming call, change the app UI to expose those options to the user. Add Accept, Ignore and Reject buttons to the UI and make Buttons disabled by default:
Next add Actions and Outlets for each button. In each Action call the corresponding function from the Phone class:
Finally, create a Notification observer that listens for the incoming connection Notification:
Add the pendingIncomingConnectionReceived function defined as the Notifications Selector to the ViewController and in it enable the buttons to let the user take action on the call:
Fantastic! Run the app and make another call from the console. When the incoming call is detected by the app, the buttons should enable and you should be able to answer, ignore or reject the call.
Back from the Background
Now we have an iOS application that can both make and receive phone calls. But, what happens if the app is in the background when Twilio sends a call to it? No worries, the Twilio Client SDK takes care of this for you.
To allow the SDK to do this, from the Project navigator select the SwiftPhone project to open the project properties, select the Capabilities tab and make sure you have set the Audio and VoIP background capabilities for your app.
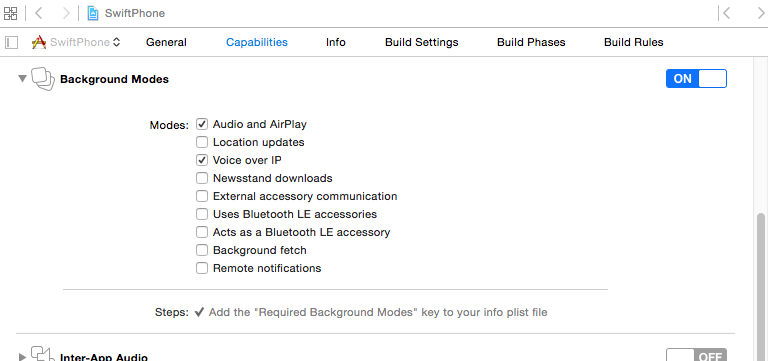
Setting these capabilities allows the SDK continue to listen for incoming connections even when it is in the background. The delegate functions defined by TCDeviceDelegate will still get called letting us know the application has received an incoming call, but with the application not active we have no UI so we need a different way to notify the user of the call. For this we can use LocalNotifications.
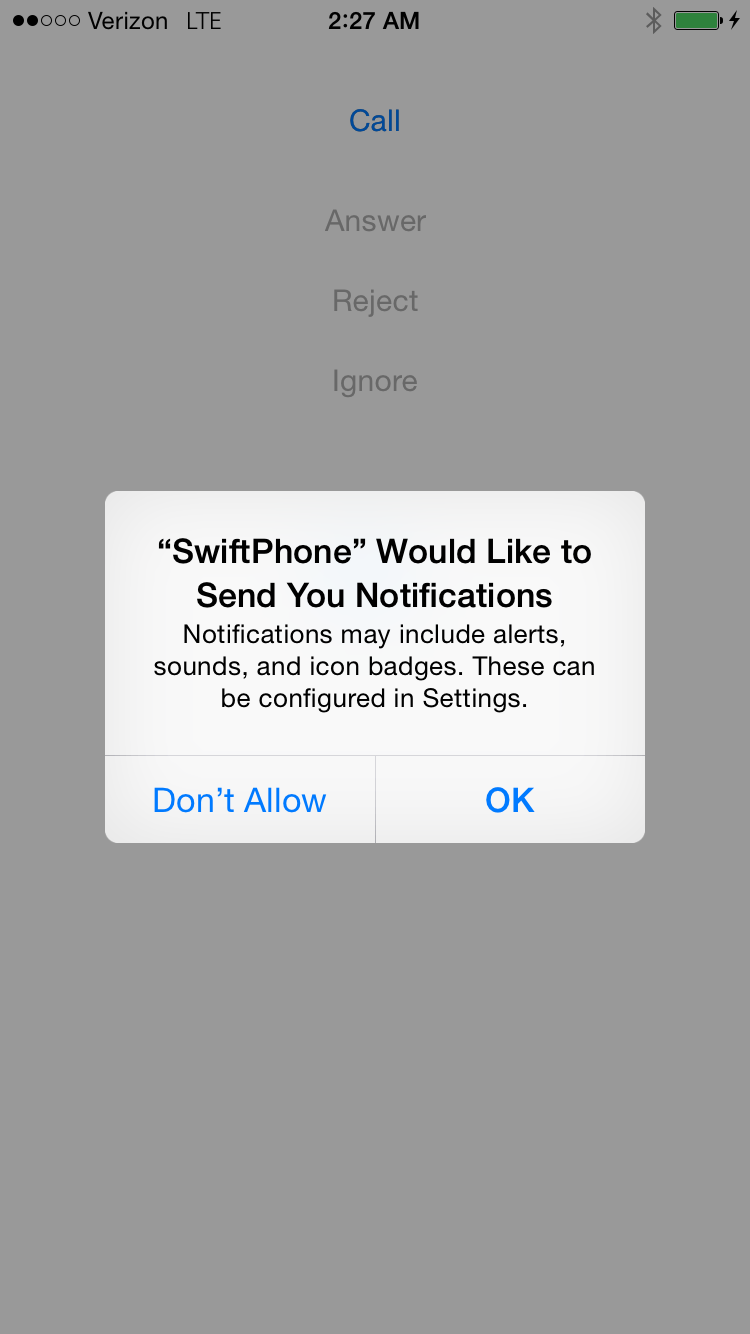
In the applications AppDelegate, start by enabling LocalNotifications for the app. Here we are enabling several different types of notifications, including the Alert notification:
Run the app again and it will prompt now you to allow notifications. This prompt happens only once and the selection is saved for the application.
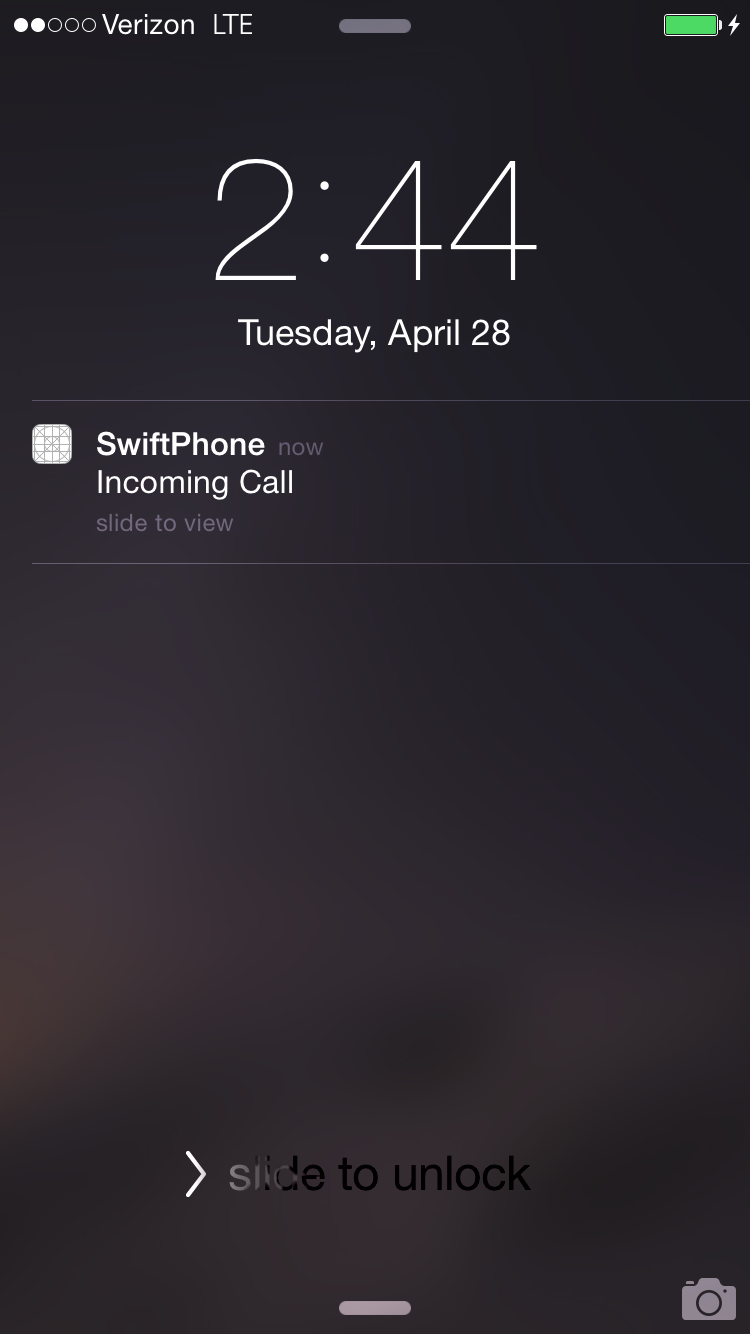
Next we need to modify the pendingIncomingConnectionReceived function. We’ll check to see if the app is not active, and if it is not, create and show a LocalNotification:
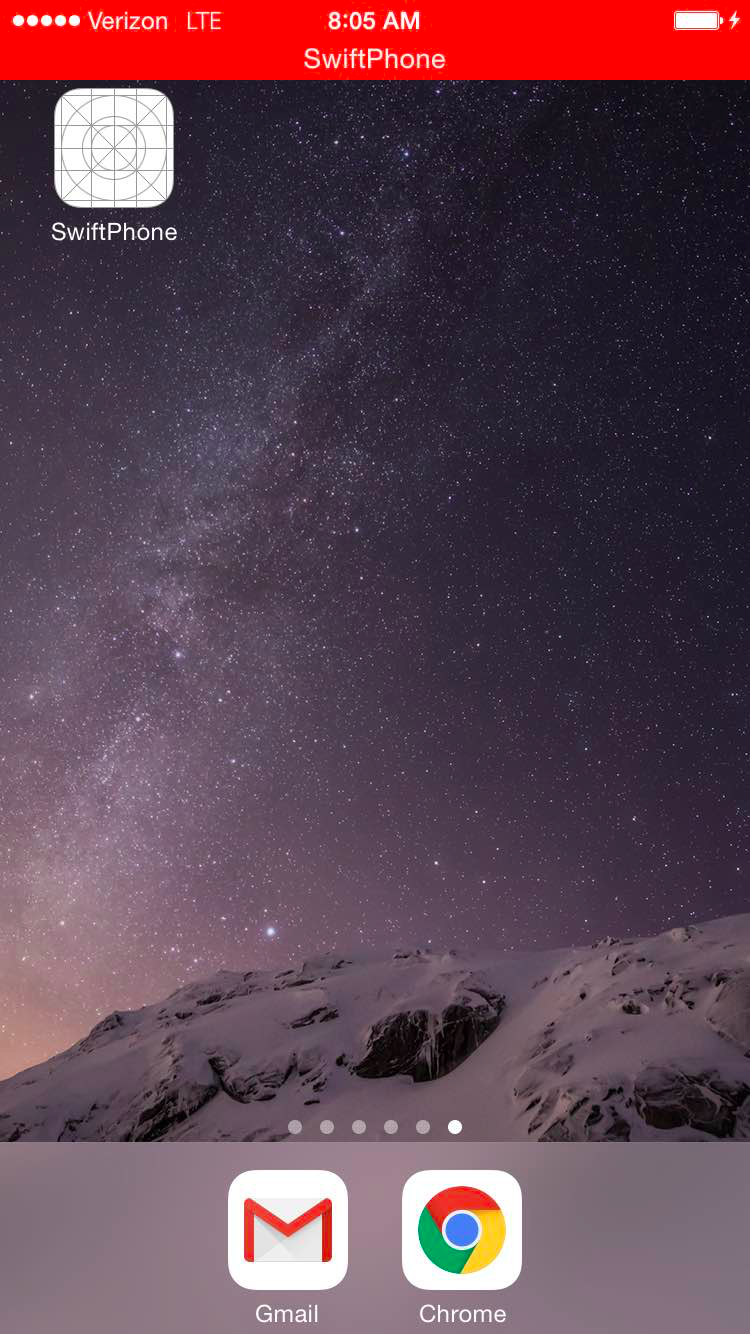
Great! Now run the app and put it in the background. Make a call from the console and you will see a LocalNotification displayed:

Swipe the notification and the app will become active and allow you to answer the call. Using LocalNotifications means you’ll also get notifications while your phone is locked:
Again, simply swipe the notification to activate the app and choose how to handle the incoming call.
Finally, answer the incoming call and then put the application into the background. Notice that the active call continues and iOS displays the in-progress VoIP call banner:
To make the application active again, just tap the banner.
Wrapping It up
That’s it! In short order we’ve built an iOS application using Swift that can both make and receive VoIP phone calls using the Twilio Client for iOS SDK. We’ve added the ability to notify users of incoming calls and to be connected to an active call even if the application is running in the background.
There are million and one ways that you could make this application even better. Creating a much nicer UI probably the most obvious, but it would also be fun to:
- create a dial pad that allow users to specify a phone number to dial, or DTMF tone to send
- add a way to mute and switch between audio outputs
- build a call timer that shows how long a call has been active
- integrate the iOS Address Book to make outbound calling easier
What other cool ways can you enhance this simple application? I’d love to see what you come up with. Drop me a line one twitter or via email and let me know what you’re building with Swift or the Twilio Client for iOS SDK.


Related Resources
Twilio Docs
From APIs to SDKs to sample apps
API reference documentation, SDKs, helper libraries, quickstarts, and tutorials for your language and platform.
Resource Center
The latest ebooks, industry reports, and webinars
Learn from customer engagement experts to improve your own communication.
Ahoy
Twilio's developer community hub
Best practices, code samples, and inspiration to build communications and digital engagement experiences.