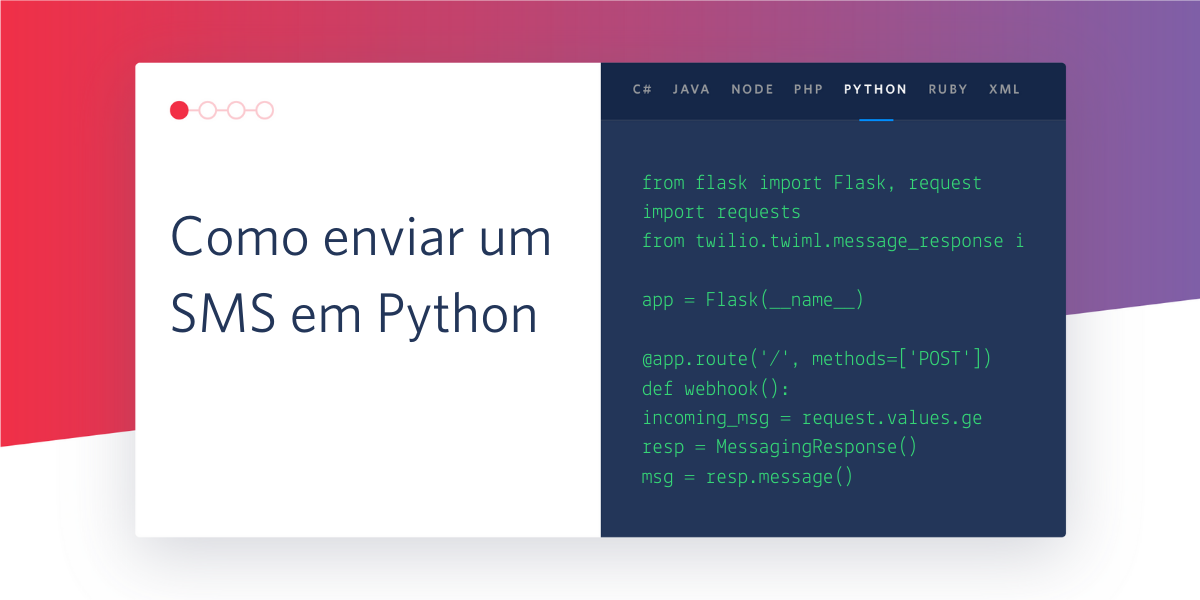
Tudo o que você precisa para enviar um SMS em Python usando Twilio são as seguintes linhas de código:
import os
from twilio.rest import Client
account_sid = os.environ.get('TWILIO_ACCOUNT_SID')
auth_token = os.environ.get('TWILIO_AUTH_TOKEN')
client = Client(account_sid, auth_token)
client.messages.create(from_=os.environ.get('TWILIO_PHONE_NUMBER'),
to=os.environ.get('CELL_PHONE_NUMBER'),
body='Você enviou um SMS em Python usando o Twilio!')
Passo a passo do código
A primeira coisa que precisamos para que o código acima funcione é uma conta da Twilio. Crie uma para você de graça aqui.
Nós também precisamos de um número de telefone com SMS habilitado. Você pode procurar e comprar um no console da Twilio.
Enviar um SMS usando a Twilio é tão simples quanto implementar uma requisição POST HTTP para o recurso /Messages
na API da Twilio. A Twilio fornece uma biblioteca que facilita essa implementação. Instale a biblioteca twilio
no terminal usando o pip
:
pip install twilio
O próximo passo é criar um arquivo chamado …

Twilio Speech Recognition is a powerful addition to voice applications powered by the TwiML <Gather> verb. Instead of just taking DTMF tones as input you can use the full expressiveness of spoken language in a variety of languages.
We’ll build a hotline that returns facts about cats, numbers, and Chuck Norris to have some fun with this feature and also show its usefulness in interactive voice response (IVR) applications. If you learn best from video or just want to see this in action, this full tutorial is available on the Twilio YouTube channel:
The code for the application is available in this repo on Github.
Hello, How Can I Help You?
We’ll use Twilio Functions to build our application. If you’re new to Twilio Functions you can follow this video tutorial to learn how it works. Since Twilio Functions runs inside the Twilio Runtime there are …

One of the major themes at SIGNAL 2017 is: “code is creative”. While that theme has been interleaved throughout the sessions, SIGNAL attendees have proven that out in more interactive ways.
Perhaps the biggest display of that on the floor of the conference so far has been the giant LED wall in the Hack Lounge powered by Particle and DeepLocal. The wall can be drawn on by attendees using their hackpack. Here’s a glimpse of some of your handiwork from Day 1 of SIGNAL:
Onward to Day 2
We wanted to make sure you were equipped to hack even harder on Day 2 so we prepared some resources for you. If you want to hack on the Particle firmware that powers your hackpack, first make sure you’ve claimed your device on the Particle site as explained here. Next, head over to the Twilio hackpack v3 firmware repo …

Are you remembering to keep up with your New Year’s Resolutions? Using C#, Azure Functions and Twilio we’ll build a service that delivers daily SMS reminders to help keep up with those new goals.
Recipe
Here’s a list of the things we’ll use in the creation of our reminder service:
- Free Twilio account – sign up for one here
- SMS enabled phone number – you can find the perfect one for your needs here
- Microsoft Azure account
- Visual Studio 2015 (while it is possible to work on Azure Functions directly in the web portal, the developer experience is better in VS2015)
- Microsoft Azure SDK for VS 2015
- Visual Studio Tools for Azure Functions
- Microsoft Azure Storage Explorer
Set up your accounts and install any of the software you don’t have before moving on.
Structuring the Reminder Service
Azure Functions make it easy to quickly create the type of service we’re …

Twilio’s iOS SDKs for Programmable Video, Programmable Chat and Programmable Voice require access tokens to authorize users. Generating these tokens must be done on a server. Rather than learning or using a different programming language on the server, let’s use Swift!
Setting Up the Token Machine
We’ll use the Vapor web framework for Swift and a small helper library to return access tokens from the server. Here are a few things we need for our project:
- Swift 3 and Swift Package Manager – this post walks through how to make sure you have these set up correctly
- A free Twilio account – sign-up for yours here
- Vapor – follow this guide to get Vapor running on your system
- TwilioAccessToken and …

Building web applications with Swift using Vapor is super simple. Thankfully, deploying them is also a breeze. In just a few steps we’ll go from localhost to Heroku with Vapor’s CLI.
Prerequisites
We need a few things before we get started:
- A working Vapor web application. If you don’t have one, you can follow this tutorial to get started.
- Git
- A free Heroku account
- Heroku Command Line Interface – Make sure to run
heroku login
once the CLI is installed to authenticate your account.
Deploying to Heroku
Vapor supports deployment to any server that can run Swift. The Vapor CLI tool makes deployment to Heroku super simple.
If your Vapor app is not already in a Git repository we’ll need to add …

Web frameworks for Swift started popping up almost as soon as Swift went open source at the end of 2015. Vapor quickly became one of the most used libraries for Swift on the web. In this quick tutorial you’ll learn the basics of using Vapor to build web applications using Swift.
What You’ll Need
Before we take a look at how Vapor works we need to get a few tools.
The first thing we need is Swift 3 with Swift Package Manager. Follow this guide to get Swift running on your system. If you’re on Linux you may find this guide easier to digest than Apple’s site.
You can verify that you have Swift 3.0 or greater by running this command:
swift --version
We also need Vapor. Vapor comes w …
!-->
Have you ever started an iOS project and opened up Interface Builder and thought: ‘What do all of these buttons and menus do?’ If so, watch this 10-minute video we’ve prepared that covers the basics of Auto Layout for iOS in Xcode 8:
More Auto Layout Resources
If you want to learn more about what was explained in the video, here are some resources from Apple’s Auto Layout Guide that dig further into these concepts:
To learn more advanced Auto Layout techniques, give this list a read:
- Size Class Specific Layout – Size classes allow you to vary your user interface layout based on the form factor of the …

All you need to send an SMS with Python using Twilio are the following twelve lines of code:
import os
from twilio.rest import Client
account_sid = os.environ.get('TWILIO_ACCOUNT_SID')
auth_token = os.environ.get('TWILIO_AUTH_TOKEN')
client = Client(account_sid, auth_token)
client.messages.create(from_=os.environ.get('TWILIO_PHONE_NUMBER'),
to=os.environ.get('CELL_PHONE_NUMBER'),
body='You just sent an SMS from Python using Twilio!')
If you’d like to see this in action, check out this short video:
More of a Textual Learner? Here’s a Walkthrough
The first thing we need for the above code to work is a Twilio account. Sign up for you …
!-->
Ten lines of code (including whitespace!) is all you need to send an SMS with Node.js using Twilio:
const client = require('twilio')(
process.env.TWILIO_ACCOUNT_SID,
process.env.TWILIO_AUTH_TOKEN
);
client.messages.create({
from: process.env.TWILIO_PHONE_NUMBER,
to: process.env.CELL_PHONE_NUMBER,
body: "You just sent an SMS from Node.js using Twilio!"
}).then((messsage) => console.log(message.sid));
If you’d like a short explanation about how this works, check out this short video:
Prefer a Walkthrough Instead?
The first thing we need for the above code to work is a Twilio account. Sign up for your free trial account here.
We also need an SMS-enabled phone number …
!-->