Birth Announcements for the Busy Father using Python, Flask and Twilio
Time to read:
June 16, 2017
Written by
This post is part of Twilio’s archive and may contain outdated information. We’re always building something new, so be sure to check out our latest posts for the most up-to-date insights.

One day during my wife’s first pregnancy, it dawned on me that a lot of people would be interested to know when the baby was born. I began counting all the family members and friends who would want some notification about the baby’s arrival and realized I’d be making more phone calls than I would prefer. Sure, I could shove everyone into one big group text message, but then I run the risk of missing someone who might care while also subjecting myself to a seemingly endless cacophony of notification beeps.
To solve our endless beeping problem, we need a way to allow others to quickly learn about the birth of the child while notifying anyone who might care. We accomplish this using Python, Flask, and Twilio. With Twilio we can text or call anyone we like without the burden of doing so ourselves: all it takes is around 150 lines of Python.
What We’re Building
We want to take a list of phone numbers and have them each receive a call with a message of our choosing. WeI could guess at what numbers should be in that list, but it would be better if we did not have to manually enter numbers into a database. Since the purpose of this is to notify people about the birth of a child, it can not happen at a set time, so the application also needs to have a way to be triggered at a time of our choosing.
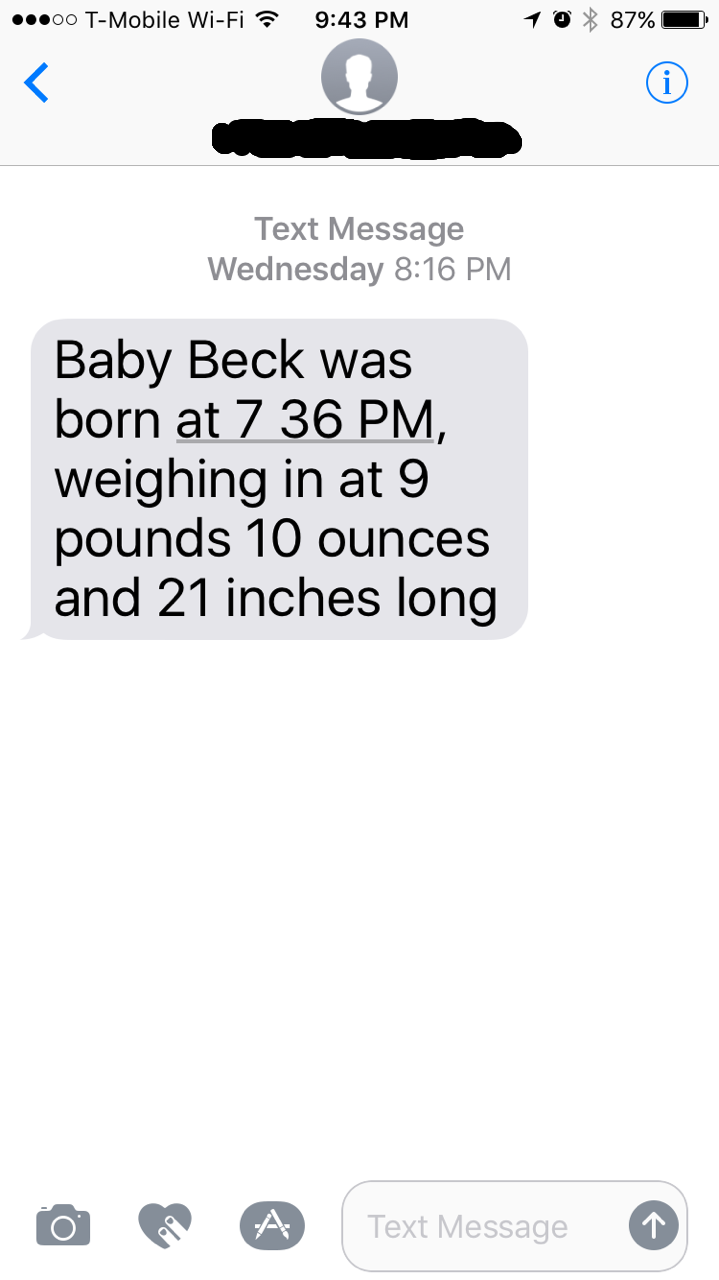
The application allows users to call a phone number and register their numbers to receive a call. When a specific text message is sent to that number, it uses Twilio to call each number in the list and read off a hard-coded message to the person, notifying him or her of the birth. This is functional and simple and will solve the problem for us nicely. A well-placed social media post containing the phone number for the application will then allow you to gather the phone numbers of everyone who might care about your child’s birth.
The Code
The project is written in Python and uses Flask. If you would like to skip the explanation you can see everything in its home on Github.
A SQLite database is sufficient for data storage. Flask-SQLAlchemy is a great extension that I highly recommend, but it is overkill for such a simple project, so let’s use Python’s built-in sqlite3 module instead.
Your Dev Environment
Flask is a micro web framework, and as such we do not need too much to get an application up and running. Let’s set up our project.
It is good practice when developing Python projects to use a virtual environment. Using your Python version of choice (preferably 3), install virtualenv if you haven’t already via pip (pip install virtualenv), then run virtualenv .venv in your project directory. Activate your virtual environment with source .venv/bin/activate on Linux or .venvScriptsactivate on Windows.
Next you need to install your dependencies in your virtual environment. This project will make use of the flask, twilio, and requests libraries. Install them via pip: pip install flask twilio requests. If you would like to use the exact versions of each library that I did, you can use my requirements.txt file). Save it to disk then run pip install -r requirements.txt. It should be noted that I used twilio version 5.6.0, which uses the TwilioRestClient you see in the code, rather than more recent versions (6+) using Client.
Your next step is purchasing a phone number from Twilio and retrieving your SID and auth token. After you have done that, we need an easy way to supply this data to our Flask app. Create a configuration file called config.py in the root of your project directory with the following information.
Flask apps run on port 5000 by default, but you can change that to whatever value you want in the above config file under PORT. The PHRASE is essentially a password used to start the notification process, so you’ll want to set this to something that malicious family members would not be able to guess. For phone calls to work, your TwiML needs to specify a callback URL for Twilio to route requests to. If you are hosting the service on a server with a domain name, then use that here. In my case I just use the public IP address of my Digital Ocean droplet where the app is running (http://192.168.1.1 as an example for how it should look).
The Flask App
Our application is small and simple, so all files can go in the root directory with config.py. If you really wanted, you could put all of the code we will write into the same file, but some logical separation should still exist to maintain sanity.
We started this logical separation with config.py, and can continue it with utility functionality. Create a utils.py file for holding our functions for interacting with the database and any other simple functionality we may need:
Three of the four functions are database related: one for creating the database if it does not exist init_db(), another for adding a user’s information insert_to_db(), and another for getting all of the users from the database get_all_numbers(). The fourth function make_recordings_directory() creates a directory for us to store recordings, a feature we will cover later. If you have a basic understanding of SQL then the database functionality should make sense to you. If not, just trust me that it works, or read up on it if trust is not your strong suit.
Now we can begin making our application. For this post, I assume you have a basic knowledge of Flask. Create a file called run.py (or app.py if you prefer) and add the following code.
This code initializes your Flask app, configures it, initializes your database, and creates a dummy index route. You do not need the dummy route, but I included it to yell at all the bots that scan my droplet regularly.
Our first feature to address is allowing users to register a phone number. We will need an initial endpoint for entering a number, another for confirming the number that was entered, another for handling the confirmation digits (redirect to the start if failed, otherwise redirect to the next step), another for asking whether the user wants a phone call or a text message, and finally an endpoint for saving the user’s information. Each endpoint makes heavy use of twilio.twiml.Response, which is our way of telling Twilio what we want to happen, and the gather() method of that class.
The following is the entry point for when users first call our number. We want to greet the caller, then prompt the caller for a phone number to register. We accomplish this using Response.gather() to collect digits and to tell Twilio which endpoint to visit next. Each endpoint needs to return valid TwiML to interact with Twilio, and calling str() on the Response() object provides that for us.
The next endpoint is where Twilio is redirected to after collecting the 10 digit phone number from the caller. Its purpose is to have the user confirm she entered the correct number. You could skip this step if you trust your users to always type correctly, but I don’t put a lot of trust in the shaky hands of older generations, let alone my own hands. We use the gather() method again to have the caller confirm if the number she entered is correct, and to redirect to another route for checking the result of this call. It is important to note that the “action” specified in the gather() call includes passing the digits entered at the first step between endpoints. The application is stateless at this point so we need to remember the original phone number entered before we save it to a database.
In the following endpoint, if the caller pressed 1 then we can proceed and pass along the phone number entered at the first step. If the caller entered anything other than 1 then we send her back to the confirm() endpoint.
At this point the caller has entered her phone number and confirmed that it is correct. Now we need to ask her if she wants a phone call or a text message when it comes time to send out the notification. We still are not to the point of saving the number to the database yet, so we have to continue passing the number between endpoints.
Now we can finally save this number to the database. The ‘Digits’ request argument contains a number corresponding to whether the caller wants a call or a text. We still have access to the original number because of our due diligence in passing it between each endpoint in the “number” parameter. This time, we need to know for certain if the caller wants a text or a call, so we redirect the caller back to the prior endpoint if the entered digit is not 1 or 2. Then we call our insert_to_db() method from utils.py and end the call.
Those five endpoints accomplish the stated needs. One gotcha is preserving the user’s entered phone number across requests. We can pass it around in a number parameter to each endpoint. This process starts in the /api/confirm endpoint with action=url_for('confirm_route', number=digits). Another is making the nice robot lady properly repeat the number back to the caller for confirmation. If you simply put 8675309 into the TwiML, she will dutifully say “eight million, six hundred and seventy five thousand, three hundred and nine” instead of “eight six seven five three zero nine”. Put spaces between the digits and use that instead (digits_spaced = ' '.join(ch for ch in digits)). Also note that SQLite does not support Booleans. Instead, we use zero or one to indicate false or true (you might have already noticed this in utils.insert_to_db()).
Next, we need to handle notifying the users. The app needs to check received text messages for the PHRASE we set in our config file and iterate through our users, sending texts or making phone calls. Users receiving text messages do not need any other special endpoints as we do not expect responses back from them, but for phone calls we need to have an endpoint for handling the redirect from Twilio.
This is our endpoint for handling text messages sent to our number. If a user sends a text that does not start with our secret phrase then we ignore the text rather than sending something back. This saves you some money, although you still incur a cost for the received message. We retrieve all of our users from the database then use their preference for text vs call to either send a text message using client.messages.create() or make a phone call using client.calls.create(). The text message containing the secret phrase will also include the message to send out to your users. This code expects it to look like “secretphrase Here is my message to send”. Because users getting phone calls are handled in a different endpoint, we use the global MESSAGE to preserve the specified message.
This final route handles users receiving a phone call. It simply says our specified message, then ends the call.
Notice the dreaded global keyword in there? It’s an abomination that will be removed in a future iteration to be replaced with parameter passing similar to what was used with the user’s phone number in the registration process. When we text the app our special phrase, we put a space after the phrase then enter our desired message to be passed on to the users. That phrase can be immediately used in that endpoint for users receiving text messages, but it needs to be passed along to the endpoint for handling phone calls in order for those users to hear it. We create a TwilioRestClient using our SID and auth token and use that to send messages and make calls.
One feature that I added was the ability for users receiving a phone call to leave a message for my wife and I. It certainly is not necessary, but it was a nice experimentation with the voice recording feature that Twilio offers. We will not cover it here, but you can see it in run.py over on Github.
Finish your application with app.run(host='0.0.0.0', port=app.config['PORT']) and your code is done! This will run your Flask app in a way that allows it to listen for incoming connections on your specified port with all your server’s available IPv4 interfaces.
The final step is supplying Twilio with your endpoints for handling phone calls and text messages. Open the Twilio console and add http://yourip:1234/api/register for phone calls and http://yourip:1234/notify for messaging to your purchased phone number.
Run the App
Running your application is as simple as python run.py. Assuming you run this on some server under your control, you will likely be connected in remotely. Because of this, if you disconnect from your remote session then your application will not stay running. I solve this problem by using a terminal emulator called tmux and running my application in there: the tmux session stays running even after I disconnect. If your server goes down then so does your application, so a more robust solution is ideal, but that is outside the scope of this post. I’ve had the same droplet running on Digital Ocean for 3 years with no downtime, so this has yet to become a real concern.
Wrapping it Up
Congratulations! You just saved yourself the headache of calling every one of your relatives when your baby arrives. The application is lightweight, allows for custom messages, and pushes the problem of being notified onto others. You might have to help Grandma through the registration process, but in the end a simple text message allows you to trade a symphony of beeps for a solo (or duet, or trio) of crying.
Because this app was originally written as a small side project, it is lacking in some features that may make it more friendly.
- Allow for registering via text
- Add an admin interface for you to easily manage the db
- Get rid of the nasty global variable
- Make the bot voice configurable
Using Twilio for this has allowed my wife and I to enjoy some time with our new baby at the hospital while also satisfying the masses who want to know all about it. Automation simplifies and improves our lives so we can focus on what truly matters, and services like Twilio allow for that.
If you have questions about the app or ideas for improvement, file a ticket on Github.


Related Resources
Twilio Docs
From APIs to SDKs to sample apps
API reference documentation, SDKs, helper libraries, quickstarts, and tutorials for your language and platform.
Resource Center
The latest ebooks, industry reports, and webinars
Learn from customer engagement experts to improve your own communication.
Ahoy
Twilio's developer community hub
Best practices, code samples, and inspiration to build communications and digital engagement experiences.