How to Create a Markdown Blog in PHP With the Slim Framework
Time to read:
January 19, 2022
Written by
Reviewed by

When it comes to blogging software, you're not starved for choice. However, despite this choice and how feature-rich modern blogging software is, are the available options necessarily the right choice?
Sure, software such as WordPress, Ghost, Gatsby, and Wix are very feature-rich — and their UIs are often very smooth. But do you want the hassle of installing, configuring, and securing them on top of writing your blog content? What's more, can you justify the budget that some blogging software requires?
Maybe, all you want to do is to write your site's content using your preferred editor, using a simple format designed for writing for the web, Markdown, rather than through a user interface.
If that’s the case, then in this tutorial, I’m going to show you how to create a blog that draws its content from Markdown files. The blog uses the Slim Framework (version 4), the Standard PHP Library (SPL), and several external packages, to keep the codebase as small and light as possible.
Let's begin!
Prerequisites
You need the following to follow this tutorial:
- PHP 7.4+ (ideally version 8).
- Familiarity with the Standard PHP Library (SPL).
- Some familiarity with Markdown, YAML, and the Twig templating engine.
- Composer installed globally.
How the application will work
Before you dive in, let's quickly review how the application will work so that you know what to expect. At its simplest, the application works with two components:
- A Markdown file with YAML front-matter.
- A
BlogItementity that models the information in the Markdown file.
The Markdown file's YAML front-matter contains a minimal set of properties that you'd likely expect to see in a blog, including the publish date, slug to use as a link to the article, synopsis, title, an article image for rendering at the top of the article and for sharing on social media, and a set of tags and categories. The Markdown content is the article's content.
The application has two routes:
- The default route which displays a list of all available posts.
- A route that displays a blog post based on its slug.
When the application loads the default route, it iterates over each of the Markdown files in the application's data directory, creating an array of BlogItem entities, one for each Markdown file. Then, it renders an unordered list of the post titles, linked with the post's slug.
If the user clicks one of the posts in the list, they're taken to the view route, where a BlogItem entity is retrieved (if available) using the slug in the route's path, which is then rendered.
To simplify the process of iterating over the Markdown files, the application makes good use of Iterators from the Standard PHP Library (SPL), both existing and custom ones.
What are Iterators?
Iterators (such as the ArrayIterator, FilesystemIterator, LimitIterator, and RegexIterator) allow you to iterate over traversable objects, such as arrays and file systems, using native PHP looping constructs such as foreach and while loops.
Each iterator supports a particular kind of iteration, indicated by the class' name, such as only traversing arrays or directories, or limiting the number of items that are traversed.
For example, if you want to iterate over a file system, as the application will, you can use the DirectoryIterator. You can see how to use the DirectoryIterator in the example below.
The DirectoryIterator returns each item in the given directory as an SplFileInfo object. Using SplFileInfo, you can quickly determine if the current item is a file, directory, or a symlink, and if it’s readable, writable, or executable — all the kinds of things you’d need to know about common file system items.
The DirectoryIterator is powerful on its own because of all the code that it saves you from writing, but it becomes even more powerful when you combine it with other iterators.
Say you wanted to paginate over the items in the specified directory, instead of listing them all. To do that, you’d pass the DirectoryIterator to the LimitIterator, which allows for iterating a limited subset of items, and iterate over that instead.
The following example — which is virtually identical to the earlier version — shows how to iterate over the 10th - 20th records in the DirectoryIterator.
There’s a lot more to iterators than I’ve covered here, but these are the essentials that you need to know, so that the code makes sense. If you'd like to dive deep into iterators, and the SPL, check out Mastering the SPL Library from php[architect].
Create the Markdown blog application
It's time to create the application. To do that, run the commands below to create the core directory and switch into it.
Next, create the application's directory structure, which will have four core directories:
- data: This holds all the blog post Markdown files.
- public: This holds the static assets and the bootstrap file, index.php.
- resources: This holds the route view templates.
- src: This holds the source files for the application.
To create them, and their subdirectories, run the command below.
If you’re using Microsoft Windows, run the commands below, instead.
Install the required packages
Now, it's time to install the external packages that the blog will use; specifically, five:
|
Package |
Description |
|
FrontYAML |
This is an implementation of YAML Front matter for PHP. It can parse both YAML and Markdown. |
|
PHP Markdown |
The library includes a PHP Markdown parser and one for its sibling, PHP Markdown Extra. |
|
PHP-DI |
Marketed as "The dependency injection container for humans", PHP-DI is a pretty straightforward and intuitive DI container. You'll be using it to instantiate certain application resources once and then make them available to the application. |
|
Slim Framework |
Naturally, if you're basing the application on the Slim Framework, then you have to make it available. |
|
Slim-PSR7 |
You're using this library to integrate PSR-7 into the application. It's not strictly necessary, but I feel it makes the application more maintainable and portable. |
|
Slim Framework Twig View |
You'll be using this package to render view content using Twig; such as the forms to request a verification code, and upload an image and the simpler views, such as the success output. You may have noticed that Twig isn't in this list. This is because Slim Framework Twig View requires it as a dependency. |
|
Twig Intl Extension |
This package is a Twig extension that provides Internationalisation support, including the ability to format dates, which the application will make use of. |
To install them, run the command below in your terminal, in the root directory of the project.
Add a PSR-4 Autoloader configuration to composer.json
As you'll be creating a number of classes, you need to add a PSR-4 Autoloader configuration to composer.json so that the classes will be available to the application. To do that, add the JSON snippet below after the existing require section in composer.json.
Add the Slim Framework code
Now that the required packages are installed, add the core Slim Framework code, which you’ll progressively build on throughout the tutorial. To do that, create a new file, named index.php, in the public directory. Then, paste the code below into the new file.
The code imports the required classes and sets up the application’s Dependency Injection (DI) container. One service is registered with the container, the application’s view layer, which is powered by Twig. The Twig object itself is initialised with the base path to the application’s templates, so that it knows where to find them.
After that, a new Slim application is initialised ($app). The default route is registered, which only accepts GET requests. Requests to the route won’t do much. It will return the rendered contents of its template. Finally, the application is launched, by calling its run() method.
Create the default route's template
The template isn’t going to do a lot at first; just display the site’s name: “Slim Framework Markdown Blog”. First, create a new file in resources/templates, named index.html.twig and in it paste the code below.
Then, download the CSS file to public/css, naming it styles.css. With that, let’s check that the core of the application works. Start the application by running the command below.
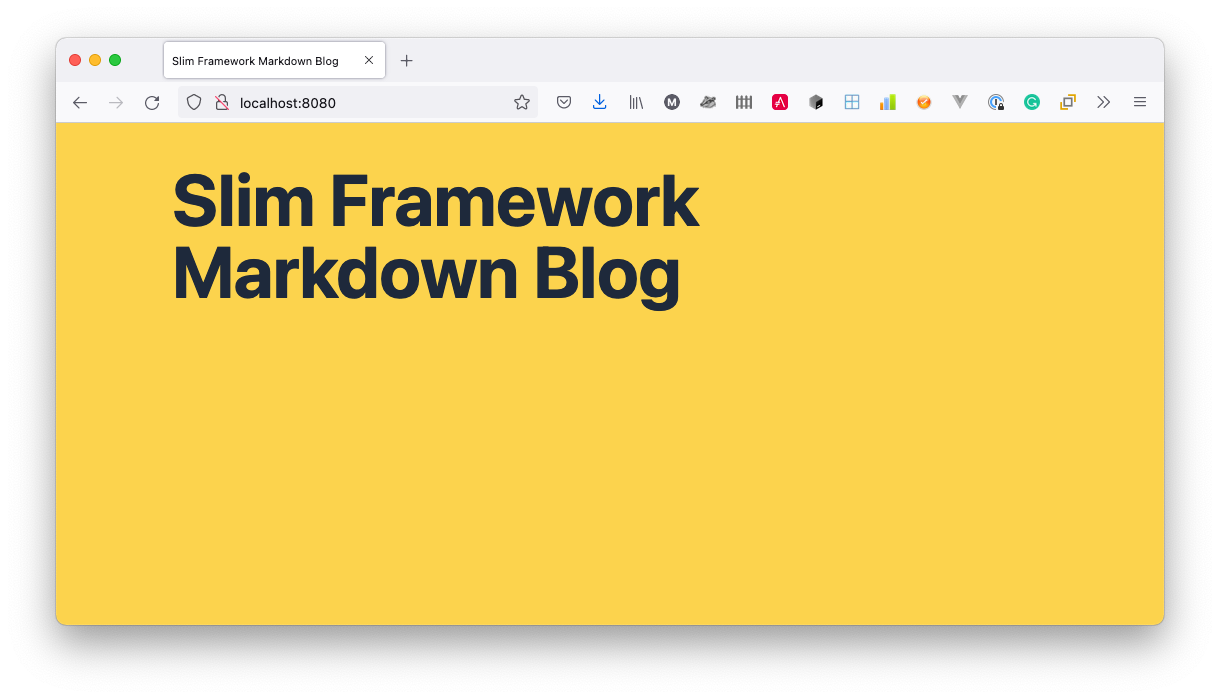
Then, open http://localhost:8080 in your browser of choice, where you should see that it looks like the screenshot below.
After confirming that the application works, press ctrl+c to stop the application.
Create a blog post entity
Now, you'll begin creating the code for the application, starting off with the BlogItem entity. Create a new file, named BlogItem.php in src/Blog/Entity and add the following code to it.
The class doesn’t do a whole lot. It sets eight properties ($publishDate, $slug, $title, $image, $synopsis, $content, $categories, and $tags) which will store an aspect of data from a Markdown file.
The populate method populates, or hydrates, the entity from an associative array of data, and each of the respective properties can be accessed through an accompanying getter method.
The only things worth noting are that $publishDate is initialised as a DateTime object, using the value provided, and getContent converts its Markdown content to HTML before returning it.
Create a filter for Markdown files
Now, it's time to create the MarkdownFileFilterIterator which ContentAggregatorFilesystem made use of, while iterating over the data/posts directory to filter out files that weren't Markdown files. To save time and effort, MarkdownFileFilterIterator will extend FilterIterator, one of the many iterators available as part of the Standard PHP Library (SPL).
Why extend the FilterIterator? Well, as the blog sources its content from Markdown files, it needs to iterate over one or more of them. However, a given directory may contain any number of file types, such as text files, AsciiDoc files, spreadsheets, and more, not just Markdown files.
Without the FilterIterator, you'd end up with a rather verbose iteration process, one that checks if a file was a file and not a directory, as well if it's a Markdown file, not a spreadsheet, symlink, etc. To me, that's all rather messy when done that way.
However, by extending the FilterIterator, you can move the file filter logic to a reusable class, allowing the iteration logic to be reused instead of being duplicated throughout your codebase, separating it from — drastically simplifying — the iteration logic.
Create a new PHP file, MarkdownFileFilterIterator.php, in src/Blog/Iterator, and paste the code below into it.
The class' constructor takes a DirectoryIterator, which iterates over a single directory and any files which it contains, and sets it as the class' inner iterator. The DirectoryIterator will also iterate over any directories in the specified directory, but won't descend into any one of them.
The accept method is where the magic happens. There, it checks if the current item is an SplFileInfo instance. This is taken care of for us by using the DirectoryIterator. It then (rather verbosely) filters out any file that:
Create a content aggregator to aggregate the Markdown content
Next, you’re going to create a content aggregator, composed of an interface (ContentAggregatorInterface) and two classes (ContentAggregatorFilesystem, ContentAggregatorFactory), which iterates over all the supplied Markdown files and hydrates an array of BlogItem entities for each one.
The ContentAggregatorInterface
In src/Blog/ContentAggregator, create a new file named ContentAggregatorInterface.php, and add the code below to it.
This interface defines two methods, getItems and findItemBySlug which ContentAggregatorFilesystem will implement. It isn’t strictly necessary, however, I prefer to code against an interface, not a concrete specification.
The ContentAggregatorFilesystem
Next, create a second new file in src/Blog/ContentAggregator, named ContentAggregatorFilesystem.php, and add the code below to it.
The class implements ContentAggregatorInterface, and is responsible for aggregating blog content from files on the local file system. It's reasonably long, so let's step through it a piece at a time.
The class’ constructor takes two parameters, a MarkdownFileFilterIterator and a \Mni\FrontYAML\Parser object. The first is an iterator that allows for rapid traversal of the available Markdown data files. The second provides the functionality to parse the relevant information from those files.
After two class member variables are initialised from the two parameters, the buildItemsList method is called to aggregate the blog item data from the Markdown files.
Next, two functions are defined: buildItemsList and getItems:
buildItemsListis where the iteration over the Markdown files using theMarkdownFileFilterIteratorhappens. For each file in the iterator, aBlogItemobject is initialised by passing the file to thebuildItemFromFilemethod, which is then added to theitemsarray.getItemsreturns the list ofBlogItemobjects aggregated inbuildItemsList.
The next function, findItemBySlug, takes an article slug, searches through the available BlogItem objects for one with a matching slug, and returns it if found. Otherwise, it returns null.
buildItemFromFile takes an SplFileInfo object, and uses it to retrieve the contents of a file, which is then passed to the getItemData method. This method parses out the YAML front-matter and Markdown content into an array, which is then used to hydrate and return a new BlogItem object.
getItemData takes an \Mni\FrontYAML\Document object, which contains both YAML front-matter and Markdown content. This object is used to populate and return an associative array of information aggregated from the file.
The ContentAggregatorFactory
Finally, create a third new file in src/Blog/ContentAggregator, named ContentAggregatorFactory.php, and add the code below to it.
The class’ __invoke method instantiates a MarkdownFileFilterIterator with a DirectoryIterator, that in turn is instantiated with the path to the Markdown files directory. The MarkdownFileFilterIterator and a \Mni\FrontYAML\Parser object are then used to instantiated and return a ContentAggregatorFilesystem object.
Update Composer’s autoloader
Now that the core classes have been created, you need to update Composer’s autoloader, so that they’ll be found. To do that, run the following command in the project’s root directory.
Register the content aggregation service with the DI container
With the classes and interface ready, you now need to register a new service with the DI container, so that you can access the aggregated content throughout the application. To do that, in public/index.php, update the code up to the definition of the first route as highlighted in the code example below.
The changes register a new service which will be a ContentAggregatorFilesystem object, initialised by ContentAggregatorFactory with ContentAggregatorInterface::class as the key.
Create a route to view all blog posts
The next thing to do is to refactor the default route so that it renders the blog items. To do that, first, update the default route in public/index.php to match the code example below.
The updates retrieve the ContentAggregatorInterface service from the DI container and set a view template item, items, that contains a list of BlogItem objects.
Update the default route's template to render blog post items
As the default route's template now has access to a list of blog post items, it needs to be updated to render them. To do that, update resources/templates/index.html.twig to match the code below.
The template now uses a for loop to iterate over the available blog post items (items), rendering their title, slug, and publish date (formatted using Twig's format_date function). The post item's image, in the public/images/posts directory, is also rendered using the post's image value.
Create a route to view an individual blog post
In the changes to the default route's template, the list wrapped each item's title in an anchor tag which linked to /item{{ item.slug }}, that might render as /item/hello-world, for example.
Given that, you need to create a route that can handle these requests. To do that, add a second route, under the default one, in public/index.php, with the code below.
Similar to the default route, the view item route retrieves the ContentAggregatorInterface and view services from the application's DI container. It then retrieves a BlogItem object by calling the content aggregator's findItemBySlug method, passing to it the item's slug retrieved from the request. The BlogItem is then passed as a view template variable, and the template is rendered and returned.
Create the view route's template
Next, you have to create the route's view template. To do that, create a new file in resources/templates named view.html.twig, and paste the code below into it.
It’s quite similar to the default route’s template. The main differences are that it displays the details of one blog item, and prefixes the page’s title with the blog item’s title.
Create the Markdown source files
Now, create an initial blog post, so that there’ll be some content to iterate over and view. Create a new file named hello-world.md in data/posts, and add the following content to it.
Feel free to change the YAML front-matter and post's Markdown content as you see fit. Next, download a set of pre-made Markdown files to the data/posts directory, and a set of post images to the public/images/posts directory, so that the application is more like a live version.
Test the application
Now that you have all the code in place, before testing that the application works, start it, by running the command below
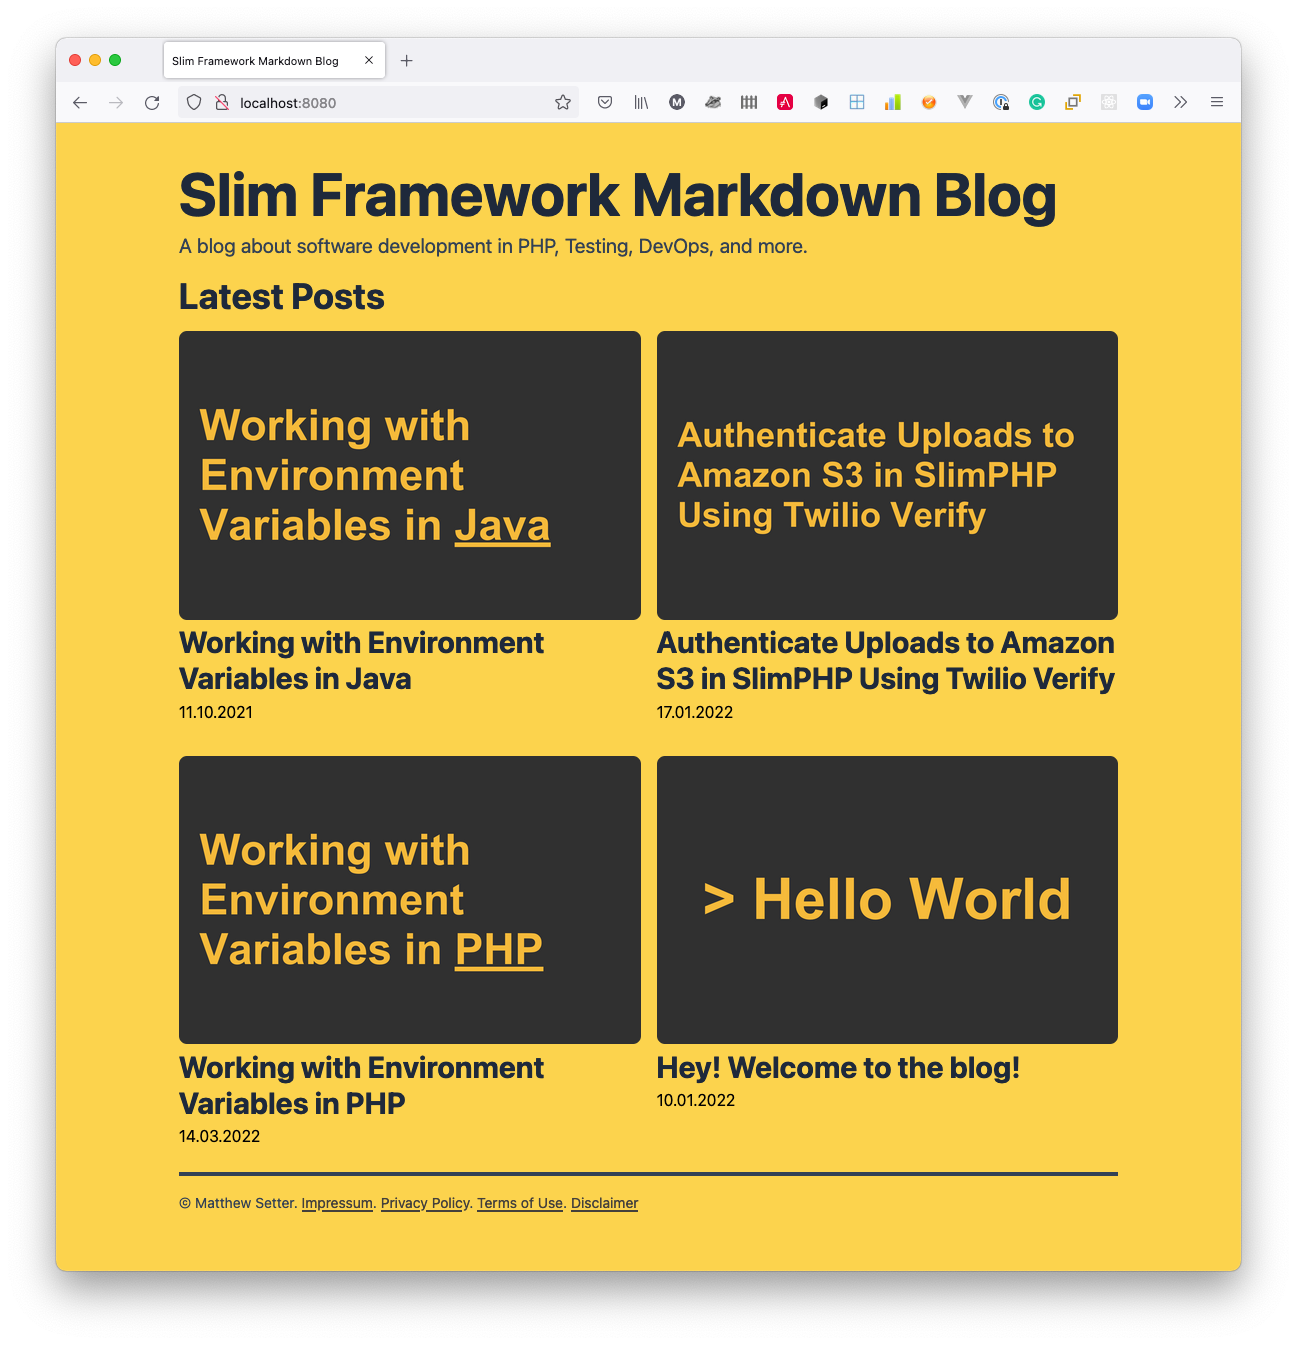
Then, open http://localhost:8080 in your browser of choice. This time, you should see a list with one or more blog posts, like the screenshot below.
If you click on the post’s name, you’ll be able to view the post, which will look like the screenshot below.
Create a sorter to sort the posts in reverse date order
While the application works, you likely noticed that the order in which the posts render is based on the Markdown file names, not based on the post's publish date. That's not a logical, nor intuitive thing to do. Let's improve the application to sort the posts from newest to oldest, as you'd expect on a modern blog.
To do that, you're going to create a class which we can pass to PHP's usort function. If you're not familiar with the function, it iterates over and array and sorts it based on a custom callback.
The callback compares the current and next element in the array and returns an integer less than, equal to, or greater than zero if the first argument is considered to be respectively less than, equal to, or greater than the second. The point of comparison for the two blog posts will be their publish date.
Create a new file named SortByReverseDateOrder.php in src/Sorter. Then, in that file, paste the code below.
The class is a callable, as it implements the __invoke magic method. The method takes two BlogItem objects and compares them based on their publish dates. Here's how the result of the comparison will work:
- If the publish dates are the same, the method returns
0because the order doesn't need to change. - If the publish date of the first one is greater than that of the second, the method returns
-1as the first blog post needs to be sorted before the second. - Otherwise, the method returns
1, as the second blog post needs to be sorted before the first.
With the classes ready to use, update the body of the first route in public/index.php to match the code below. I've highlighted the lines that need to be changed.
In this version, the aggregated items are first retrieved, and then sorted by passing them, along with a SortByReverseDateOrder instance, to PHP’s usort method. Then, the sorted items are passed as a view variable.
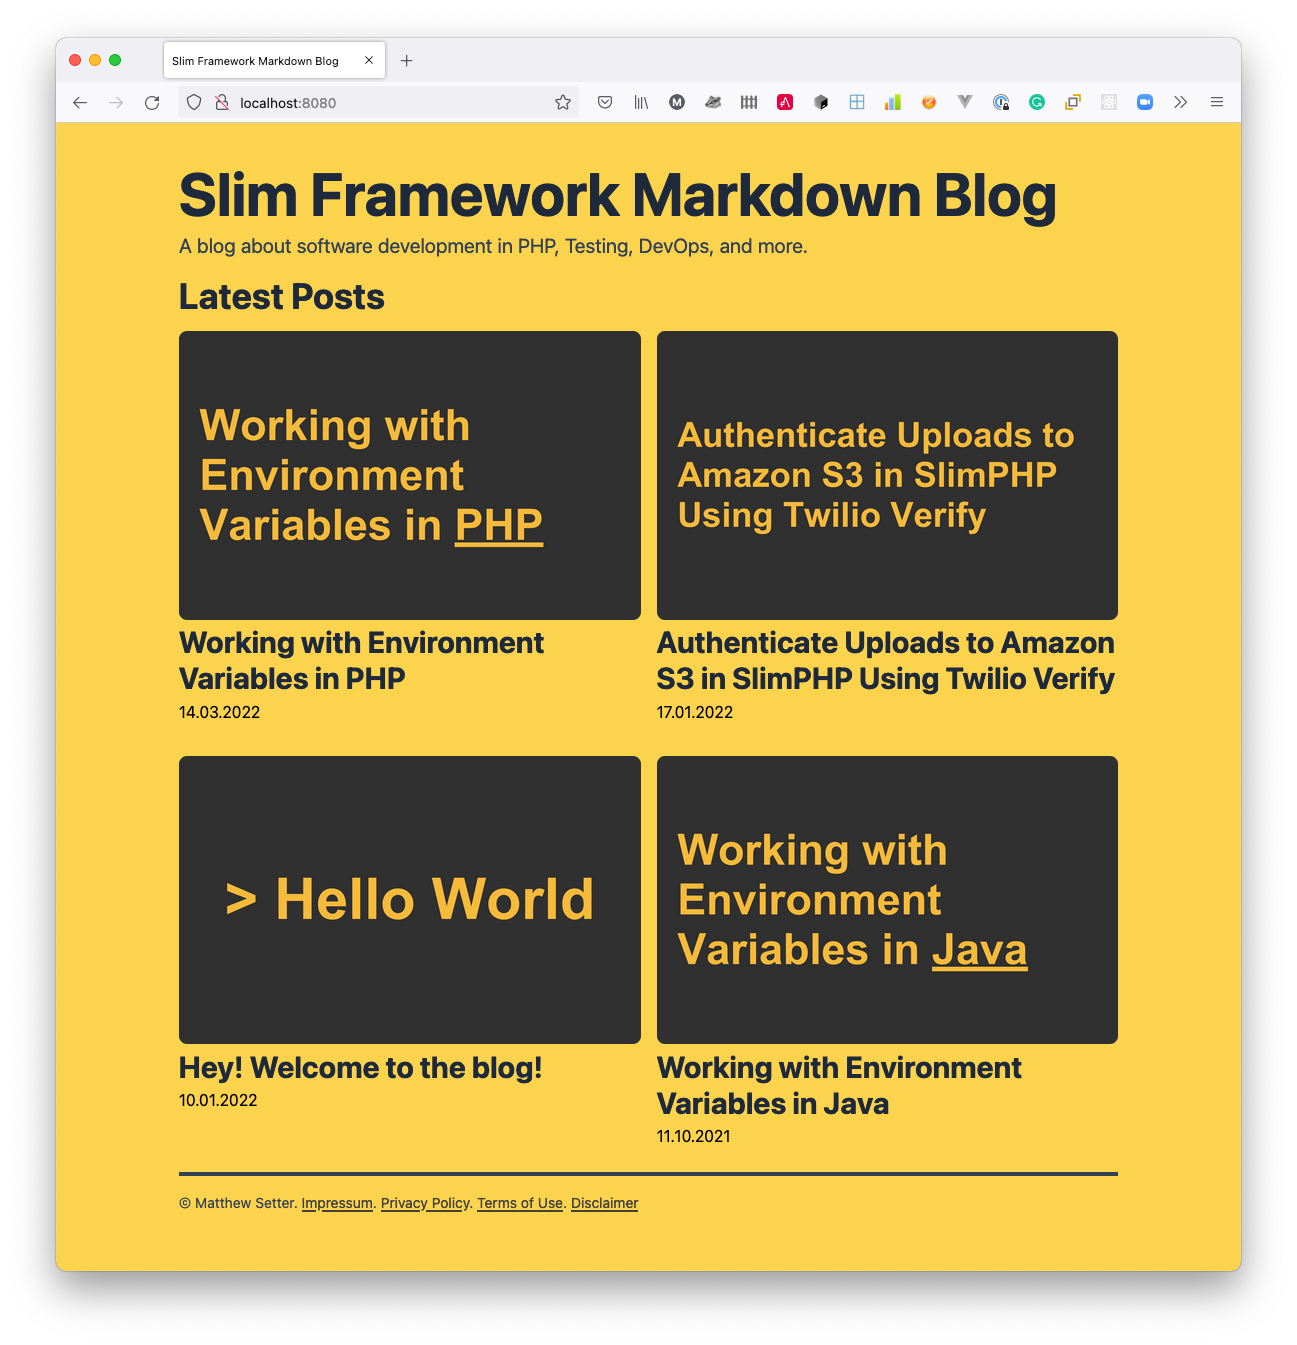
If you open the app again, you’ll see that the list of posts is now sorted in reverse date order, as in the screenshot below.
Create a filter for published posts
It’s time for one, final, class, one that filters out any posts that are scheduled at some time in the future, named PublishedItemFilterIterator. This one will compare today’s date with a blog item’s publish date, and return false if the publish date is in the future. In src/Iterator, create a new file, named PublishedItemFilterIterator.php and paste the code below into it.
Update the default route to view published posts
Next, in public/index.php, replace the default route with the version below.
In the highlighted lines, you can see that after the array has been sorted, it is used to initialise a new ArrayIterator, which, in turn, is used to initialised a PublishedItemFilterIterator ($iterator). $iterator is then passed to the rendered template as the source of the blog post items.
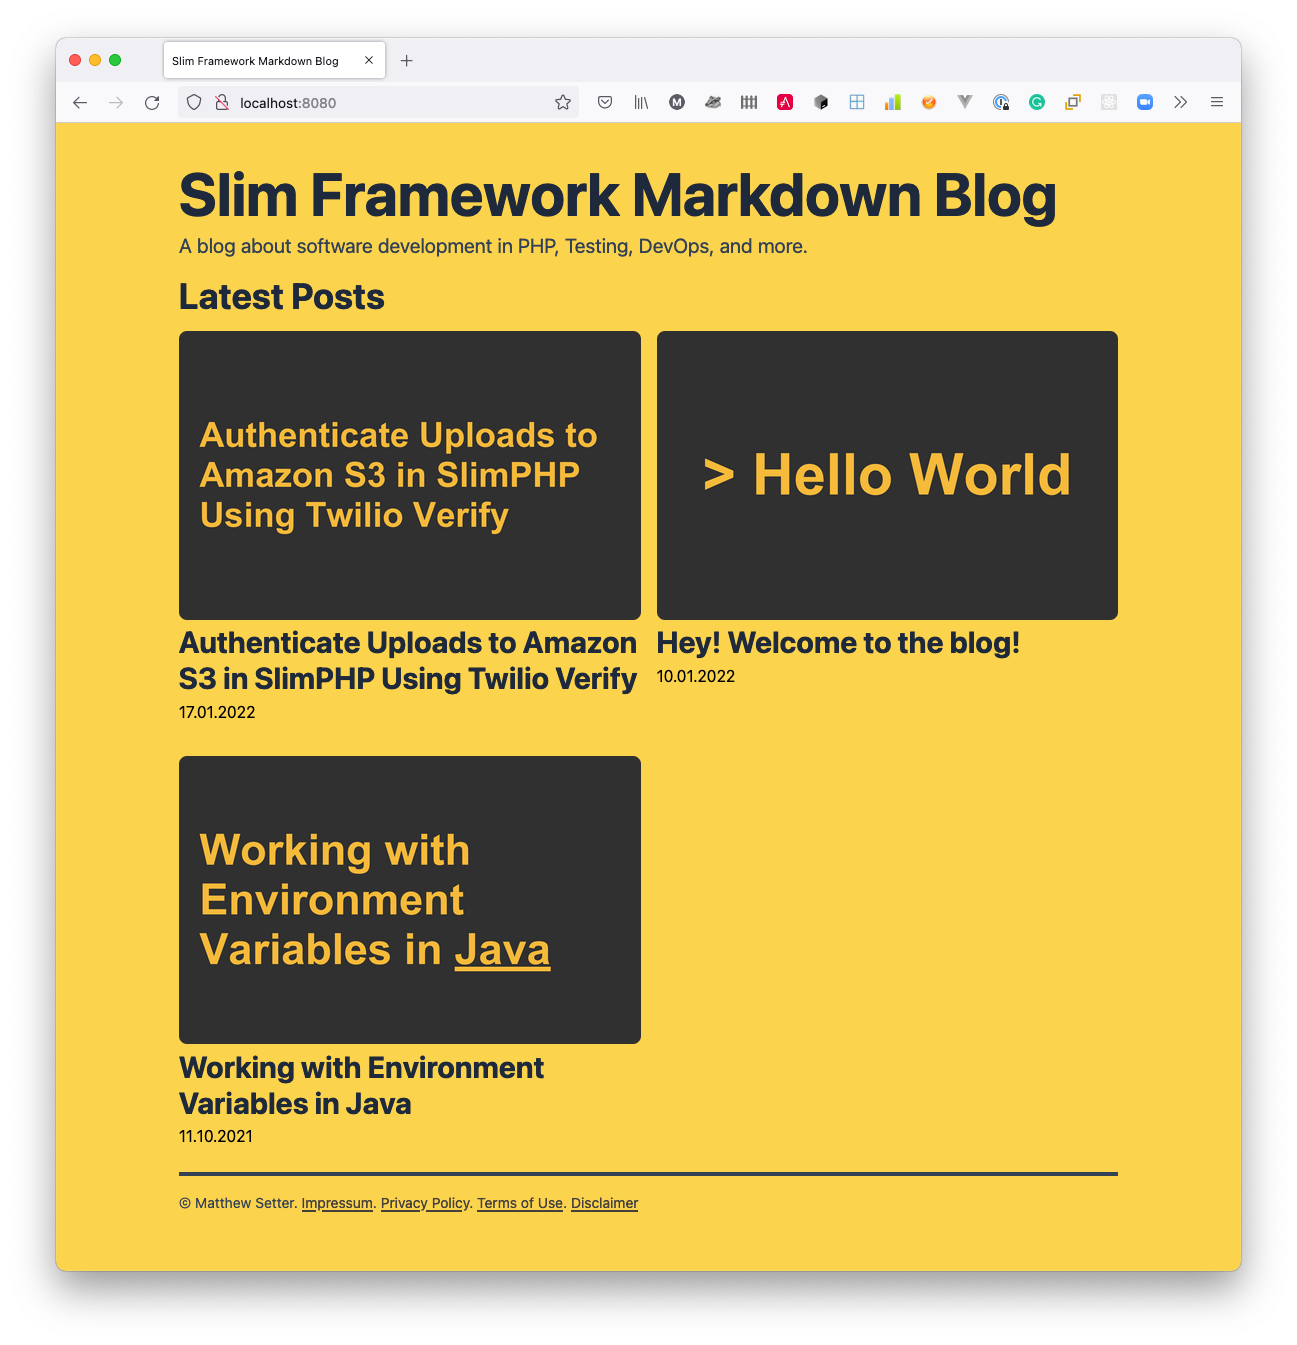
If you open the app again, you’ll see that no posts with publish dates in the future are now visible, as in the screenshot below.
That's how to create a Markdown blog with PHP
Using the Slim Framework, the Standard PHP Library (SPL), and two external packages, you've just learned how simple it can be to create a Markdown blog in PHP.
As it draws its content from Markdown files with YAML front-matter, you don't need to learn a new interface to use it. Rather, you can start writing your blog’s content straight away, just by storing Markdown files in the data/posts directory. Go forth, write, and enjoy.
If you'd like to see a complete version of the code, you can find it on GitHub.
One last thing. The Slim framework doesn't get as much attention as frameworks such as Laravel and Symfony — nor is it backed by a commercial organization. So if you use the Slim framework, please consider supporting it via Open Collective or Tidelift. You can also follow them on Twitter.
Matthew Setter is a PHP Editor in the Twilio Voices team and (naturally) a PHP developer. He’s also the author of Docker Essentials. When he’s not writing PHP code, he’s writing and editing great PHP articles here at Twilio. You can find him at msetter@twilio.com, Twitter, and GitHub.

Related Resources
Twilio Docs
From APIs to SDKs to sample apps
API reference documentation, SDKs, helper libraries, quickstarts, and tutorials for your language and platform.
Resource Center
The latest ebooks, industry reports, and webinars
Learn from customer engagement experts to improve your own communication.
Ahoy
Twilio's developer community hub
Best practices, code samples, and inspiration to build communications and digital engagement experiences.