How to Create a Restful CRUD API in PHP Using Laravel and Google Firebase
Time to read:
January 13, 2022
Written by
Reviewed by
In this tutorial, you will learn how to create a RESTful CRUD (Create, Read, Update, and Delete) API with Laravel that stores its data in a Firebase realtime database.
What is Firebase?
Google Firebase is a Google-backed application development platform that enables developers to develop iOS, Android, and Web-based applications. Firebase provides tools for tracking analytics, reporting and fixing app crashes, creating marketing and product experiments, and much more.
So, without wasting time, let us dive in.
Prerequisites
- PHP 7.4, though ideally 8.1.
- Composer installed globally.
- jq.
- Prior experience with Laravel.
- A text editor such as Visual Studio Code or an IDE such as PhpStorm.
- A Google account.
Install and set up the Laravel application
To begin, you first have to install a Laravel application and run it on your local development machine.
To do that, in your terminal, run the command below.
These commands generate the new Laravel application in a directory named laravel_firebase, and then change it into that directory, so that all future commands are run from there.
Next, start the application by running the command below in your terminal.
By default, Laravel projects bind to port 8000. So to view the running application, open http://127.0.0.1:8000/ in your browser of choice. It should look similar to the screenshot below.
Once you see that the application is working, press ctrl+c to stop the application.
Set up a Firebase database
To access Firebase in Laravel, you will first have to configure Laravel to support it. This is done by installing a Firebase package for Laravel, such as kreait/firebase-php, which also supports Lumen projects.
To install the package, run the command below.
Next, enable kreait/firebase-php's service provider by opening config/app.php and adding the following code in the providers element of the "Package Service Providers" section.
Connect to Firebase
Now that kreait/firebase-php's service provider is set up, we can create a new project in Firebase and connect it to our project, enabling us to add data to a database.
To accomplish that, we will complete the following steps:
- Create a new Firebase project.
- Create a service account.
- Get our project configurations and include them in our local Laravel project.
- Create a database.
Create project
To do that, go to your Google Firebase Console and click on the Add project button (which you can see below) which will bring up a dialog containing requirements to create a new project on Firebase.

In step one of the "Create a project" wizard, enter a project name, click the checkbox next to "I accept the Firebase terms", and click Continue. In step two, uncheck "Enable Google Analytics for this project" and click Create project. A little while afterward, your project will be created. When it is, click Continue.
Create a Service Account
To get your service account configuration, go to Settings (at the top of the left-hand side navigation bar) > Project settings and then select the Service accounts tab on the "Project settings" page.

When there, click on Generate new private key to download the JSON format of your service account key.
Add configurations
Now that we have our service account credentials downloaded, add it to the project's configuration. To do this:
- Create a new directory in storage/app named firebase and move the JSON file there.
- Add the following configuration setting to .env., replacing the placeholder with the name of the JSON file. For simplicity's sake, I renamed my JSON file to laravel-firebase-fec.json.
Create a database
We have gotten and included our service project, now to another important aspect which is creating a database so we can add, edit, and read data.
To start, in the main navigation on the left-hand side of the window, under Build click Realtime Database. Then, click on Create Database and you will see a dialog with a dropdown option to choose the country your database should be located in.
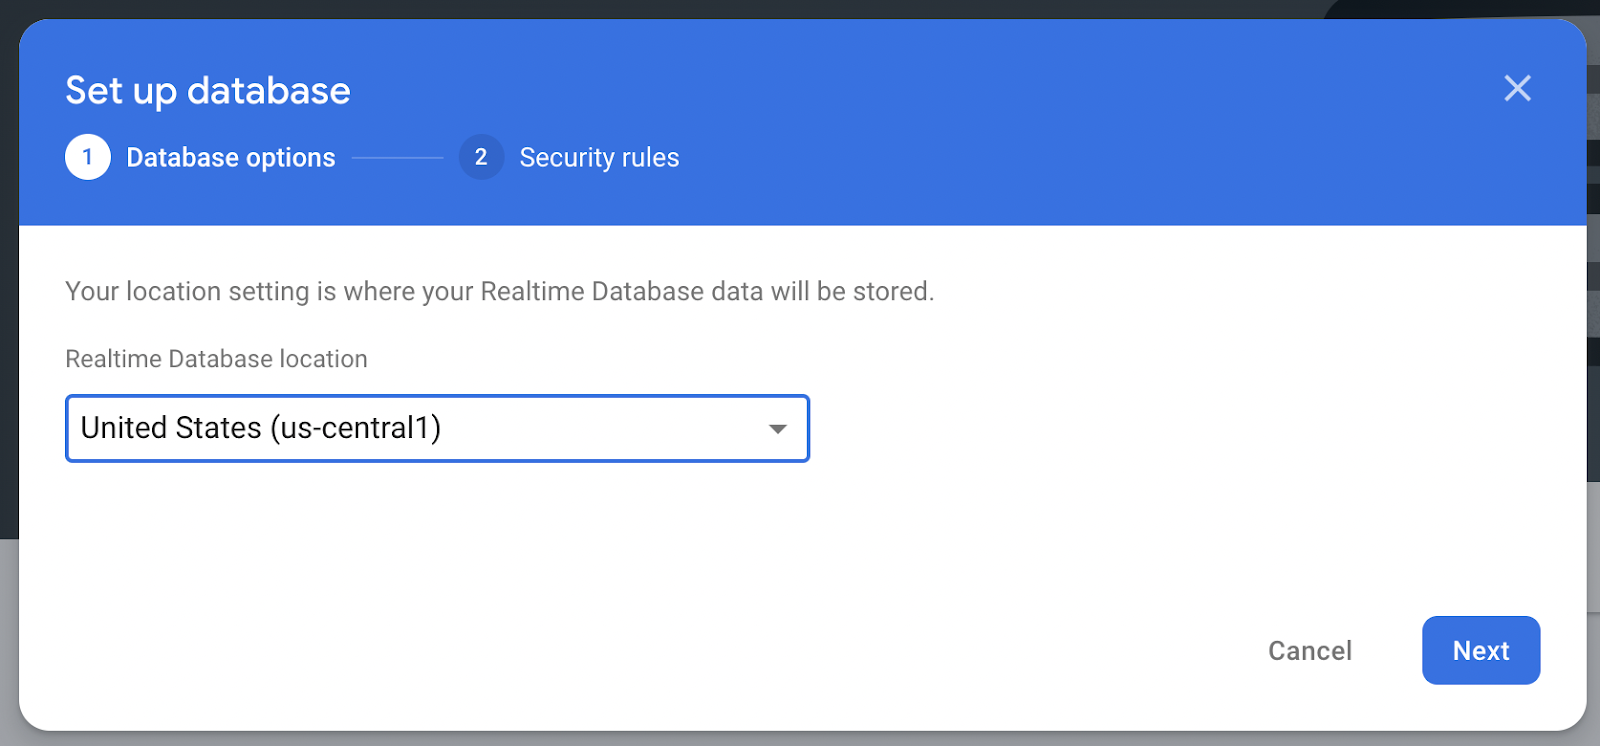
Select any one of the choices and click Next. Then, in the Security rules step, click Next.
When your database is done, click Rules and update the read/write permission to remain open for all time by changing the JSON to match the JSON below and click Publish.
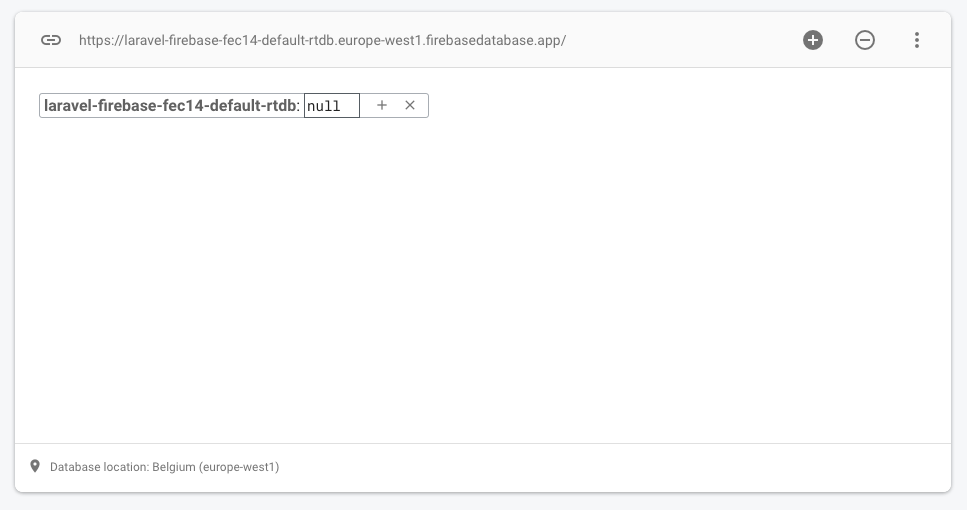
Next up, copy the configuration below to the bottom of .env.

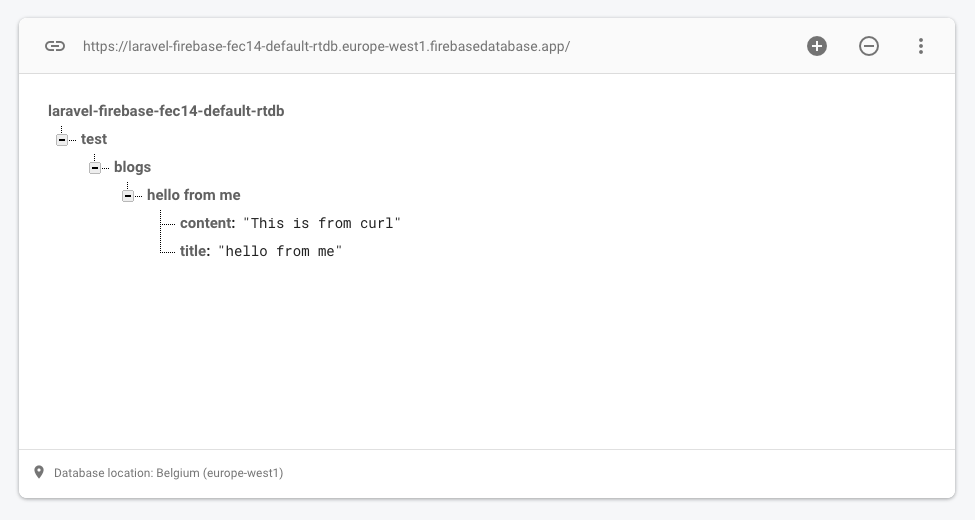
Then, open the Data tab, copy your database URL (highlighted in the screenshot above), and then paste it in place of the placeholder in the configuration that you just added to the bottom of .env.
Then you can go ahead and publish the configuration for your Firebase service provider by running the below code on your terminal
And that is it for setting up and using Firebase in our application.
Create a Firebase service
We will create a service class for Firebase that stores your credentials so we don’t have to repeat the process every time we want to make a request. To do that, in the app directory, create a new directory named Services. Then, in the Services directory, create a PHP file named FirebaseService.php.
Then, paste the following code into it.
The above code will make use of the credentials which were stored in .env, earlier.
Create the core controller
Now that we are done with setting up Firebase for our application, we can create a controller to connect to Firebase and make CRUD requests against it. In your terminal, run the following command to create a new controller, named App/Http/Controllers/TestController.php.
Then, add the following snippet to the top of the class. It initialises a new class member variable, named $database, which provides the connection to the Firebase database.
Add the ability to create records
Now, add the create function, below, to the controller. The function creates a new record in the Firebase database with the record data retrieved from the request parameters (title, and content).
Add the ability to list all records
Next, add the code below after the create function.
The function retrieves all records in the blogs table in the Firebase database, and returns them in a JSON response.
Add the ability to edit records
Like most databases, Firebase gives us the ability to edit existing data sets within a database, which the connection, created by Kreait, makes quite trivial. To do that, paste the edit function, below, after the existing index function in TestController.php.
The function retrieves a record from the blogs table in the database based on the title column. Then, using the returned object's update function, it updates the record's content, using the content details supplied in the request.
Add the ability to delete records
Another core aspect of CRUD requests is the ability to delete records. To do that using Firebase and Laravel add the delete function, below, to TestController after the edit function. The function deletes all records whose title matches the value supplied in the title query parameter.
Add the required routes
Next, we add routes for the read, update, create, and edit data functions which we've just defined in TestController.php to the application's routing table. To do that, open routes/api.php and add the following code at the end of the file.
Test the application
Now, it's time to test that the application works. To do that, we will be using Curl to test the individual endpoints we created to see the response and get the data it returns. Before we can do that, we need to start the application. To do that, run the command below.
Create a blog post
To test if you can create a new blog post, run the curl command below from a new terminal window.
On success, the command should return the response below.
Also, if you expand out the records in the database, you should see the new blog post details, similar to the screenshot below.
Update a blog post
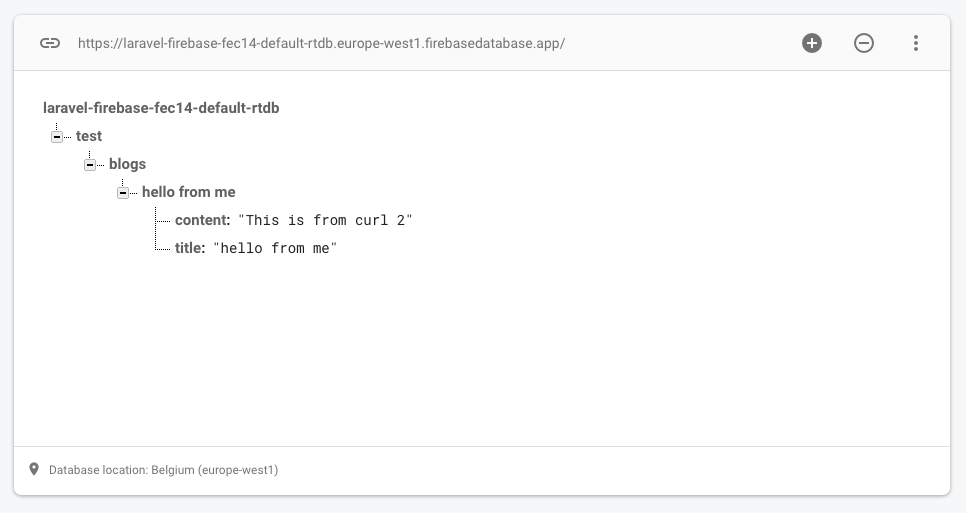
Now, let's test updating a blog post. To do that, run the command below. Feel free to change the title and content values to something different, if you prefer.
After running the command, if you expand out the database records again in the Firebase Console, you should see that they've been updated, similar to the screenshot below.
Retrieve all blog posts
To test retrieving all posts, we will use curl again to call the API to retrieve all the available blog posts, piping the response to jq, so that it's easier to read.
To do that, run the command below.
This will get all the posts added and returned as a JSON format in your terminal
Delete a blog post
Then we'll finish up by testing the ability to delete a post, by running the command below.
After the command completes, if you look at the database records again in the Firebase Console, you should see that they've been deleted, similar to the screenshot below.
That's how to build a RESTful CRUD API in Laravel backed by Google Firebase
In the tutorial, you learned how to create a new Laravel application backed by Firebase using the Kieait package. The application was able to access a host of Firebase's amazing services, in particular a real-time database. If you want a full codebase, you can fork the Github repository and customise it to suit your needs.
Kenneth Ekandem is a full-stack developer from Nigeria currently in the blockchain space, but interested in learning everything computer science has to offer. He'd love to go to space one day and also own his own vlogging channel to teach the next generation of programmers.


Related Resources
Twilio Docs
From APIs to SDKs to sample apps
API reference documentation, SDKs, helper libraries, quickstarts, and tutorials for your language and platform.
Resource Center
The latest ebooks, industry reports, and webinars
Learn from customer engagement experts to improve your own communication.
Ahoy
Twilio's developer community hub
Best practices, code samples, and inspiration to build communications and digital engagement experiences.