Custom Laravel 7 Email Verification with Twilio Verify and SendGrid
Time to read:
May 07, 2020
Written by
Reviewed by
This post is part of Twilio’s archive and may contain outdated information. We’re always building something new, so be sure to check out our latest posts for the most up-to-date insights.

When you allow users to register with your application without verifying their email addresses, you decrease the likelihood of being able to contact them again. If they’re allowed to sign up with an incorrect email address, there’s no guarantee that they’ll navigate to their profile and fix it later.
Email verification exists to correct this user experience flaw. When implemented correctly, email verification allows a user to sign up and receive a secure token sent to their email to confirm that they’re both real and have provided the correct email address.
By adding verification to any step of your user‘s journey, Twilio Verify allows you to fight fraud before it starts and verify users with email, SMS, or voice.
In this tutorial, you’ll be using Twilio Verify and SendGrid to override the default verification logic in Laravel and roll out your own system.
It’s important to note that Laravel comes with email verification built into its framework. Even though you don’t have to worry about rolling out your own solution, the verification logic in Laravel only works with a 3rd-party SMTP relay, such as SendGrid.
This is one of the reasons why using Twilio Verify to provide a developer-friendly, secured solution for verifying users via their email addresses is a great idea. If you’re going to need a 3rd-party SMTP provider, why not use one that comes with a verification service?
Prerequisites
In order to complete this tutorial, you will need the following:
- A Twilio & SendGrid Account (Sign up with this link and receive an additional $10 credit.)
- Composer globally installed
- The Laravel installer
Create a Laravel Application
You’ll first need to install a new Laravel application locally. The Laravel installer will help us expedite the installation. Run the following command:
Enable Laravel Authentication
As of version 6, Laravel has decoupled the registration scaffolding from the core framework. Adding it only requires two commands. Run the following commands to implement user registration:
Setup Database for Registration
Before you can register users, you need to ensure that your database is set up to record their data. Open your .env file in the project directory and update the following values to match your database credentials:
Now that your database credentials have been updated and the authentication scaffolding is in place, you can run the migration to generate the necessary tables.
Start the Laravel Application
Now is a good time to view your Laravel installation. Using the artisan command, start the Laravel application by running the following commands:
If Laravel is configured correctly, you should see the default homepage, like the one shown in the following screenshot:
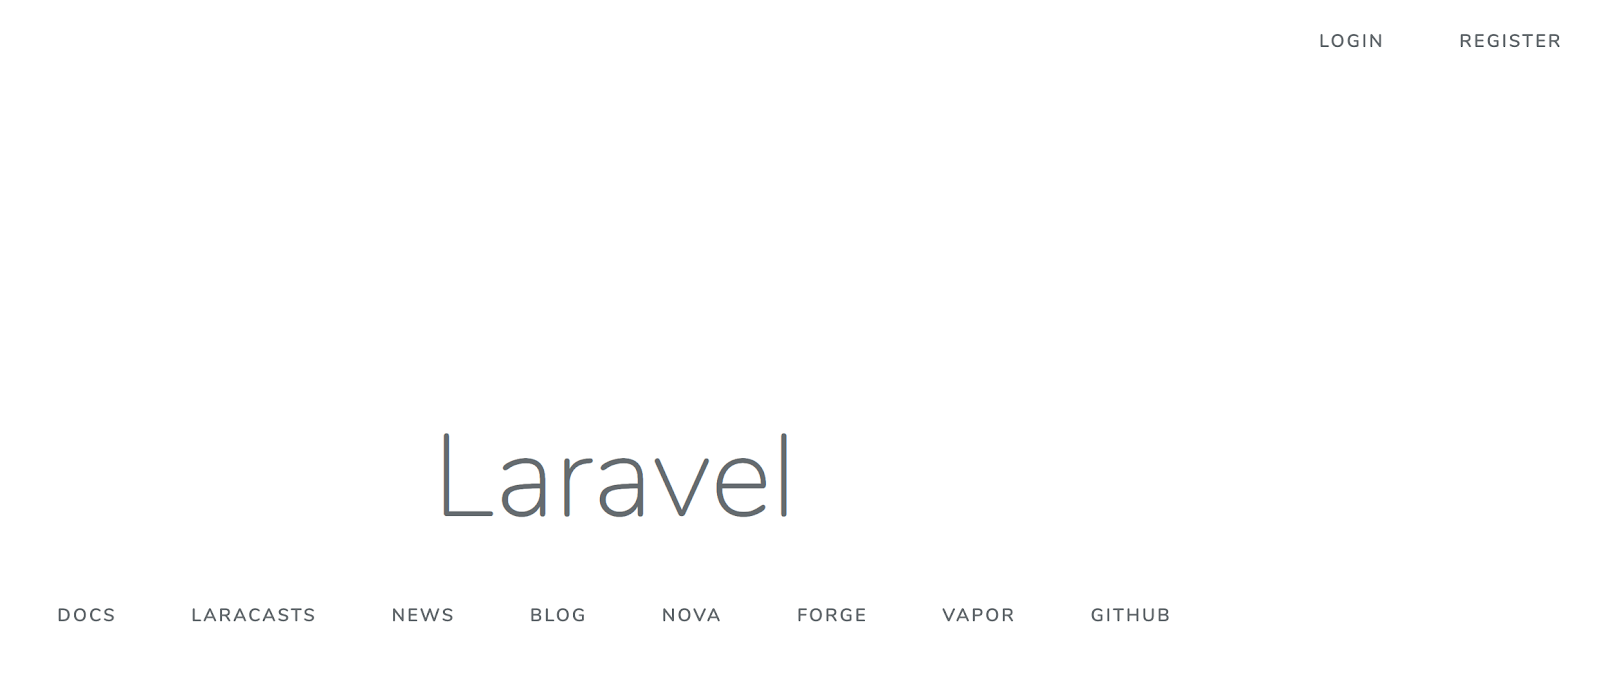
You should now be able to view your Laravel application at http://127.0.0.1:8000/
Add Email Verification
Laravel can provide email verification by wrapping each request for user data with the MustVerifyEmail contract. By default, this logic is not enabled in your application.
To add email verification, open app\User.php and change your class declaration to match the following, specifically MustVerifyEmail:
Every authentication route now needs to check whether or not a user has been verified. Open routes\web.php and replace the following:
The changes above enable verification on each authentication route and force the user to be verified before they can access the dashboard.
By default, Laravel’s verification logic is going to look for a sending email address to attempt to deliver the verification email. Open your .env file and add your “From” address to the following variable:
NOTE: You will not receive an email because, at this point, an SMTP mail service has not been added to your Laravel application. If you would like to learn more about sending email in Laravel using the Mailer class, you can learn here.
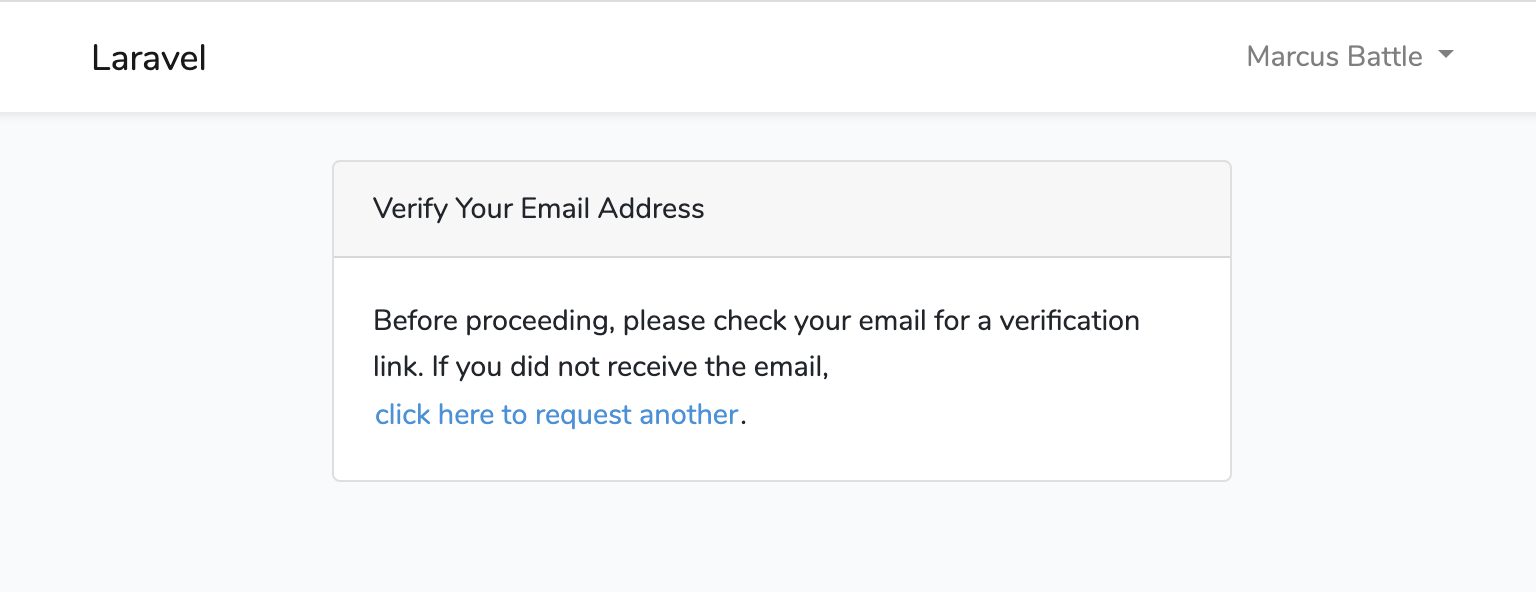
Take a moment to test the logic you just created. Navigate to http://127.0.0.1:8000/register and register a new user. As noted above, you will not receive an email, but you will notice that you are being prompted to check your email for a verification link.
Now that email verification has been activated, you are ready to implement Twilio Verify.
The next few steps will:
- Create a Dynamic template in SendGrid to send to new users
- Create a Twilio Verification service to use in place of Laravel’s default logic
Create a SendGrid Key
You will need an API key to authenticate each request you make to SendGrid’s servers. Navigate to the SendGrid API Keys dashboard to create a new key with Full Access if you don’t already have one available.
Save the generated key to a secure location as you will need it later.

Set up Domain Authentication
Domain authentication shows email providers that SendGrid has your permission to send emails on your behalf. This is a major step towards increasing email deliverability as each email is authenticated with your domain name, which builds trust with email service providers and decreases the likelihood of your message being filtered as spam.
You can set up domain authentication on the SendGrid console.
For a more detailed explanation, SendGrid has created a tutorial, “How to set up domain authentication”.
Create a Dynamic Email Template
Now that your domain is authenticated, you are ready to set up the verification service. The first requirement is to create the dynamic email template that will be sent to your users.
In your SendGrid account, navigate to the Dynamic Templates screen and select the “Create a Dynamic Template” button.
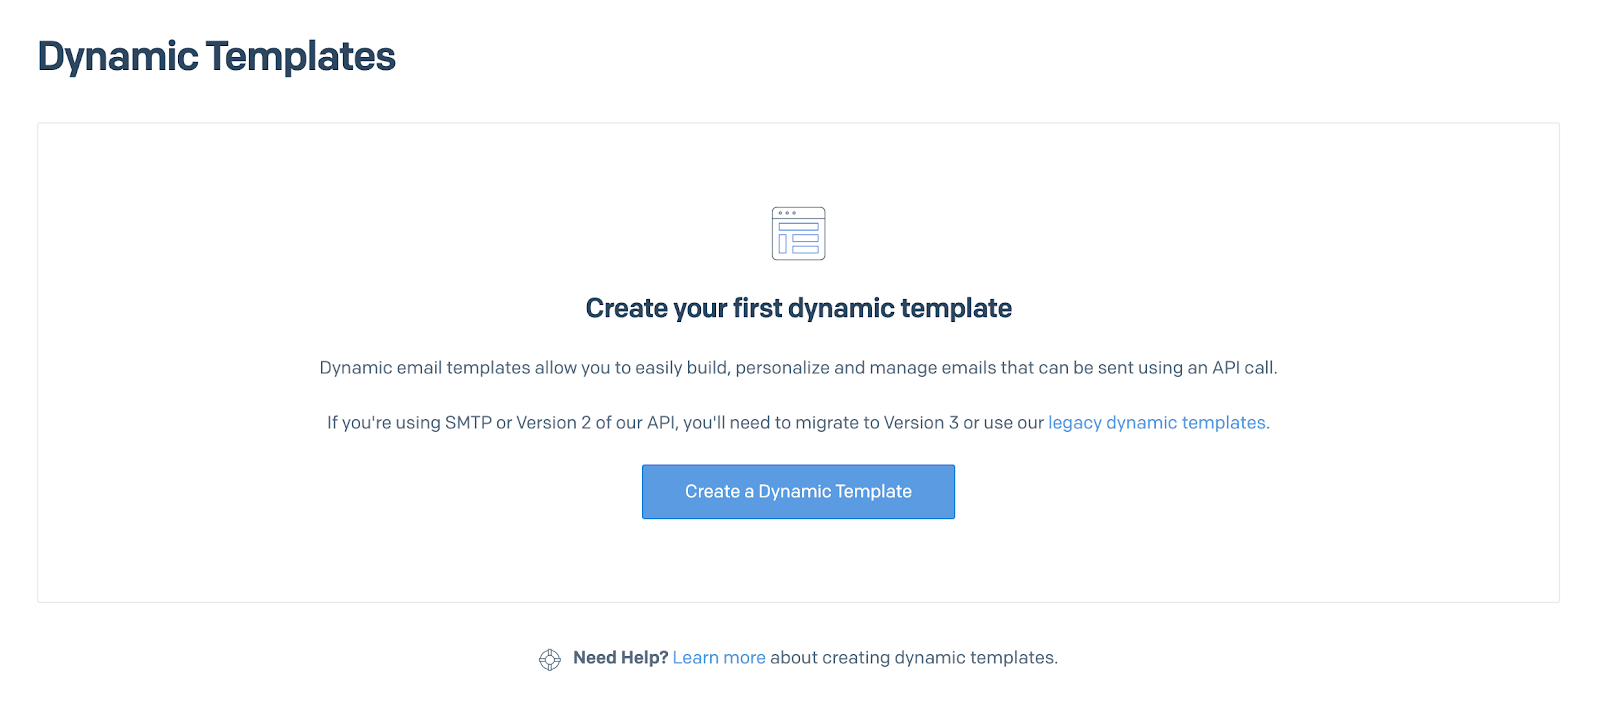
Name your template “Email Verification” and select the newly created row to reveal the Template ID. Copy the value and save it in a secure place for later.

After the template has been created, you will need to add the contents by clicking on the “Add Version” button as shown below.

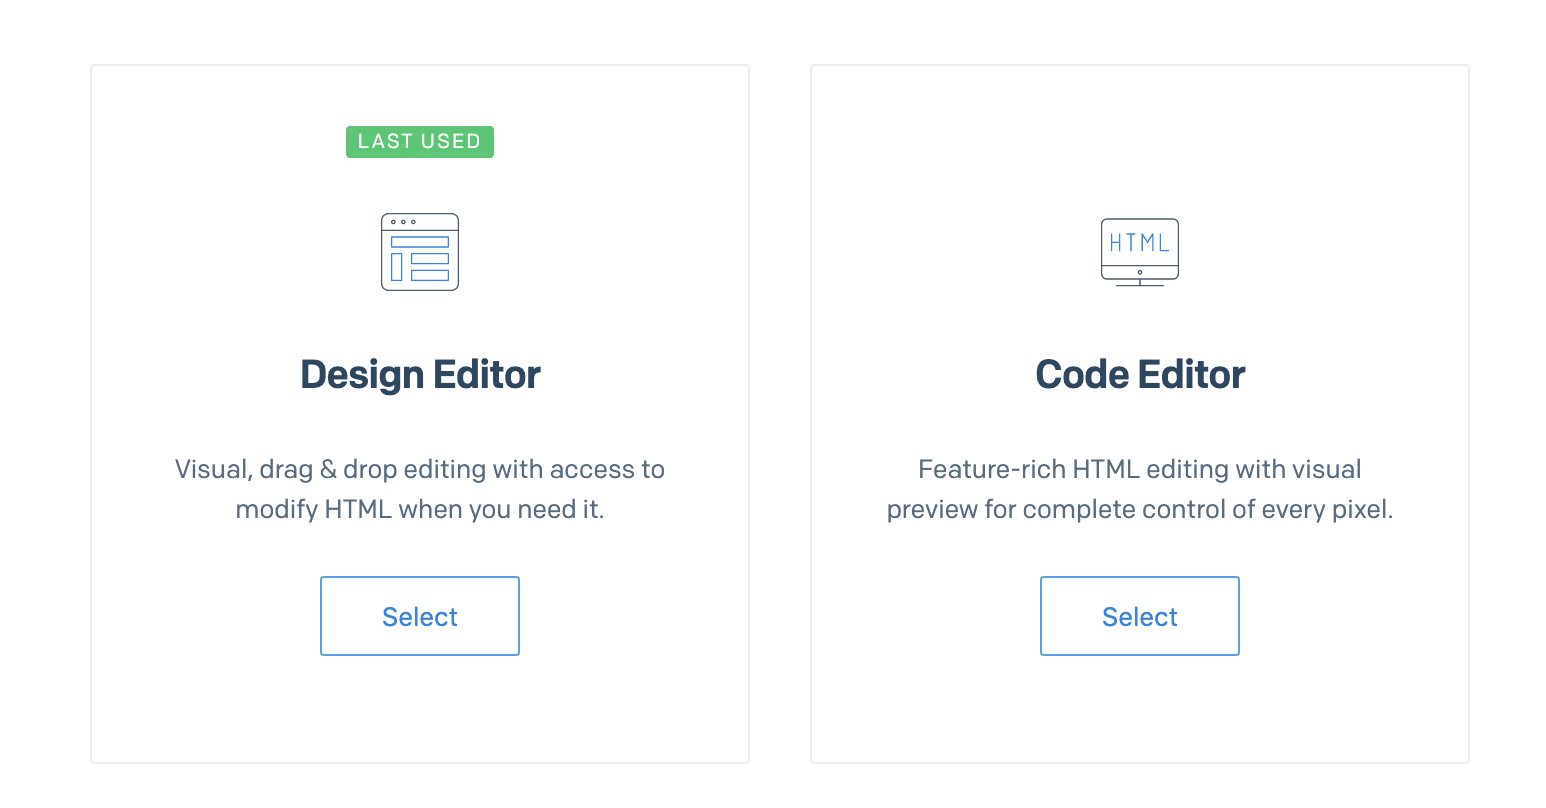
This action will redirect you to the menu to “Select a Design”. Choose “Blank Template” followed by “Code Editor” to insert custom HTML as the design template.
Copy and paste the following code into the editor as shown in the screenshot below:
NOTE: You will need to replace the localhost URL with your production one upon deployment.
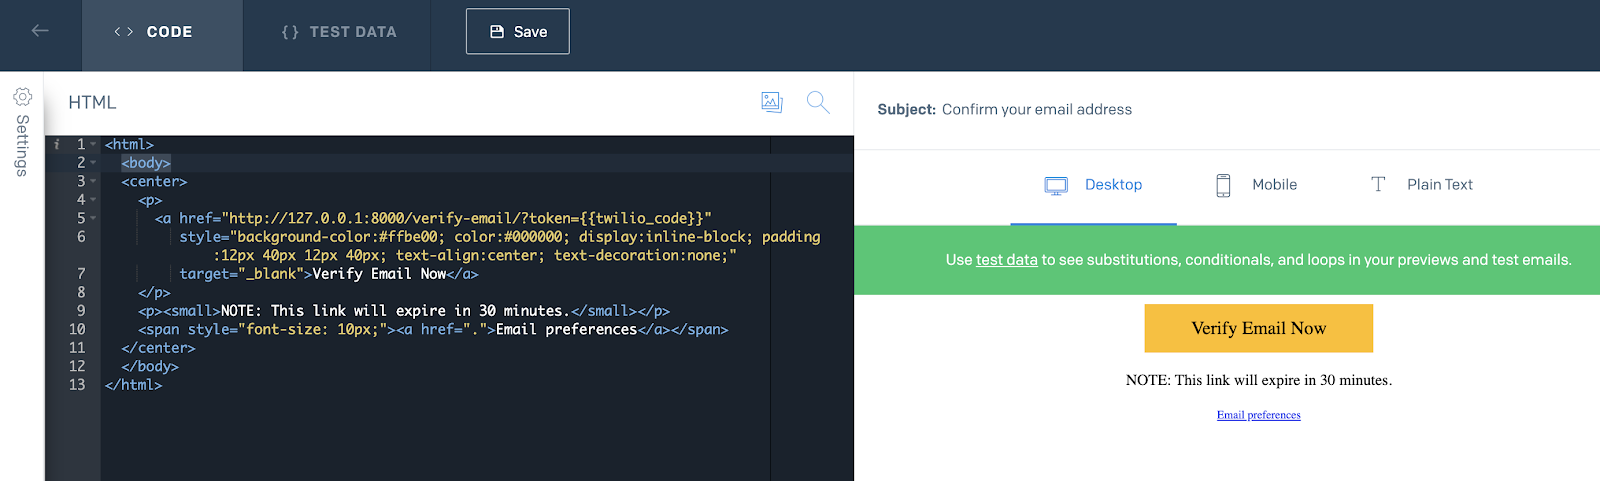
Observe that the mustache template {{twilio_code}} will be replaced dynamically with the verification code automatically generated by Twilio Verify.
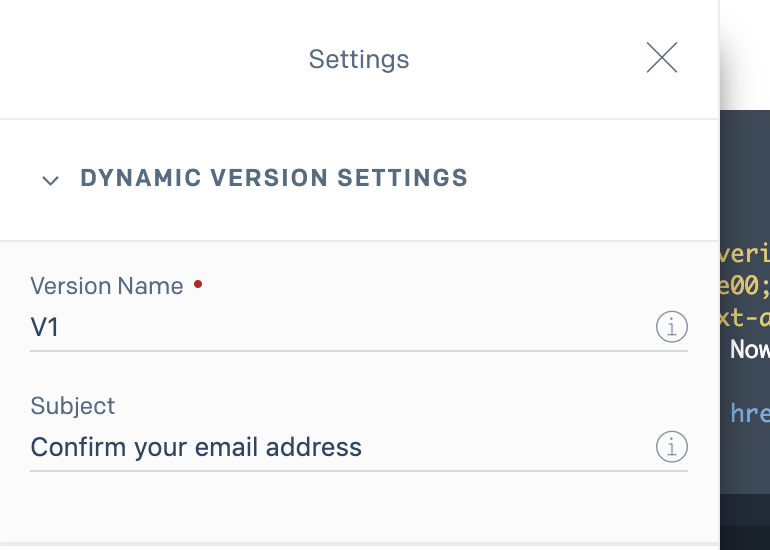
Expand the “Settings” tab to define the Version Name and email Subject. Label them as “V1” and “Confirm your email address” respectively.
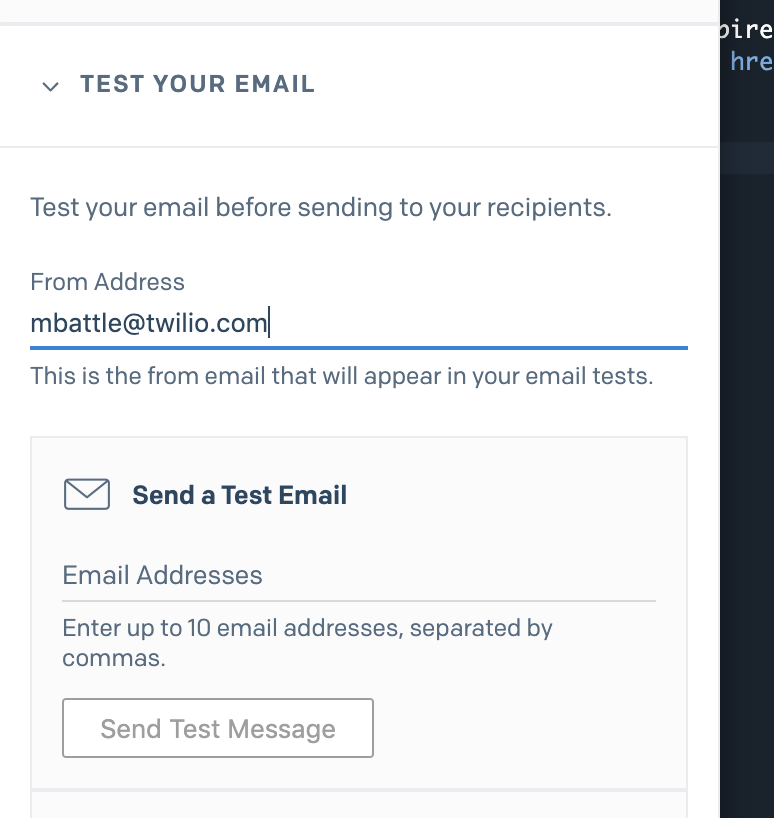
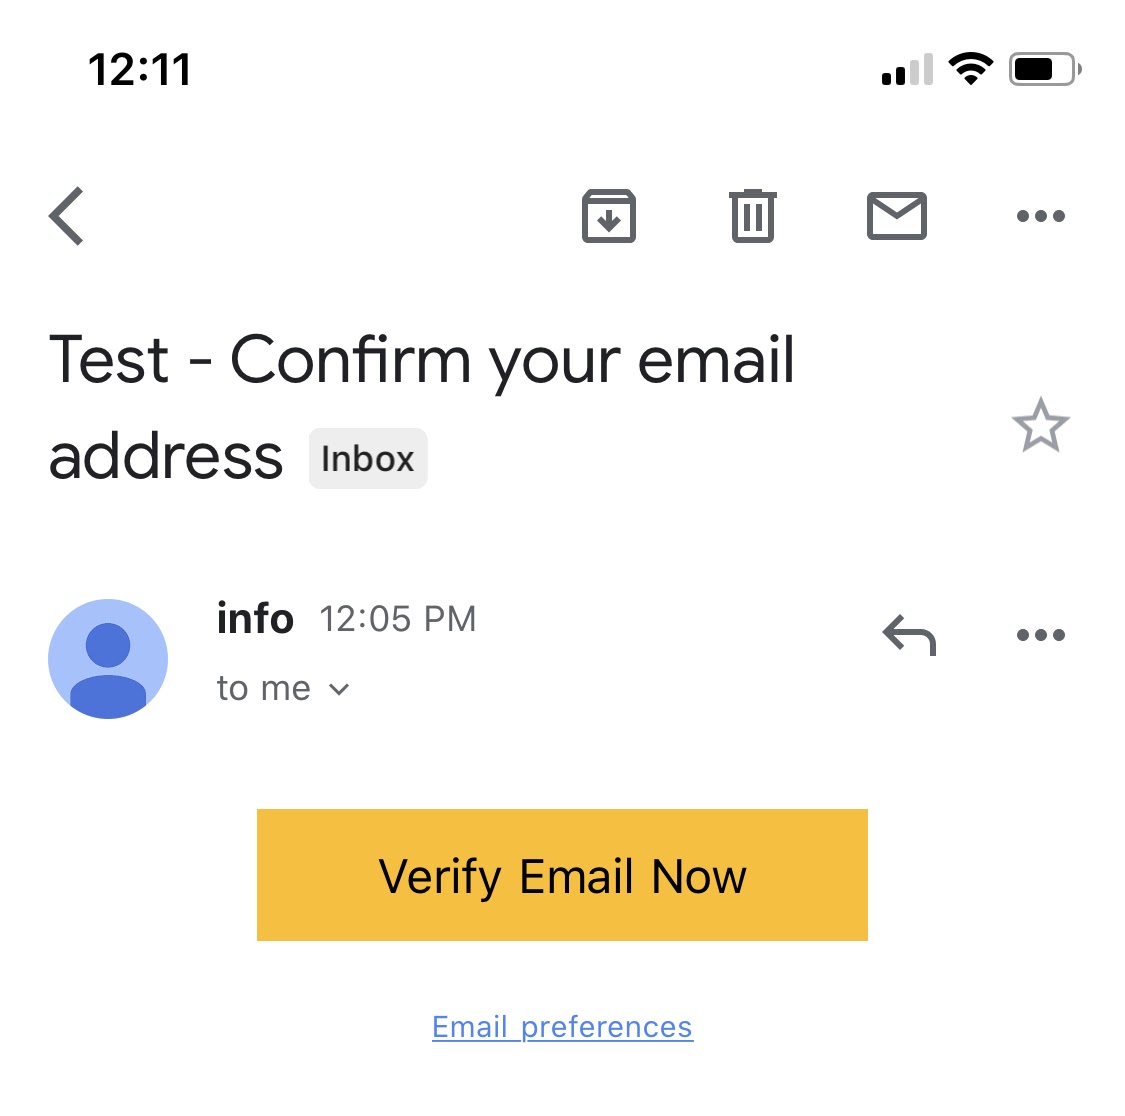
Save these settings, expand the Test Your Email section and send a test message.
Create a Twilio Verify Service
The template you just created will not work by itself. It needs what Twilio calls a “verification service” to be sent to the user.
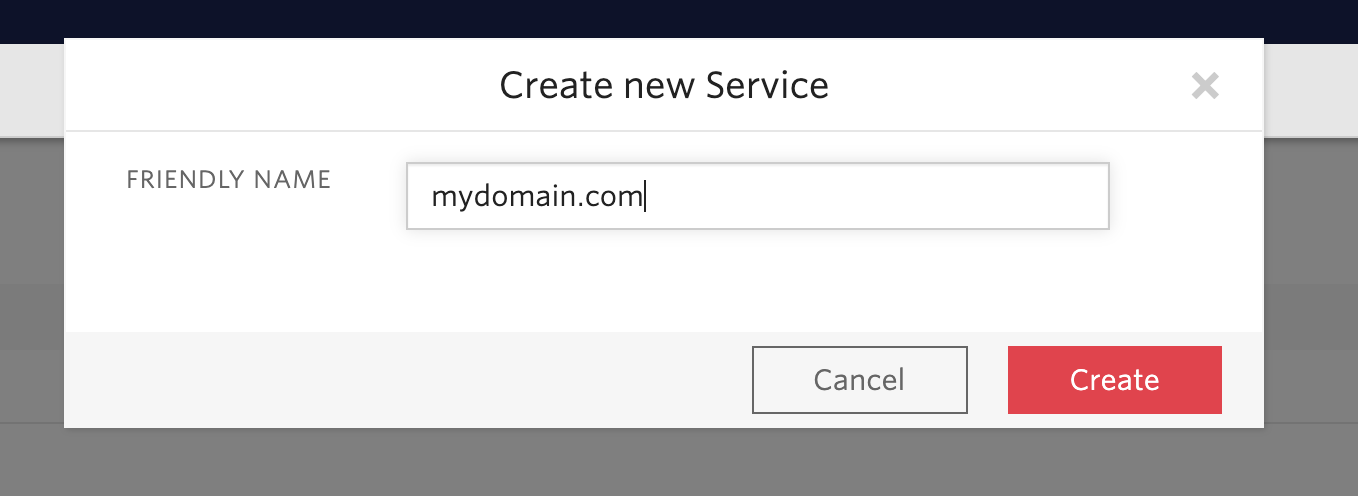
Create a new Twilio Verify service and define the Friendly Name as your website name.
Create an Email Integration
Now that the verification service has been created, you will need to define the type of integration your application will use. Twilio Verify supports fighting fraud via SMS, phone, and email. As noted earlier, you will be creating an email integration.
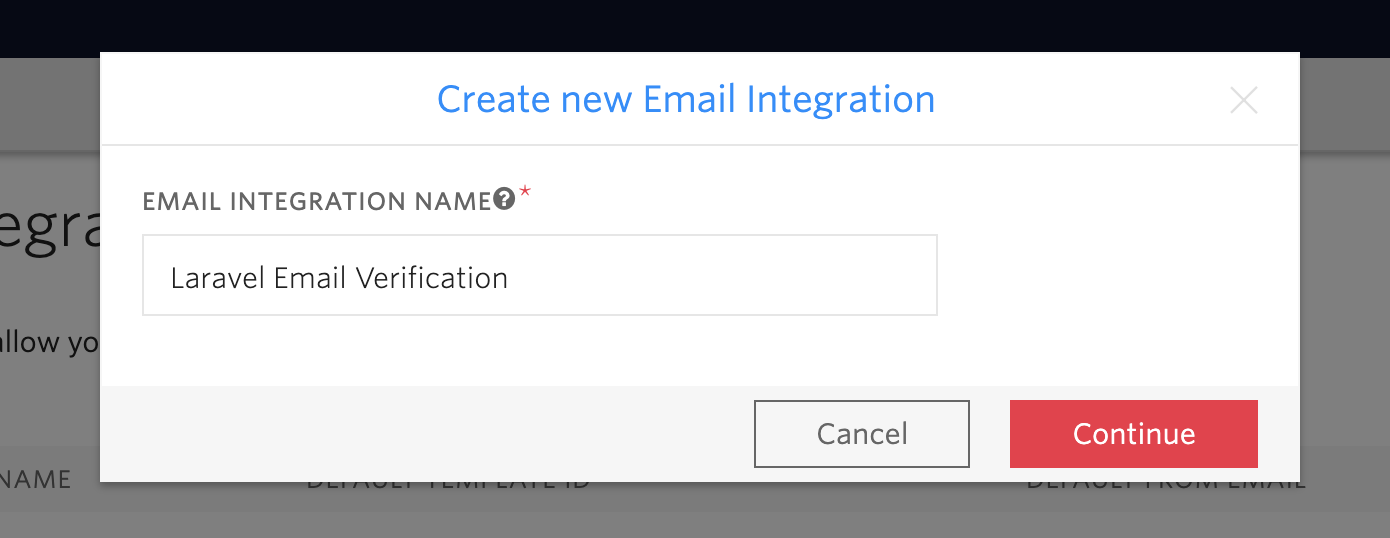
Create a new Twilio Email Integration and define the Email Integration Name as “Laravel Email Verification”.
You will now paste the SendGrid API key and Dynamic Template ID previously saved, along with your email address and name into the corresponding fields as shown in the screenshot below:
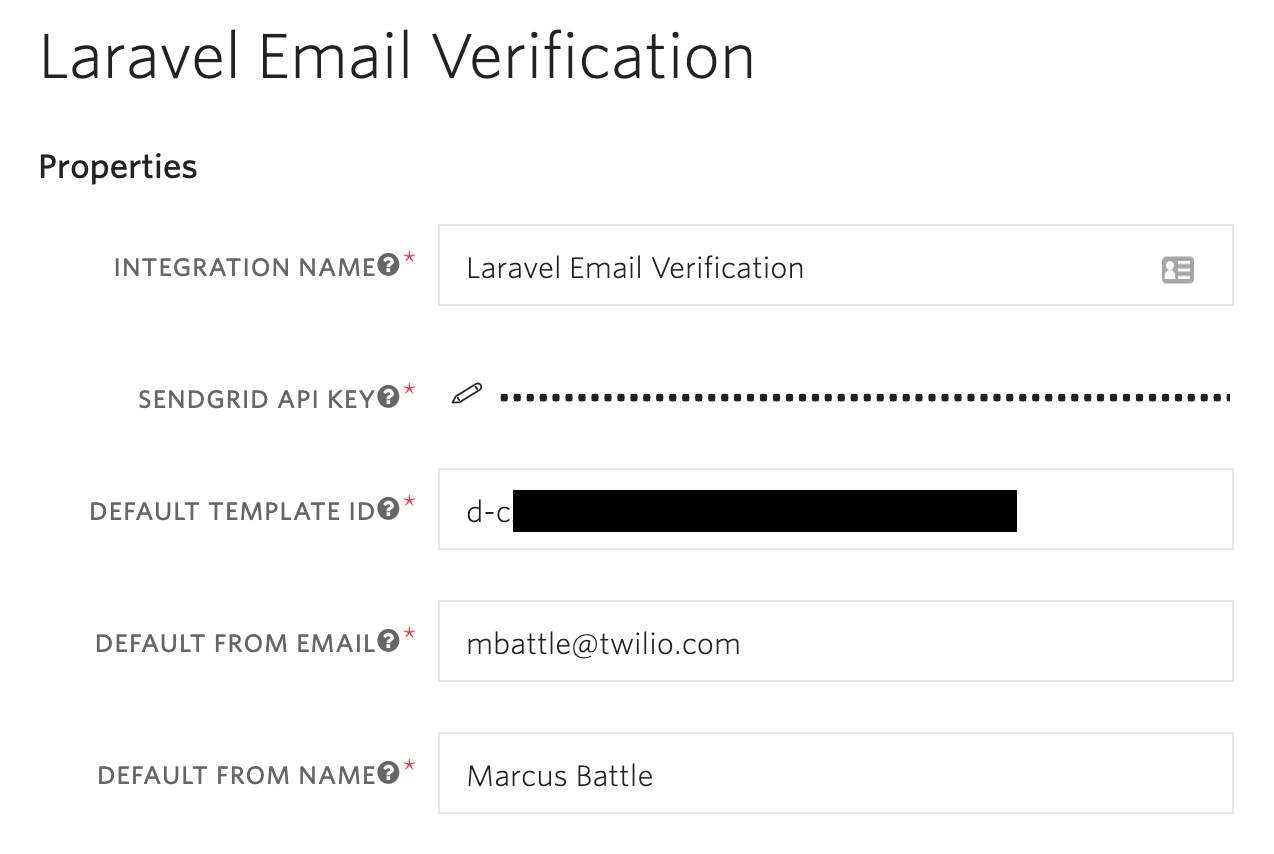
NOTE: The “Default From Email” has to be an email address verified in your SendGrid account during domain authentication.
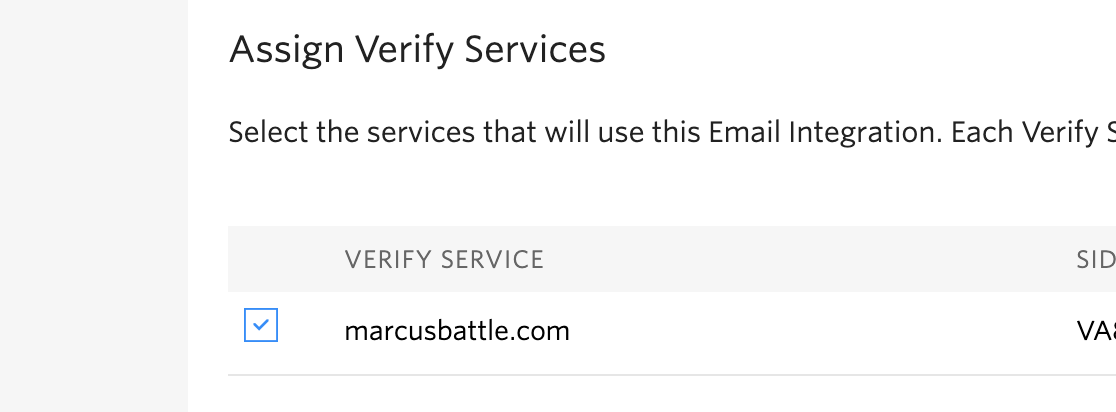
After completing the form, the integration has to be assigned to a Verify service. Select the Verify service that will use the integration, and save.
Add Your Twilio Credentials
Your Twilio credentials need to be added to the application so that the Twilio SDK can sign off on each request. This is possible by using environment variables to securely store them outside of version control. Open the .env file and
If you’ve misplaced them, your Twilio Account SID and Auth Token can be retrieved from the console.
Now you’ll prepare to use these credentials by adding the Twilio PHP SDK to the application. Run the following command:
Override the MustVerifyEmail Contract
Earlier you implemented the MustVerifyEmail contract on the User model. If you’re unfamiliar, contracts are a set of interfaces that define the core services provided by Laravel.
One of the methods that this interface provides is SendEmailVerificationNotification(), which is triggered by a POST request to /email/verify or /email/resend. Essentially, this method is called every time a user successfully submits the registration form or resets their password.
In order to override the default logic, you need to implement a custom SendEmailVerificationNotification() method in the User model.
Open up app/User.php and add the following code:
The code above will replace the default logic by using your Twilio credentials to request a new verification email to be sent to the currently authenticated user.
Lastly, define the following namespaces above the class definition:
Create a Verification Endpoint
Once the verification email has been sent to the authenticated user, your application will need to process the generated verification code.
All verification links will be routed to /verify-email/?token=CODE. Currently, this endpoint does not exist so you will need to create it.
Open the VerificationController at app/Http/Controllers/VerificationController.php and add the following code:
Next, define the following namespaces above the class definition:
Lastly, define the route in routes/web.php:
This will create the endpoint http://127.0.0.1:8000/verify-email.
Testing
You are now ready to test the email confirmation logic. If your application isn’t running, open your terminal and run php artisan serve.
Navigate to the /login route and sign into your account.
Once prompted with the verification notice, click “click here to request another” and check your email.

Click the “Verify Email Now” button. If verification is successful, you will be redirected to http://127.0.0.1:8000/home.

Conclusion
Congratulations! You have successfully replaced the entire Laravel email confirmation process with your own custom, secure solution.
If you would like to extend this further, I would recommend looking into also using SMS and voice verification during the login/registration process.
Marcus Battle is Twilio’s PHP Developer of technical content where he prompts and rallies PHP developers to build the future of communications. He can be reached via:
- Email: mbattle@twilio.com
- Twitter: @themarcusbattle
- Github: https://github.com/themarcusbattle


Related Resources
Twilio Docs
From APIs to SDKs to sample apps
API reference documentation, SDKs, helper libraries, quickstarts, and tutorials for your language and platform.
Resource Center
The latest ebooks, industry reports, and webinars
Learn from customer engagement experts to improve your own communication.
Ahoy
Twilio's developer community hub
Best practices, code samples, and inspiration to build communications and digital engagement experiences.