How to Customize a Joomla Extension for SMS Chat
Time to read:
December 19, 2018
Written by
This post is part of Twilio’s archive and may contain outdated information. We’re always building something new, so be sure to check out our latest posts for the most up-to-date insights.

In the article Add a Click To Call Button & SMS Chat to Your Joomla Site, I presented a ready-to-use extension, XT Twilio for Joomla to implement a simple communication channel on a website. The basic extension sends SMS messages (or supports a Click2Call workflow) between users and the sales area.
In this tutorial, I’m going to introduce how to solve a practical requirement of a real-world project; the need to add a first name field (and other fields) to the Contact by SMS module.
You will need a basic website configuration:
- Local installation of Joomla (preferably version 3.8 or superior). The full detail of CMS requirements can be found here.
- PHP 5.5 or superior. PHP 7.2 is highly recommended.
- MySQL 5.1 or superior. MySQL 5.5.3 + is recommended.
- A PHP development environment (only if you plan to develop your own extension).
- Optional: NodeJS is only required if you plan to pack your own extension with Webpack.
The source code of the extension we’ll be modifying can be found in this repository: https://github.com/anibalsanchez/XT-Twilio-for-Joomla/releases/tag/1.0.0
Add the Field to the Contact by SMS Module
To add the first name field in the form, we’ll modify the files that implement the Contact by SMS module. The XT Twilio for Joomla extension should be installed inside of your modules folder at modules/mod_xttwilio_sms. If you don’t have it installed, please follow the installation instructions here.
In the module template located at modules/mod_xttwilio_sms/tmpl/default.php, add the first name field by adding the following code inside of the <form> tag:
The input has two translation keys: MOD_XTTWILIO_SMS_FIRSTNAME_LABEL and MOD_XTTWILIO_SMS_FIRSTNAME_PLACEHOLDER. To translate them into English, I have added them in the file language/en-GB/en-GB.mod_xttwilio_sms.ini. Add the following setting to that file:
The Ajax Communication
The front-end functionality must be supported by a backend element to manage the communication with Twilio. This is a schema of the implemented organization between the front-end modules and Twilio:

To communicate the first name to the backend, the field is added to the ajax communication located in media/mod_xttwilio_sms/js/mod_xttwilio_sms.js.
To receive the new field in the form and complete the Ajax communication, the new parameter is added to the plugin file onAjaxSendSMS() located in pugins/ajax/plg_ajax_xttwilio/xttwilio.php.
NOTE: To be recognized by the module, you’ll need to minify mod_xttwilio_sms.js.
Next we’ll add the class variable $firstname and modify the initialize() and onAjaxSendSMS() method as shown below. This will allow the first_name parameter to be discoverable by the class.
Finally, the new parameter is added to the SMS message in the sendSms() function of the helper file libraries/src/Infrastructure/Service/Twilio/SMSHelper.php. Add the updated code below to your file. Be sure to include the PARAM_FIRST_NAME in the class properties.
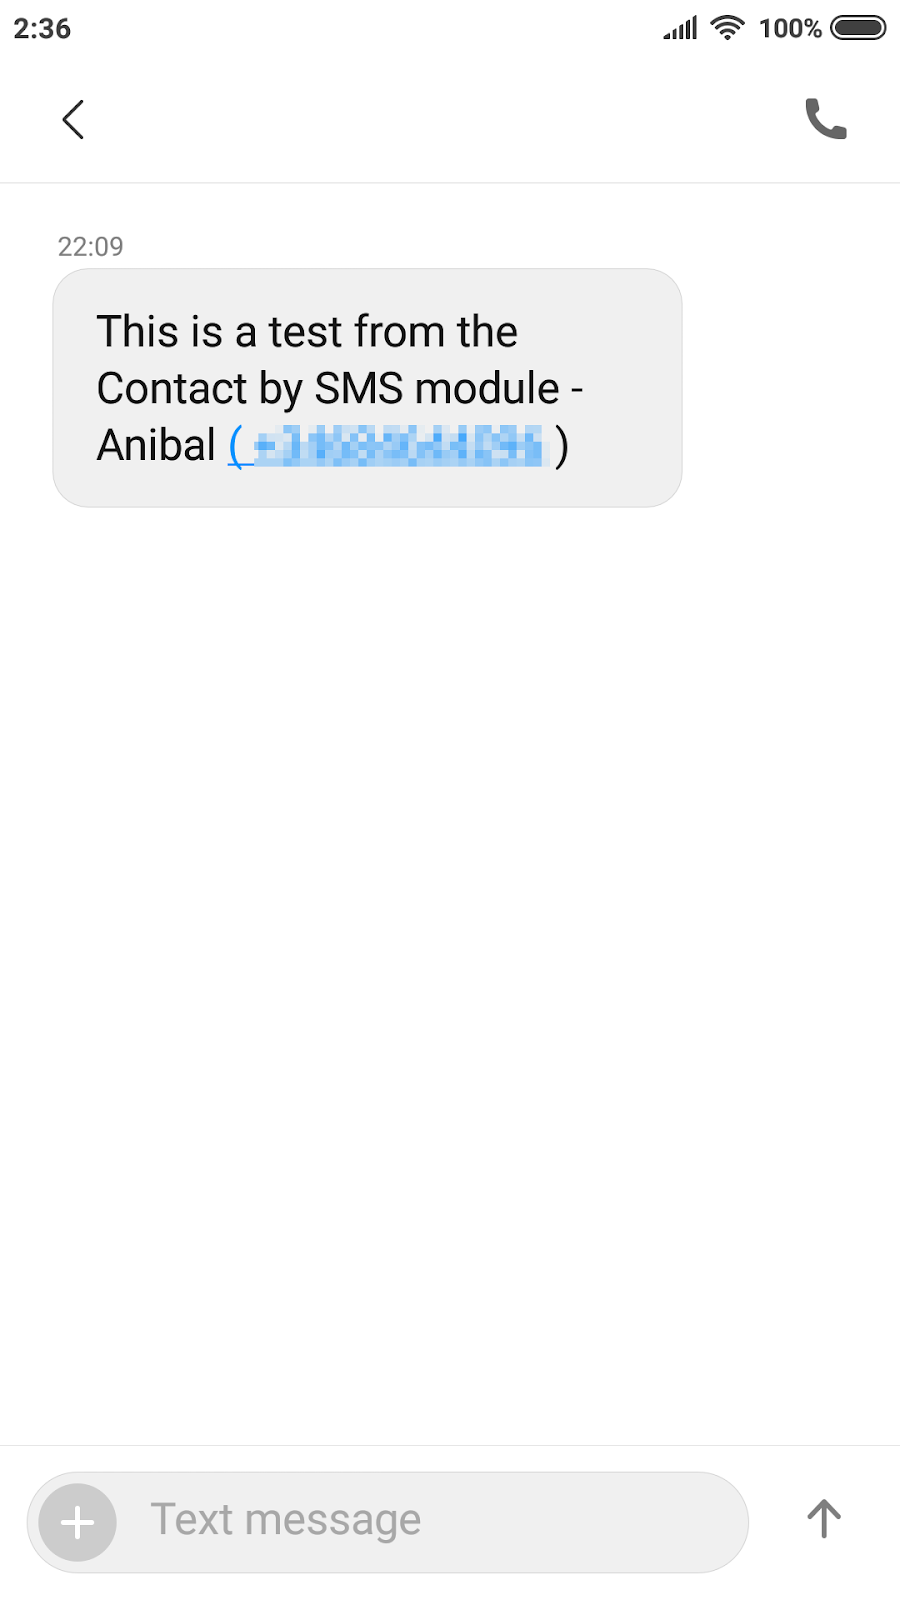
Test the First Name Field
Similarly to the steps of the previous article, you must install the modified version of the extension, and complete the steps to send an SMS.
- Step 1 - Install the extension: I have already created the new version with the modification. You can download it for testing from here: https://github.com/anibalsanchez/XT-Twilio-for-Joomla/releases/tag/1.1.0
- Step 2 - The Twilio Account Configuration: After you complete the configuration to send SMS messages, you are going to have the following information:
- Account SID
- Auth Token
- Twilio Phone Number
- Step 3 - Configure the account in the Ajax plugin: In the plugin, you must configure the previous credentials, Twilio’s phone and the Salesman Phone Number (who is going to receive the SMS messages).
- Step 4 - Configure the module to contact customers by SMS: To configure the module from the Joomla admin menu, navigate to Extensions > Module > Twilio for Joomla - Contact by SMS module.
- Finally, visit the page, where you have published the module, and send an SMS.
Next Steps
Based on this initial version of a Twilio implementation for Joomla, a world of possibilities is open. In this tutorial, I have explained in detail how a field can be added to the extension.
Now, we are ready to build on top of the current code base. We can continue adding more enhancements to the current modules, or we can add more Twilio channels and management features to improve the customer contact experience to support the full business case.
To the moon!
References
- XT Twilio for Joomla in the extension directory (JED)
- Source code repository: https://github.com/anibalsanchez/XT-Twilio-for-Joomla
- Twilio PHP SDK
- Webpack-automated build files for Joomla! extensions: https://github.com/anibalsanchez/extly-buildfiles-for-joomla
- Joomla! (https://www.joomla.org) is an award-winning content management system (CMS), which enables you to build websites and powerful online applications.
About Anibal
Anibal Sanchez is a technology geek, with a pinch of an entrepreneur. Aníbal is the team leader of Extly Tech. He helps businesses in rapid web development, implementing DevOps processes, quality assurance practices and project management methodologies. Anibal contributes to the Joomla! community as a member of the Leadership Team, JED’s Assistant Manager and Joomla! Magazine author.
Related Resources
Twilio Docs
From APIs to SDKs to sample apps
API reference documentation, SDKs, helper libraries, quickstarts, and tutorials for your language and platform.
Resource Center
The latest ebooks, industry reports, and webinars
Learn from customer engagement experts to improve your own communication.
Ahoy
Twilio's developer community hub
Best practices, code samples, and inspiration to build communications and digital engagement experiences.