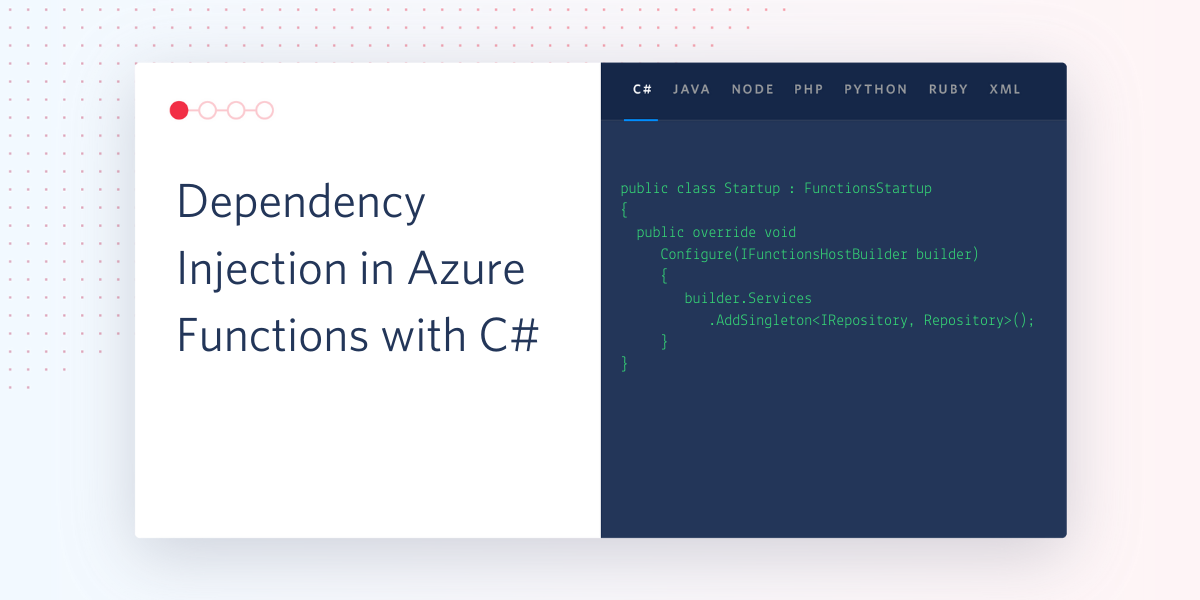
Dependency Injection in Azure Functions with C#
Time to read: 3 minutes

One of my favourite features of Azure Functions v2 and above is the ability to include a Startup class. Why is this cool you may ask? Well, it means that you can use .NET Core's built-in Dependency Injection (DI). This then means that project architecture can look remarkably like ASP.NET Core web apps. DI also makes testing easier as dependencies can be mocked. In this post, I'll show you how you can quickly add DI to an Azure Function.
Note: Azure Functions v3.0 became GA in January 2020. This means that you can now use .NET 3.1 and Node 12 in your Azure Functions. They still don't support the newSystem.Text.Json but that should come in time.
If you would like to see a full integration of Twilio APIs in a .NET Core application then checkout this free 5-part video series I created. It's separate from this blog post tutorial but will give you a full run down of many APIs at once.
Adding a Startup class to an Azure Function
Start with an existing Azure Function project or create a new project from the CLI/IDE. You can choose any type of Function but for ease, I would use an HTTP Trigger Function as it will be easier to test.
If you are using .NET Core 3.1, it's worth checking that your new function is set up correctly in the .csproj file.
- The
TargetFrameworkshould benetcoreapp3.1 - The
AzureFunctionsVersionshould bev3and - The
Microsoft.NET.Sdk.Functionspackage should be version3.0.3or above
We will need to include a "Microsoft.Azure.Functions.Extensions" nuget package. You can add this using the package manager or you can add <PackageReference Include="Microsoft.Azure.Functions.Extensions" Version="1.0.0" /> to the <ItemGroup> node in the .csproj.
In the root of the project, add a new file called "Startup.cs". The default code in the new class should look similar to the code below, only with a namespace equal to the name of your project.
The next few lines of code added is the most easily forgotten but they are essential to ensuring that your project uses the code in Startup:
Our Startup class needs to implement FunctionsStartup which itself implements IWebJobStartup.
We can now start to register our dependencies to the IoC container, which resolves our dependencies at runtime, like so, where IRepository is an example name of an interface and Repository would be the class that you would like injected that implements the interface:
If you are unsure as to whether to register services as scoped, transient or singleton, there is this great explanation on StackOverflow.
Middleware, such as logging, can also be added in the Startup as shown above.
Using injected classes
Let's look at how these dependencies can be used in an HTTP Trigger function. Add the following lines of code, and their references, to the HttpTrigger you added at the beginning.
If you've used Azure Functions before, you may remember that classes used to be static classes. This is no longer the case. To enable DI we need to have a constructor, for constructor injection, and a static class cannot have a constructor.
In the code above, you can see that we have added a private, readonly property with the injected interface as its type. Then we have the interface as a parameter in the constructor. The IoC container will inject the correct implementation of the interface based on the setup in the Startup class.
Our class is now ready for us to use with the Function! You can test this using a program such as Postman.
To do this, run the function from the CLI using the func start command.
If you followed the along with the code above it should be http://localhost:7071/api/HttpTrigger. Call this URL from Postman, using a GET or a POST request, and the response will be "some data!".
The ability to use Dependency Injection in Azure Functions means that solutions can be better written using proven design patterns for better maintainability and testability. Enjoy!
If you have any questions or ideas feel free to reach out on any of the following channels:
- Email: lporter@twilio.com
- Twitter: @LaylaCodesIt
- GitHub: layla-p
Related Posts
Related Resources
Twilio Docs
From APIs to SDKs to sample apps
API reference documentation, SDKs, helper libraries, quickstarts, and tutorials for your language and platform.
Resource Center
The latest ebooks, industry reports, and webinars
Learn from customer engagement experts to improve your own communication.
Ahoy
Twilio's developer community hub
Best practices, code samples, and inspiration to build communications and digital engagement experiences.


