Implement Role Management with SMS updates in PHP using Laravel Bouncer and Twilio SMS
Time to read:
May 24, 2019
Written by
This post is part of Twilio’s archive and may contain outdated information. We’re always building something new, so be sure to check out our latest posts for the most up-to-date insights.

For any set (or family) to function effectively, the members of it must have some defined roles and responsibilities assigned to everyone. This can also be likened to an application, where different users of the application are assigned specific roles and responsibilities. These assigned roles define the access level of a user in the application.
In this tutorial, we will learn how to create and manage roles in a Laravel application, using bouncer packages and the Twilio SDK. The Laravel bouncer package will help us in the role management, while the Twilio SDK will be used to notify users of their assigned responsibilities.
At the end of this tutorial, we will have learned how to create a Laravel application, install a Laravel package and how to integrate the Twilio PHP SDK into Laravel.
Setting up a Laravel Application
This tutorial assumes that you are somewhat familiar with PHP and the Laravel Framework. So, we will quickly go through the installation process of Laravel and the procedures needed to create a brand new Laravel Application.
Creating a Laravel Application
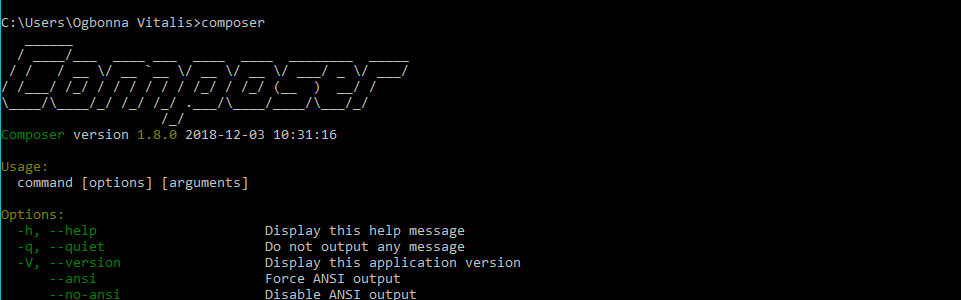
Download and install Composer, the PHP package manager to your local machine.
After a successful installation, typing the word composer in the command line will give an output as shown in the screenshot below.
Since we now have Composer installed, we can proceed to install Laravel on our local machine.
To install, we type the following command in our terminal:
This will download and install Laravel on our local machine. It may take some time to complete, depending on our connection speed.
Now that Laravel has been successfully installed, we can proceed with the creation of a brand new Laravel application for our project.
The name of our project in this tutorial will be called twilio-roles. Create this application by using this command on the terminal:
When the installation is complete, we navigate to this project folder from the command line and serve this application using the command:
The above command will make our twilio-roles application live and accessible through the browser on port:8000.
To access our newly created Laravel application, we navigate to any browser of choice and type in the address http:127.0.0.1:8000.
If everything goes well, you are expected to see the Laravel welcome message in the browser as shown in the image below:
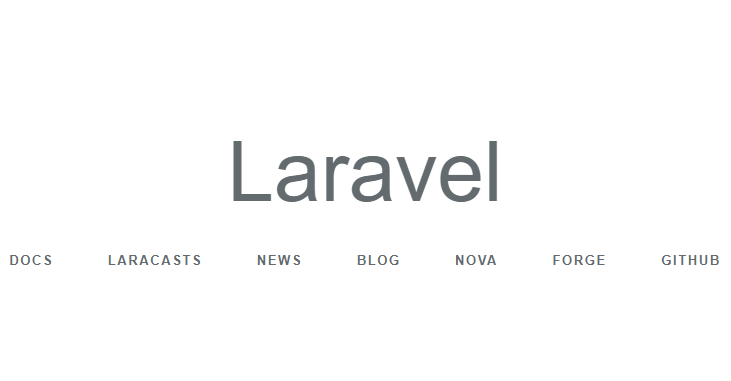
Yaa! The above Laravel welcome screen tells us that we have successfully initialized our application, and our application is ready for development.
Setup Authentication
Authentication is simply a way of a system identifying and verifying its users. To set this up, we need to configure our database parameters.
To do this, we open our project folder in any editor of choice and edit the database connection parameters in the .env file located in the root directory of our twilio-roles application folder.
Laravel uses MySQL database by default, so we will use that in this tutorial. A complete database configuration in the .env file will look like this:
With this setup complete, we navigate to our MySQL database using phpMyAdmin from our browser (or your GUI of choice) and create an empty database with the name twilio_roles.
At this point, we are ready to run the migration command to create the users table for our newly created twilio_roles database.
Running Migrations
In order to complete the authentication setup, we run the Laravel PHP migration command:
With the migration complete, we have successfully scaffolded the Laravel authentication system and can now log in and register users in our application.
Next, we will integrate the Bouncer package into our twilio-roles application.
Bouncer is an elegant, framework-agnostic approach to managing roles and abilities for any application using Eloquent models. Created by Joseph Silber with an expressive and fluent syntax, it stays out of your way as much as possible: use it when you want, ignore it when you don't.
Since we have created our application with the user authentication working properly, we will now install the Bouncer package to help us manage user roles and abilities in our application.
Install Laravel Bouncer Package
To install Bouncer we will use Composer. We do this through the terminal with the following command:
After a successful installation of this package, we will configure it for authorization in our application.
Configure Bouncer Package
To make this package functional we have to register this package in the Laravel service providers array, aliases and in the User model of our application.
In Laravel version 5.5 and above, this registration is now done automatically when the package is being installed, but we can always double check to make sure things went well.
To register this package, open config/app.php and edit the file making the following changes:
1. Add a new item to the providers array:
2. Add a new item to the aliases array:
With the above two processes, we have successfully registered the Bouncer package in our application.
The next step is to configure our User model and make use of this package. To do this, we open the User model file in App/User.php and add the following lines of code.
Having configured our User model, we will move on to publishing our Bouncer package.
Publish Bouncer Package for use
To publish this package for use, we will type in the following commands in the twilio-roles project directory.
With the commands above we have our package published. Now we can migrate the bouncer tables by running the artisan migration command:
Hurry! Grab yourself a coffee, as we have successfully integrated bouncer package into our twilio-roles application.
We will now set up the Twilio PHP SDK module, which we’ll use to notify the user upon registration, with his/her assigned role.
Setting up of Twilio SMS SDK
Sign up to Twilio
To set up the Twilio SMS API for our application, we first need to create a Twilio account at www.twilio.com and get a free Twilio phone number for our application.
From our Twilio dashboard, we will generate a Twilio Account SID and Auth Token. This is important as we can only access Twilio APIs using these credentials.
NOTE: We can only get a single Twilio phone number with our trial account. It is also required that the number to which you send the SMS to be verified by Twilio and the country supported.
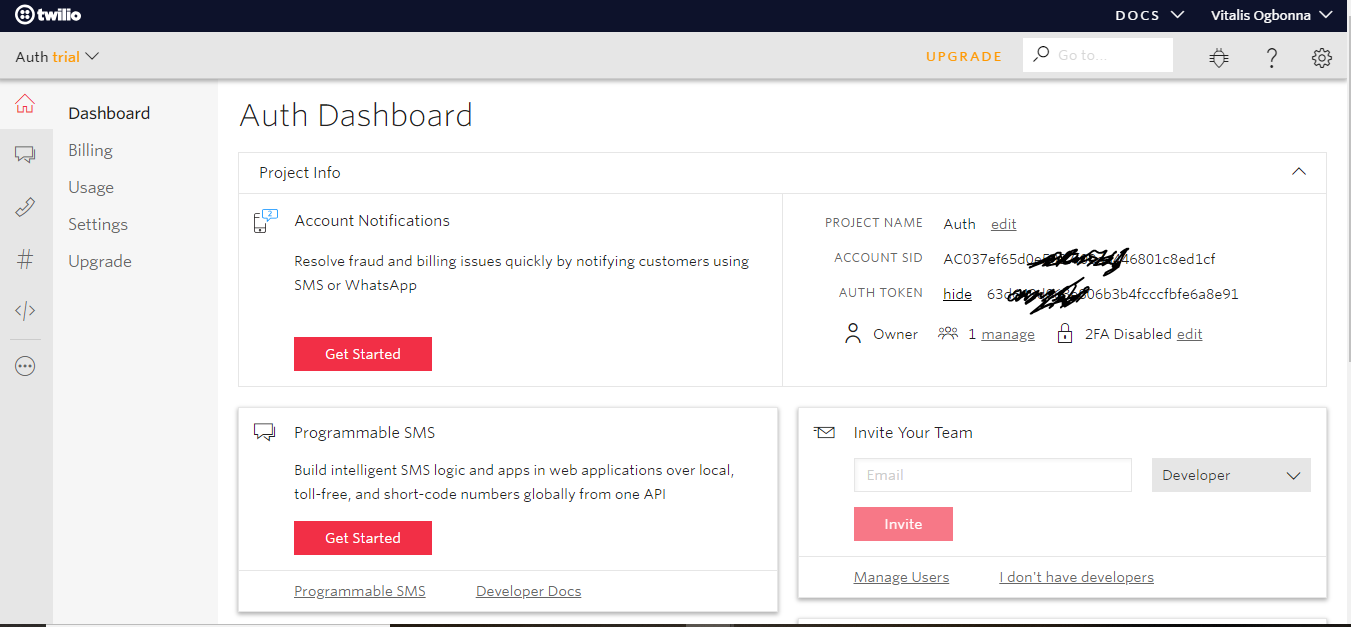
The above screenshot is a sample Twilio dashboard, with the Twilio Account SID and Auth Token slightly faded. Since we have these credentials set, we can proceed with the installation of the Twilio PHP SDK to our project.
Install Twilio PHP SDK to our Project
The installation process of Twilio PHP SDK is similar to that of the Laravel Bouncer package which we installed earlier. To have the Twilio SDK installed we type the following Composer command in our terminal:
The above will bundle the Twilio SDK within our project.
Configure Twilio SDK to work with our Application
Since we now have the Twilio SDK installed, we will now add the following configuration setting in our .env file.
In order to make the Twilio configuration variables available globally in our application, we will add the following lines of code in our config/app.php file.
Now that we have the Twilio SDK properly configured, we will now write some code in the registerController to notify the user on registration of his/her assigned roles in our application.
Create Users and Assign Roles.
To send an SMS to a user, we would need the user’s mobile number. By default, Laravel’s user registration form only contains three fields: name, email, and password. Thus we need to add an extra form field in order to store the user phone number during registration.
To do this, we edit the resources\views\auth\register.blade.php file and add this block of code in order to create an extra form field for the user phone number.
Next, we need to add this extra field to the user migration file at database\migrations\2014_10_12_000000_create_users_table.php.
Add the phone field to the $fillable array of the User Model in app\User.php as shown.
Now we will take care of the RegisterController file at app\Http\Controllers\Auth\RegisterController.php and rewrite it as follows.
Viola!! we have successfully re-written the RegisterController to assign the role “Editor” to a user on registration, and send a confirmation SMS to the number used to complete the registration.
Our application is ready for testing. However, we need to re-migrate the user migration to update our database to reflect some of the changes made. We do this by using the migration command on our terminal:
This command will rollback the previously migrated files and remigrate them with the changes made.
Check if the User receives an SMS update on Assigned role
To test our application, we will serve this application using the PHP artisan server command:
This command will make our application accessible via the browser using the address http://localhost:8000 from which we can register a user and receive a Twilio confirmation SMS on the role assigned.
Conclusions and Recommendations
We have successfully created a Laravel application that integrates and uses the Bouncer package within a Laravel application for Role Management. We also learned how to integrate and send SMS using the Twilio SDK in a Laravel application.
However, our application does not have a GUI to dynamically assign roles to users and update them of newly assigned roles via SMS. It does not also have a GUI feature where admins can send emails at wish. As a recommendation, you should try adding these extra features while you explore the amazing functionalities of Twilio SMS SDK and Laravel.
Vitalis is a full stack software developer, who loves technology and finds hobbies in teaching and learning. When not at work, he hangs out with friends to have some quality discussions. You can reach him on Twitter via the handle @agavitalis, on GitHub using @agavitalis, on Linkedin using https://www.linkedin.com/in/agavitalis and via his blog; Vivvaa’s Corner using http://vivvaa.com
Feel free to use the comment section and also share this tutorial with your friends because sharing is caring.

Related Resources
Twilio Docs
From APIs to SDKs to sample apps
API reference documentation, SDKs, helper libraries, quickstarts, and tutorials for your language and platform.
Resource Center
The latest ebooks, industry reports, and webinars
Learn from customer engagement experts to improve your own communication.
Ahoy
Twilio's developer community hub
Best practices, code samples, and inspiration to build communications and digital engagement experiences.