It's Time to Be Real With Thoughtful Prompts Sent via SMS
Time to read:
March 27, 2023
Written by
Reviewed by

As we live in a world of fast-paced social media and technology, it can be difficult to sit down and reflect on our own lives. So why not build an app to get to know yourself more by surprising yourself with random thought-provoking prompts throughout your day.
In this article, you will be challenged to Be Real with your thoughts through creating a Java Spring Boot application that sends an SMS with a random thought-provoking question from a MySQL database.
Tutorial requirements
- Refer to this Twilio article to set up a MySQL database in Java Spring Boot.
- IntelliJ IDEA Community Edition for convenient and fast Java project development work. The community edition is sufficient for this tutorial.
- Java Development Kit (JDK) version 11.
- ngrok, also known as a handy utility to connect the development version of the Java application running on your system to a public URL that Twilio can connect to.
- MySQL is the database service you’ll use to store the employee data and access in your application through REST APIs. You can follow the guide for detailed steps to setup MySQL with MySQL Workbench.
- The MySQL command-line client.
Configure a Messaging Service
Scheduled messages can only be sent from a Messaging Service at this time, so the next step is to configure one and add your Twilio phone number to it.
Open up the Twilio Console, find the “Messaging” product and click on its Services option. Then click the “Create Messaging Service” button.
On the first page of the creation process, enter a friendly name for the service, such as “Prompts”, and select “Notify my users” in the “Select what you want to use Messaging for” dropdown.
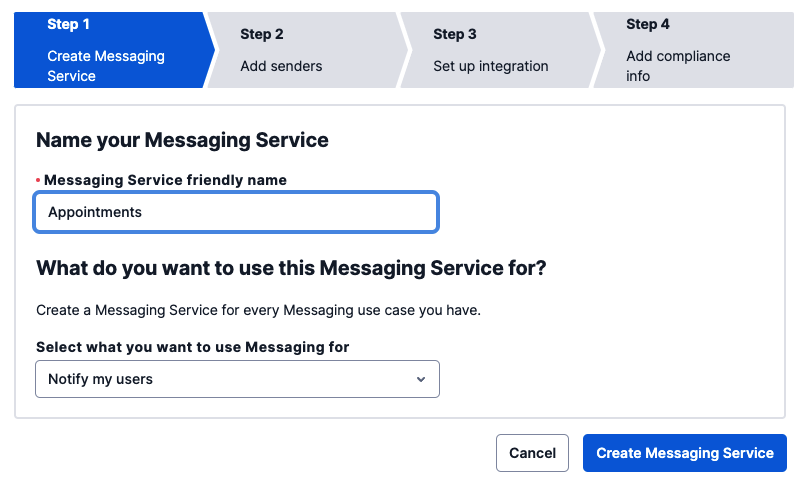
This image is reused and the project directory name does not reflect the one used in this project.
Click the “Create Messaging Service” button to move to the second step.
In this part of the configuration, you have to add the sender phone number(s) to the sender pool used by the service. Click the “Add Senders” button to add the Twilio phone number you acquired in the previous section.

Select Phone Number in the “Sender Type” dropdown, and click “Continue”.
Add a checkmark next to the phone number you want to use as a sender, and click “Add phone numbers”.

Click the “Step 3: Set up integration” button to move on to the next step. You don’t have to change any of the settings on this page, just click on “Step 4: Add compliance info”.
To complete the configuration of your Messaging Service, click on “Complete Messaging Service Setup”. You will now be offered the option to send a test message.
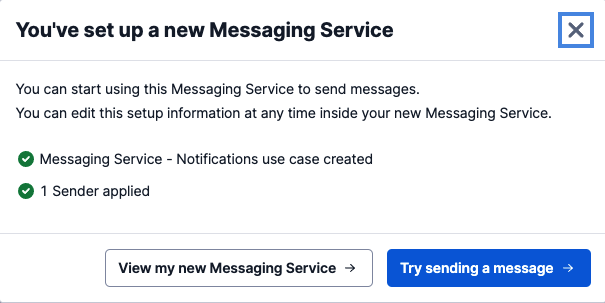
It is a good idea to test that your messaging service is able to send messages, so go ahead and click on “Try sending a message”. In the “To phone number” pulldown, select your personal number, which should be registered and verified with your Twilio account if you have a trial account. In the “From Messaging Service SID”, select the Messaging Service you just created. In the “Body Text” enter some text to send yourself.
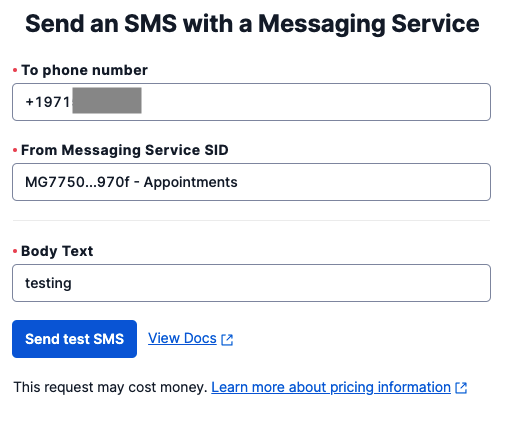
Click the “Send test SMS” button, and make sure you receive the SMS on your phone.
Add the Twilio dependencies
At this point, you should have a functioning MySQL database running on an updated Spring Boot web application.
Navigate to the pom.xml file to add the following text to include dependencies in your project:
This dependency allows the Twilio Java Helper Library to be used and executed in this Maven project. This is essential for the controller class that will be created later on to handle the TwiML messages of this SMS project.
Save the file.
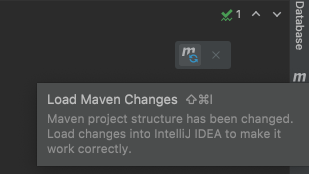
Look at the top-right corner of IntelliJ IDEA and find the little icon with an "M" shape. Click it to load Maven changes.
Configure the environment variables
Locate the Run tab at the top of the IntelliJ IDEA console and select Edit Configurations… in the dropdown as seen below:
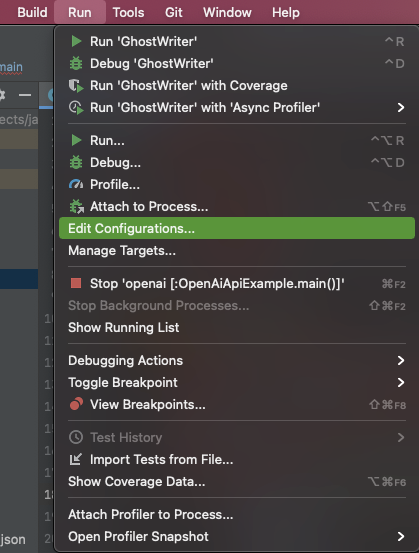
This image is reused and the project directory name does not reflect the one used in this project.
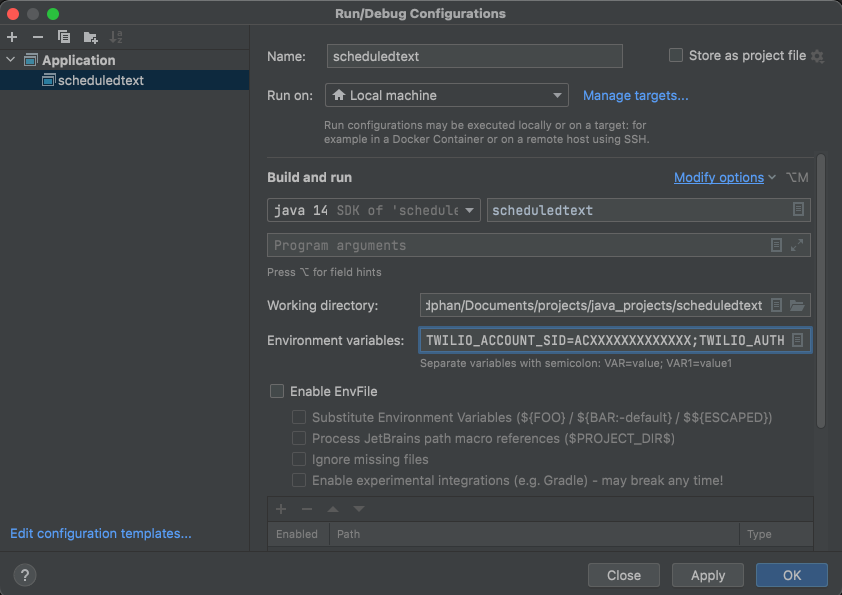
Another window displaying the "Run/Debug Configurations" will pop up with the details regarding the project.

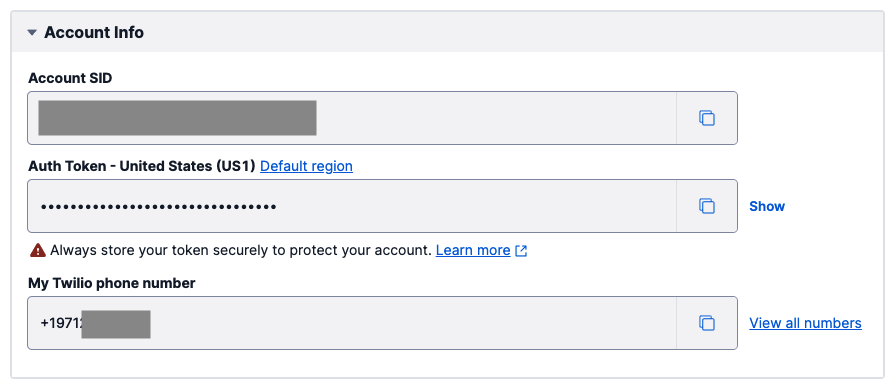
You can find your account credentials on the Twilio Console.
Refer to this article to set up and hide variables in the IntelliJ IDEA environment.
Go ahead and follow the same instructions to store your phone number as the PHONE_NUMBER key in the IntelliJ IDEA environment. This must be stored in E.164 format such as "+19140201400".
Since a Messaging Service is used to schedule the SMS, another variable named TWILIO_MESSAGING_SERVICE_SID must also be created. You can find it in the Messaging Services page of the Twilio Console. This identifier starts with the letters MG.
This image is reused and the project application name does not reflect the one used in this project.
Click on the Apply button, and then OK once finished.
Schedule an SMS with Twilio
Navigate to the QuoteController.java file and add the following import statements to the file:
Scroll down within the file and add the route to the REST controller:
Let's break down the code real quick.
The sendSMS() function uses the quoteRepository to look up a random quote from the database. The quote is retrieved in string format then constructed in a message instance of the Message resource as provided by the Twilio REST API in order to send an SMS to your personal phone number from your Twilio phone number. Make sure to replace those placeholders with the appropriate values.
After the message is sent, the message SID is printed in your terminal for your reference.
The ScheduledText class defines a void main function where the Twilio client is initialized using the ACCOUNT_SID and AUTH_TOKEN variables set above.
The Message.creator() function is used to create and schedule the SMS as seen in the "Configure a Messaging Service" section earlier. The function takes in three arguments to define the recipient, sender, and body of the SMS, respectively. These arguments are the same for both immediate and scheduled sends.
The first line represents the "to" argument, so replace it with the PHONE_NUMBER variable defined earlier. For the "from" argument, the TWILIO_MESSAGING_SERVICE_SID of the Messaging Service is used. The last line represents the "body" argument and can be anything you’d like to send yourself.
The setSendAt() method is set to a ZonedDateTime object that starts at the time the Message object was created and adds the randomHour, randomMinute, and randomSecond variables to schedule the message randomly during the day. The Message Scheduling feature currently requires that this time is more than 15 minutes and fewer than 7 days ahead.
It is advised for you to take this project a step further and run the application at midnight each day so that the SMS is sent at a reasonable time during the day.
The remaining two arguments are used to tell Twilio that this SMS should be sent at a later time. The setScheduleType argument configures the type of scheduling that you want to use. As I’m writing this, the only allowed value for this argument is the string "FIXED".
The application prints the SID value assigned to the scheduled message. This is an identifier that you can use to cancel the message if you need to.
Run the Spring Boot application
If you have not done so already, navigate to the JavadbApplication.java file to click on the green play button next to the public class definition. Select the Run option. Wait a few seconds for the project to build, download the project's dependencies, and compile.
Here is the completed code on GitHub for your reference.
Enter the URL http://localhost:8080/sms to navigate to the /sms route and trigger the sendSMS() function. You will see a screen similar to the screenshot below:
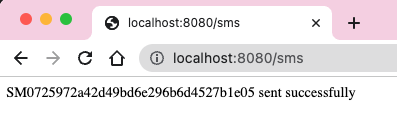
Look at your mobile device and you should see a random quote from your database:

Refreshing the URL will fire another random SMS and display the message's SID on the web browser.
What's next for sending SMS from a MySQL database?
Congratulations on making your own variation of BeReal with Twilio SMS and MySQL database!
Consider taking this project one step further and figuring out how to respond to inbound messages from the user, storing your own responses to the prompts in the database, or scheduling the SMS.
Let me know about the projects you're building with Java and Twilio SMS by reaching out to me over email!
Diane Phan is a developer on the Twilio Voices team. She loves to help programmers tackle difficult challenges that might prevent them from bringing their projects to life. She can be reached at dphan [at] twilio.com or LinkedIn.

Related Resources
Twilio Docs
From APIs to SDKs to sample apps
API reference documentation, SDKs, helper libraries, quickstarts, and tutorials for your language and platform.
Resource Center
The latest ebooks, industry reports, and webinars
Learn from customer engagement experts to improve your own communication.
Ahoy
Twilio's developer community hub
Best practices, code samples, and inspiration to build communications and digital engagement experiences.