Organize Incoming Email Attachments with C# and ASP.NET Core using Twilio SendGrid Inbound Parse
Time to read: 7 minutes
March 22, 2022
Written by
Reviewed by

At times, people in many organizations must organize and associate files (such as accounts, invoices, and more) with each employee or vendor in the company. Generally, these files arrive by email to a default mailbox that is constantly monitored, but manually. In this post, you are going to learn how to organize and associate files that users send by email to a particular mailbox through Twilio SendGrid with an API built in ASP.NET.
Prerequisites
To complete this tutorial, you will need a free Twilio SendGrid account and experience working with ASP.NET applications using the C# language. Sign up here to send up to 100 emails per day completely free of charge.
Additionally, the API that you are going to create needs to be publicly exposed to be accessed from Twilio SendGrid, in this tutorial you will use ngrok to test your application without the need to deploy it in cloud hosting.
Finally, you will need the following for your development environment:
- .NET IDE (Visual Studio, VS Code with C# plugin, JetBrains Rider, or any editor of your choice)
- .NET Core 3.1 SDK or higher
- ngrok CLI
- A public domain and access to your domain's DNS Server
You can find the source code of this tutorial in this GitHub repository.
Create a Web API
The first thing you will need to do is to create your Web API using the .NET CLI and the webapi project template. Open a console terminal and run the following command:
Navigate to the project folder using this command:
You are going to verify that your project was created correctly. Run the project using the .NET CLI:
Navigate to https://localhost:<port>/swagger, where <port> is the port your app is running on. You can find the HTTPS URL and port in the output.

You can now see that your project has been created correctly, and you can verify the project with tools to make HTTP requests (like your own browser, Postman, cURL, or any other) to the controller that comes with the template by default.
Here's how to verify your project using your project's URL with a browser by navigating to https://localhost:<port>/WeatherForecast:

Here's how to verify your project's URL using the following cURL command:

Next, you will add a new controller and action to process incoming emails.
Configure the Web API
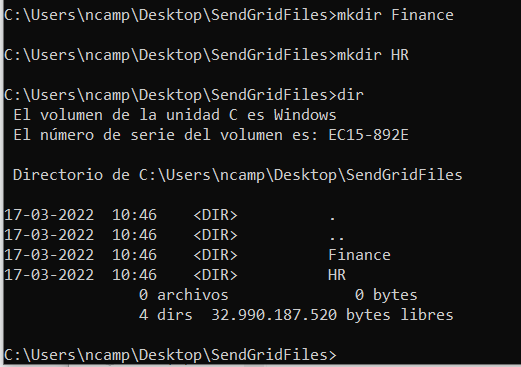
If you want to receive files via email and store them, you'll need to create a folder for them. Create a folder named SendGridFiles on your desktop or any path where you want to store the files.
Copy the full path of your new folder because you will use it later.
The application will store the files from the email attachments in different locations depending on the sender of the email, the email subject, and the file name.
To do this, create a folder called Configuration at the root of the project, and inside it, create a class EmailRule.cs. You will use this class to create the rules for each email you want to manage.
In the EmailRule.cs file, replace everything with the following code:
Next, you will create the controller where you will process each incoming email. Inside the Controllers folder, create a file IncomingEmailController.cs and add the following code:
Replace <path to SendGridFiles folder> with the full path to your SendGridFiles folder you created earlier, and replace <your email domain> with the email subdomain you wish to use. I recommend using a new subdomain like sendgrid.<domain>.<tld> for testing purposes.
In this new controller, you are defining a couple of rules, in which depending on the recipient, the subject, and the name of the attached file, they are associated with a FolderName in which each file will be placed in. Before storing these files in the specified folders, you must create them inside the SendGridFiles folder that you have created earlier, as you can see below:
You are doing very well, but something important is missing. You have the rules, but the MVC action that receives the emails is missing. So, you have to add an action in the controller, which must be of type POST as specified by Twilio SendGrid's Inbound Email Parse webhook.
Copy and paste the following code into your controller:
When SendGrid receives an email, SendGrid will submit the email to the Post action using form-encoding. The Post action will retrieve the To and Subject fields, and the email attachments as form files. Then, the Post action checks all the rules that apply for the same file, subject, and recipient. If it applies, the action creates a copy of the attachment in the path and folder specified in the rule. If an email does not meet any rule, it is ignored.
The reason why you are iterating is that it could be the case that the same email can comply with more than one rule and under those conditions, different files must be managed.
Configure SendGrid
Configure SendGrid to receive email
Although the domain authentication is already complete, you also need to configure your DNS server to send the emails to SendGrid by adding an MX record to your DNS Server.
Add the MX record with your new subdomain (do not do it with your main domain, otherwise you will no longer receive your emails), indicating a priority of 10 and with the address mx.sendgrid.net.
Below, you can see an example applied to a DNS Server (your DNS Server may have a display for these records).

Configure SendGrid to forward email to your Inbound Parse webhook
Your API needs to be publicly accessible for SendGrid to be able to forward email to it. That's why you'll use ngrok to create a secure tunnel between your locally running API and ngrok's public forwarding URL.
If this is your first time using ngrok, you need to register on ngrok's website, and add the authentication token in the console as the first command:
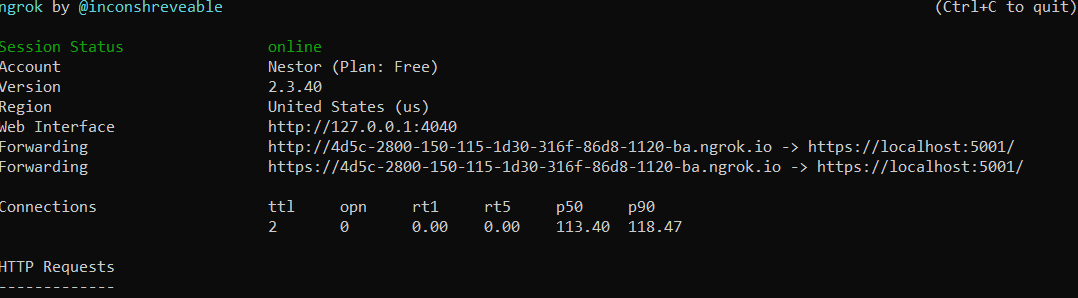
Now, run ngrok with the following command, specifying the HTTPS port where your API will run:
Copy the Forwarding HTTPS address that ngrok created for you as you will use it in the Twilio SendGrid portal.
In the Twilio SendGrid portal, navigate to the Settings > Inbound Parse.
Click on Add Host & URL, then select your domain and optionally enter your subdomain in the form. Into the Destination URL field, enter the Forwarding URL provided by ngrok, adding the path to the IncomingEmail controller, i.e. Forwarding URL + /IncomingEmail.
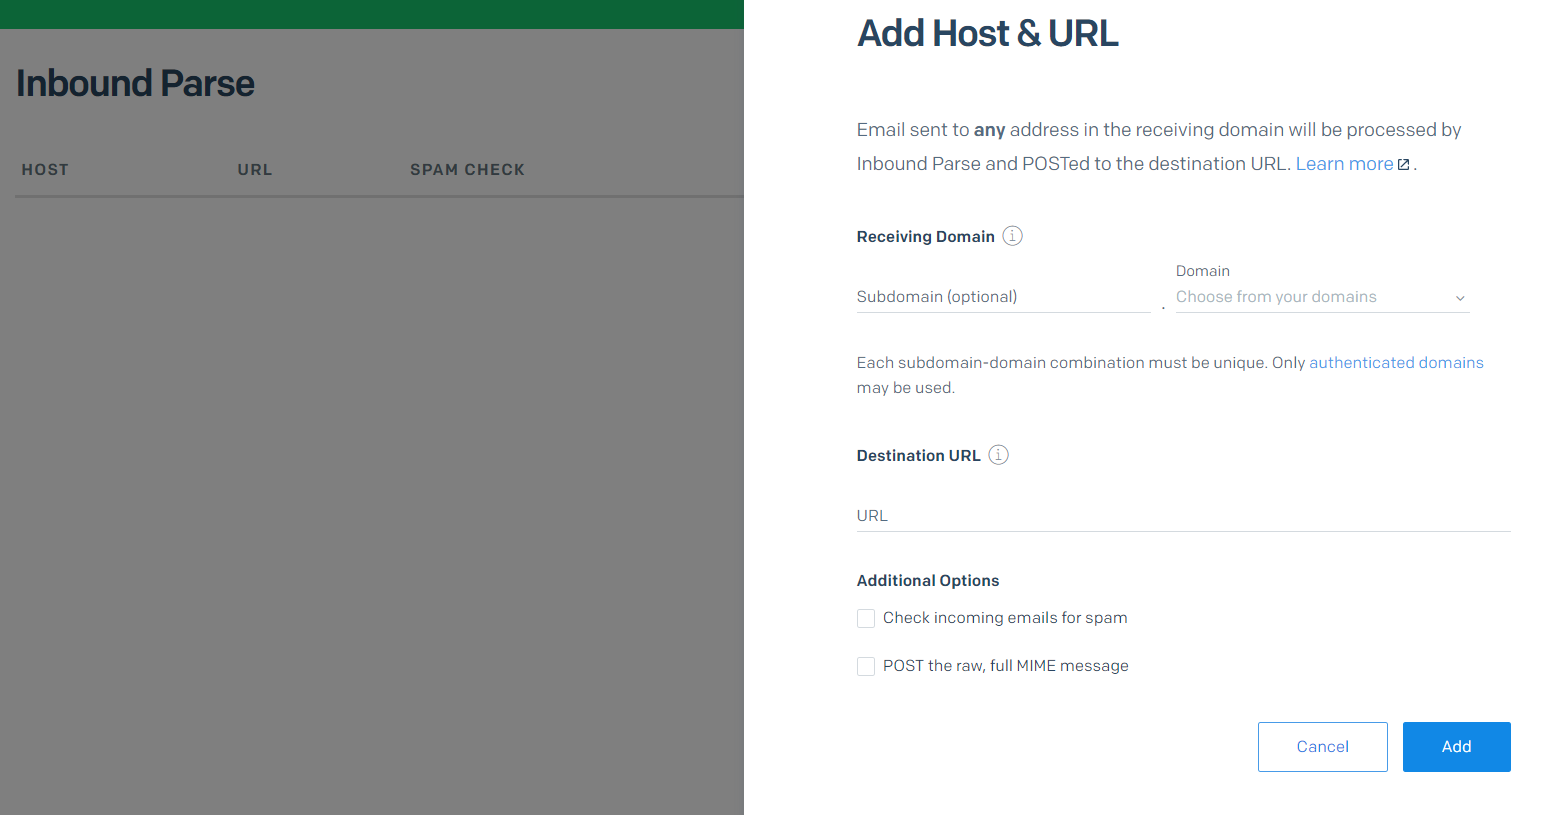
The configuration should look like the following:

Testing the solution
SendGrid is fully configured and your API is now complete. It's time to put it to the test. Let your existing console run ngrok, and open a new console while that's running. In the new console, run the following command to start your project:
Now it's finally time to test the solution. To do this, send emails to the email addresses, with the subjects, and file name attachments that you defined in your rules within the code.
Here you can see an example (remember to adapt the names and subjects according to your rules):
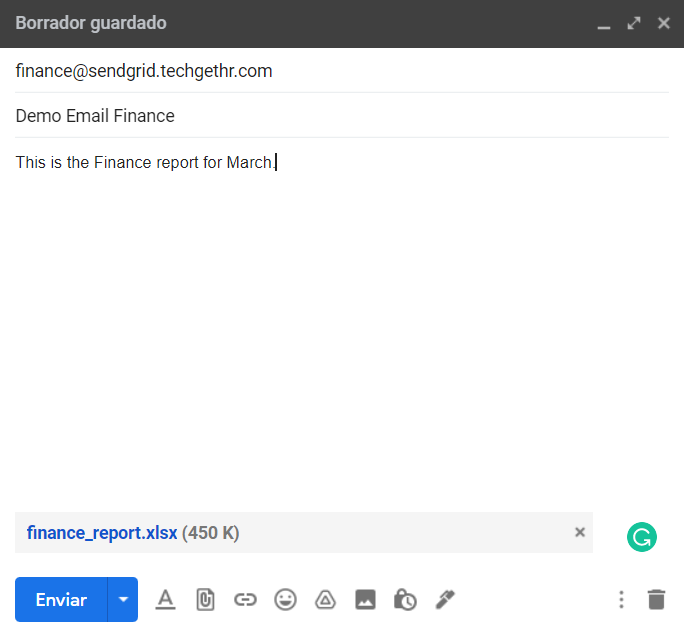
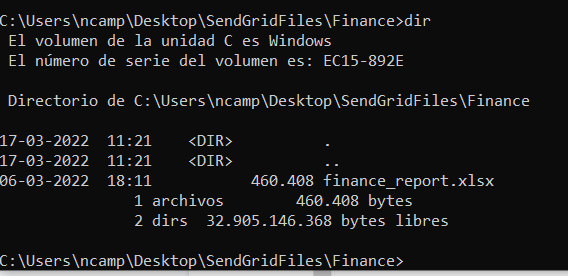
A few seconds after sending the email, you will see the file appear in your folder inside SendGridFiles.
Future improvements
This is a great start, but you can improve the solution further:
- Currently, when a second email with the same sender, subject, and attachment comes in, the new file from the attachments will overwrite the existing file with the same name. This could potentially lead to loss of data. You could improve this solution by including the current date and time into the filename, or something similar to ensure the uniqueness of the filename.
- Instead of hard-coding the rules, you could store the rules in the .NET configuration or retrieve them from a database. This would make the application more configurable and easier to deploy.
It's also very important to secure your application before running it in production:
- For SendGrid to forward the emails to your web application, your application has to be publicly available. This also means anyone could submit HTTP requests to your application, including bad actors. Bad actors could send HTTP requests with malicious files to your application, hoping someone would open the files and thus infect their machines. One way to prevent this, is by adding Basic Authentication to your Web API. ASP.NET Core does not have built-in support for Basic Authentication because it is dated, but you can add a library to add Basic Auth support. For example, this Basic Auth library by Barry Dorrans. Once you have configured Basic Auth to your liking, update the webhook URL in the SendGrid Inbound Parse settings to include the username and password like this: https://<username>:<password>@<your-webook-url>.
- Currently, the rules spell out what file names are allowed, which works as an accept-list. If you plan to not use an accept-list, make sure that your code is not vulnerable to file path injection.
Saving incoming email attachments to disk
You can process incoming emails with the Inbound Parse feature provided by Twilio SendGrid. Using Inbound Parse, you can automate processes and receive attachments. For example, when you do not have direct access to the source of the files, they can only be received by email.
It's very powerful that Inbound Parse will process all the emails sent to a subdomain, not just to specific email addresses. That way, your webhook can receive all emails for a subdomain, but process them differently depending on the recipient of the email.
Additional resources
Check out the following resources for more information on the topics and tools presented in this tutorial:
Setting Up The Inbound Parse Webhook – This guide shows you how to configure your DNS server to forward emails to SendGrid, and how to configure SendGrid to forward the emails to your Inbound Parse Webhook.
idunno.Authentication.Basic – You can use this library by Barry Dorrans to add Basic Authentication to your ASP.NET Core application.
Source Code to this tutorial on GitHub - You can find the source code for this project at this GitHub repository. Use it to compare solutions if you run into any issues.
Néstor Campos is a software engineer, tech founder, and Microsoft Most Value Professional (MVP), working on different types of projects, especially with Web applications. He has had to receive files from emails automatically through SendGrid Inbound Parse because he did not have access to the original repository of the data in some projects.
Related Resources
Twilio Docs
From APIs to SDKs to sample apps
API reference documentation, SDKs, helper libraries, quickstarts, and tutorials for your language and platform.
Resource Center
The latest ebooks, industry reports, and webinars
Learn from customer engagement experts to improve your own communication.
Ahoy
Twilio's developer community hub
Best practices, code samples, and inspiration to build communications and digital engagement experiences.