Build a Passwordless Authentication System Using Django, Twilio Verify, and SendGrid
Time to read:
July 18, 2022
Written by
Reviewed by

Requiring passwords to sign up for a service has many demerits, such as a high chance of passwords being stolen and requiring users to remember passwords all the time. On the contrary, a passwordless authentication system has many benefits. For instance, it saves users from being a victim of the most common attack—the Brute Force Attack. Additionally, many users have a tendency to use the same password for multiple websites/applications, which then can lead to a Credential Stuffing Attack. A passwordless authentication system helps save users from such an attack as well.
A passwordless authentication system lets users access the applications by verifying their identity using a secure token, biometric signature or any other secure proof of identity which is not knowledge based or does not require any private information.
In this tutorial, you will learn how to create a passwordless authentication system using Twilio Verify, SendGrid, Django, and Python. The proposed authentication system will require users to verify their identity using a one-time password.
Prerequisites
In order to follow along with this tutorial, you will need the following:
- A Twilio account and a SendGrid account
- Working knowledge of Python
- Basic knowledge of Django Model-View-Template (MVT) structure
Setting up the project
Let’s start by creating a virtual environment for our project. Navigate to where you would like to set up your project. Create a new directory for your project, and change into the directory.
If you are on Windows, run the commands below to create a virtual environment:
Navigate to the Scripts folder.
Start the virtual environment.
Then, navigate back to the main folder.
However, if you are working on Linux or macOS, run these commands instead.
Next, install Django and Twilio in the virtual environment.
Now, let's create a Django project named “myshop”.
We will be creating a shopping app as part of this tutorial. Inside this shopping app, we will create different apps to manage different tasks as a part of this project “myshop”.
Navigate to the myshop folder.
Now, let's start by creating our first app which will manage:
- User registration
- User login
- User verification using a one-time password (OTP) every time user tries to log in
Add the verification app in the "INSTALLED_APPS" field (inside myshop >> settings.py):
After this, we are all set to jump into the next steps and start the actual work!
Create a custom user model
For the purpose of creating a passwordless user authentication system, we need to create a custom user model. To do that navigate to: myshop >> verification >> models.py.
Create a NewUser class in the models.py file which inherits from AbstractBaseUser and PermissionsMixin.
Note: Inheriting from AbstractBaseUser provides the core implementation of a user model, and inheriting from PermissionsMixin provides our model access to all the methods and database fields necessary to support Django’s permission model.
Add the code snippet below, which defines all the required fields:
In the code snippet above, we:
- Set the
is_staffandis_activefields toFalseby default. - Define the
USERNAME_FIELDasemail. (By doing so, we are setting email as a unique identifier) for our User model. - Define the
REQUIRED_FIELDS, for example: username and phone number.
All objects for this class (NewUser) come from the NewUserAccountManager. As a next step, let’s create the NewUserAccountManager class in the models.py file. This class will define all the methods required to create a user. It will inherit from BaseUserManager.
This class will have two methods: create_user and create_superuser.
Although we do not need passwords for our regular users, we do need a password for our Django admin. So, for that we will check if the password is None. If it is None (while creating a user we will pass in the value as None), then we will set the password as unusable password.
In the case of the create_superuser method, we will set certain fields as True (is_staff, is_superuser, is_active). And additionally, we will set a password for the admin/superuser.
Add the following code snippet to models.py, just above the code you added for the NewUser class:
Finally, register the NewUser model inside the verification >> admin.py file.
Define the custom user model in settings.py
Add AUTH_USER_MODEL = 'verification.NewUser' in the myshop >> settings.py file to register your newly created custom user model:
Now let's make and perform migrations. Run the following code on your command line:
Now let's try creating a superuser!
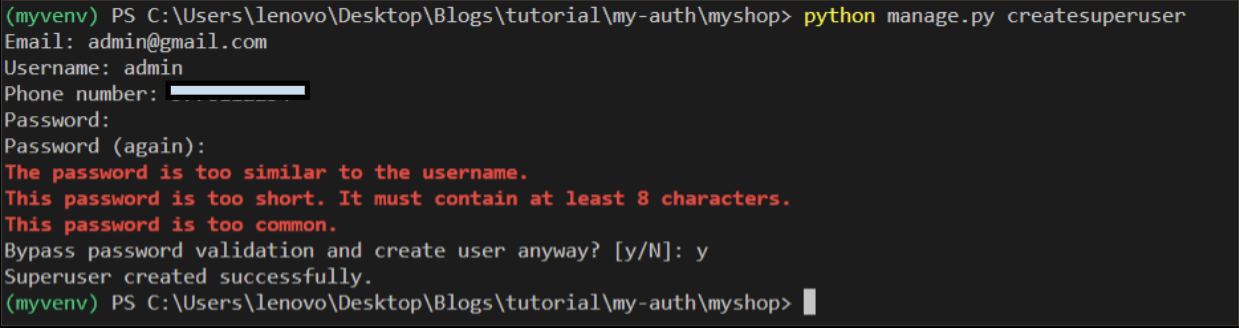
Run the command below:
Specify the username, email address, and password:
After you have created a superuser, run the Django server with the following command:
By default, the server will run on port 8000. Navigate to http://127.0.0.1:8000/admin/ in your browser, and use your superuser credentials to log in to the Django admin. Once you log in, you will see this table:
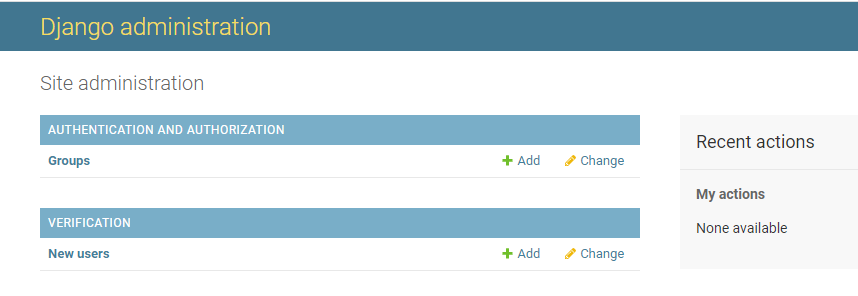
If you click on "New users", you will see that a New users table has been created with an admin user.

Create Django forms
Now that we are done with user model creation, let's continue by creating our registration form.
Create a forms.py file in the verifications folder. Create a class called RegisterForm and define all the required fields we need in the registration form.
Quick note about Django forms: Using Django forms makes it easy for us to do validation of all the fields that we need in the form.
According to the Django docs: A Django form instance has an is_valid() method which validates all the fields. When we call this method and all the fields are validated correctly, then it returns True and places all the form data in its cleaned_data attribute.
Add the following code to forms.py:
Although the input validation is already checked with the help of Django forms, let’s now create three methods inside our class to check if the user with the given email, username, or phone_number already exists.
Update your RegisterForm class with the following highlighted lines:
Similarly, let’s now create a login form. Create a class called LoginForm just below your code for RegisterForm, and define the required fields. (For the purpose of this tutorial, we only require one field for the login form — the email field.)
Additionally, create one method to check if the account with the given email address exists or not:
Create registration view
Now head to the verification >> views.py file and create a registration view.
Here is what is happening in the code snippet above:
- In the
register_pageview, we create a form instance (of theRegisterFormclass, which we created above). - We check if the form is valid or not before processing the form data.
- If the form is valid, we process the form data.
- Finally, we call the
create_usermethod and save the user in the database. - After that, we redirect the user to the login page. (We will create it afterwards.)
- Render the form using auth/register.html file (yet to create).
Before creating other views (login view, view to generate OTP and check OTP), we need to set up our SendGrid and Twilio accounts.
Setup Twilio and SendGrid accounts
- Go to the SendGrid website.
- For this tutorial, select a free plan, provide required details, and sign up!
After signing up, navigate to the Dashboard, and go to : Settings >> Sender Authentication.
Perform the sender authentication (single sender verification in this case) by verifying your email address. After verification, create a new sender by filling in the required details.
Now, go to Settings >> API Keys, and create an API key. Give your API key a name, and select "Full Access". After creating the API key, copy it and save it in a secure place because it will not be revealed to you again.
Now it's time to create an email template.
- Go to Email API >> Dynamic Templates.
- Click on “Create a Dynamic Template”.
- Give your template a name. (Example:
User-verification) - After that, select your template name and click on “Add Version”.
- Choose a blank Email Template for now.
- Select “Code Editor”.
Change the code in the editor to the HTML below, and save:
In this code, we use the template variable: {{twilio_code}} to send an OTP to the user.
Now, click on "Settings" on the left side of the template.
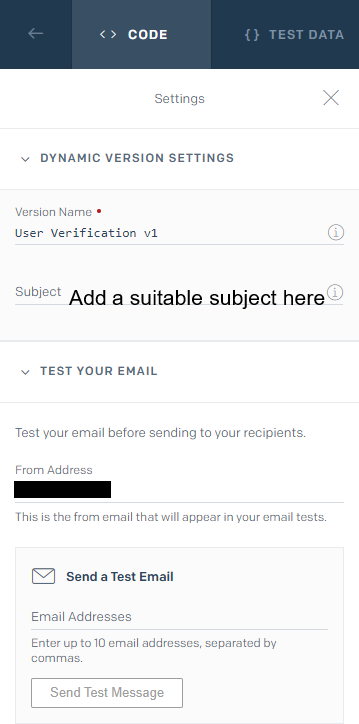
In the Settings panel, give the template version a name (Example: User Verification v1 or simply version-1). Additionally, you can specify a suitable subject for the email. For instance: ‘Your One Time Password (OTP) for myshop’. You can also try sending test emails, by specifying more than one email address, such as: test1@gmail.com, test2@gmail.com, test3@gmail.com.
After creating the template version, a template id will be created. (You will use this for the email integration later in the tutorial.)
Now create a Twilio account by visiting Twilio’s website.
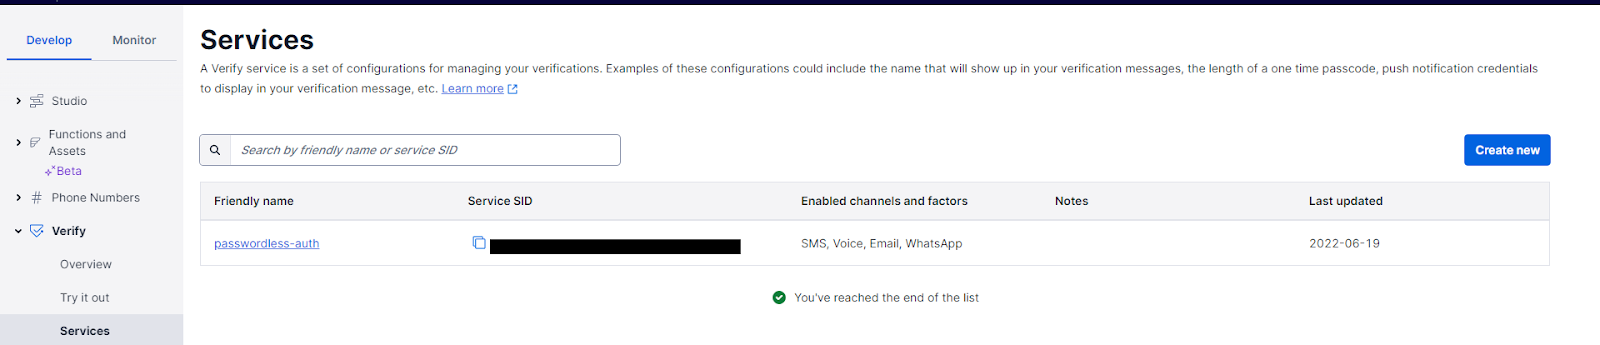
- Create a Twilio Verify service by navigating to Verify >> Services, and clicking the "Create new" button.
- Give the service a friendly name (Example: ‘Passwordless-auth’), and enable Email as a verification channel.
- Create an email integration by navigating to Verify >> Email Integration in your Twilio account console and clicking the Create Email Integration button. Give your email integration a name, and click the Continue button.
- You will see a form where you will be required to add your SendGrid API key, template id (You can get your template id by logging in to the: SendGrid's website and navigating to Email API >> Dynamic Templates. Here you will find Template Id under your template name), from email (make sure it is the same as the email you verified in the SendGrid account), and from name. Enter these values and click the Save button.
- Navigate to Verify >> Services again, select the service you created, head to the Email tab, and enable the verification channel. Then, update the integration setting by selecting the email integration you just created.
- Finally, assign the service in the email integration.
Set up the environment file
Next, you need to define the environment variables for your project.
Install “python-dotenv” in the activated virtual environment.
Next, create an .env file in the myshop project folder (inside the main myshop folder: myshop >> myshop) and add the following variables:
Add all the variables and their values in the .env file, including your secret key.
Instructions to get the values for .env file:
- The value of SECRET_KEY is present by default in the settings.py file of your project ( myshop >> myshop >> settings.py).
- Add the SendGrid API key, which you created in the
Setup Twilio and SendGrid accountssection, as the value for: EMAIL_HOST_PASSWORD. - You can find values of ACCOUNT_SID and AUTH_TOKEN under the “Account Info” section by visiting Twilio’s console.

- To get the SERVICE_ID, visit Twilio console and navigate to Verify >> Services. You can now copy Service SID from the services table.
- Lastly, follow the instructions given in the section
Setup Twilio and SendGrid accountsto get the value for TEMPLATE_ID.
Now, import os in settings.py, and do the initialisation to read environment variables from the .env file:
Replace the value of the secret key and other values in myshop >> settings.py with the format os.getenv('KEY_NAME'), as shown below:
Create a custom authentication backend
Since we want to authenticate users without using a password, we need to create a custom authentication backend.
Some useful points about authentication backend in Django: According to Django official docs, an authentication backend is a class which implements two required methods: get_user(user_id) and authenticate(request, **credentials).
The authenticate() method should check the credentials it gets and return a user object that matches those credentials if the credentials are valid. If they’re not valid, it should return None.
To do this, create a Python file called auth_backend.py in the verification directory. In that file, create two methods: get_user() and authenticate(), as required:
By default Django uses django.contrib.auth.backends.ModelBackend as a backend. Since we created a custom authentication backend, we need to add it to our settings.py.
Now, we are all set to create the remaining views!
Create login view
To create a login view, we first need to create a send_code() function which will send an OTP to the user.
- Create a file called verify.py in the verification directory.
- Import
Clientfrom twilio.rest, and import all required environment variables. - Add the SendOTP class with the
send_code()method.
Now, in verification >> views.py, import uuid, the LoginForm that you created, and the SendOTP class from the verify.py file:
Just below the register_page() view, add the following login_page() view:
After the OTP is sent to the user, we now need to verify the OTP.
For that we need two views: one which will display the OTP form, and another which will check the OTP.
Create generate_otp view
This view will just render the OTP form when the user is redirected to the url: /otp/pk/uuid after logging in, where pk is the primary key of the user and uuid is the temporary generated uuid.
Create check_otp view
Now, to check the OTP, we need to create a CheckOTP class and check_otp() function, which will verify the OTP given the email address and OTP.
Create a check_code.py file inside verification directory and add the following code:
Now let's create our check_otp view in views.py which will:
- Get the email address and OTP entered by the user.
- Pass those values to our check OTP function.
- If the OTP is correct, it will authenticate the user and redirect the user to our home page.
At the top of views.py, add the CheckOTP class to your list of imports:
Then, below your other views, add a view for check_otp:
Note that in the login method, we are specifically defining the authentication backend we want to use as verification.auth_backend.PasswordlessAuthBackend.
Create home view
Now, the last view that we need to create is the home view. It will just render the home_page.html template and show premium content if the user is authenticated — otherwise it will display a simple message: "Please login to continue".
Connect URLs to their respective views
In myshop >> urls.py, we will:
- Import all the required views that you created.
- Define the paths associated with all the views.
Add the following code below to urls.py:
Create templates
Before creating a templates folder, we need to define it in our settings.py file, so that Django can locate it.
Go to myshop >> settings.py, and add templates inside the DIRS field:
Now create a templates folder in the main project folder:
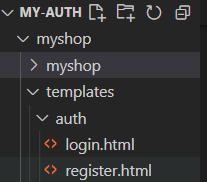
Further, inside the templates folder, create an auth folder where you will add two new files: register.html and login.html.
Create register.html
This will be just a basic Django form with the fields we defined in our forms.py file. Copy the following code into auth/register.html.
Note that we have used the {{ form.as_p }} method to render the form as a paragraph. You can also use {{ form.as_table }} or {{ form.as_ul }} depending upon the use case.
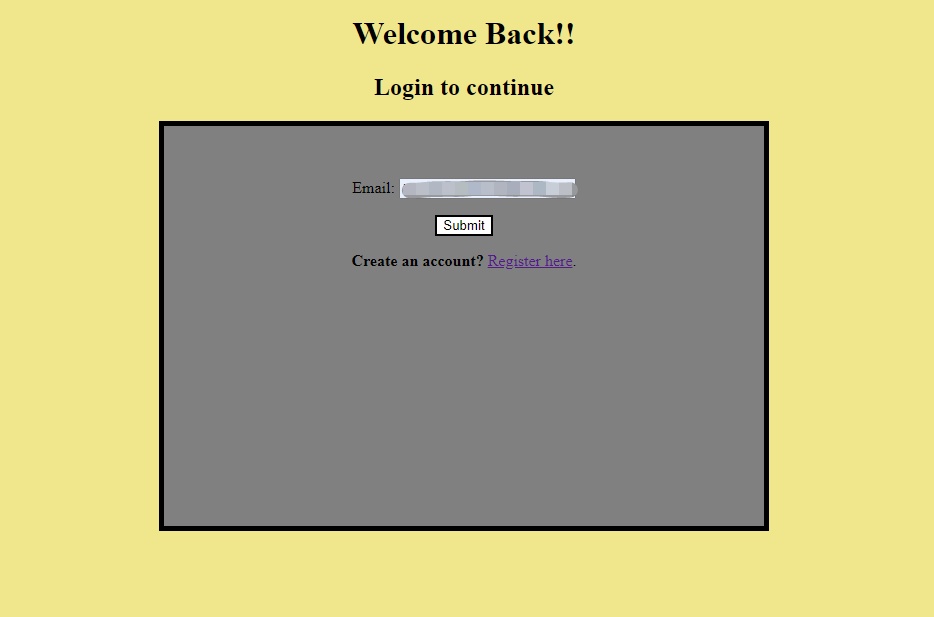
Create login.html
Just like auth/register.html, auth/login.html will also display a basic Django form with the fields defined in forms.py. The only difference is that here we will display a message if there is an error in the value entered by the user in the form.
Copy the following code into auth/login.html:
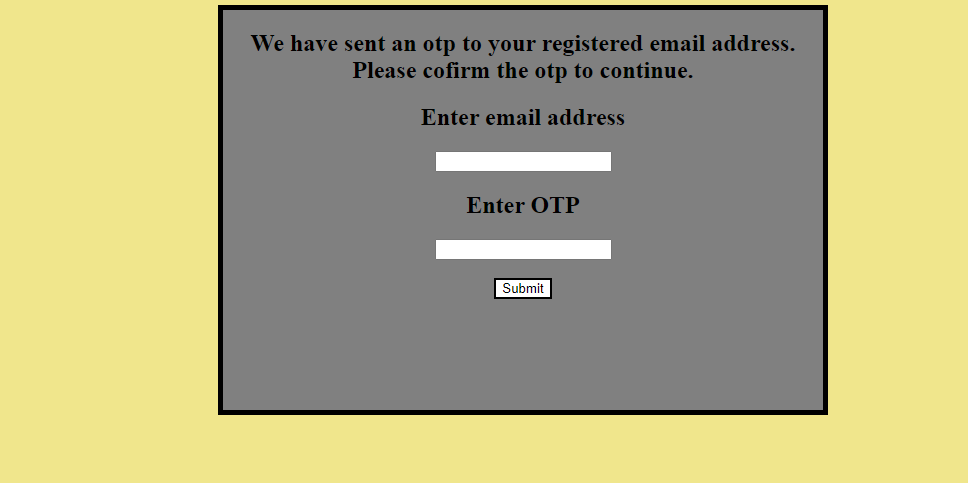
Create otp.html
Next, create a file called otp.html inside the templates folder. Note that this file is outside of the auth folder.
This page will have 2 fields — email address and OTP. After the user submits the form, the user is redirected to the “/check” url.
Add the following code to otp.html:
Create home_page.html
Next, create another file in the templates folder called home_page.html.
Here, we will check if the user is authenticated. If the user is authenticated, then we will show them the premium content. Otherwise we will simply display a message: "Please login to continue.
Add the following code to home_page.html:
Testing
Now, let’s test our authentication system!
To restart your application, navigate to the folder which contains the manage.py file, and run the following command:
Access the registration page at http://127.0.0.1:8000/register/, and register a user.
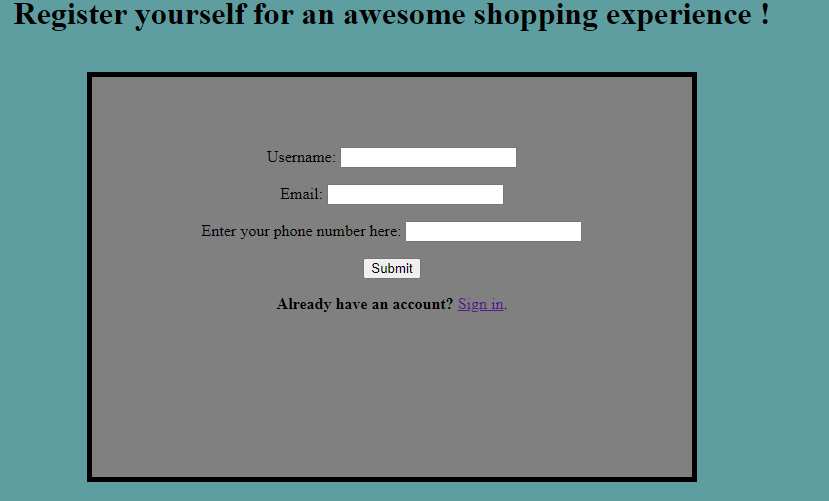
Note: For the purpose of this tutorial, the template is kept basic, but you can make changes in the UI as required.
Now if everything works well, you will be redirected to the login page:
After you click on the Submit button, you will be redirected to the page where you need to enter the OTP you received at your registered email address.
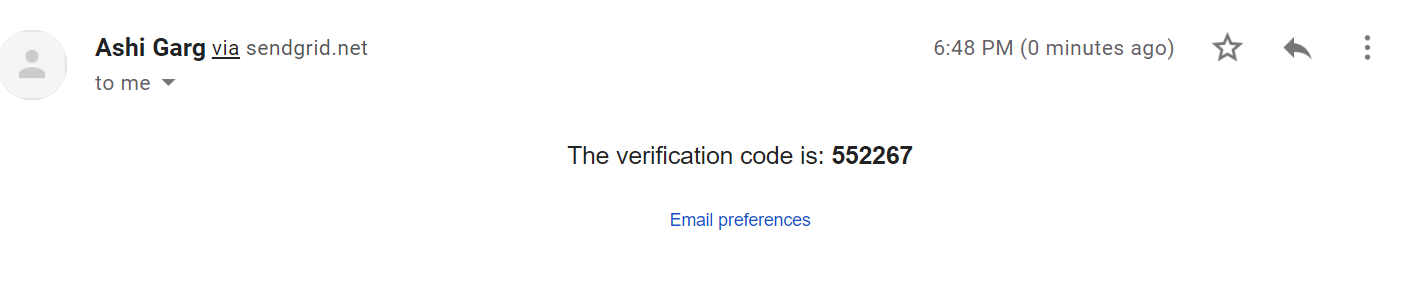
You will receive an email like this:
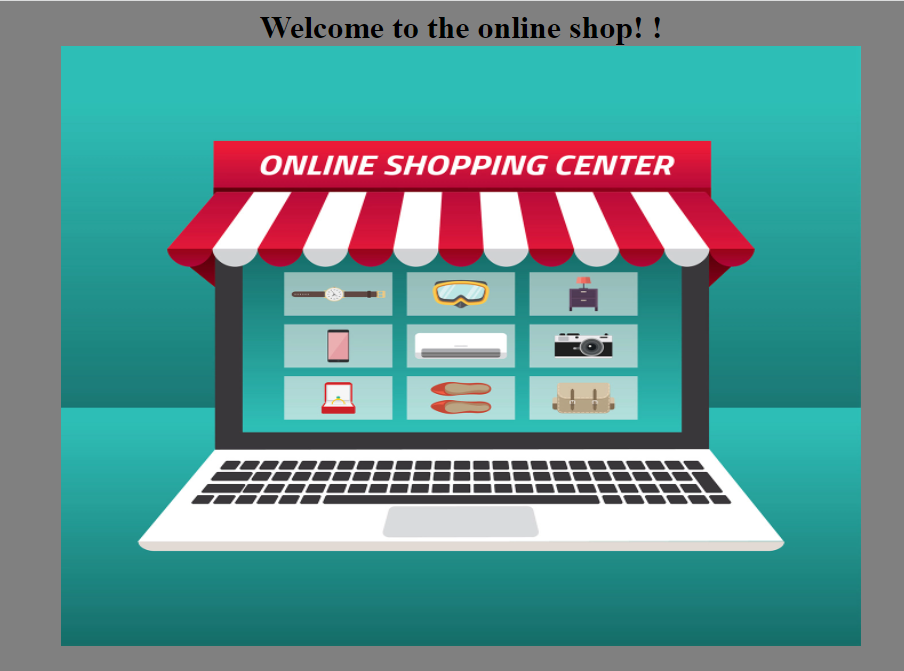
After submitting the correct email address and OTP, you will be redirected to the home page.
If you are not authenticated, a simple message will be displayed like this:
Please login, to continue.
Conclusion
Congratulations! You have successfully created a passwordless authentication system. The source code for the passwordless authentication system can be found here: Passwordless authentication system.
What’s next?
- Add the logout view
- Add features in the home page
- Improve upon the design of the template
Ashi Garg is a Computer Science Engineer. Her interests include developing systems that are safe and easy to use and keeping herself abreast with new technological trends. She can be reached via email and LinkedIn.

Related Resources
Twilio Docs
From APIs to SDKs to sample apps
API reference documentation, SDKs, helper libraries, quickstarts, and tutorials for your language and platform.
Resource Center
The latest ebooks, industry reports, and webinars
Learn from customer engagement experts to improve your own communication.
Ahoy
Twilio's developer community hub
Best practices, code samples, and inspiration to build communications and digital engagement experiences.