How to Use Postman to Make Requests and Test APIs
Time to read: 8 minutes
May 18, 2022
Written by
Reviewed by

Ahoy, operator. Congratulations on gaining acceptance into the Arcane Academy of API Arts. I’m Professor Rose Barrington, head of House Hopper. In House Hopper we believe that code is everywhere. We use tools to magnify our magic and bring code to smart devices all over the world. One tool, in particular, that supports our work is Postman.
Postman is “an API platform for building and using APIs. Postman simplifies each step of the API lifecycle and streamlines collaboration.”
You can see why students in House Hopper would make great use of this tool! If you’re exploring your connection to House Hopper, feel free to read this lesson, where I’ll be explaining more about what Postman is and how to make the most of it.
Prerequisites
To make the most of this lesson, operator, you should have the following school supplies at the ready:
- Your wand
- A free Twilio account (sign up with this link and get $10 in free credit when you upgrade your account)
- A Twilio phone number
- Access to a web browser
Installation and set up
In order to learn how to use Postman, the first step is to create an account. To create an account, visit the Postman website. Click the Sign Up for Free button in the top right corner of the page.
Postman offers both a desktop application and a web-based application. For the purposes of this lesson, you’ll be using the web-based application. After creating an account, please login.
Get to know Postman
Before it’s time to unleash your inner House Hopper magic and start making API requests in Postman, I’ll be explaining the foundations of how Postman works and how to navigate around the app.
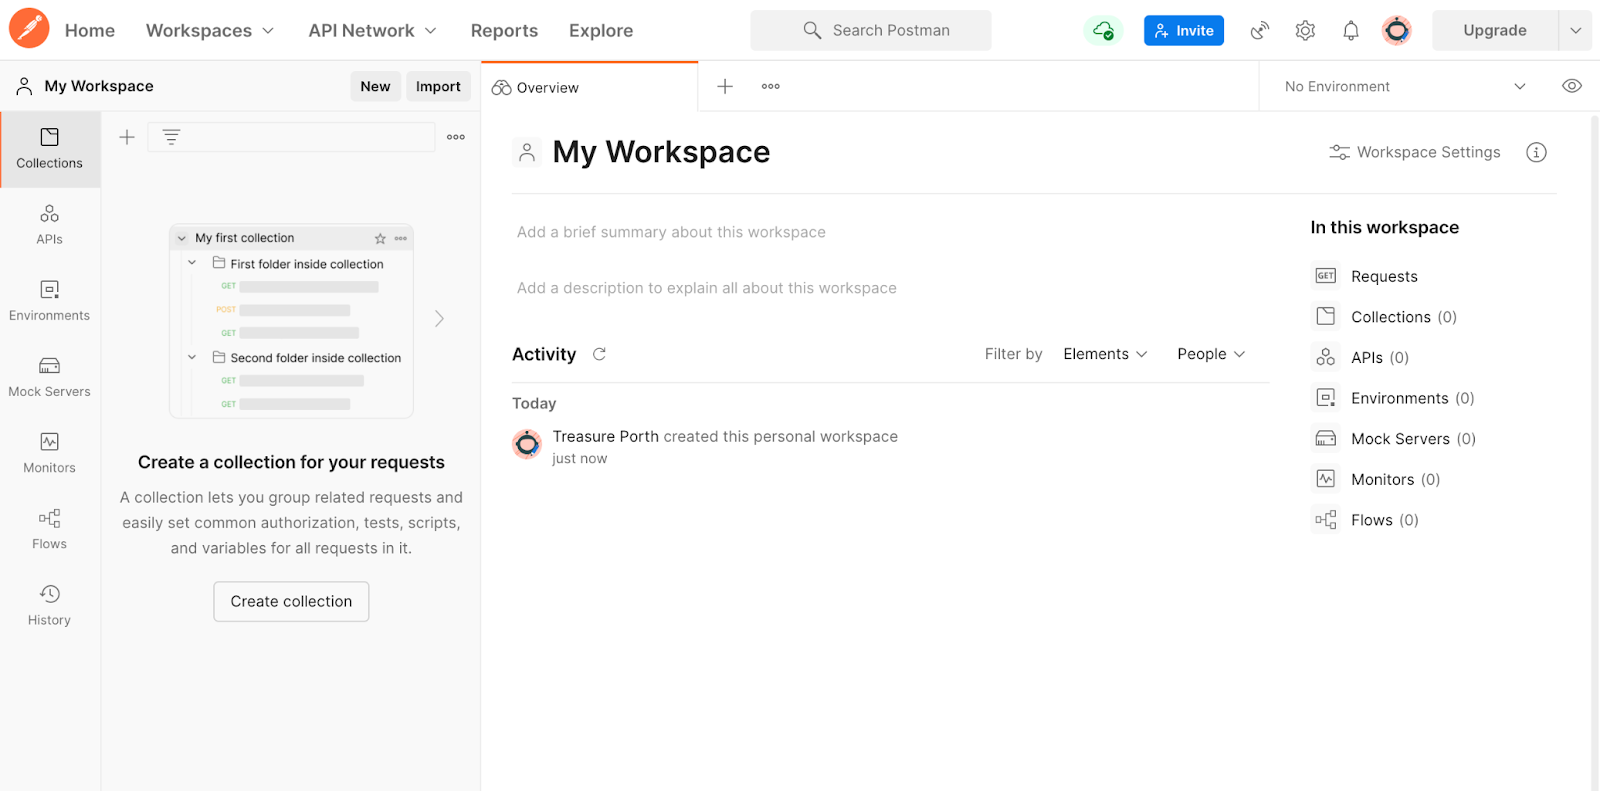
Workspace
Your work in Postman can be organized into different Workspaces. Workspaces represent an entire project. Inside each workspace, you can create new APIs, make use of collections, and create environments.
There are three types of workspaces: private workspaces, team workspaces, and public workspaces. When you first create a Postman account, it’s already loaded with a default private workspace called My Workspace. Consider this workspace your personal API playground. It will be just fine to utilize this workspace as you practice during this lesson.
Collection
A Collection is a group of API requests that can be saved together for easy reuse. Collections make finding and organizing your regularly run requests easier. You can also set up authorization, tests, scripts, and variables once, and use them for all requests inside a collection. Collections aren’t required to work with Postman, but as you do more work, it’s a good idea to utilize them.

Request
Requests represent the most basic functionality of Postman. They can be grouped together in collections or run standalone. You might make a request to test out an API endpoint, to see how an API works, or to read data. In Postman, no code is necessary to make a request. You can enter the body of the request, and any necessary headers or authorization information, right in Postman’s user interface, and see the response from the server right below.
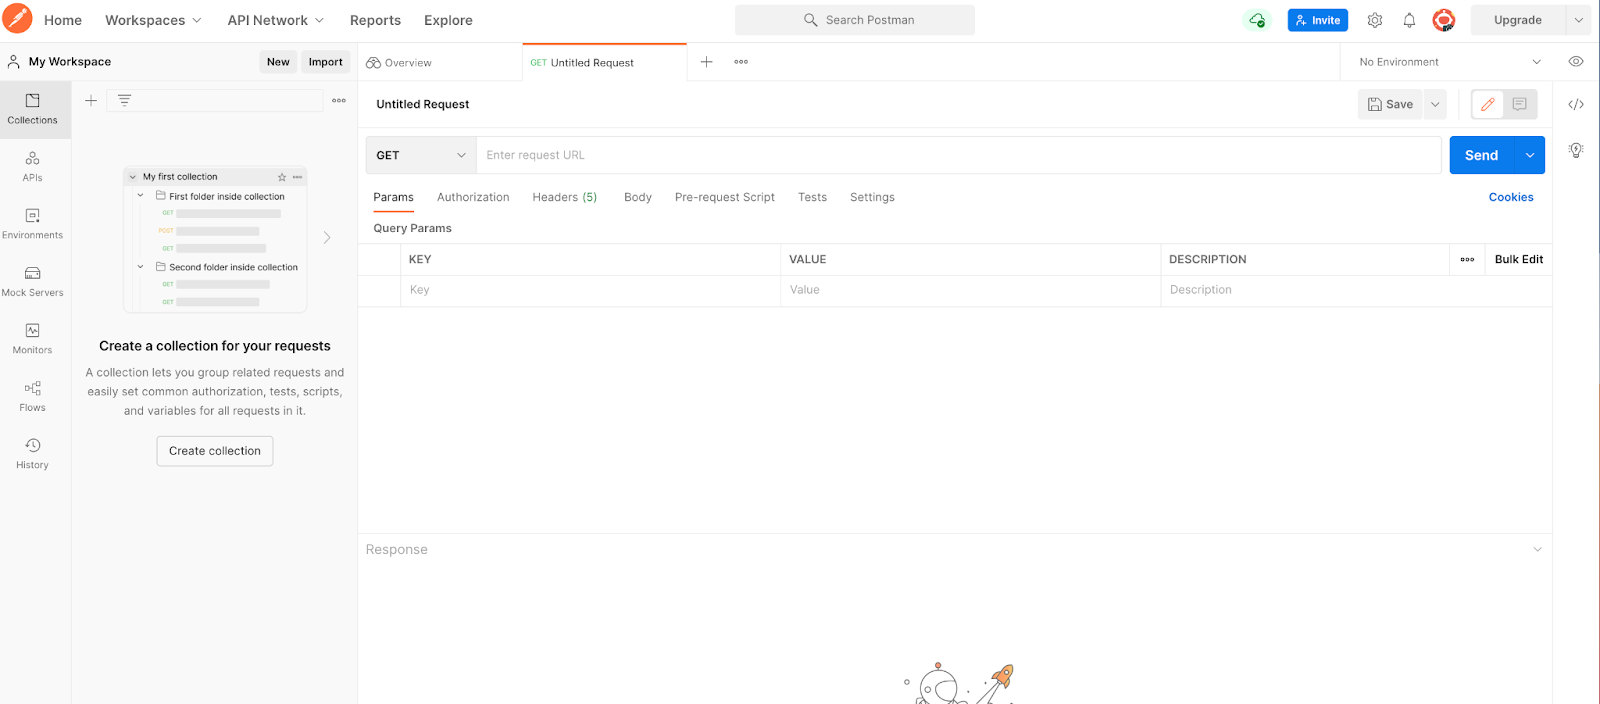
Make your first HTTP request
Now that you’ve learned the foundations, operator, please take out your wand to begin your practical studies!
Set up Postman to make a request
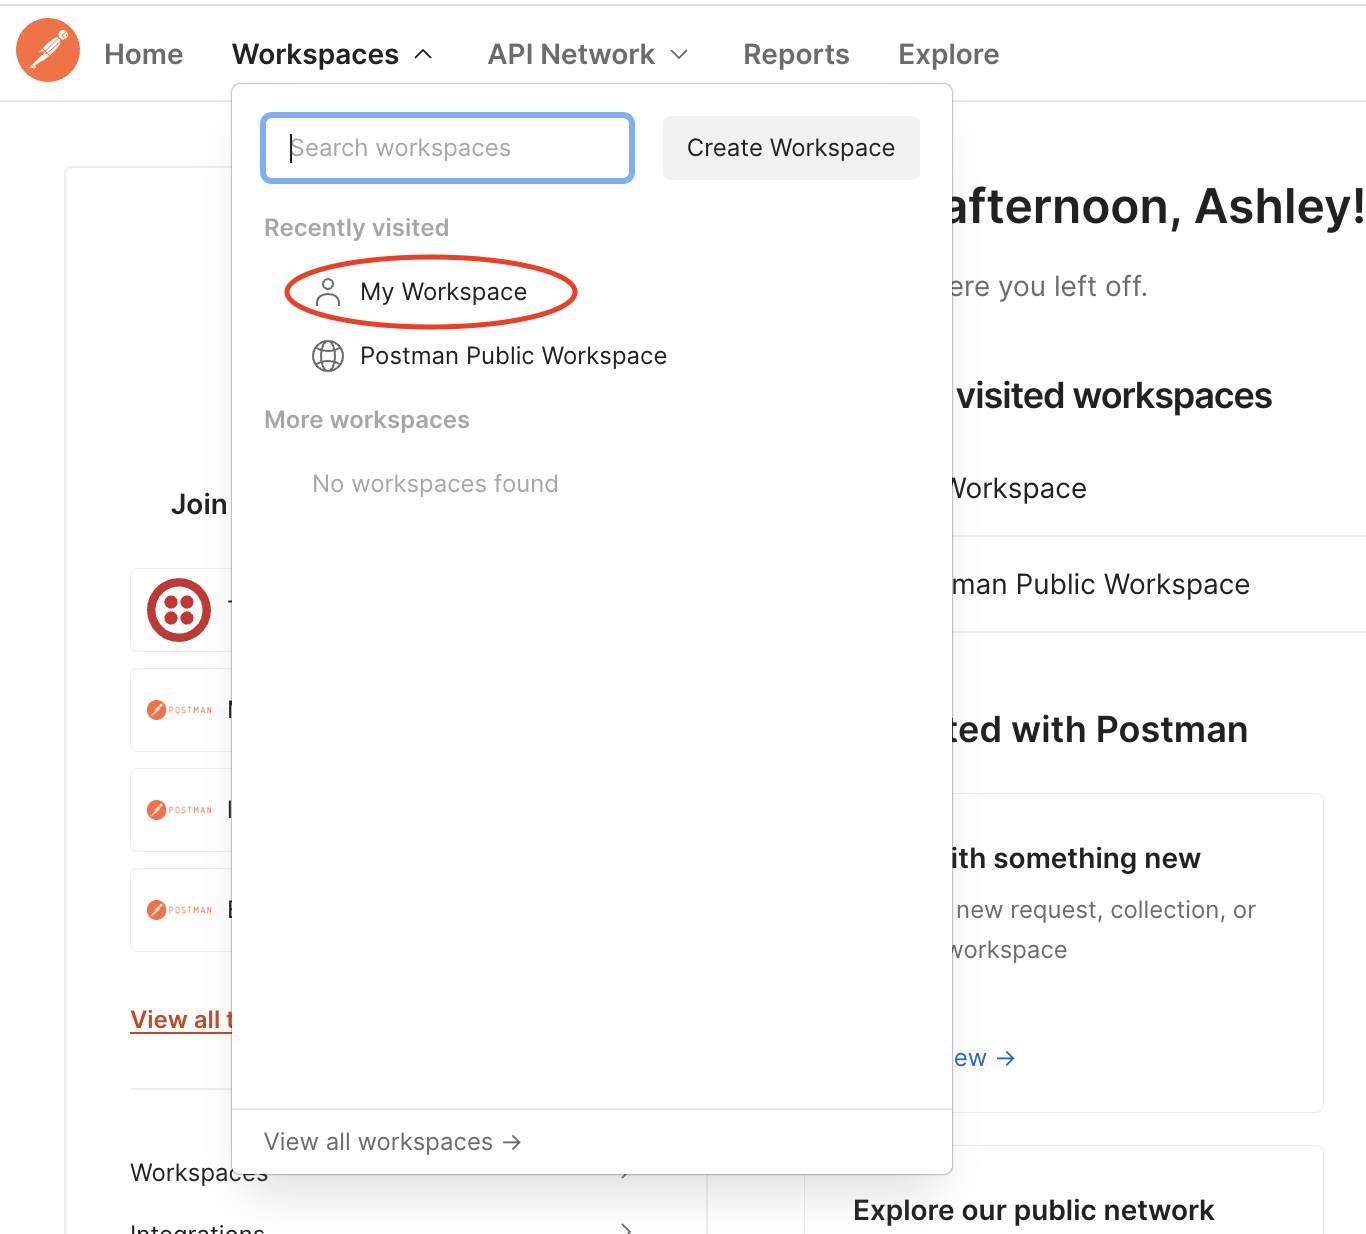
In the Postman web app, navigate to your My Workspace workspace by clicking Workspaces in the navigation menu, and then selecting My Workspace.
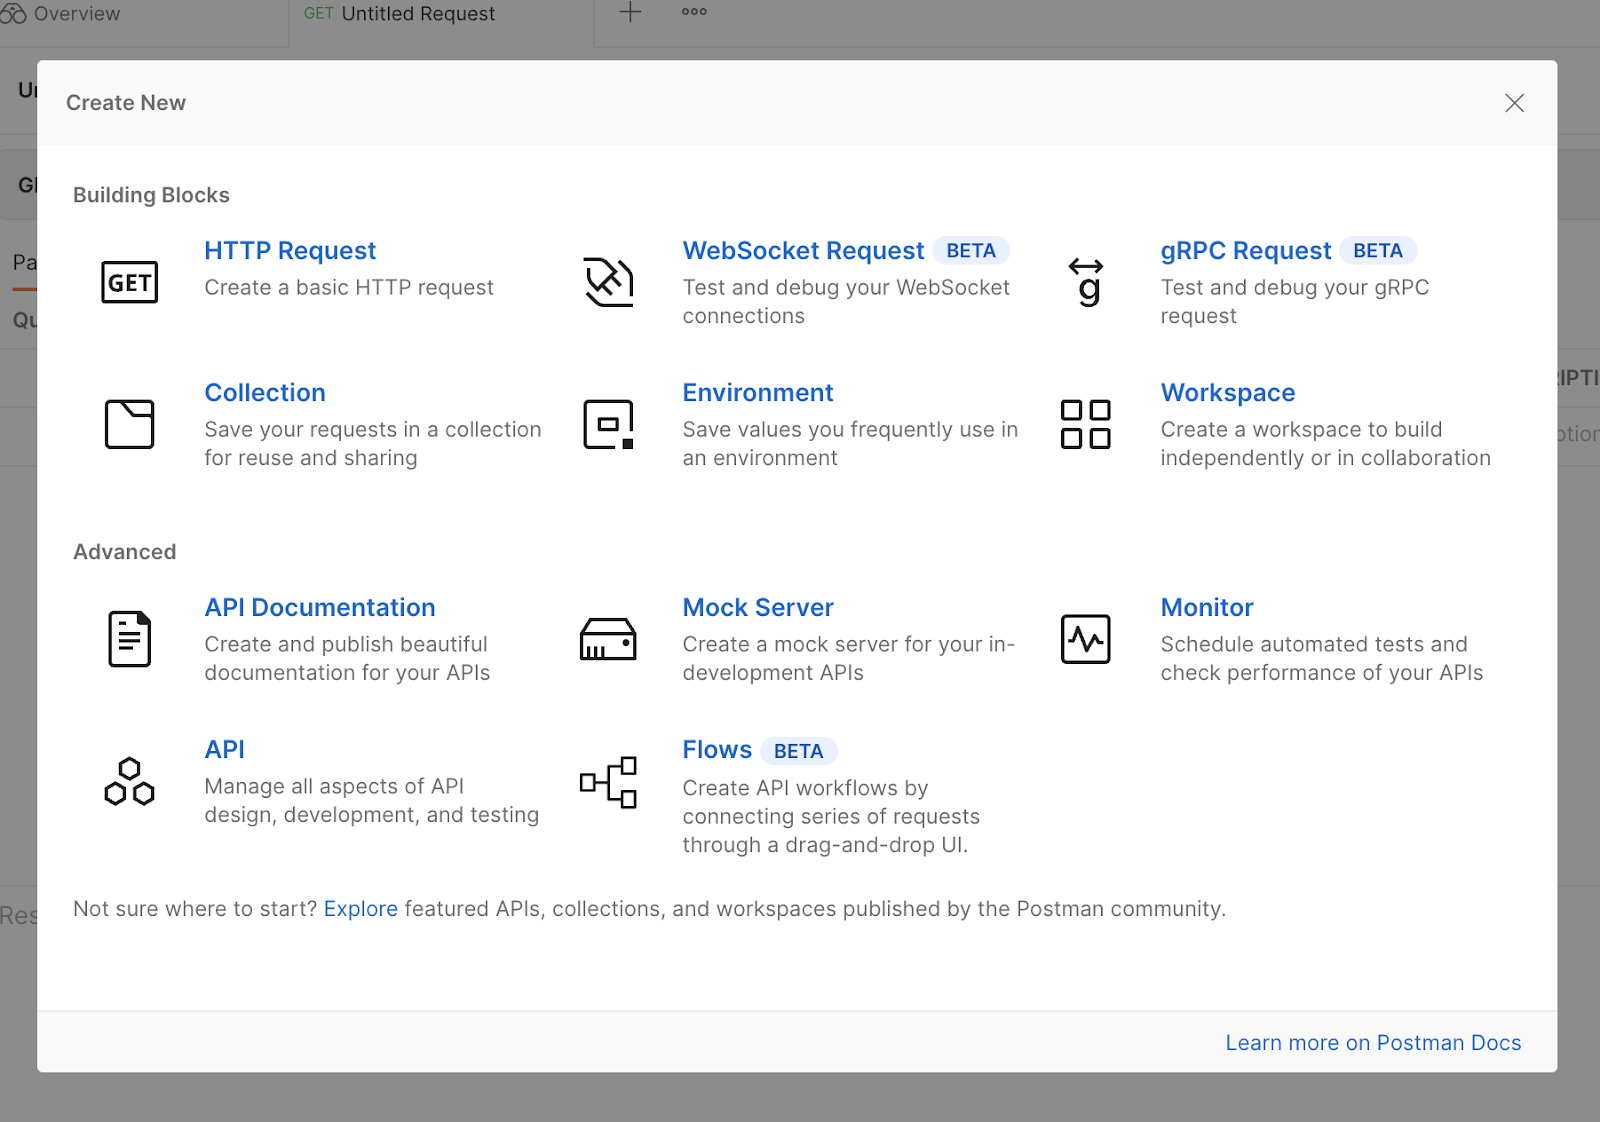
Once My Workspace loads, look in the top left corner for the NEW button:
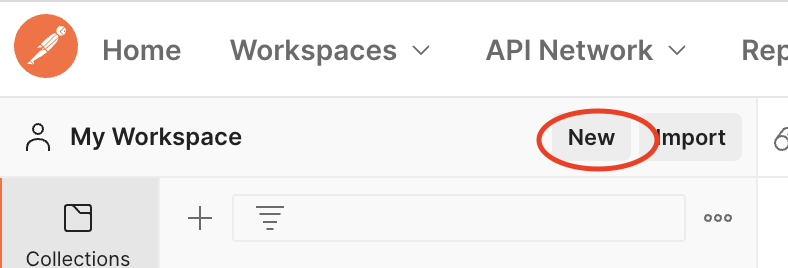
Click this button, and a menu will appear displaying all different items you can create. Select HTTP Request in the top left.
Learn how to make a request to your API of choice
For your first request from Postman, you’ll make a GET request to read some data from a data source.
There’s an open-source API called I Can Haz Dad Joke that allows you to query jokes. The API has a few different endpoints you can test out in Postman, but the one you’ll start with is the Fetch a random dad joke endpoint.
As you might have learned from your time at the Academy so far, reading documentation is a necessary part of using APIs.
This image shows the documentation for the Fetch a random dad joke endpoint:
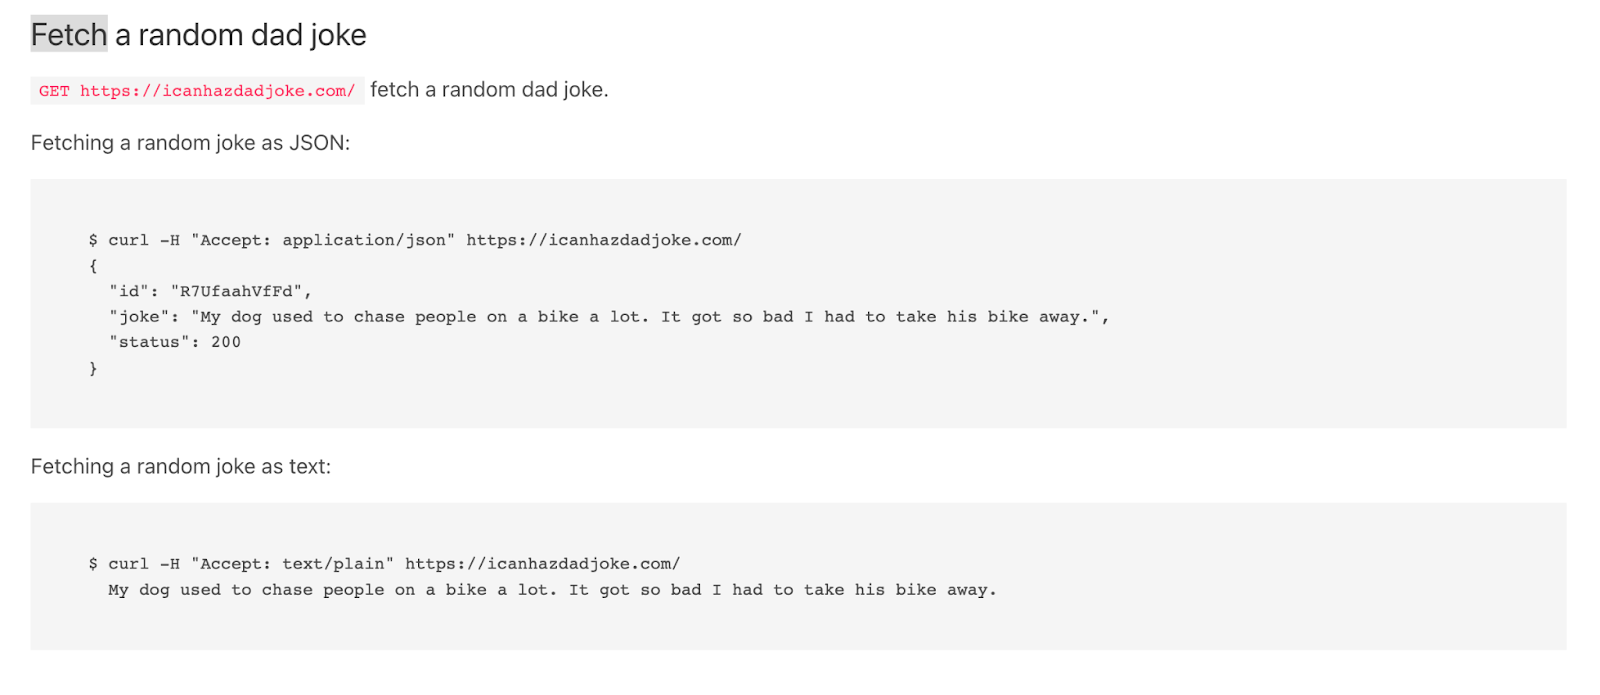
The documentation first gives you the endpoint’s label: Fetch a random dad joke. This label tells you what response you should expect if you make a request to this endpoint. In this case, you can expect a random dad joke to be included in the response.
After the label, you’re shown the word GET followed by a URL. This tells you that to use this endpoint correctly, you’ll want to make a GET request (versus a POST or other HTTP method) to that URL.
After that, the documentation shows some example code that makes a request for a JSON response.
The line that starts with $ is a terminal command where the request is made via curl:
What follows is the response from the request:
Operator, you may be thinking, “But this is a terminal command! How do I test this in Postman?”. Fear not, we will do that together.
Examine the curl command more closely.
First, there is the word curl. curl is the command, and what follows are the details of the request.
After curl, you will see -H "Accept: application/json". The -H flag will precede any headers that need to be sent with the API request. Headers are extra bits of data that are important to the request. In this case, the header is Accept and the value for the header is application/json. This means that we will only accept a JSON response to this request.
After the headers, there is the endpoint URL: https://icanhazdadjoke.com/. This is the request URL.
Here’s a summary of what you’ve learned about the request from analyzing the curl command:
|
Part of Request |
Value |
|---|---|
|
Request type |
GET |
|
Header |
Accept |
|
Header value |
application/json |
|
Request URL |
https://icanhazdadjoke.com/ |
Armed with this information, you can now test it in Postman.
Make the request
Head back to the Postman web app. Make sure you still have the interface for a new request open. If not, follow the steps from earlier in this lesson to create a new request.
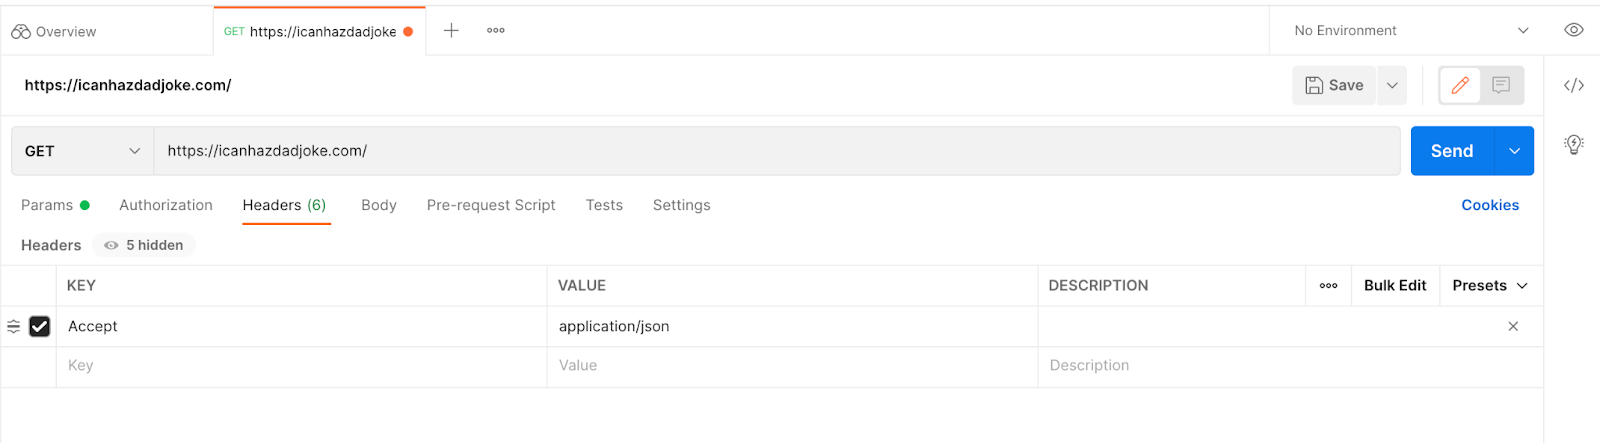
To the right of the dropdown that says GET (note: GET is the default request type, so you don’t need to change this), enter the request URL.
Right below the request URL input, click on the tab that says Headers.
In the first row, in the column labeled KEY, type in Accept. In the corresponding VALUE column, type or paste in application/json.
Your interface should look like this:
Now, click the button to the right that says Send.
With that, you’ve made your first API request in Postman!
Read the response
In a few moments, the response from the request will appear on the lower part of your screen. Because this endpoint returns a random joke, your response won’t be the same as mine, but it should contain the same three pieces of data: the joke’s id, the joke itself, and a status.

Congratulations, another spell has been loaded onto your wand!
Make a POST request with authorization to the Twilio API
Now, dear operator, it’s time to test your magic with a POST request. Consider the Twilio Programmable SMS API for your exploration.
Just like you can send an SMS via curl from your command line, or via a line of code, you can send one with Postman.
Read the documentation
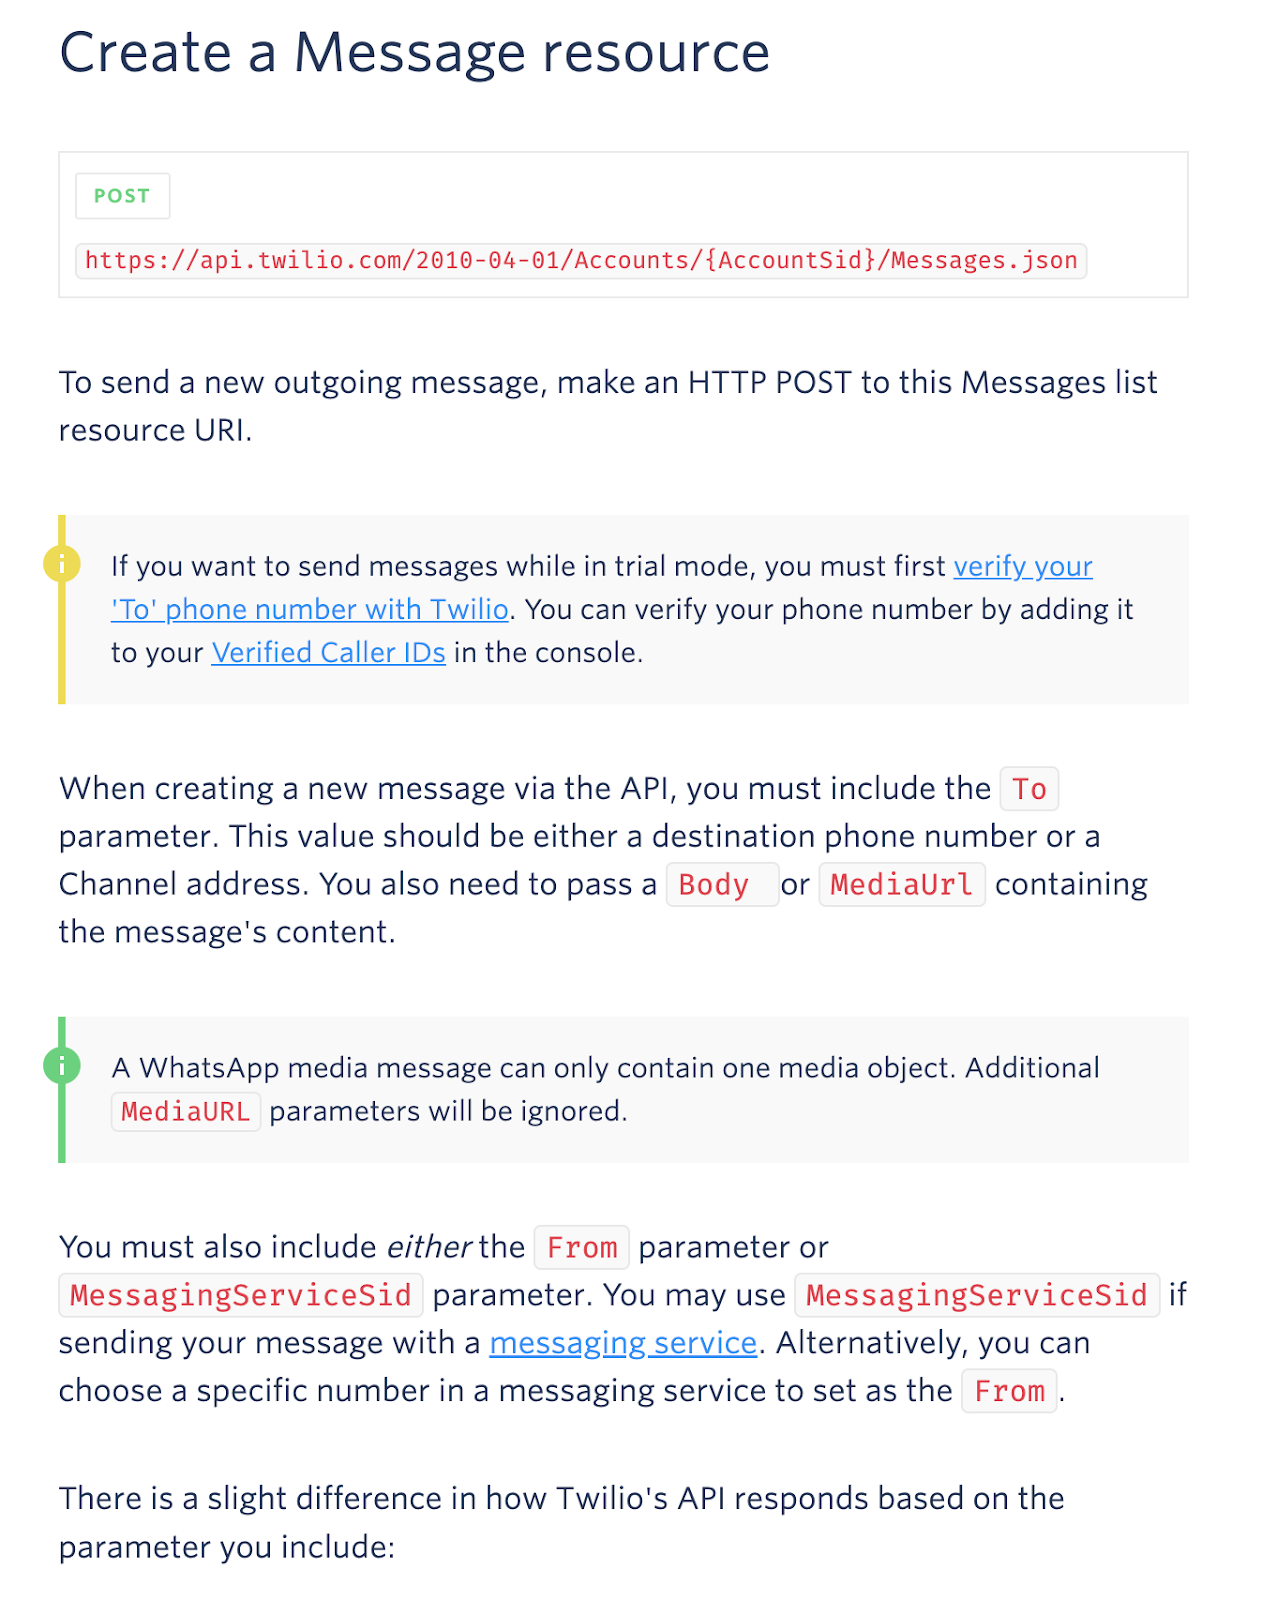
Take a look at the Programmable SMS Create a Message Resource documentation.
This might seem like a lot of information all at once, but it contains almost all of the details you need to make a POST request.
First, at the very beginning, it tells you you’ll be making a POST request, and to which URL.
It then goes on to explain which pieces of data must be included in your request. To, and then either Body or MediaUrl, and then From or MessagingServiceSid. It also explains what each of these parameters mean.
This is pretty good to get started. It’s time to try to enter this in Postman.
Enter the data into Postman
Create a new request in the Postman web app. Change the request type from GET to POST in the dropdown.
Find the request URL from the documentation. It looks like this:
Look carefully at this request URL and you’ll see {AccountSid} quietly tucked inside. This is a placeholder, and you must replace it with your actual Account SID, which you can find on the main page of your Twilio console.
After replacing the placeholder with your real Account SID, your personal request URL should look something like this (I’ve replaced some characters with X to preserve the integrity of my personal Account SID. One of the first things you’ll learn at the Academy to protect your magic!)
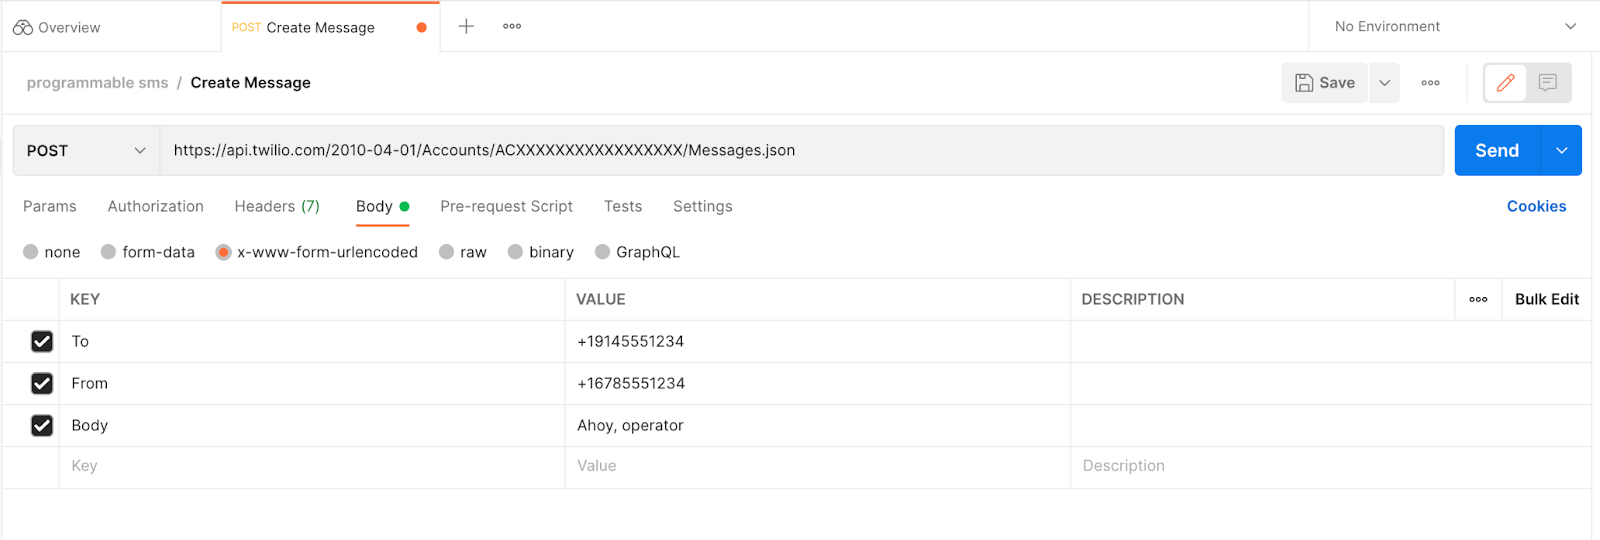
Paste your request URL into the input field in Postman.
To add the To, From, and Body values to the body of the request, click on the Body tab under the URL input. Then click the radio button for x-www-form-urlencoded. This selection will allow you to send URL encoded data with your POST request.
Add three rows under this tab, as shown in the following table:
|
KEY |
VALUE |
NOTES |
|---|---|---|
|
To |
+ |
Use E.164 format |
|
From |
+ |
Use E.164 format |
|
Body |
Ahoy, operator! |
|
Your Postman interface should now look something like this:
Click the Send button to make the request. The response will appear below the input interface.
Debug the response
Uh oh, operator, it looks like there’s been an error. Does your response look like this as well?

What’s displayed here is a response from the API with a 401 error status. The HTTP 401 response status means unauthorized. It appears that no authorization credentials were sent along with your request, so Twilio’s API rejected the request. This is because Twilio’s API requires that any and all requests are authorized with the user’s Account SID and Auth Token, or an API Key.
To remedy this error, click on the Authorization tab. From the drop down, select Basic Auth. In the username field, enter your Twilio Account SID. In the password field, enter your Twilio Auth Token, which you will also find in the main page of your Twilio Console.
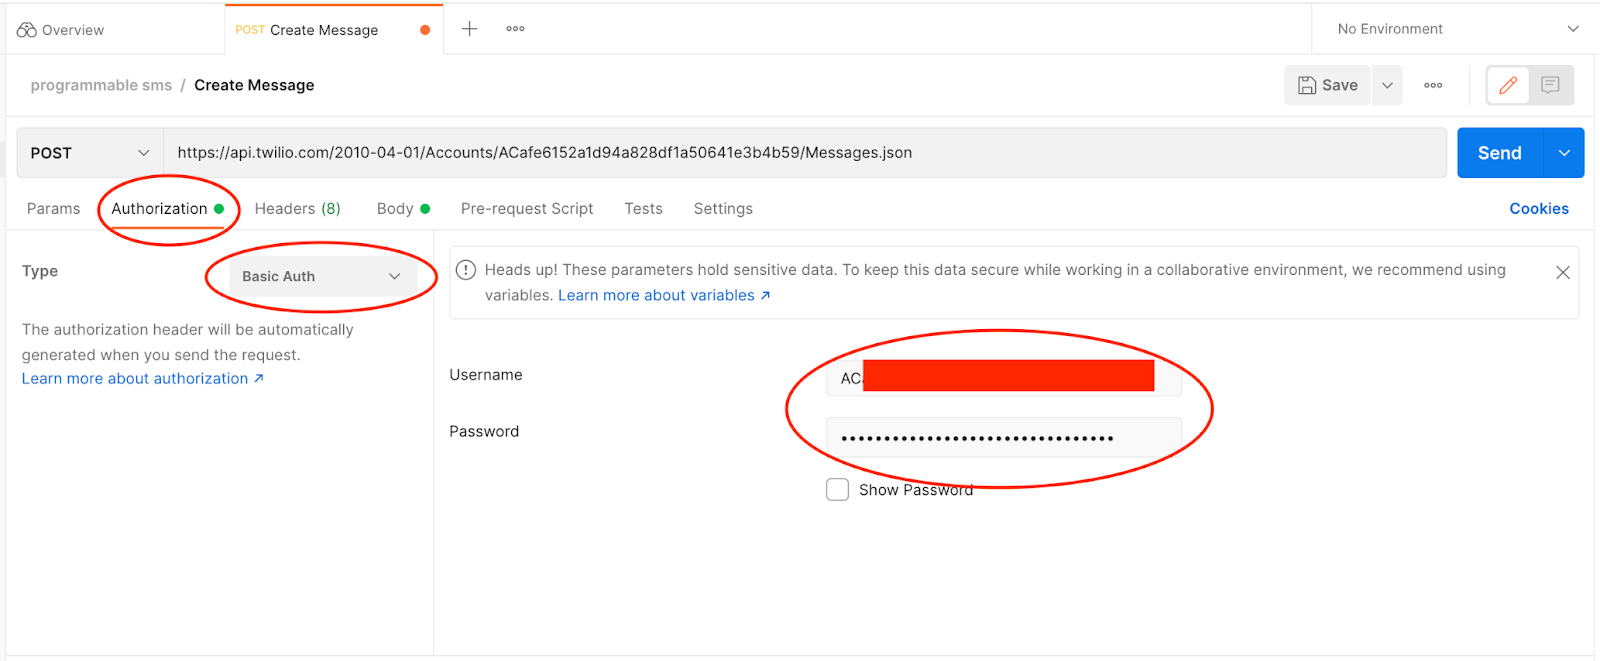
Click the Send button again. What happened this time?
Your response from the API will contain JSON with detailed information about the message you created with your request:
Check your phone - have you received your message? Congratulations!
Do more with Postman
Now you’ve learned to harness the basic powers of Postman. What else can you do with it?
Head back to the Authorization tab. You might see a little notice that says: “Heads up! These parameters hold sensitive data. To keep this data secure while working in a collaborative environment, we recommend using variables.”
Variables are a great way to secure your private information, like your Twilio Account SID and Auth Token, while still being able to easily reuse this data and collaborate with others in Postman safely.
If you need to manage multiple variables related to the same project, for example, the many pieces of data you might put in a .env file, you can create environments in Postman.
You can also use scripting to add testing to your requests, include dynamic parameters and more.
I hope you’ve enjoyed this lesson on Postman, operator. When it’s time to be placed into a House at the Academy, I hope you’ll channel what you’ve learned here and embrace the magic of House Hopper.
Download TwilioQuest to begin your studies immediately!
Ashley is a JavaScript Editor for the Twilio blog. To work with her and bring your technical stories to Twilio, find her at @ahl389 on Twitter. If you can’t find her there, she’s probably on a patio somewhere having a cup of coffee (or glass of wine, depending on the time).

.png)
Related Resources
Twilio Docs
From APIs to SDKs to sample apps
API reference documentation, SDKs, helper libraries, quickstarts, and tutorials for your language and platform.
Resource Center
The latest ebooks, industry reports, and webinars
Learn from customer engagement experts to improve your own communication.
Ahoy
Twilio's developer community hub
Best practices, code samples, and inspiration to build communications and digital engagement experiences.