How to Send Emails using C# .NET with Azure Functions and SendGrid Bindings
Time to read: 8 minutes
February 09, 2022
Written by
Reviewed by
How to Send Emails Using C# .Net with Azure Functions and SendGrid Bindings
Azure Functions has its own opinionated way of developing applications based on triggers, input bindings, and output bindings. Azure supports two Twilio products using output bindings: Twilio Programmable Messaging for sending SMS and Twilio SendGrid for sending emails.
In this tutorial, you'll learn how to send emails with C# .NET using Azure Functions and SendGrid bindings.
Benefits of Using Azure with SendGrid for email
Azure Functions are a serverless style of function hosted in the cloud. This means that you can use Azure Functions without having a public-facing email server. This will allow you to maintain less infrastructure and cuase less technical debt. You may also find the pricing solutions in Azure more flexible for SendGrid use allowing to save on cost. Azure functions provide easy lists of templates to help you get started.
Prerequisites
You will need these items to follow along:
- An OS that supports .NET (Windows/macOS/Linux)
- .NET 6 SDK
- Azure Functions Core Tools
- A code editor or IDE (Recommended: VS Code with the C# plugin, Visual Studio, or JetBrains Rider)
- Node.js version 8.0 or later (optional)
You can find the source code for this tutorial on GitHub. Use the source code if you run into any issues, or submit an issue on this GitHub repo, if you run into problems.
Get Started with SendGrid & Azure Marketplace
You can sign up for a SendGrid account in two different ways. Either sign up directly at SendGrid's website, or create a SendGrid account through the Azure Marketplace.
When you upgrade your SendGrid plan on Azure, the plan will be billed on your Azure Subscription, which is useful for consolidating your billing.
Once you've created a SendGrid account, go to your SendGrid dashboard and move on to the next section.
Configuring your SendGrid account to send emails
There are two things you need to configure before you can send emails. First, you’ll need to set up Sender Authentication. This will verify that you own the email address or domain that you will send emails from. Second, you’ll need to create a SendGrid API Key with permission to send emails.
Sender Authentication with Single Sender Verification
It is recommended to configure Domain Authentication, which requires you to add a record to your DNS host. To keep things simple, you will use Single Sender Verification for this tutorial instead. This will verify that you own the single email address that you want to send emails from. Single Sender Verification is great for testing purposes, but it is not recommended for production.
Click on the Settings tab in the side menu. Once the settings tab opens, click on Sender Authentication.
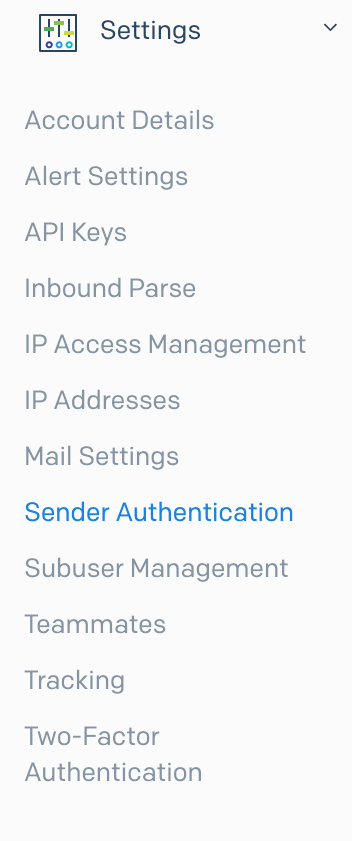
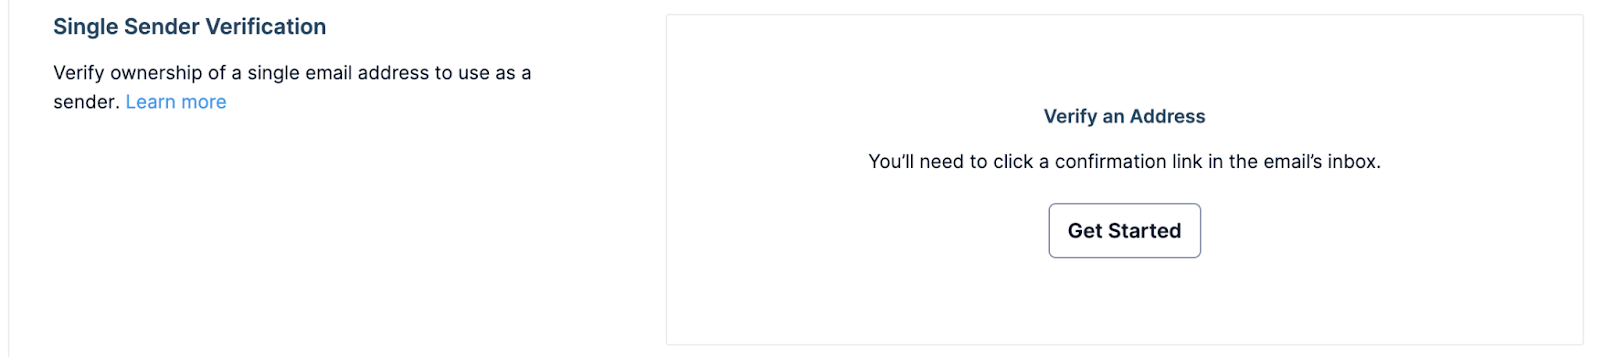
Then, click Get Started under the Single Sender Verification section.
This will open a form on the right-side panel. Fill out the form with your information and email address.
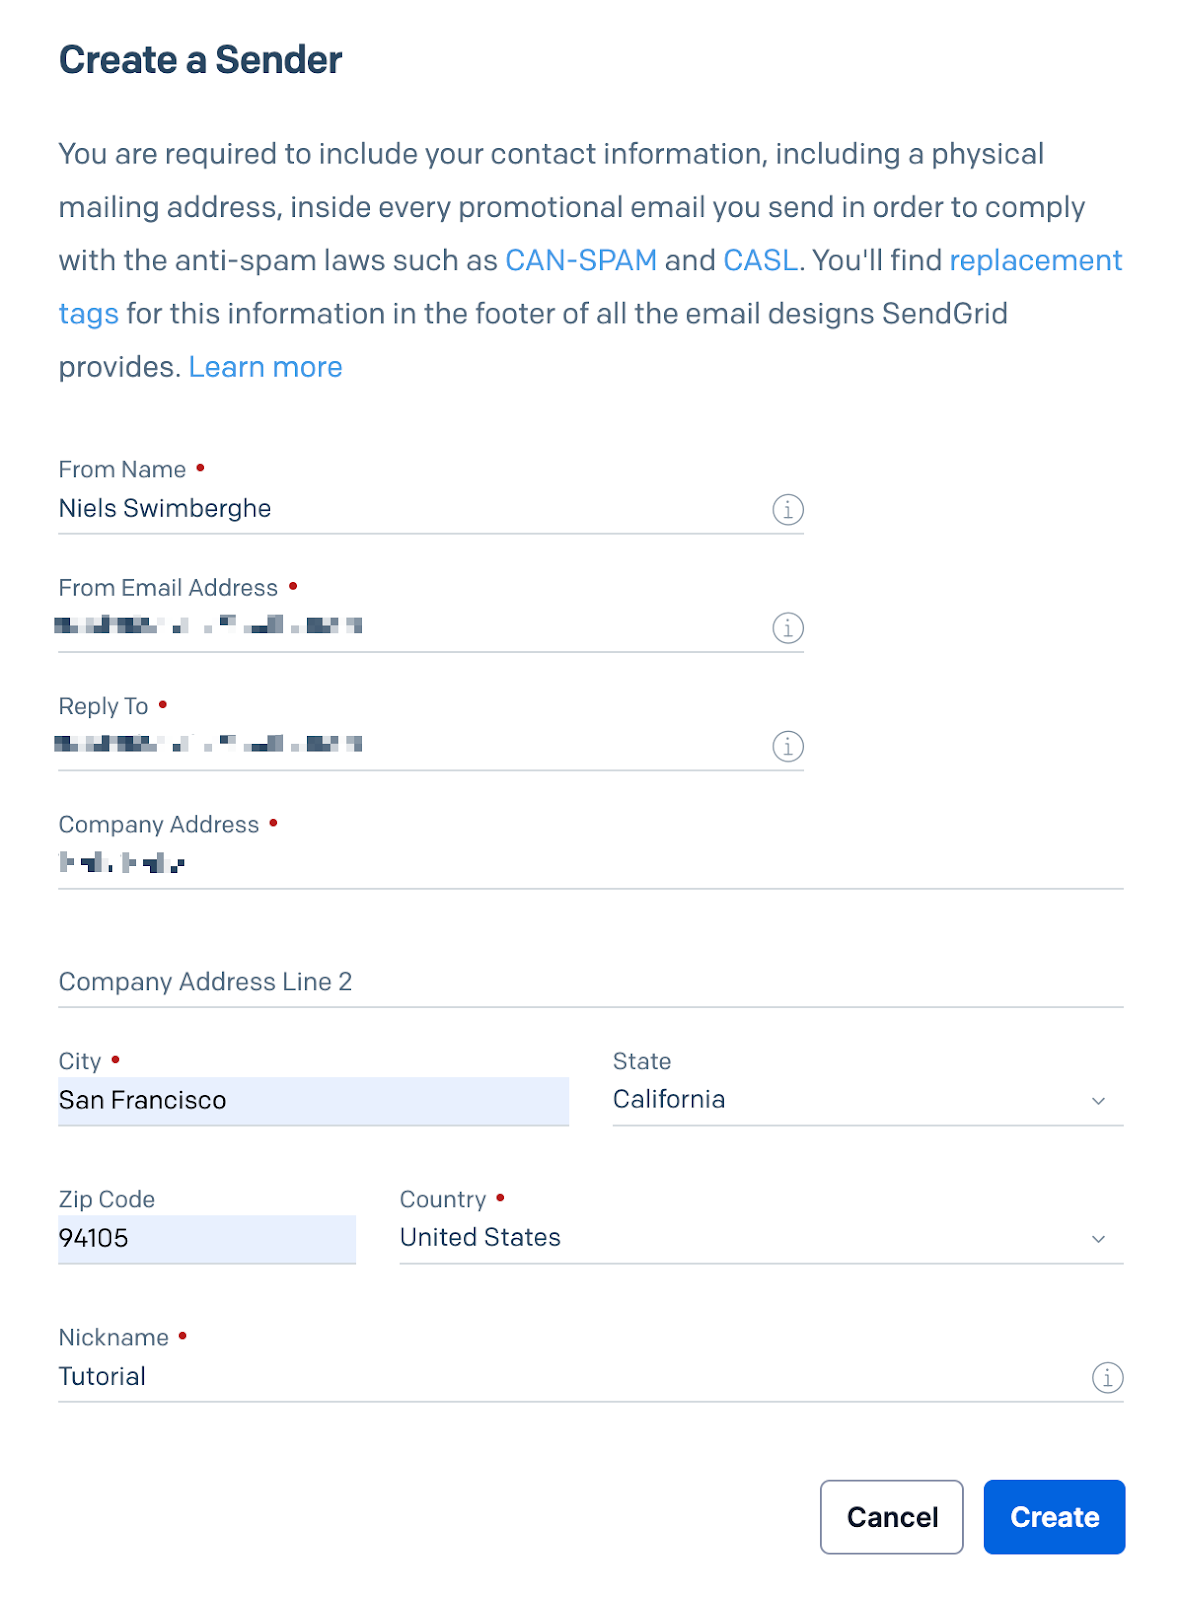
Click Create after filling out the form. Another panel will appear on the right, asking you to confirm your email address. In the background, an email has been sent to the email address you entered.
Go to your personal email inbox, open the email from SendGrid, and click Verify Single Sender.
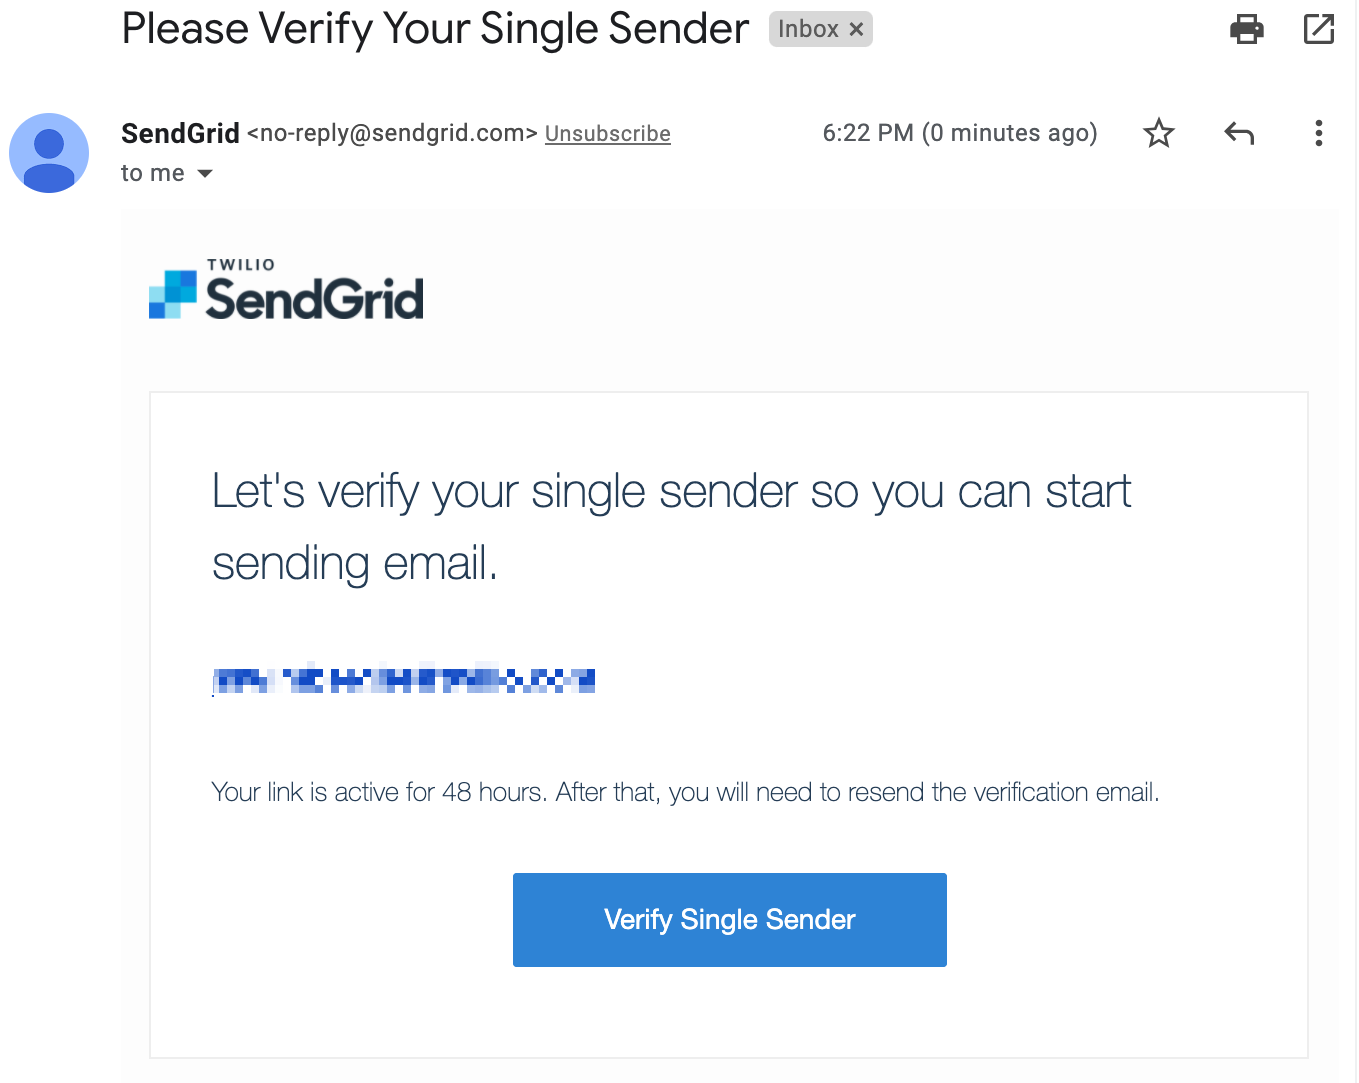
Your email address has been verified. You can now use it to send emails!
Create a SendGrid API key to send emails
To use SendGrid with Azure you will need a SendGrid API key. Back on the SendGrid website, click on API Keys under the Settings tab, then click on Create API Key in the top right-hand corner. This will open another form in the right-side panel. Give your API Key a useful name. You can assign different permissions to the API Key. For optimal security, you should only give the minimum amount of permissions that you need.
Next, click on Restricted Access.
Scroll down to the Mail Send accordion item and click on it to reveal the permissions underneath. Drag the slider to the right for the Mail Send permission.
Scroll to the bottom of the form and click on Create & View. The API key will now be displayed on your screen. You will not be able to retrieve the API key again once you leave this screen, so make sure you copy the secret somewhere safe.
With the sender verified and the API Key created, you’re ready to set up your local Azure Functions environment.
Preparing your local Azure Functions environment
You will need to prepare your development machine depending on the type of Azure Functions you will be developing. HTTP trigger based functions don't require any extra steps, but timer trigger based functions and other types of Azure Functions depend on Azure Storage. Luckily, Azure has developed a cross-platform and open-source storage emulator called Azurite. You'll need to install and run Azurite before you can develop Azure Functions locally.
There are multiple ways to install Azurite, but one of the easiest ways is to install it as a global NPM package. This means you need to have Node.js version 8.0 or later installed on your machine.
To install Azurite as a global NPM package, run the following command:
When you run Azurite, it will create several files and folders in the current directory. Given that, create a new directory and navigate to it to avoid accidentally polluting your current directory:
Run Azurite using the following command:
Create an Azure Function
It's time to start developing your Azure Functions. Run the following command in the new shell you opened in the previous step:
This command will create a new folder AzureFunctionsWithSendGridBindings and generate a .NET project for Azure Functions. Navigate to the new folder by running the command below:
This project does not contain any functions yet. Run the following command to generate a timer trigger based Azure Function.
This will create a new C# file: SendEmailTimer.cs. Open the file and replace 0 */5 * * * * with */15 * * * * *. With that change, the SendEmailTimer.cs file should now look like this:
The FunctionName attribute marks the method as an Azure Function. This method will be triggered on a time schedule by using the TimerTrigger attribute in the parameter of the method. The argument passed into TimerTrigger is a cron expression that instructs the Azure Functions platform when to run the function. This particular cron expression occurs every 15 seconds.
The Azure Functions platform uses a 6-part CRON syntax:
The details of the timer are passed into the method through the myTimer parameter. This parameter is an example of a very simple input binding, but input bindings can be a lot more powerful.
The Azure Functions platform also injects a logger into the method because it is specified as the second parameter of the method. The order of the parameters doesn’t really matter because the platform will use a combination of reflection and dependency injection to configure your Azure Functions and inject the necessary parameters.
The method itself only does one thing at the moment: logging a message with the current date and time.
Run the following command to run the Azure Functions project:
The output of running the Azure Functions project should look like this:
Every 15 seconds, a message looking like this should be logged: C# Timer trigger function executed at: 1/7/2022 1:25:00 PM.
Stop the project by pressing control + c.
Now that you have an Azure Function, you are ready to start integrating with SendGrid. This will let Azure Functions send your email.
Integrate Twilio SendGrid into your Azure Function
Azure Functions use the concept of triggers, input bindings, and output bindings. You've already encountered a trigger, the TimerTrigger, and an input binding of type TimerInfo. Now you're going to use your first output binding to send emails using SendGrid bindings.
Add the SendGrid bindings NuGet package using the .NET CLI:
This library is maintained by Microsoft, but the library itself depends on SendGrid's C# .NET SDK maintained by Twilio SendGrid.
Update SendEmailTimer.cs with the following code:
Update the placeholder strings:
- Replace
[REPLACE WITH YOUR EMAIL]with the email address you verified with your SendGrid account. - Replace
[REPLACE WITH YOUR NAME]with your name. - Replace
[REPLACE WITH DESIRED TO EMAIL]with the email address you want to send an email towards. - Replace
[REPLACE WITH DESIRED TO NAME]with the recipient's name.
Save the SendEmailTimer.cs file.
With these changes, the Run method will now create an instance of SendGridMessage which is then returned. SendGridMessage lets you specify the subject of the email, the text and HTML content of the email, and from which email address the email should be sent from. You can use the SendGridMessage.AddTo method to add one or more recipients to the email. However, creating this object does not actually send the email.
The Azure Functions platform will invoke the method, and when it receives the SendGridMessage instance, the platform will send the email. For the platform to be able to send the email, it needs to authenticate with the SendGrid API.
This process is completed by the SendGrid attribute on line 12. This attribute is applied to the return type, hence the return keyword preceding the attribute. The ApiKey parameter is used to specify the names of the application settings that hold the SendGrid API key.
With this information, the SendGrid binding will be able to connect to the SendGrid API and send your emails.
Now, before you can run the updated Azure Function, you need to configure the SendGridApiKey application setting. To do this, open the local.settings.json file and add the SendGridApiKey setting to the Values object like below:
Replace the [REPLACE_WITH_YOUR_SENDGRID_API_KEY] string with your API key that you created earlier, and save the file.
Start the Azure Functions project to test the project:
The SendGrid Azure Function should be invoked every 15 seconds, which will send an email using SendGrid.
But what if you already have another output binding as a return value? Or what if you want to send two different emails?
As an alternative to returning an instance of SendGridMessage, you can also add out parameters to your method. Here's an updated example:
Instead of applying the SendGrid attribute to the return type of the method, the attribute is now applied to the two out SendGridMessage parameters. Simply assign your SendGridMessage instance to your out parameter and the platform will receive the output and send the emails.
How do I send multiple emails without specifying multiple out parameters?
Alternatively, you can use the generic ICollector<T> type and IAsyncCollector<T> type as parameters of your method. The platform will inject an instance of the specified type, to which you can add any amount of instances of the generic type you specified.
Here's an example:
Now the method accepts an instance of ICollector<SendGridMessage> to which you can add multiple SendGridMessage instances. The for loop will add two SendGridMessage instances, and the moment an instance is added using messageCollector.Add, the platform will send the email.
Alternatively, you can use IAsyncCollector instead of ICollector. The async version will not send emails immediately, but instead wait forFlushAsync to be called. If FlushAsync isn’t called, the platform will send your emails after the method is finished.
Here's the async version:
Those are all the ways you can send emails using the Azure Functions SendGrid bindings. SendGrid binding is a helpful feature, but if it doesn't fulfill your requirements, you can still use the SendGrid's C# .NET SDK directly as with any other .NET application.
Sending emails with SendGrid and Azure Functions
Azure Functions uses the concept of triggers, and input and output bindings. Microsoft maintains SendGrid bindings for Azure Functions, which helps you send emails using the Twilio SendGrid API.
There are multiple ways to send emails using Azure Functions:
- Return a
SendGridMessageinstance - Assign a
SendGridMessageinstance to anoutparameter - Let the platform inject an instance of
ICollector<SendGridMessage>orIAsyncCollector<SendGridMessage>and add instances ofSendGridMessageto it - Use the SendGrid's C# .NET SDK directly
Emails aren't the only thing you can send using Azure Function, learn how to send SMS with C# .NET using Azure Functions and the Twilio Binding.
Additional resources
Check out the following resources for more information on the topics and tools presented in this tutorial:
- SendGrid bindings for Azure Functions – There is additional information about the SendGrid bindings at Azure's documentation.
- Twilio binding for Azure Functions – In addition to sending emails using the SendGrid bindings, you can send SMS using the Twilio binding.
- Deploy your Azure Function project to Azure – Your Azure Functions work locally, but you probably want to deploy them somewhere. Check out the Microsoft Docs to learn how to deploy your Azure Function project to Azure.
- Source Code to this tutorial on GitHub - Use this source code if you run into any issues, or submit an issue on this GitHub repo if you run into problems.
Niels Swimberghe is a Belgian American software engineer and technical content creator at Twilio. Get in touch with Niels on Twitter @RealSwimburger and follow Niels’ personal blog on .NET, Azure, and web development at swimburger.net.
Related Resources
Twilio Docs
From APIs to SDKs to sample apps
API reference documentation, SDKs, helper libraries, quickstarts, and tutorials for your language and platform.
Resource Center
The latest ebooks, industry reports, and webinars
Learn from customer engagement experts to improve your own communication.
Ahoy
Twilio's developer community hub
Best practices, code samples, and inspiration to build communications and digital engagement experiences.