How to send Emails in C# .NET with FluentEmail, Razor, and SendGrid
Time to read: 6 minutes
May 11, 2022
Written by
Reviewed by

You can send emails with the .NET libraries that come with the framework such as the APIs from the System.Net.Mail namespace. They are suitable for this kind of development, however, sometimes you need a more straightforward and powerful way to generate and send emails.
In this post, you will learn how to generate and send emails using the FluentEmail library connected with Twilio SendGrid in a console project with .NET.
Prerequisites
You will need a free Twilio SendGrid account and some experience with the C# language and .NET platform to complete this tutorial. Sign up here to send up to 100 emails per day completely free of charge.
Finally, you will need the following for your development environment:
- a .NET IDE (Visual Studio, VS Code with C# plugin, JetBrains Rider, or any editor of your choice)
- .NET 6 SDK (earlier and newer versions should work too)
You can find the source code of this tutorial in this GitHub repository.
Create a Console Project
You will need to create a console project using the .NET CLI. Open a console terminal and run the following commands to create a folder that will contain your project:
Next, create the project with the command below:
Configure SendGrid
Configure a Single Sender in SendGrid
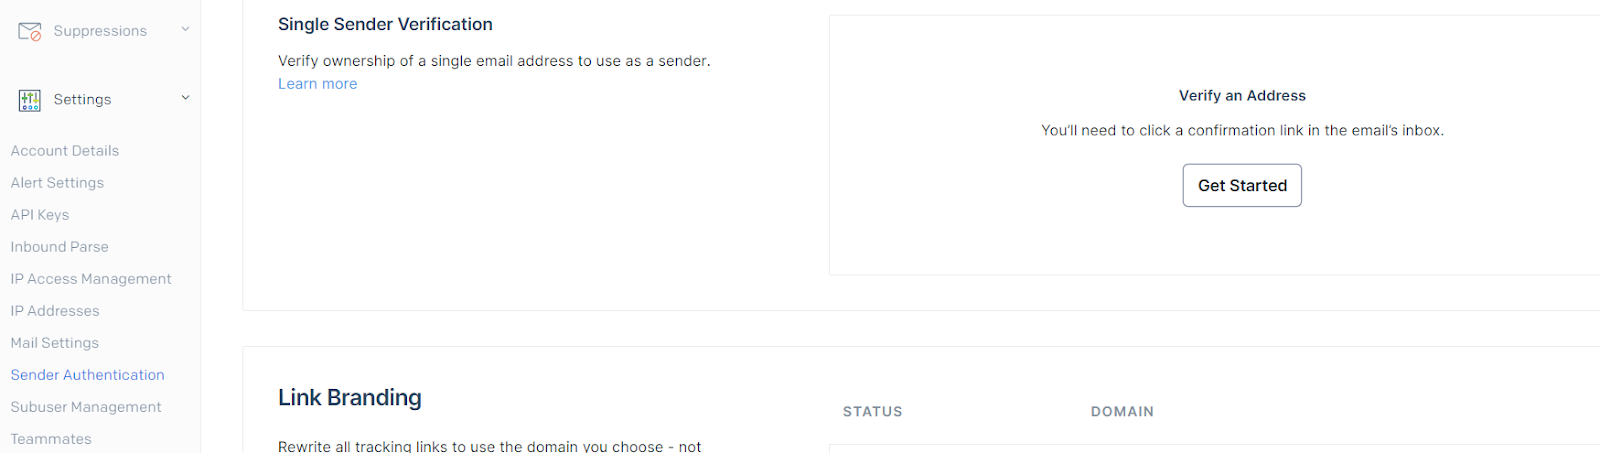
To send emails through Twilio SendGrid, you need to verify ownership of an email address or domain so that the service can send messages on your behalf. To quickly get started, you will use Single Sender Verification for this tutorial. This verifies that you own the email address that the application will send emails from. Single Sender Verification is great for testing purposes, but it is not recommended for production.
To do this, go to the Sender Authentication option, and then in the Single Sender Verification section, select Get Started.
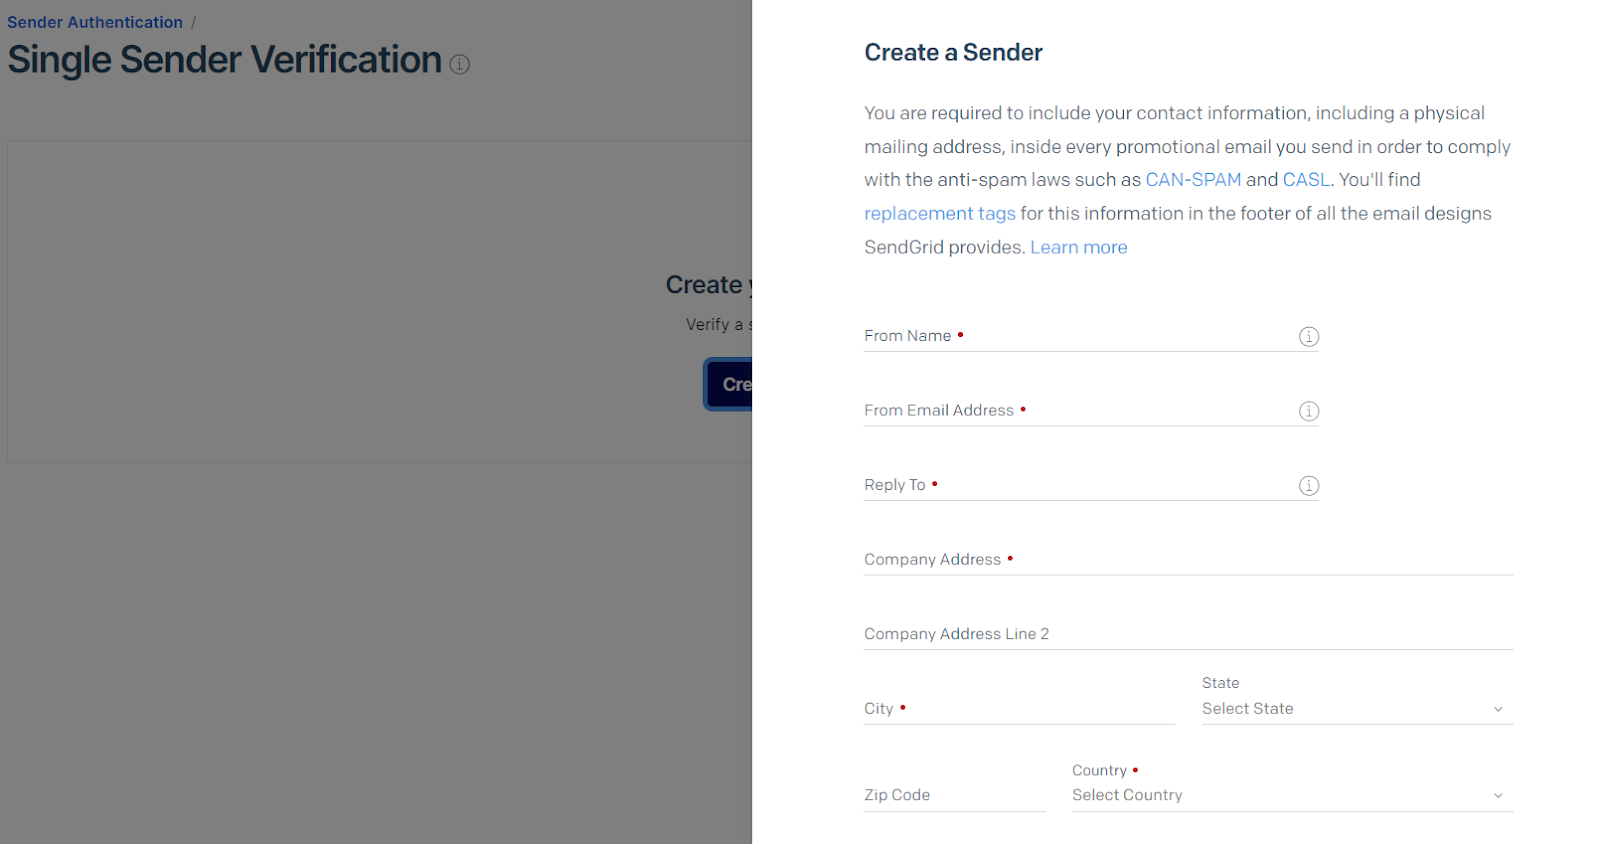
Complete the form, specifying in the From field the email address that you will send the emails from. It must be an email address that you have access to because you will receive a verification email.
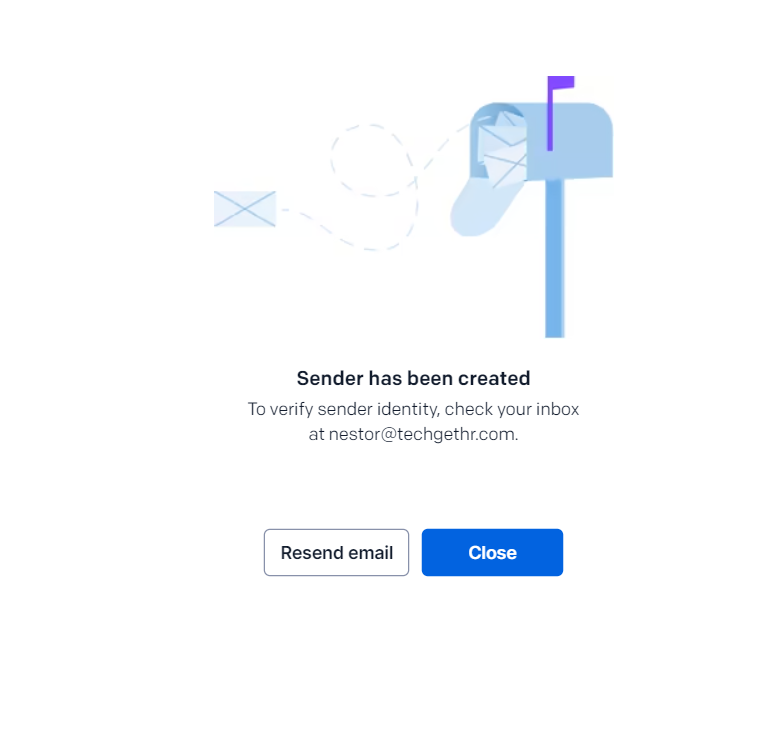
After creating the sender, you will receive an email to confirm your ownership of the specified email address.
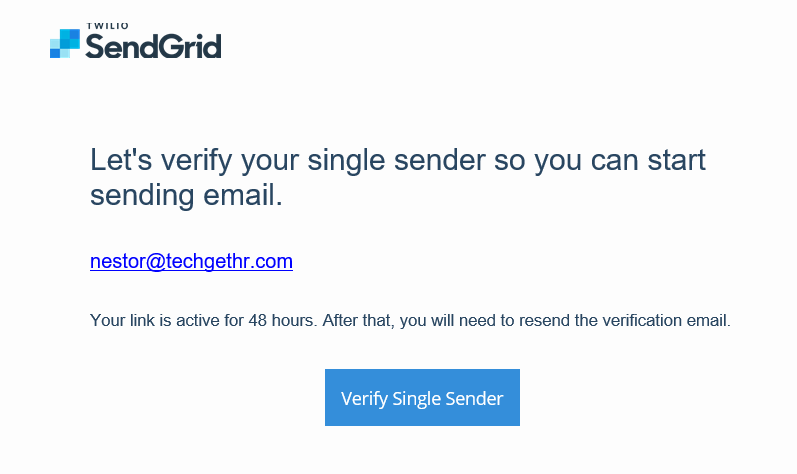
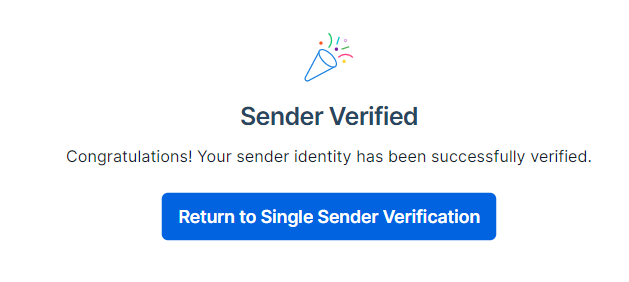
An email will arrive in a few seconds or minutes with a link that you must access to confirm and verify your ownership of the existing email box. Find the email and click Verify Single Sender.
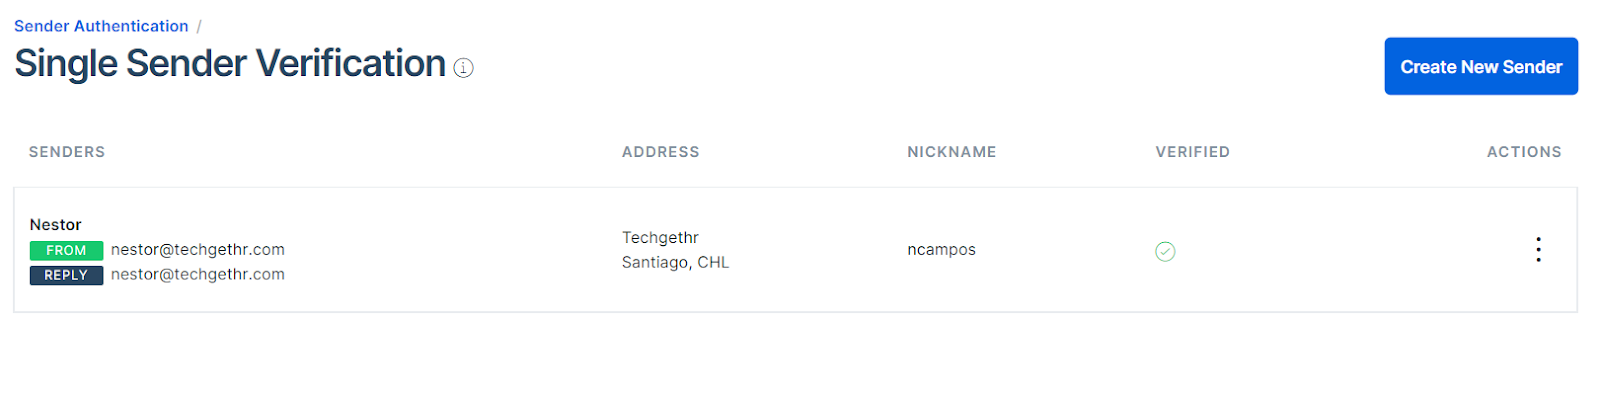
When verifying the email address through the link you received, you will see a confirmation page, and later you will be able to see in the Sender list that your email address is verified and ready to send emails from SendGrid.
Create an API Key
You'll need to create an API key to send emails with Twilio SendGrid.
First, access your SendGrid account and navigate to the API Keys page under the Settings.
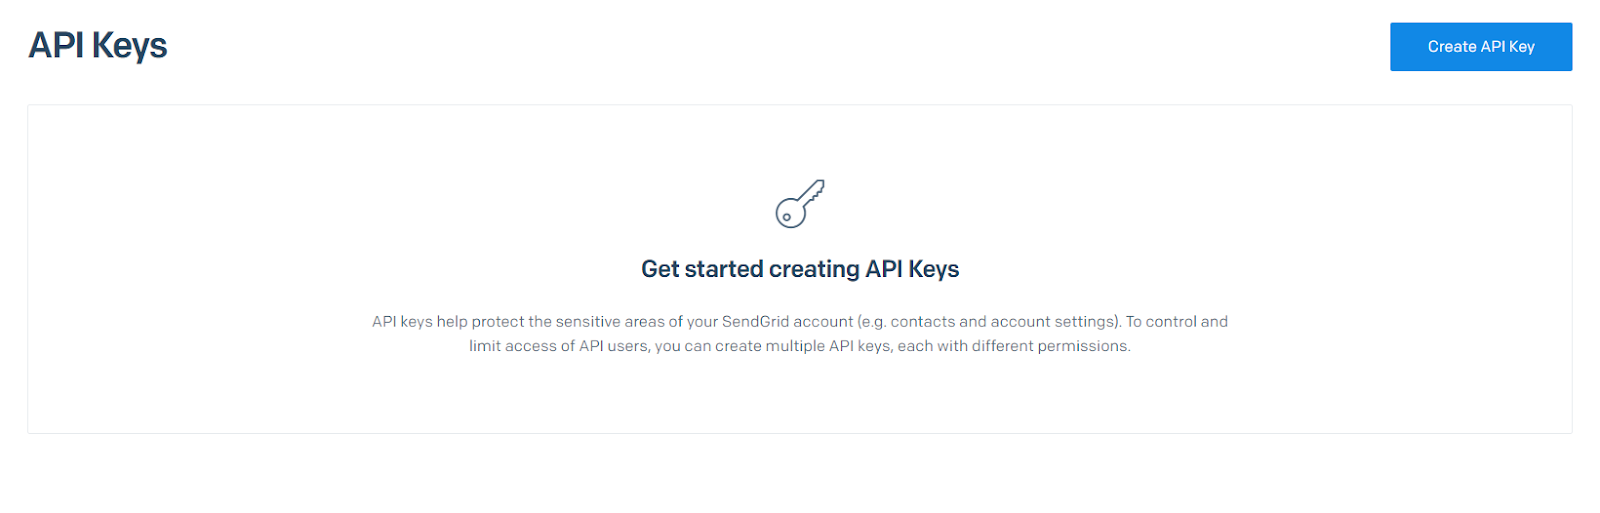
Next, click Create API Key, and in the displayed form, enter a name to distinguish it from other keys for other projects, give it Restricted Access with only Mail Send permissions.
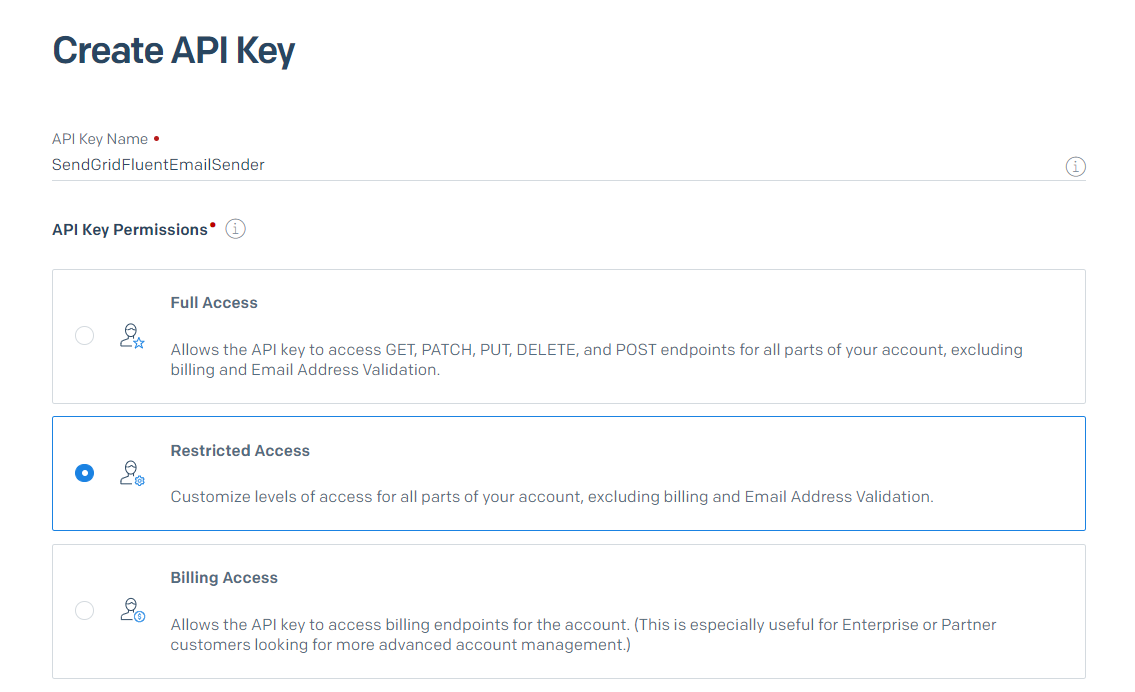
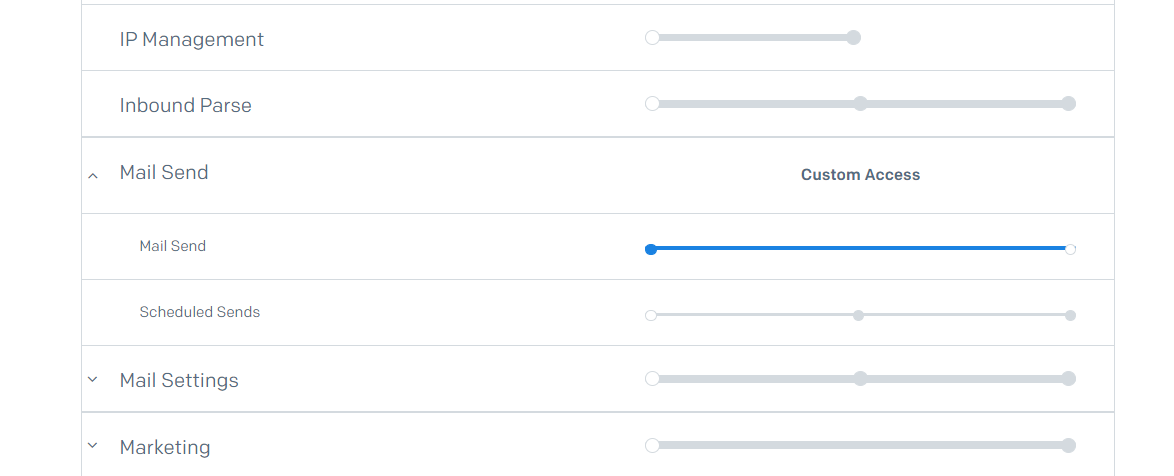
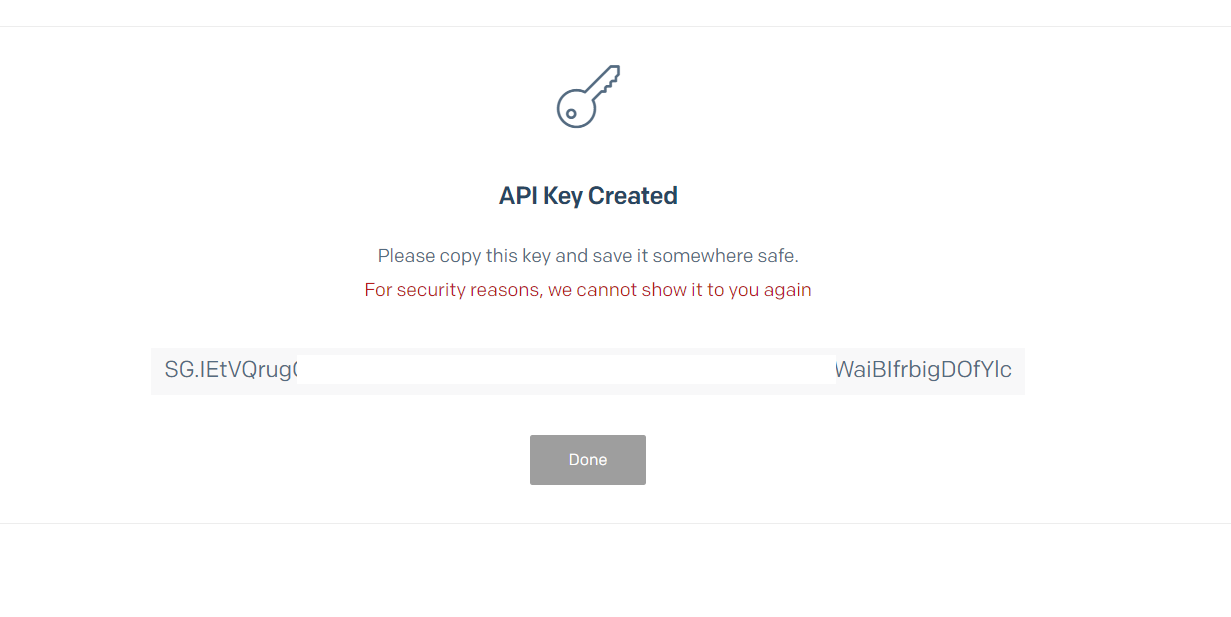
Scroll to the bottom of the form and click Create & View. On the next screen, you will be presented with the API Key that you must copy (you will use it later for the project).
Add the API Key in the project
To add a key in a .NET project, you have several options, such as doing it directly in the code (not recommended), a configuration file in the project, as an environment variable on the system where your application is located, or as a user secret. You will use user secrets since it is a good option for local development that is easy to manage, more secure, and follows good development practices.
To set user secrets for your project, run the following commands at the command line inside your project's root folder:
Replace <SendGrid API Key created> with the API Key you copied earlier.
To load user secrets from .NET, you will need to add the Microsoft.Extensions.Configuration.UserSecrets NuGet package. Add the package for user secrets using the following command:
Next, within your project, in the Program.cs file, replace all existing code with the following:
The code above imports the SendGrid API key from the user secrets repository you created.
Send emails
.NET has several options to send emails, and one well-known option is FluentEmail, which through certain classes and methods simplifies the development of email templating and sending email. To use it, you will need to install the library in your new project by running the following command inside the project folder:
With everything configured and installed, you now have to update your console project to send an example email from your Single Sender email address. To do this, update the Program.cs class with the following code:
Replace <sender email address> with the Single Sender Email Address you configured earlier and replace <destination email address> with the recipient you wish..
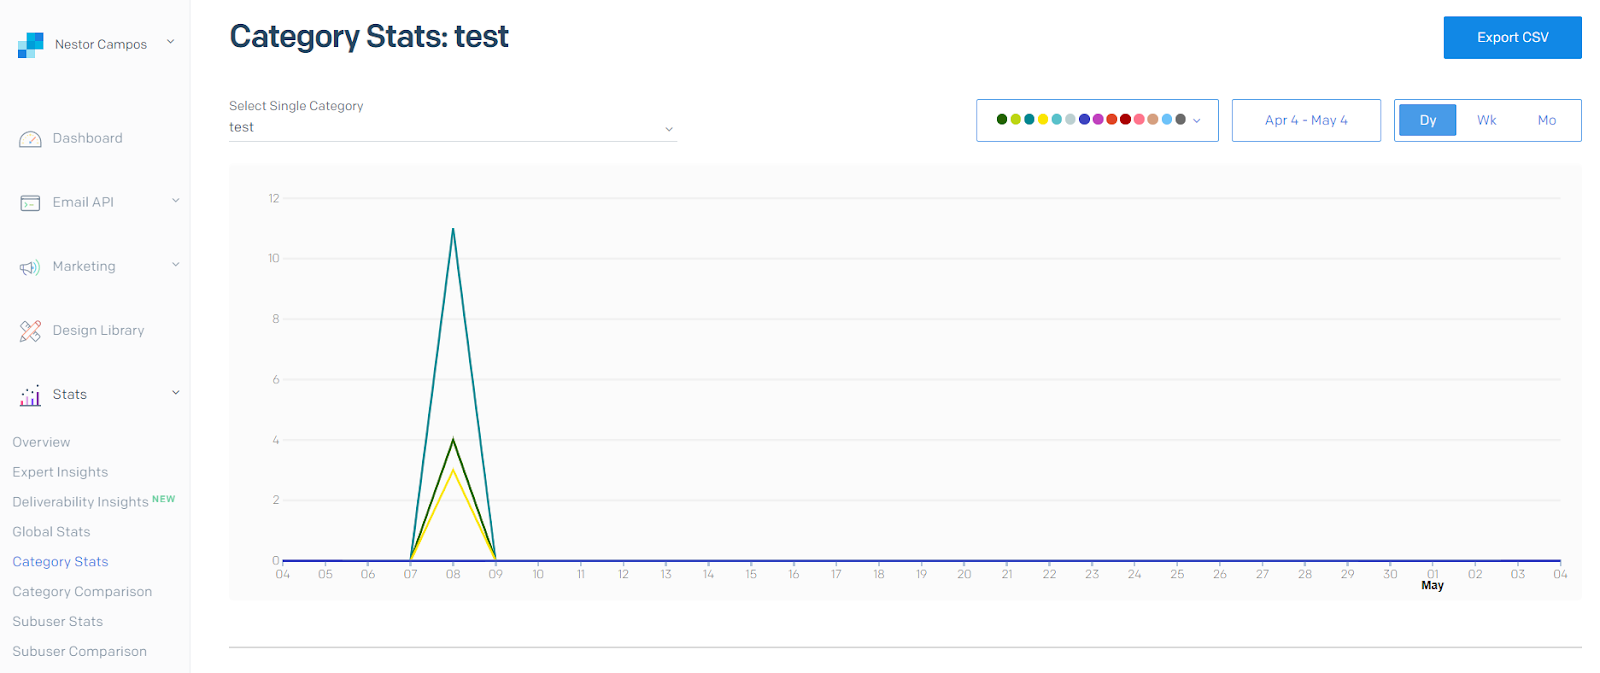
Also, the Tag() method is called in the code during email creation. This method allows you to specify one or several categories to track the status of emails in Twilio SendGrid. For example, in the Category Stats section within the Stats module, you can see a dashboard and filter it by the tag specified in the email you are creating.
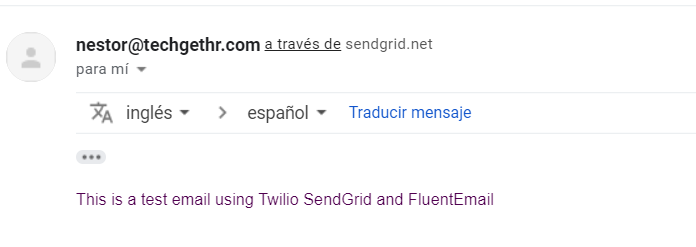
Now, run your console project to send your first email:
In a few seconds, an email will arrive in the recipient's mailbox, similar to the following:
Use Razor templating to generate email
Your project already works, but you can improve the body of the email by generating HTML using Razor templates. To do this, you can create a C# Razor (.cshtml) file in a path on your computer or within the project itself.
Run the following command to add Razor support to FluentEmail:
First, create a class, called TestEmailModel.cs, which will store the properties that you can add to your template before sending. In this case, you will only add the Name property.
Then, create a Razor file TestEmail.cshtml, and add the following Razor code:
Then, update the Program.cs file to change the body from plain text to the Razor template:
Change the <path for CSHTML file> to the full path of your file if the file is out of your project folder, or the relative path if is in the project folder, and also, replace <Your Name> with your name or any text you want to add.
Next, open the SendGridFluentEmailSender.csproj file and add the PreserveCompilationContext property with a value of true in the PropertyGroup section:
When the PreserveCompilationContext property is set to true, the content and resource files are preserved during compilation so you can use them during program execution.. In this project, PreserveCompilationContext must be true so that the TestEmail.cshtml file can be copied and used at runtime.
Run your project again:
You will get an email with the HTML tags and data model applied to the body.

Dynamic Email Templates from SendGrid
In addition to the templates that you can create in your project to deliver a suitable design to each email you send, an alternative solution is to use Dynamic Email Templates from Twilio SendGrid. Dynamic Email Templates will allow you to add your own designs or use designs available by default for your emails. You can create templates yourself through a graphical user interface or with code. These templates use the Handlebars templating language to create dynamic email templates and inject data into your emails. And just like the templates within the project, you can add your data to the template to customize the content delivered to each of your users.
Depending on your needs, storing the template in SendGrid instead of your source code could be beneficial, so you can update it at anytime without having to redeploy your .NET application. Best of all, FluentEmail makes it easy to use these templates via the SendWithTemplateAsync() (source code) method.
Future improvements
This is a great start, but you can improve the solution further:
- Use a Razor Layout file to reuse headers and footers. Layouts allow different Razor files to share a similar structure. For example, all your email templates can have the same header with your company logo, a side section, and a footer with your company's contact information, while in the central section there will be the code and specific data of each template. This will help you keep the general design of your emails separate from the specific data of each template.
- If you send emails automatically, you should keep track of which emails were sent, to avoid sending them again and inconveniencing your users/customers with too many emails.
Additional resources
Check out the following resources for more information on the topics and tools presented in this tutorial:
FluentEmail repository – This repository contains all the information, classes, and methods to use the FluentEmail.SendGrid library.
Add FluentEmail to Dependency Injection – You can learn how to configure FluentEmail once into .NET's dependency injection container and use it throughout your apps.
How to send an email with Dynamic Transactional Templates with SendGrid
Handlebars at SendGrid – Learn how to use the Handlebars templating language for Dynamic Transactional Templates and Marketing Campaigns designs
Source Code to this tutorial on GitHub – You can find the source code for this project at this GitHub repository. Use it to compare solutions if you run into any issues.
Néstor Campos is a software engineer, tech founder, and Microsoft Most Value Professional (MVP), working on different types of projects, especially with Web applications. He has had to receive files from emails automatically through SendGrid Inbound Parse because he did not have access to the original repository of the data in some projects.
Related Resources
Twilio Docs
From APIs to SDKs to sample apps
API reference documentation, SDKs, helper libraries, quickstarts, and tutorials for your language and platform.
Resource Center
The latest ebooks, industry reports, and webinars
Learn from customer engagement experts to improve your own communication.
Ahoy
Twilio's developer community hub
Best practices, code samples, and inspiration to build communications and digital engagement experiences.