Send SMS Notifications to Your Supabase Users Using Node.js and Twilio
Time to read: 6 minutes
July 26, 2021
Written by
Reviewed by

It’s been argued for the last ten or more years that most apps we love are just opulent CRUD apps. If you’re unfamiliar with the term, CRUD is an acronym that outlines the common ways in which users interact with data — creating, reading, updating, and destroying it.
From Instagram to Slack, many apps at their core are just mutations of user data. We might call them likes, favorites, DMs, tweets, or posts, but whatever the micro-interaction, it's all user data. As with any great idea, the only difference is how the data is organized and polished into a specific user experience.
At some point in building your communication-based application, you’ll need a database to store your own users and their data. Whether you need to save chat history or store media from an SMS, a database can help you keep track of every user interaction for future use.
Recently, I discovered a great Postgres database-as-a-service (DBAAS) called Supabase that allows you to build a mobile backend in less than two minutes just using their clean UI. Because user authentication is built-in, setting up your tables to support your users, their passwords, and magic links are done automatically.
Once you have completed this tutorial, you will have learned how to connect a new Supabase database to the Twilio SDK and send each user an SMS notification using Node.js.
Getting started with this tutorial
This project will be created with Node.js, Twilio Programmable Messaging, and Supabase. To get started, have the following services ready to use:
- A free Supabase account to store your users and one database.
- Twilio account to message your users. (If you don’t have one, here’s $10 to get started). If you have already set up your account, login to grab your Account SID and Auth Token and copy them to a secure location on your computer.
- Node.js installed
Create the profiles and user_data tables
One of the coolest features within Supabase is the built-in authentication. This means that it generates a users table for you upon account creation. While this is done for you any time you create a database, you will need to generate two additional tables — profiles and user_data — in order to store the user's metadata, specifically their phone number.
If you haven’t done so already, create a new organization. Organizations are how Supabase groups projects (databases), team members, and billing.
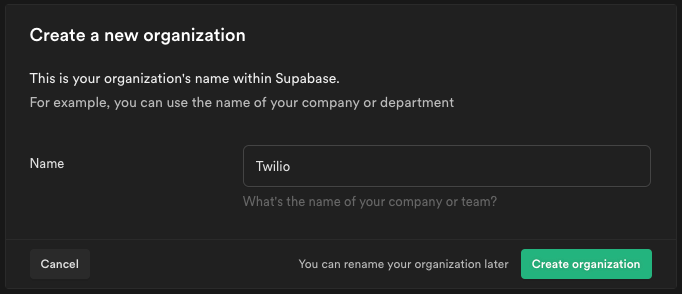
Once you have given your organization a Name, clicking the Create organization button will generate the new organization and allow you to set up a new project.
Upon completion, you will be asked to generate a new project. This project is your database.
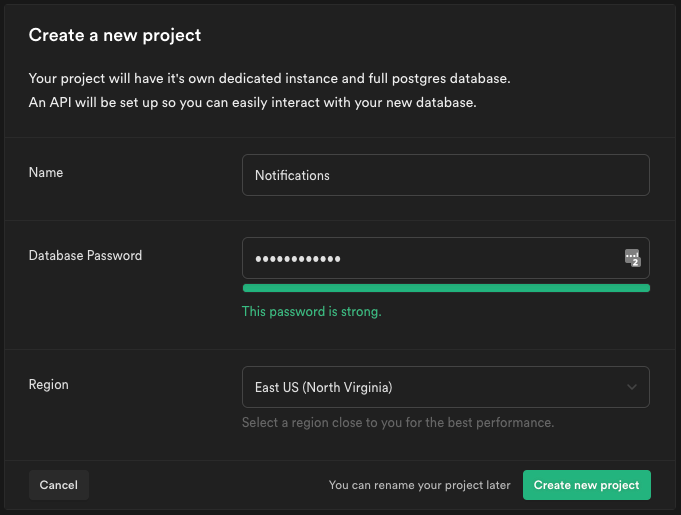
You’ll notice in the previous screenshot that I labeled my project “Notifications” since that’s the focus of this tutorial. Feel free to name it as you please.
Complete the form and click the Create new project button.
After your new database has finished initializing you'll need to create a profiles table to store publicly accessible user data such as username, avatar_url, and website. This table will follow Postgres' Row Level Security (RLS) guidance, enabling a policy that will control whether or not a user has to be logged in to access the data. Visit the Supabase documentation to learn more about RLS and policies.
Click on the SQL button in the left hand menu. The Welcome dashboard will display with some predefined scripts and quick starts.
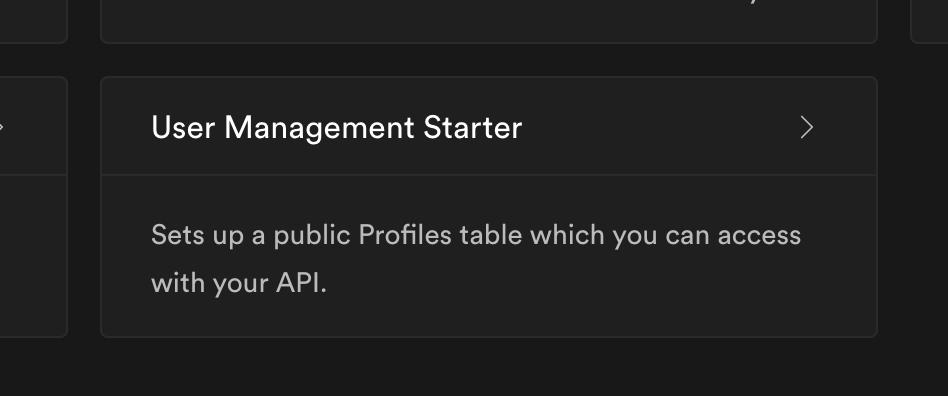
After your database has been generated, scroll to the bottom and select the Quick Start labeled User Management Starter. Clicking this option will open up a predefined SQL query.
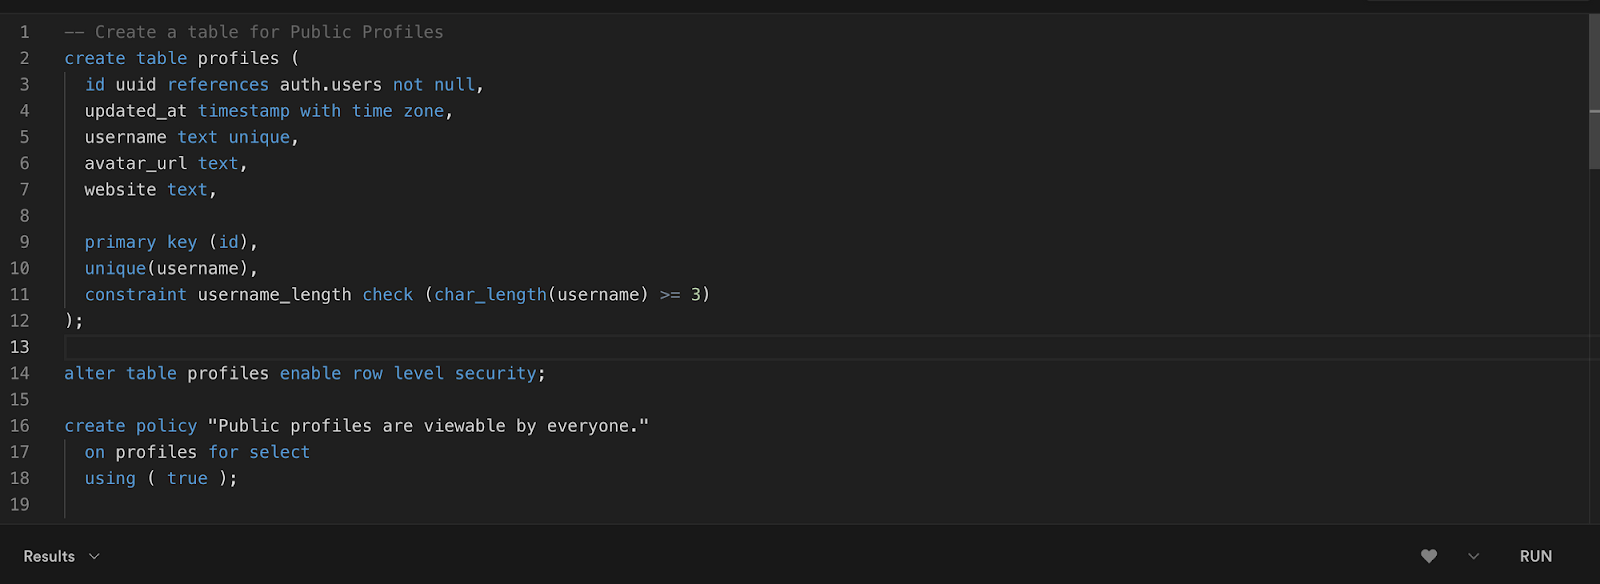
Click on the RUN button in the bottom right hand corner to initialize the table.
Click on the New query button in the top left corner. This will open up a blank editor for you to create a custom table. Copy and paste the following code, and click RUN to generate the user_data table.
The previous code will generate a new table called user_data that is attached to the profiles table through a shared foreign key, user.id.
Add a new user into your database
Now that all of your databases have been created, navigate to the Authentication panel within your project to view the Users table.
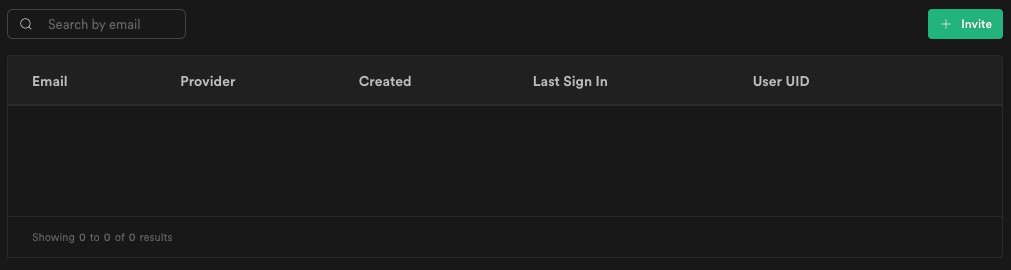
Click the Invite button and enter your email address to add yourself as the first user.

Notice that under Last Sign In, your status shows "Waiting for verification." As a part of Supabase's authentication, an invitation email was automatically sent to the email address you provided. Go to your inbox, locate the email from noreply@mail.app.supabase.io and follow the instructions in the invitation link to verify your account.
The link will redirect to your localhost by default, but transitioning back to the Supabase dashboard reveals that it shows an updated entry under Last Sign In. To learn more about Supabase's authentication system view the Supabase documentation.

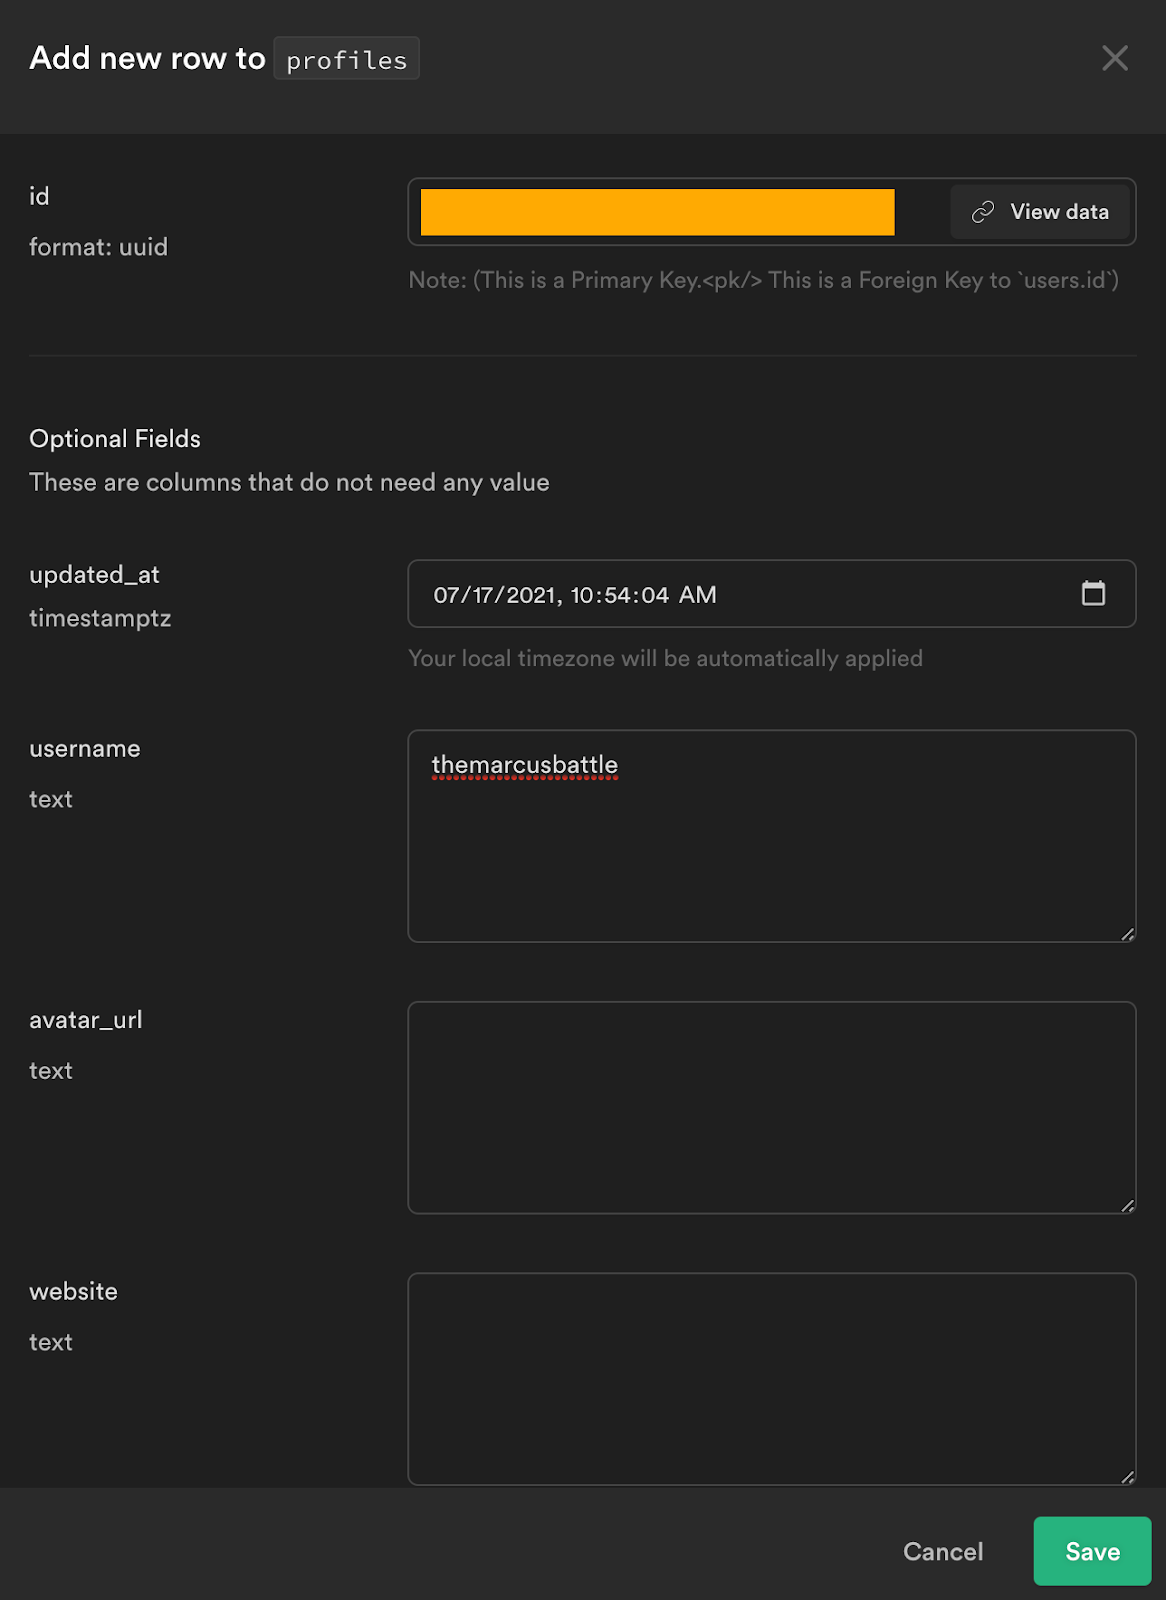
After you have verified your user account, you will need to create an entry in the profiles table. Copy your User UID from the Users table and click on the Insert row button under the profiles table editor.
Paste your User UID into the id field, populate the remaining fields as desired, and click Save.
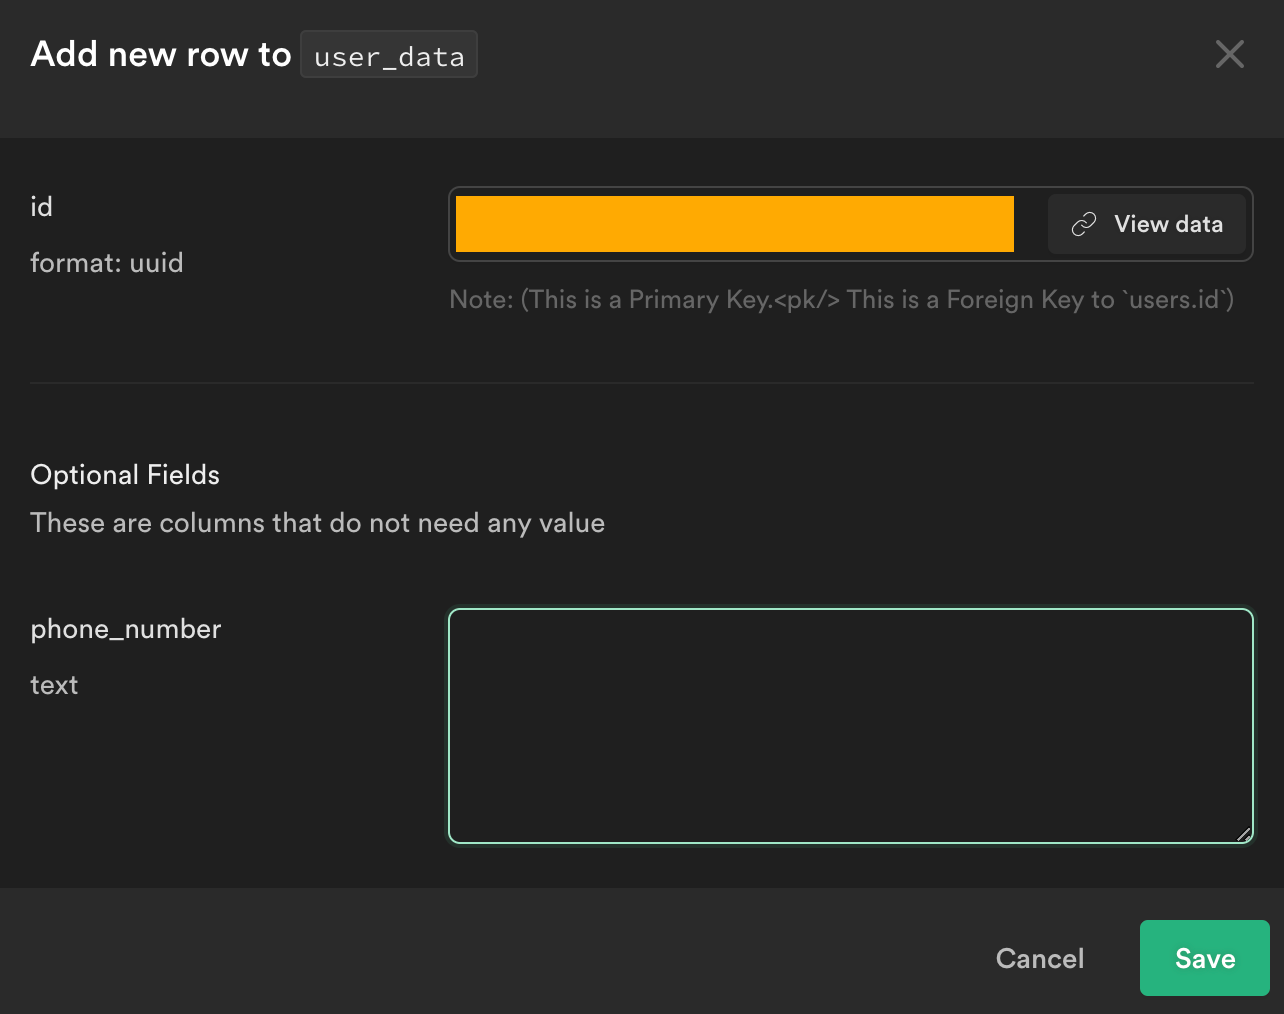
The last data entry that needs to be completed is adding your phone number to the user_data table.
Navigate to the user_data table and create a new entry by clicking on the Insert row button. Paste your User UUID into the id field and provide a phone number into the phone_number field in E.164 format.
Create a Node.js app to query each user
In a new Terminal window (or your command line), navigate to the folder where you store your projects and create a new directory called send-supabase-notifications.
Change directories to your project folder and run npm init -y. This will create a new package.json file inside of our project to manage the node dependencies we'll need to complete this tutorial.
Create an index.js file
Now that the project has been initialized, you need to create an index.js file to serve your app. Open your IDE and create a new index.js file inside of the project directory.
Next you'll add the Supabase SDK to the project. Navigate back to your command line and run the following command:
Install .dotenv to securely store your Supabase Key
You’ll now prepare to connect to the database you created using the Supabase client. Before you can do that, your Supabase API key will need to be securely stored with the app. To do so, you’ll add the dotenv package to the project using the following command:
Now create a .env file at the root of the project folder. You will need to retrieve your Supabase API Key by navigating to the Settings followed by API. Two keys will be available under the API Keys panel, but you will need the one labeled "secret".

Notice the disclaimer under the field that reads "This key has the ability to bypass Row Level Security. Never share it publicly." If you recall, the tables we created are constrained by the Row Level Security, restricting them to only be accessible to authenticated users.
The app that we're creating is executing an administrative task by sending an SMS notification to every user. Therefore, the secret key is what needs to be used instead of the public.
Copy your Supabase Secret Key and paste it on to the first line of your .env file as follows:
Now open your index.js file and copy and paste the following code into the file:
The previous code imports and initializes the Supabase client. Be sure to replace the supabaseURL value with your own Supabase endpoint. You can locate this value in the Settings > API dashboard under the Config panel.
Next you’ll define a new function that will be responsible for sending the SMS notifications called sendSMS(). For now, the code just creates an asynchronous function that requests all rows from your user_data table and logs the response to your console.
Execute the app in your command line by running node index.js. The output should look similar to the following:
Install the Twilio SDK
You now need to loop through the returned user_data and submit a message. Before you can proceed, you need to add the Twilio SDK to our project so that you can send an SMS.
Run the following command in your command line:
Add your Twilio Credentials to the .env
Similar to before, copy and paste your Twilio Account SID and Auth Token from your Twilio console into the .env file.
Now import your Twilio credentials into the app by adding this directly underneath the section labelled "Import Supabase Client":
Lastly, replace the sendSMS() function with this updated version:
Make sure that you replace the text labeled INSERT YOUR TWILIO NUMBER HERE with your Twilio Phone Number. If by chance you don't have one, you can purchase one directly from the Twilio Console.
Testing
That's it! You have successfully created a Postgres database in Supabase, learned how to query your data using the SDK, and set up your code to send an SMS to each user.
Test it now by navigating back to your terminal and running node index.js. Your console log will output a Message SID for each successfully sent SMS.
If you used your actual phone number in your database, you should see a message on your phone similar to the following image.

Conclusion
An ideal next step in extending this application is to create a user interface that allows your subscribers to register and automatically populate your database so that you can send an SMS to multiple people.
You could also provide a front end form for this app using Express.js and send a custom message from the browser.
The possibilities are now endless, but the present is certain. You now know how to send an SMS to each user in your Supabase database.
Marcus Battle leads an awesome team of engineers writing technical content for Twilio called Developer Voices. He can be reached via:
- Email: mbattle@twilio.com
- Twitter: @themarcusbattle
- Github: https://github.com/themarcusbattle

Related Resources
Twilio Docs
From APIs to SDKs to sample apps
API reference documentation, SDKs, helper libraries, quickstarts, and tutorials for your language and platform.
Resource Center
The latest ebooks, industry reports, and webinars
Learn from customer engagement experts to improve your own communication.
Ahoy
Twilio's developer community hub
Best practices, code samples, and inspiration to build communications and digital engagement experiences.